




At True Digitizing, we transform your creative spark into flawless, high-quality embroidery digitized designs that bring your vision to life.
Our Blogs
We Accept

Copyright 2025 Truedigitizing






At True Digitizing, we transform your creative spark into flawless, high-quality embroidery digitized designs that bring your vision to life.
We Accept
Copyright 2025 Truedigitizing
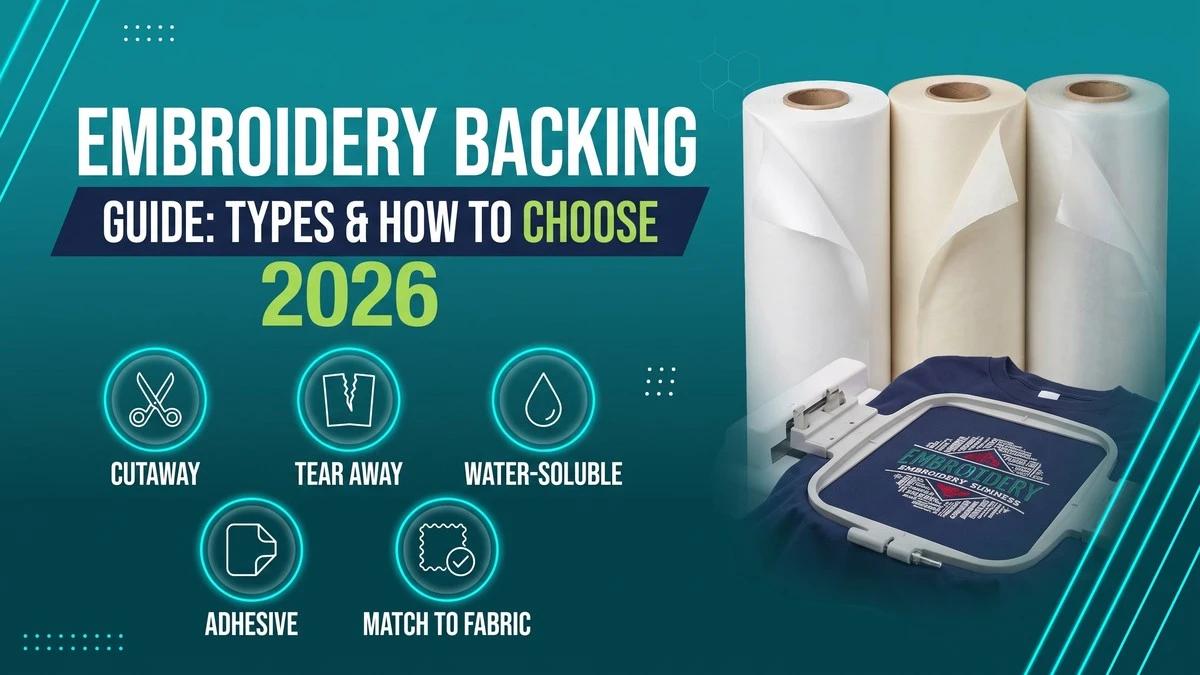


Embroidery backing is the layer of stabilizing material placed underneath fabric before stitching to keep it from puckering, stretching, or tearing under the needle. The right type — cutaway, tearaway, water-soluble, or adhesive — depends on your fabric weight and stretch, not just personal preference.
Skip the embroidery backing, or use the wrong type, and the design underneath tells the whole story: puckered fabric, distorted letters, or a design that pulls loose after a few washes. Embroidery backing is the unglamorous layer nobody sees in the finished product, but it's the single biggest factor in whether a stitch-out looks clean or looks amateur.
This guide walks through what embroidery backing actually does, the main types you'll run into (cutaway, tearaway, water-soluble, and adhesive), how to match backing to fabric, how many layers a design actually needs, and where backing paper fits in. True Digitizing has built 20,000+ stitch-ready files for USA embroiderers over 13+ years, and getting the backing right is part of what separates a design that survives daily wear from one that doesn't.
Get a file that's built for the right backing from the start
True Digitizing has completed 20,000+ designs for USA embroiderers over 13+ years. Every file we digitize accounts for stitch density and fabric type, so your embroiderer knows exactly which backing to hoop up.
Get a Free Quote — True DigitizingEmbroidery backing (sometimes called stabilizer) is a sheet of material hooped underneath fabric before it's stitched. As a needle punches through fabric thousands of times to build a design, the fabric wants to shift, stretch, and pucker with every pass. Backing holds the fabric taut and steady so each stitch lands exactly where the digitized file placed it.
Without backing — or with the wrong type for the fabric — even a perfectly digitized design can come out warped, with visible puckering around dense fill areas or letters that drift out of alignment. Backing is invisible in the finished product for most types, but it's doing the structural work that makes the embroidery look intentional rather than accidental.
In practice, most embroiderers use "backing" and "stabilizer" interchangeably, and supply listings often mix the two terms for the same product. Where a distinction does get made, "stabilizer" is the broader category (anything that stabilizes fabric during stitching, including toppings placed on top of napped fabric like towels), while "backing" more specifically refers to the layer hooped underneath the fabric, against the machine bed.
For the purposes of choosing a product, treat them as the same decision: you're picking a material by removal method (cutaway, tearaway, water-soluble, or adhesive) and by weight, based on your fabric and design. Our stabilizer selection guide covers the fabric-matching side in more depth if you want the full breakdown by material.
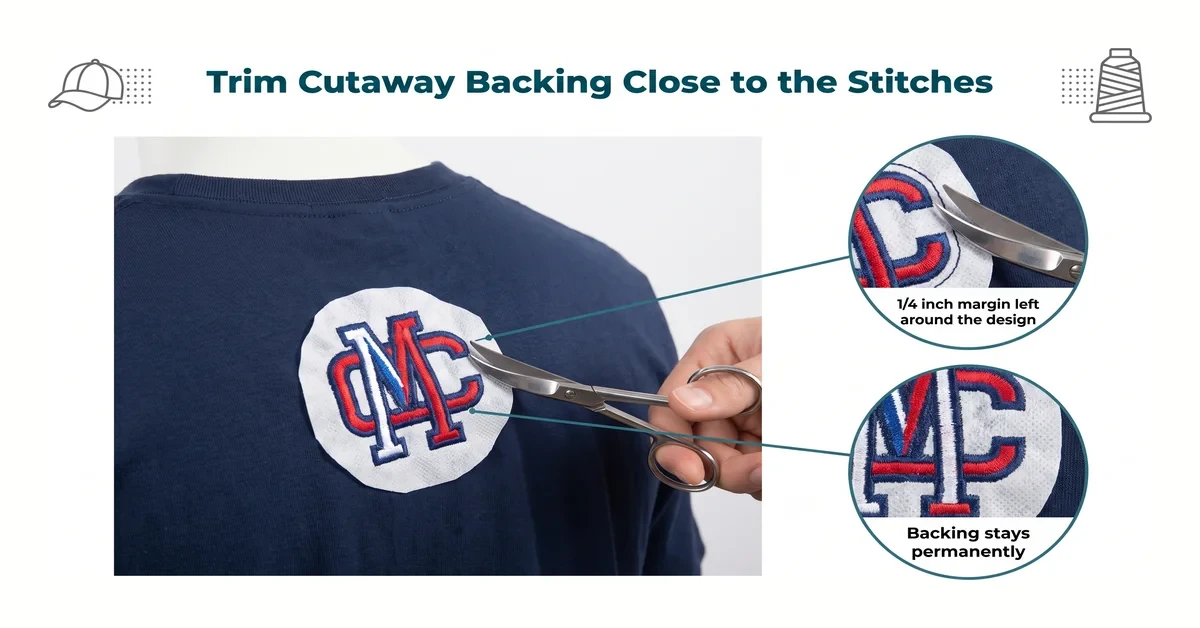
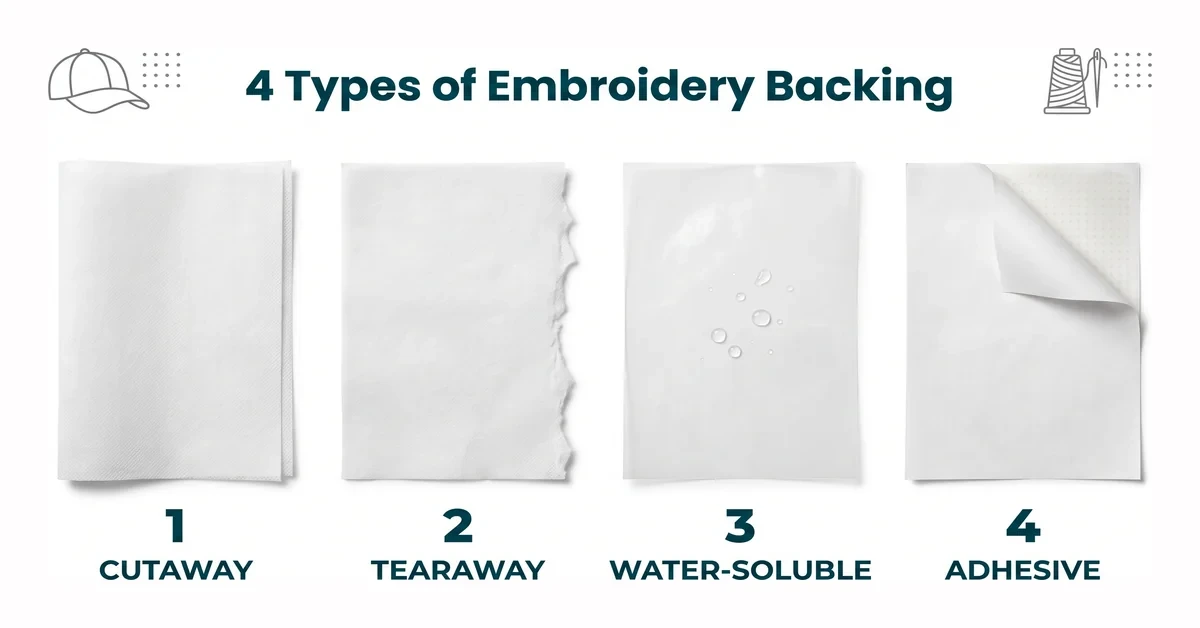
Backing falls into four removal categories, each suited to different fabrics and design densities:
| Backing Type | Removed By | Best For | Stays Permanently? |
|---|---|---|---|
| Cutaway | Trimming with scissors close to stitches | Knits, stretch fabric, dense designs, caps | Yes (partially) |
| Tearaway | Tearing away by hand along perforations | Stable wovens, cotton, light-to-medium designs | No |
| Water-soluble (wash-away) | Dissolving in water | Sheers, lace, freestanding lace, delicate fabrics | No |
| Adhesive / sticky-back | Peeling backing paper, then trimming or tearing | Hard-to-hoop items, pile fabrics, appliqué | Varies by product |
Cutaway backing stays permanently bonded to the fabric behind the stitches, trimmed close but never fully removed. It gives the strongest, most permanent support, which is why it's the standard choice for knit fabric, stretchy performance wear, and dense logos on caps — anywhere the fabric moves or the stitch count is high enough to pull at loosely-woven material.
Tearaway backing comes out completely after stitching, torn away by hand along its natural grain. It's fine for stable, tightly-woven fabric like quilting cotton or canvas with light-to-moderate stitch counts, but it can't hold up under a dense fill design or on fabric with any real stretch — the backing will tear or the design will distort before it's fully removed.
Water-soluble backing dissolves in water, leaving nothing behind, which makes it the only real option for sheer fabric, lace, and freestanding lace designs where any leftover backing would show through or where there's no fabric at all to embroider onto in the first place.
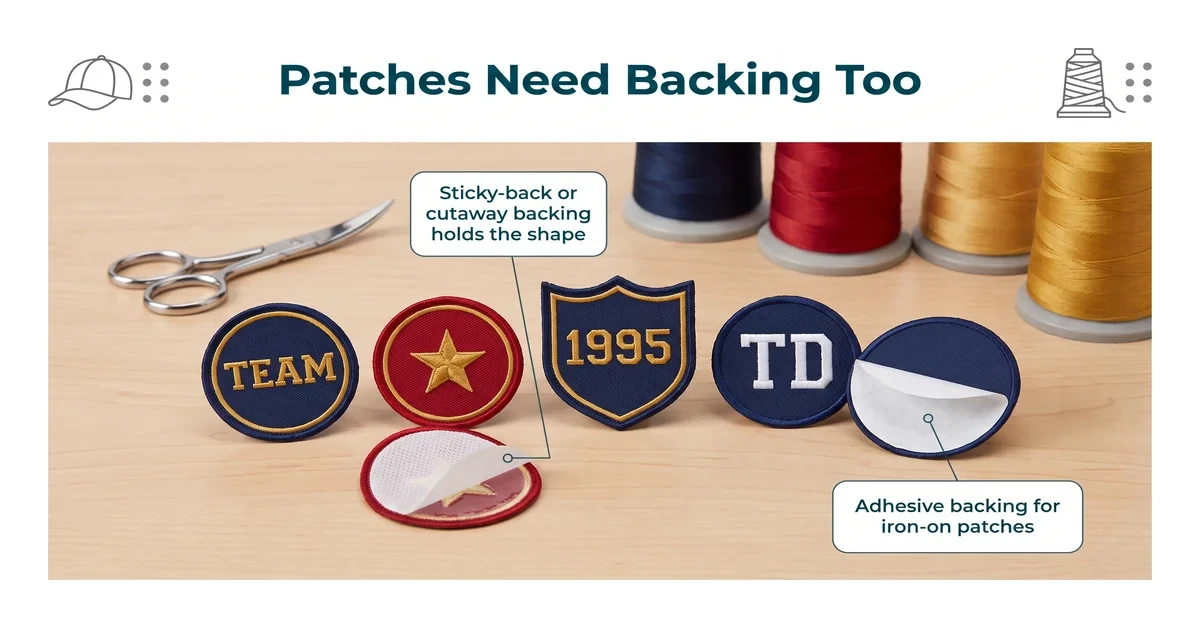
Adhesive or sticky-back backing has a paper cover you peel off to expose a tacky surface, letting you stick fabric in place instead of hooping it directly — useful for pile fabrics like terry cloth towels, or pieces too small or oddly shaped to hoop on their own.
Weight matters as much as removal method, a point commercial embroidery machine maker Melco emphasizes in its own stabilizer selection guide: backing is sold in light, medium, and heavy (sometimes labeled by ounce or gram weight per square yard), and each type comes in more than one weight. A lightweight cutaway is the right call for a low-density design on a t-shirt, while the same t-shirt with a dense, multi-color logo needs a medium or heavy cutaway to keep the extra stitches from distorting the knit. Going heavier than the design needs isn't free either — overly stiff backing on a soft knit can make the finished garment feel board-like around the design, so the goal is matching weight to stitch density, not defaulting to the sturdiest option available.
Fabric type is the starting point, but stitch density and end use matter just as much. A quick reference for the most common jobs:
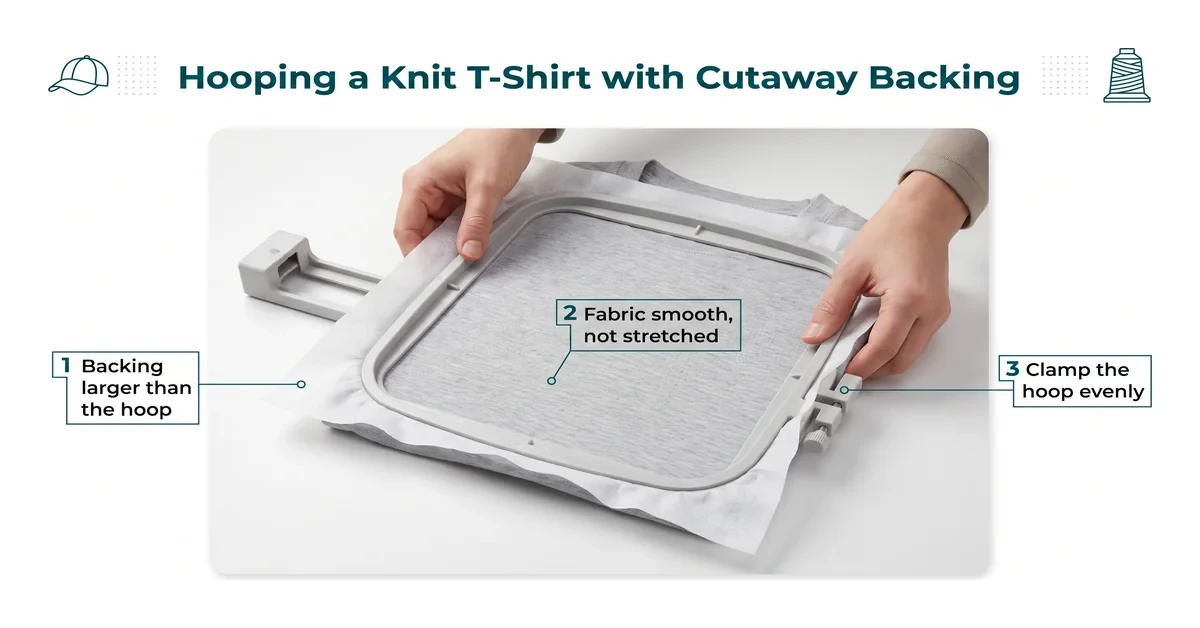
One layer of the correctly weighted backing is enough for most designs. Doubling up on backing is a workaround, not a default — it's what embroiderers reach for when a single layer of the weight they have on hand isn't quite sturdy enough for the fabric or stitch count in front of them, rather than a step everyone should take as standard practice.
Two common cases where a second layer genuinely helps: a very stretchy performance knit that puckers even under heavy cutaway, or a dense, multi-element design running well over 15,000 stitches on lighter-weight fabric. In both cases, two layers of a lighter backing often lay flatter and stitch out cleaner than a single layer of an extra-heavy one, since it distributes the extra support without stiffening the fabric as much in one spot. If you're consistently needing two layers just to get a clean stitch-out, that's usually a sign the design itself is over-digitized for the fabric it's meant for, worth revisiting at the file level rather than solving permanently with extra backing.
Not sure how your design will run on the machine?
True Digitizing delivers stitch-ready files within 24 hours — trusted by 5,000+ USA embroiderers. We flag stitch density issues before you ever hoop the fabric.
Start My Order at True Digitizing"Backing paper" usually refers to the release paper on adhesive-backed stabilizer — the sheet you peel away to expose the sticky surface underneath, similar to the backing on a sticker. It's not a fourth type of backing material on its own; it's the covering that makes an adhesive backing usable.
You'll run into backing paper most often on pre-cut adhesive backing squares sold for caps and small patches, and on some fusible (iron-on) backings that use a paper liner to protect the heat-activated adhesive before it's pressed onto fabric. If a listing specifically says "backing paper" rather than just "backing," check whether it's describing an adhesive product with a peel-off liner, or a genuinely paper-based stabilizer meant for hand embroidery and craft projects rather than machine work.
Iron-on (fusible) backing, a category stabilizer manufacturer OESD also sells alongside its cutaway and tearaway lines, is worth calling out separately since it behaves differently from the four removal categories above. Instead of hooping loose backing under the fabric, you press the fusible sheet onto the back of the fabric with an iron before hooping, which bonds it in place and stops slippery or unstable fabric from shifting during hooping itself. It's most useful on fabric that's hard to keep flat in the hoop — slick synthetics, loosely knit sweaters, or anything that would otherwise bunch before the machine even starts stitching.
A few finished-garment symptoms point directly back to a backing mismatch, rather than a machine setting or thread problem:
Puckering or a rippled look around the design usually means the backing was too light for the stitch density, most common when tearaway was used on a design that needed cutaway. Visible backing peeking out from under stitches after trimming points to cutaway that wasn't trimmed close enough, or the wrong weight leaving too much bulk to trim cleanly. A design that loosens or the fabric stretches out of shape after a few washes is the clearest sign cutaway was needed but tearaway or too-light a backing was used instead, since nothing permanent was left behind to keep the stitches anchored to the fabric long-term.
The fix in every one of these cases is the same: go up one weight class in the same backing category, or switch categories entirely if the fabric type calls for it, rather than assuming the design or the machine tension is at fault first.
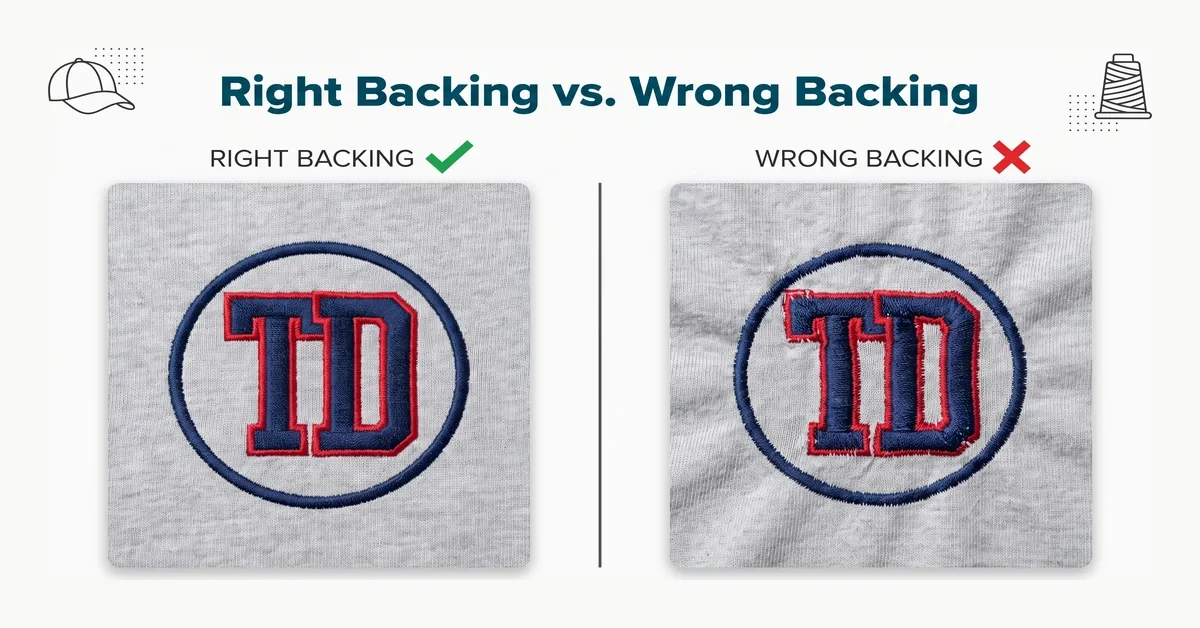
Choosing backing is a hooping decision you or your embroiderer make at the machine, but stitch density — the thing that determines how sturdy that backing needs to be — is decided earlier, when the design is digitized. A file digitized without regard for the fabric it's meant for can demand more stabilization than any backing can reasonably provide.
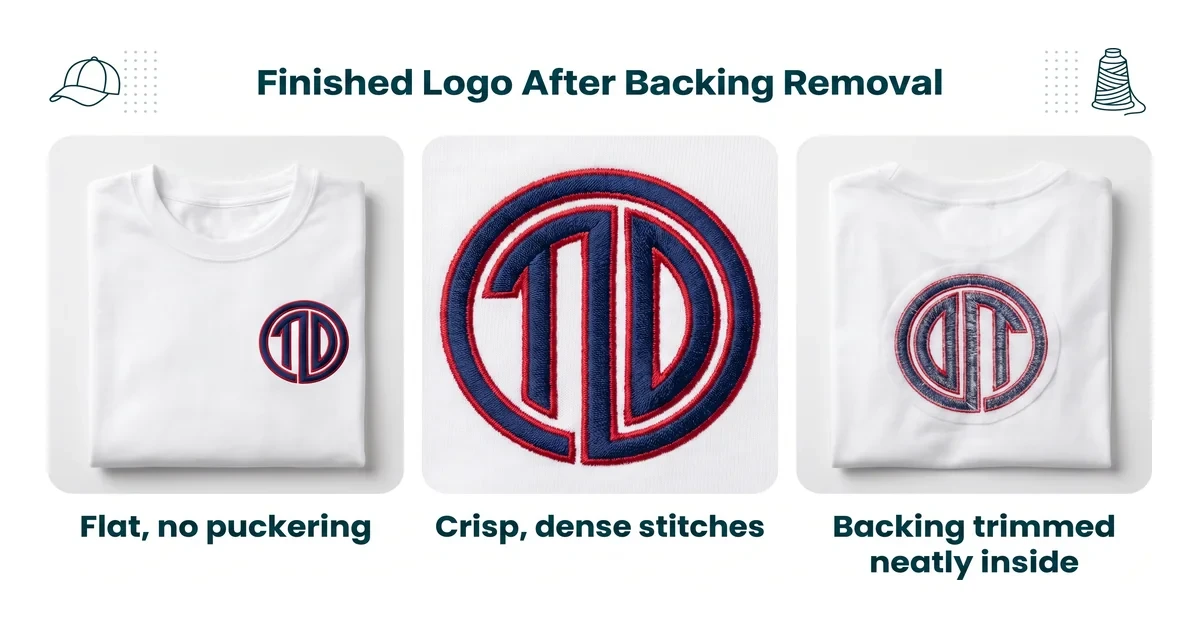
Backing works alongside fabric choice, not instead of it. Loosely woven or highly stretchy fabric will still be a challenge even with the sturdiest cutaway backing, so it's worth checking our guide to the best fabric for embroidery if you're choosing blanks for a new order, and our roundup of must-have embroidery supplies for beginners if you're building out a starter kit that includes backing, needles, and thread.
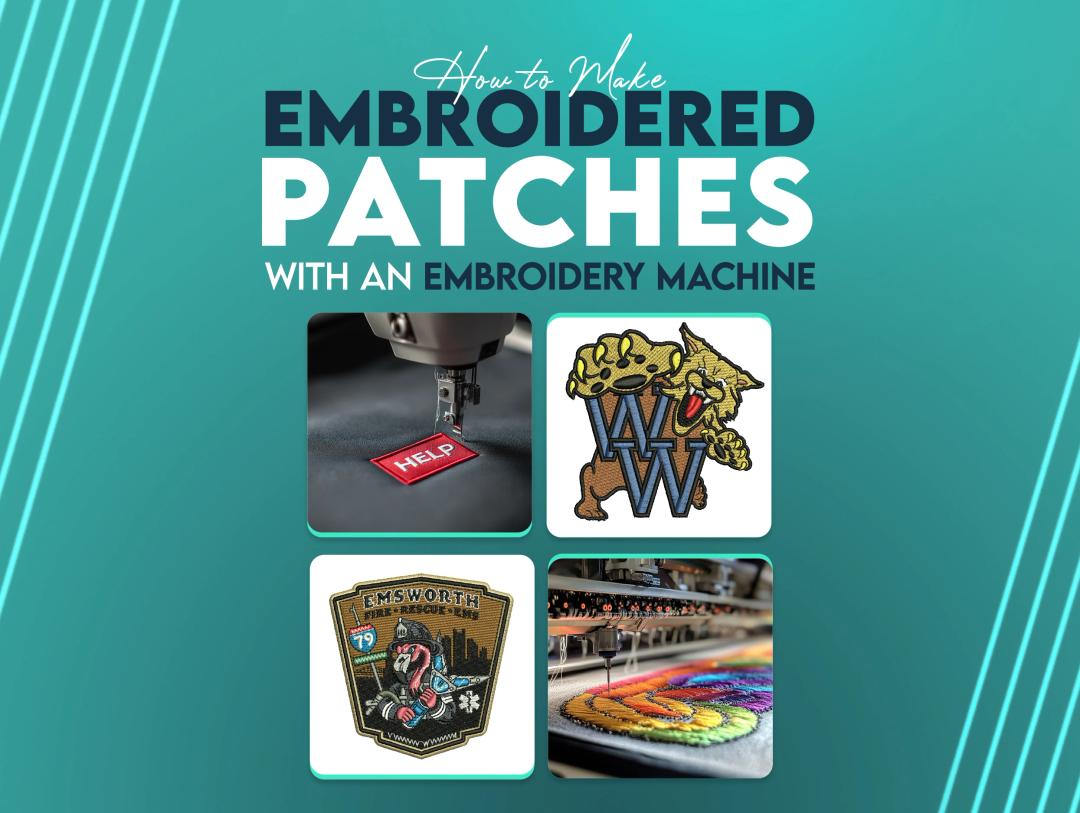
If backing is being hooped under a design meant for a patch, the same logic applies with one more layer of consideration — patches are typically stitched on a stabilizer-backed base fabric first, then trimmed and attached separately, so the backing choice affects how cleanly the patch edge finishes. True Digitizing's embroidered patches service and custom embroidery digitizing service both account for this at the file stage, so the backing your production team hoops up matches what the design actually needs.
True Digitizing has helped 5,000+ USA embroiderers get professional stitch files since 2013. Send over your artwork and get back a file matched to your fabric, stitch density, and machine.
Get My Design Digitized by True Digitizing →Fast turnaround · truedigitizing.com · 100% satisfaction guaranteed
TrueDigitizing's team of embroidery digitizers and file conversion experts — delivering practical guides for home hobbyists and commercial shops alike. Our specialists cover the full range of embroidery production: custom digitizing for machine embroidery, vector art conversion, and physical embroidered patch manufacturing — with a 6-hour turnaround on digital files and worldwide patch delivery in 5 business days. Every article we publish comes from the same people handling real production orders daily. When we write about stitch density, underlay settings, or file formats, it is because we work with these variables across hundreds of client files every week — not because we researched them from the outside.
Categories
Embroidery Digitizing Services: Which Type Do You Need?
17-08-2026
How to Remove Embroidery From Any Fabric — Step-by-Step Guide 2026
15-07-2026
Is SVG a Vector File? Yes — SVG vs EPS, PNG, PDF Vector Formats you need to know
08-07-2026

Embroidery Trends 2026: What's Hot in Machine & Hand Embroidery | TrueDigitizing
26-06-2026
Top Best Embroidery Digitizing Software in 2026
06-05-2026

Best Multi-Needle Embroidery Machines for Startups (2026)
28-02-2026
DST File: The Complete Guide (What It Is, How to Create, Convert & Use in 2026)
28-02-2026
Janome 550E vs Baby Lock Flare | Best Mid-Range Embroidery Machine?
26-02-2026
Choose the Right Fabric for Embroidery
20-02-2026
Advanced Techniques in Embroidery Digitizing
19-02-2026
Asked Questions