
At True Digitizing, we transform your creative spark into flawless, high-quality embroidery digitized designs that bring your vision to life.
Our Blogs
We Accept
Copyright 2025 Truedigitizing
At True Digitizing, we transform your creative spark into flawless, high-quality embroidery digitized designs that bring your vision to life.
We Accept
Copyright 2025 Truedigitizing

Have you ever thought why the chain embroidery stitch is such a classic favorite in machine embroidery? This complex yet adaptable stitch, admired for its ability to add elegance and uniqueness to designs, has been loved for ages. Whether you're adding a bold touch to apparel or creating complex patterns for professional projects, chain stitch embroidery gives you many opportunities to enhance your machine embroidery designs.
Let's get into a complete blog post about materials, techniques, and guidance that make the chain embroidery stitch a must-know for any embroiderer.
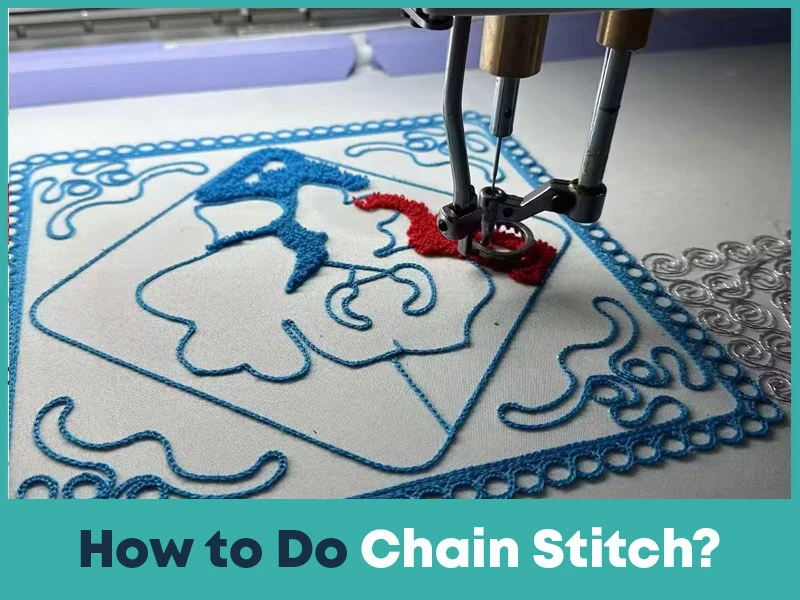
The chain embroidery stitch is one of the most popular techniques used in machine embroidery. Its interconnected loops provide a textured chain-like look, making it a favorite among beginners and experts alike.
Here’s how chain stitch works in machine embroidery:
Prepare the Fabric and Hoop: Secure the fabric tightly in your embroidery hoop or frame for even stitching.
Load the Design: Choose or create a chain stitch design using digitizing software.
Start Stitching: Once your machine is set, the needle forms interconnected loops automatically, creating the chain effect.
Adjust Tension: Keep machine settings balanced to maintain uniform loops.
Repeat & Flow: The design continues seamlessly, forming decorative or outlining patterns.
With the right digitized file, the chain stitch flows smoothly and becomes a versatile design element.
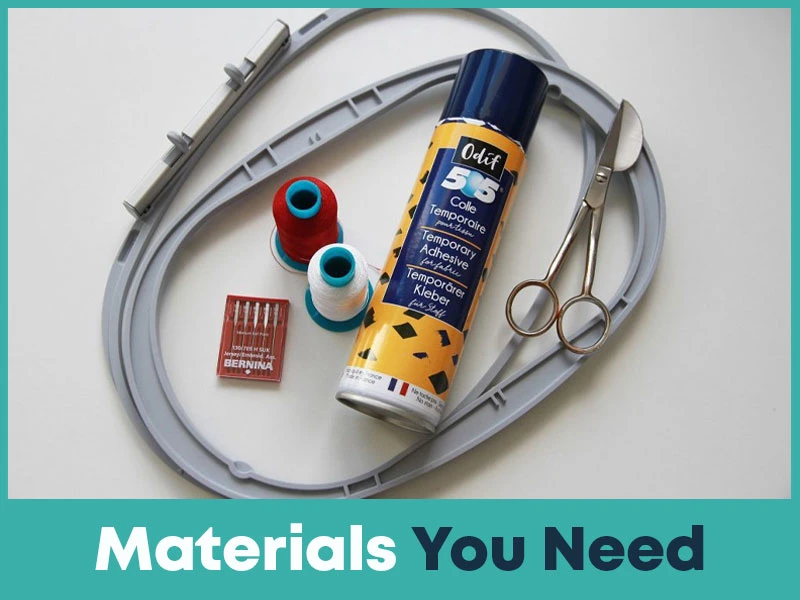
To get started with chain embroidery stitch in machine embroidery, you’ll need the right tools and supplies. Using proper materials ensures smooth operation,high-quality results, and fewer machine issues:
Embroidery Machine: Choose a machine that supports chain stitch designs. Advanced models may also allow for more complex variations like double chain or heavy chain stitches.
Stabilizer: A stabilizer is important for preventing fabric puckering and ensuring that the chain stitches stay even and aligned. Tear-away stabilizers are good for light projects, while cut-away stabilizers work well with heavy fabrics.
Thread: Rayon threads are shiny and smooth, polyester threads are durable and colorfast, while metallic threads can add a bold, eye-catching effect. Choose based on the look and durability you want.
Fabric: Cotton and linen are great for everyday designs, while denim, canvas, or felt are better for heavy stitches like the bold chain stitch. Always match your fabric to the project type.
Embroidery File: A properly digitized design file in a compatible format (.PES, .DST, .EXP, .JEF, etc.) is essential. Poorly digitized files may cause uneven loops or thread breaks.
Having these materials ready makes your chain stitch embroidery smooth and hassle-free, allowing you to focus on creativity rather than technical issues.
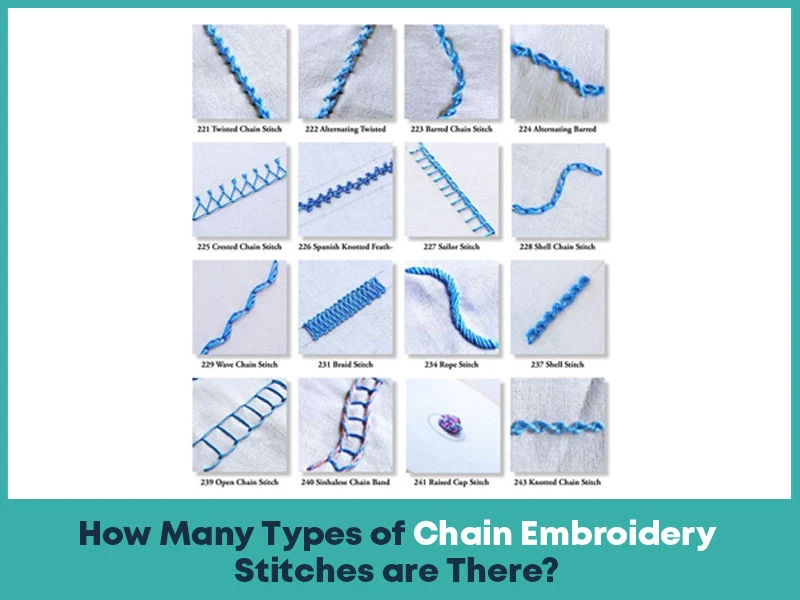
Machine embroidery allows for several variations of chain stitches, each bringing its own texture, style, and purpose to your designs. These stitches can be used for outlining, filling spaces, or adding decorative touches:
Basic Chain Stitch: The foundation of all variations, this stitch creates a simple looped chain effect. It’s widely used for borders, outlines, and light decorative details.
Twisted Chain Stitch: By adding a slight twist to the loops, this variation produces a spiral effect. It’s excellent for complex designs where you want to add texture and dimension.
Detached Chain Stitch (Lazy Daisy): Often seen in floral patterns, this stitch forms looped petals or leaves. In machine embroidery, it’s commonly used for delicate floral accents and small motifs.
Heavy Chain Stitch: This bold version uses thicker threads or multiple loops to create a dense, striking effect. It’s ideal for borders, heavy fabrics like denim, or designs that need a strong visual impact.
Double Chain Stitch: As the name suggests, this stitch forms two parallel rows of interlinked loops, creating extra depth and visual richness. It’s perfect for decorative borders or areas that need more emphasis.
Each variation not only enhances the appearance of your embroidery but also adds versatility to your machine’s creative possibilities. With the right digitized file, you can explore all these variations to give your projects a polished, professional look.
Understanding chain stitch in machine embroidery requires both the right file and the right technique:
Consistent Tension: Correct thread tension ensures clean loops.
Digitized Accuracy: A well-digitized file helps the machine create smooth stitches.
Experiment with Threads: Use metallic or variegated thread for unique textures.
Layering Stitches: Combine chain stitch with satin or fill stitches for more detailed effects.
The lazy daisy stitch, a detached chain variation, is one of the most popular floral patterns in machine embroidery. It’s simple, colorful, and great for beginners.
For beginners in machine embroidery, start with the basic chain stitch. Once you’re confident, explore variations like twisted chain or lazy daisy for floral and decorative elements. These stitches add elegance and depth to simple projects.
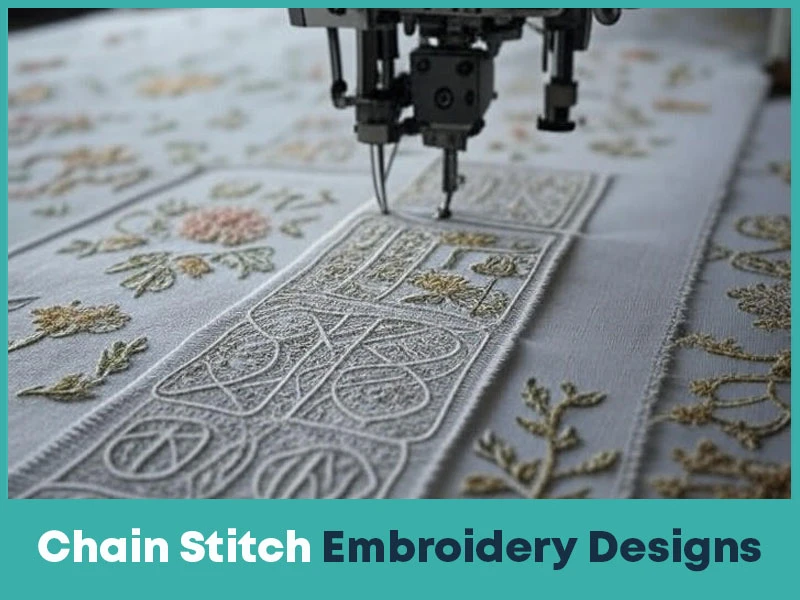
Chain stitch unlocks countless creative options in machine embroidery:
Floral Patterns: Perfect for linens, apparel, or home decor.
Borders and Edges: Heavy chain stitches create striking outlines.
Monograms and Lettering: Adds texture and sophistication to initials.
Geometric Shapes: Experiment with bold colors and modern layouts.
With chain stitch embroidery, your machine can bring both simple and complex ideas to life beautifully.
Machine embroidery chain stitch combines tradition with modern precision, making it a must-know technique for every embroidery enthusiast. Whether you’re creating floral motifs, bold outlines, or textured patterns, this versatile stitch adds elegance to any project.
At True Digitizing, we specialize in providing perfectly digitized embroidery designs, whether you want chain stitch or other custom designs tailored to your machine format. Let us help you transform your creative vision into flawless embroidery. Explore our embroidery digitizing services today and elevate your designs with professional precision.
Nick William has been immersed in the world of embroidery digitizing for over 20 years, earning 25 industry awards throughout his career. As a 3rd generation embroidery expert, Nick’s journey started in his family’s workshop, where he learned the art of digitizing before the rise of modern software. He has worked with leading commercial embroidery businesses and has shared his expertise with over 75,000 home and professional embroiderers. As an author at True Digitizing, Nick is passionate about teaching others how to create beautiful, precise designs through easy-to-follow tutorials and expert advice.
Categories

Top Best Embroidery Digitizing Software in 2026
06-05-2026
")
Best Multi-Needle Embroidery Machines for Startups 2026
28-02-2026

DST File: The Complete Guide (What It Is, How to Create, Convert & Use in 2026)
28-02-2026

Janome 550E vs Baby Lock Flare | Best Mid-Range Embroidery Machine?
26-02-2026

Choose the Right Fabric for Embroidery
20-02-2026

Advanced Techniques in Embroidery Digitizing
19-02-2026

Most Common Types of Threads to Use in Machine Embroidery
12-02-2026

AI in Embroidery | Revolutionizing Art and Efficiency
12-02-2026

Best Thread Tension 101 | A Guide for Embroidery Machines
09-02-2026

Mastering Small Lettering in Machine Embroidery
04-02-2026
Asked Questions


