
At True Digitizing, we transform your creative spark into flawless, high-quality embroidery digitized designs that bring your vision to life.
Our Blogs
We Accept
Copyright 2025 Truedigitizing
At True Digitizing, we transform your creative spark into flawless, high-quality embroidery digitized designs that bring your vision to life.
We Accept
Copyright 2025 Truedigitizing

Machine embroidery is a modern and efficient way to decorate fabric with beautiful designs, logos, or custom artwork. If you're new to this craft, you might be wondering, “How do I start stitching with a machine?” Don’t worry, this guide will walk you through it in a simple and easy way.
Starting and ending your threads properly is very important in machine embroidery. It helps keep your design clean, prevents tangles, and makes your work look professional.
Let’s look at how to start and end stitches the right way with a machine.
Most embroidery machines begin stitching with securing or locking stitches. These are a few small stitches done automatically at the start of the design to keep the thread in place.
Here’s how the process works:
Load your design into the machine.
Hoop the fabric tightly with a stabilizer to avoid shifting.
The machine will pull the bobbin and top thread into position.
As stitching starts, the machine makes locking stitches by moving back and forth quickly.
These stitches act like a knot to stop the thread from coming loose.
No need to tie a knot or hold the thread manually, the machine does it for you.
Do you love embroidery but can’t afford costly embroidery machines? True Digitizing is here to help. We provide custom embroidery digitizing services at affordable prices in the USA. So, forget about buying expensive machines, get all your favorite embroidery designs today at a low cost with us.
No, knots are not used in machine embroidery. Instead of tying knots like in hand embroidery, machines use automatic start stitches or trim functions to hold threads. This keeps the back of the fabric neat and prevents thread bunching.
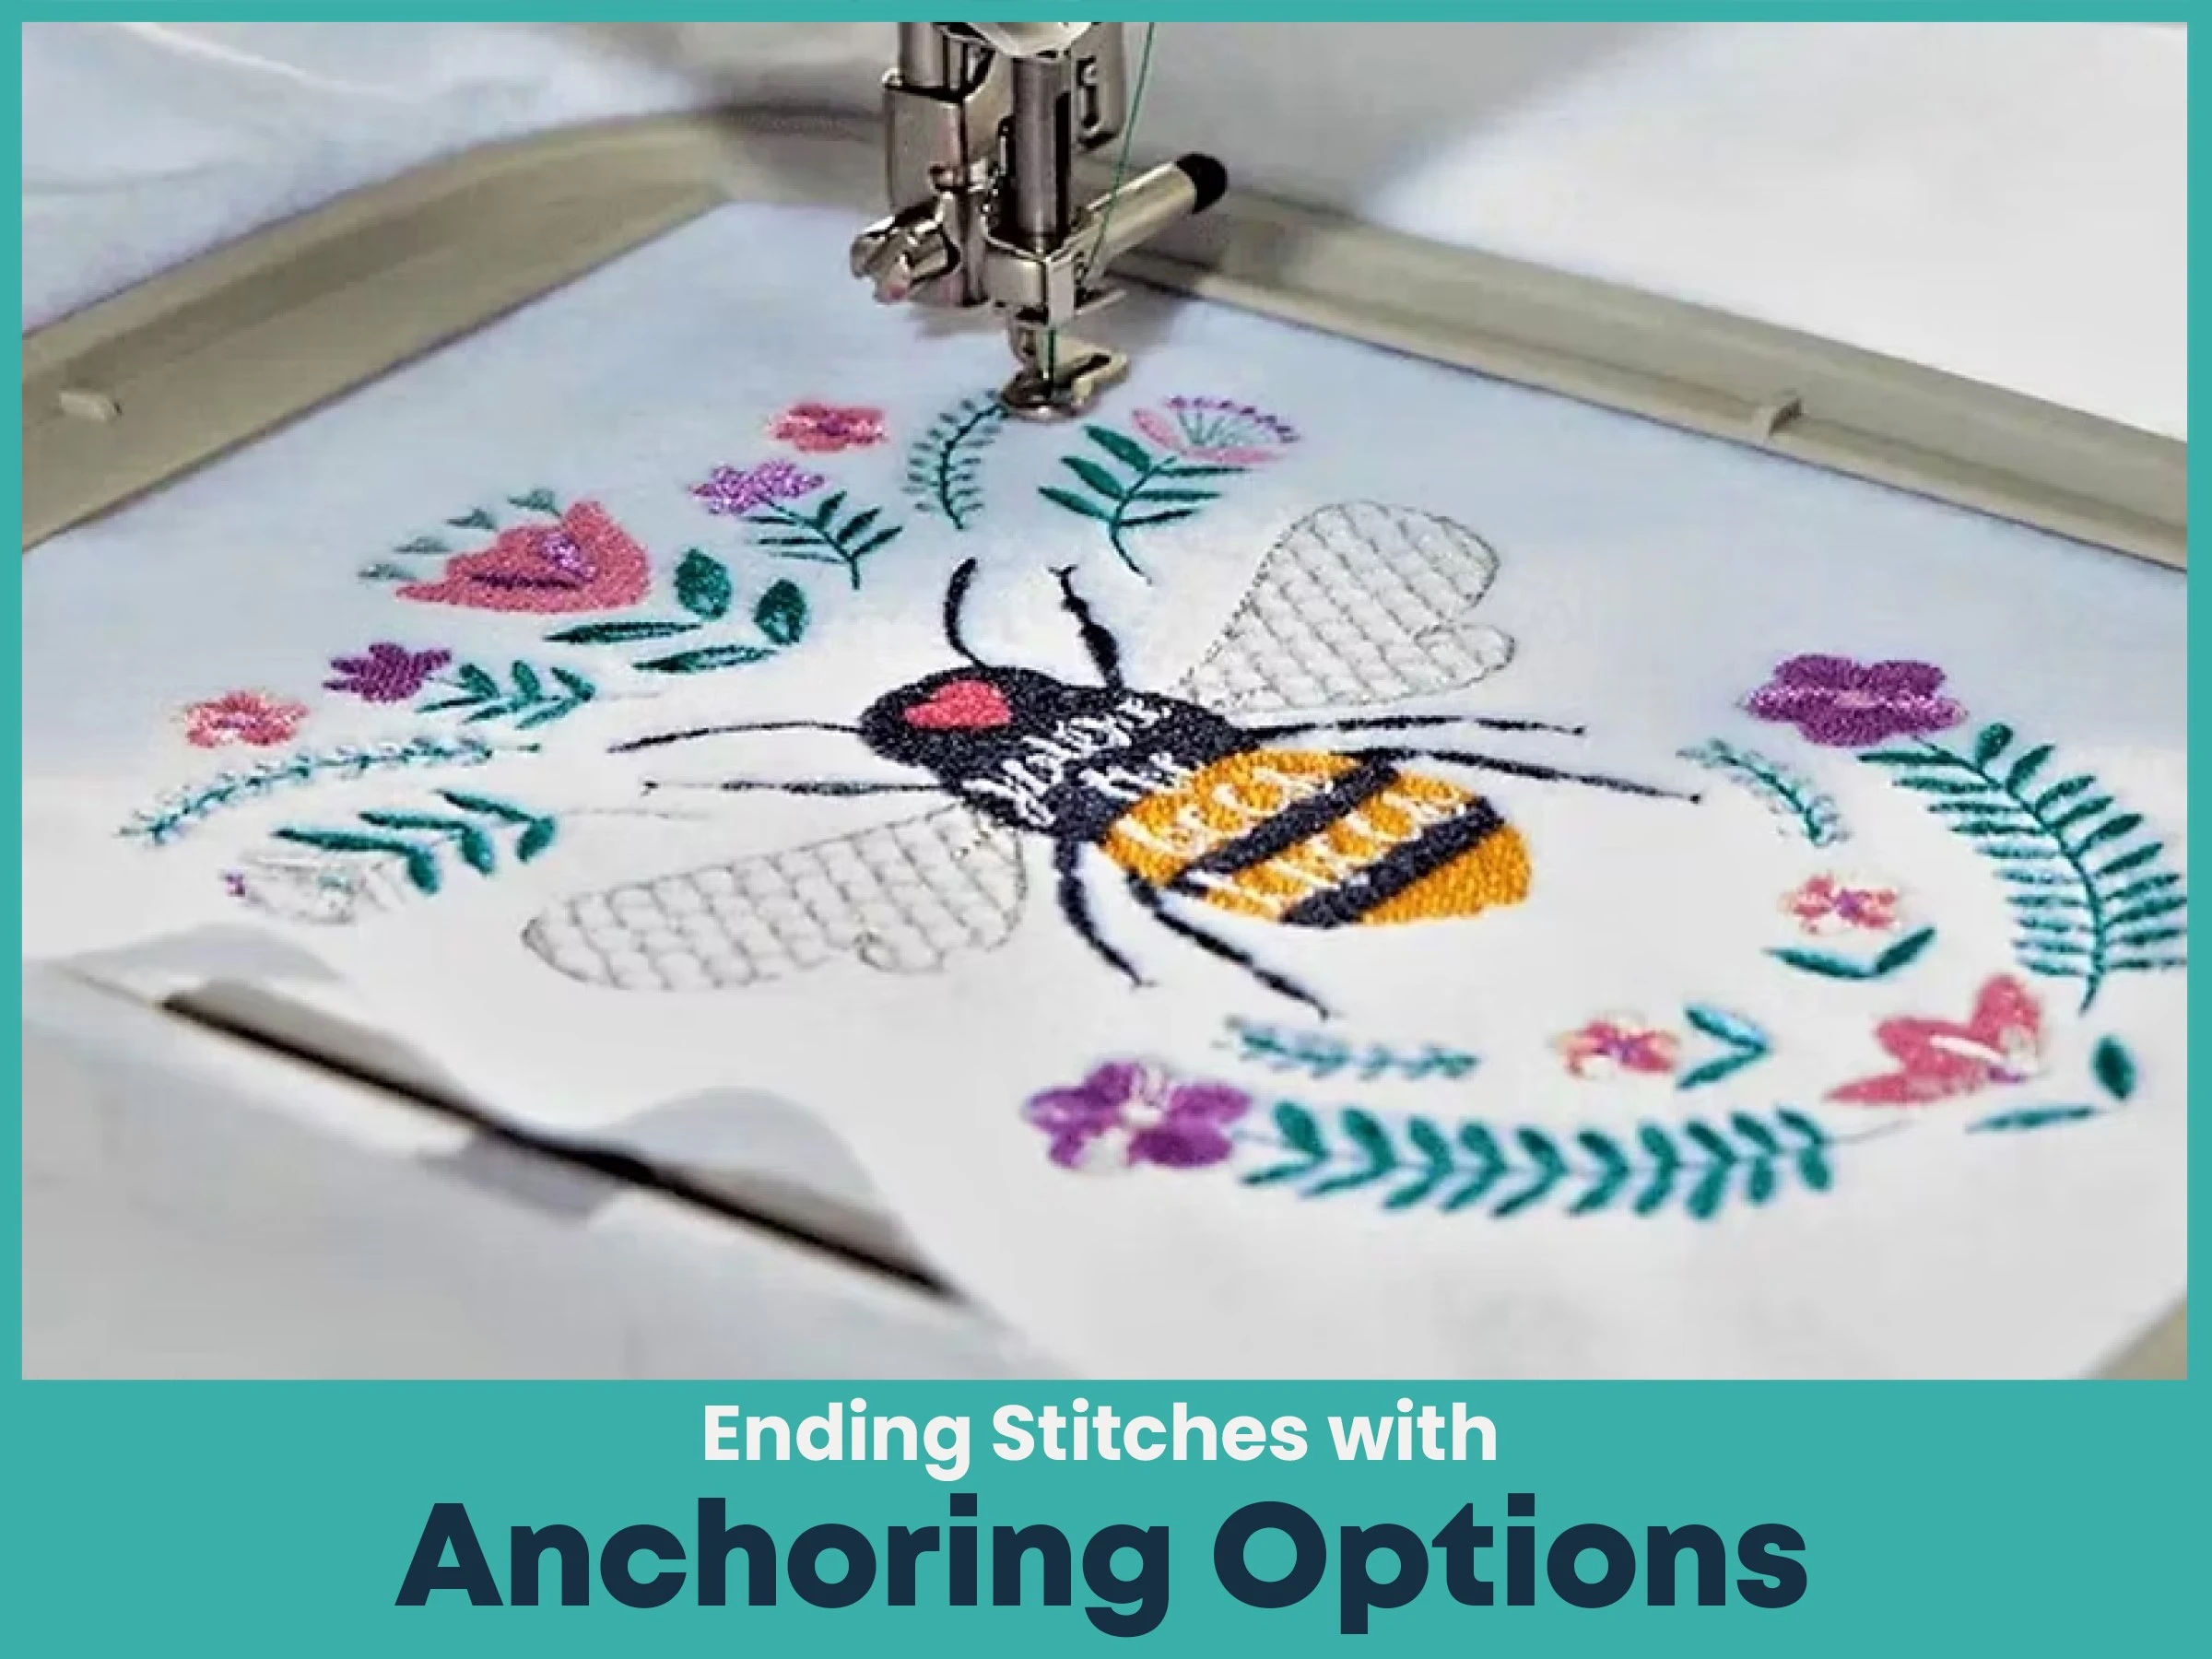
Many embroidery machines allow you to set tie-off or lock stitch options. These are short stitches made at the start and end to secure the thread.
Here’s what to do:
Check your machine’s settings for “tie-off stitch” or “lock stitch.”
Make sure it is turned on before running the design.
When the design starts, the machine does a few stitches in one spot to lock the thread.
This is very helpful for designs with fine details or lettering.
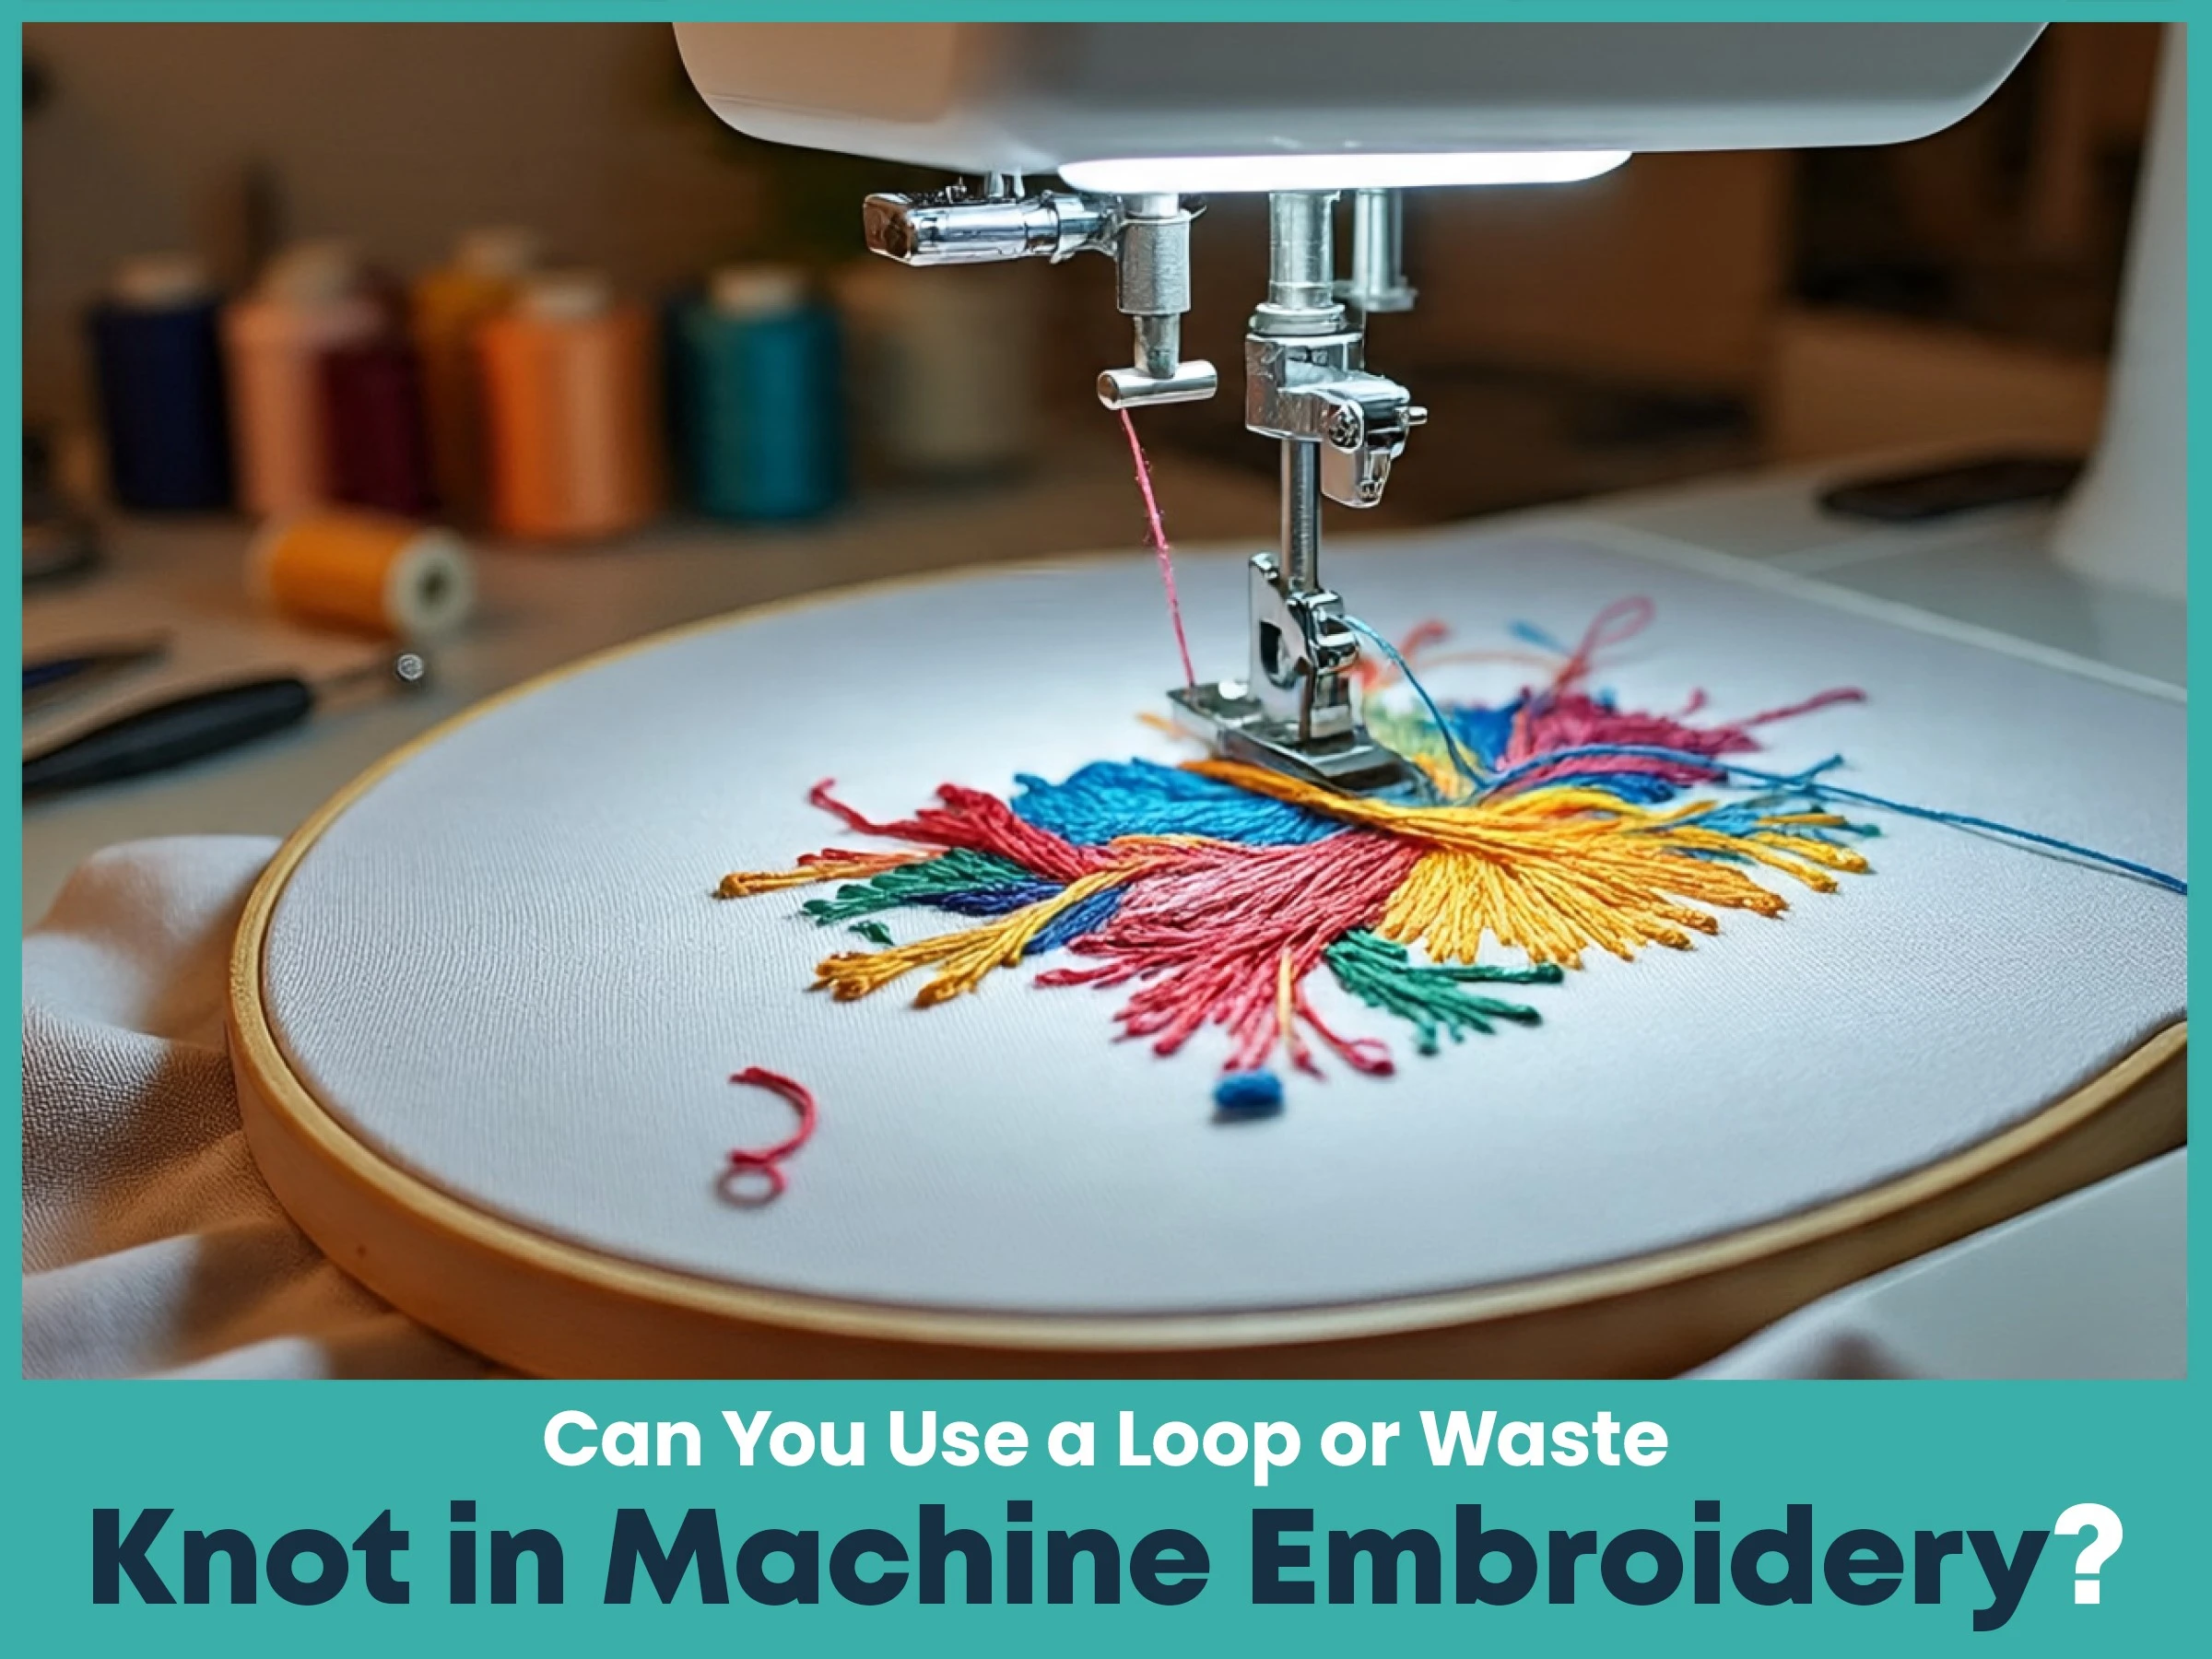
No, these are hand embroidery techniques. Machine embroidery does not use loop starts, waste knots, or manual anchoring. Instead, it depends on precision programming and machine features like:
Built-in thread trimming
Start/stop points
Automatic tension control
So just trust your machine and let it handle the thread management.
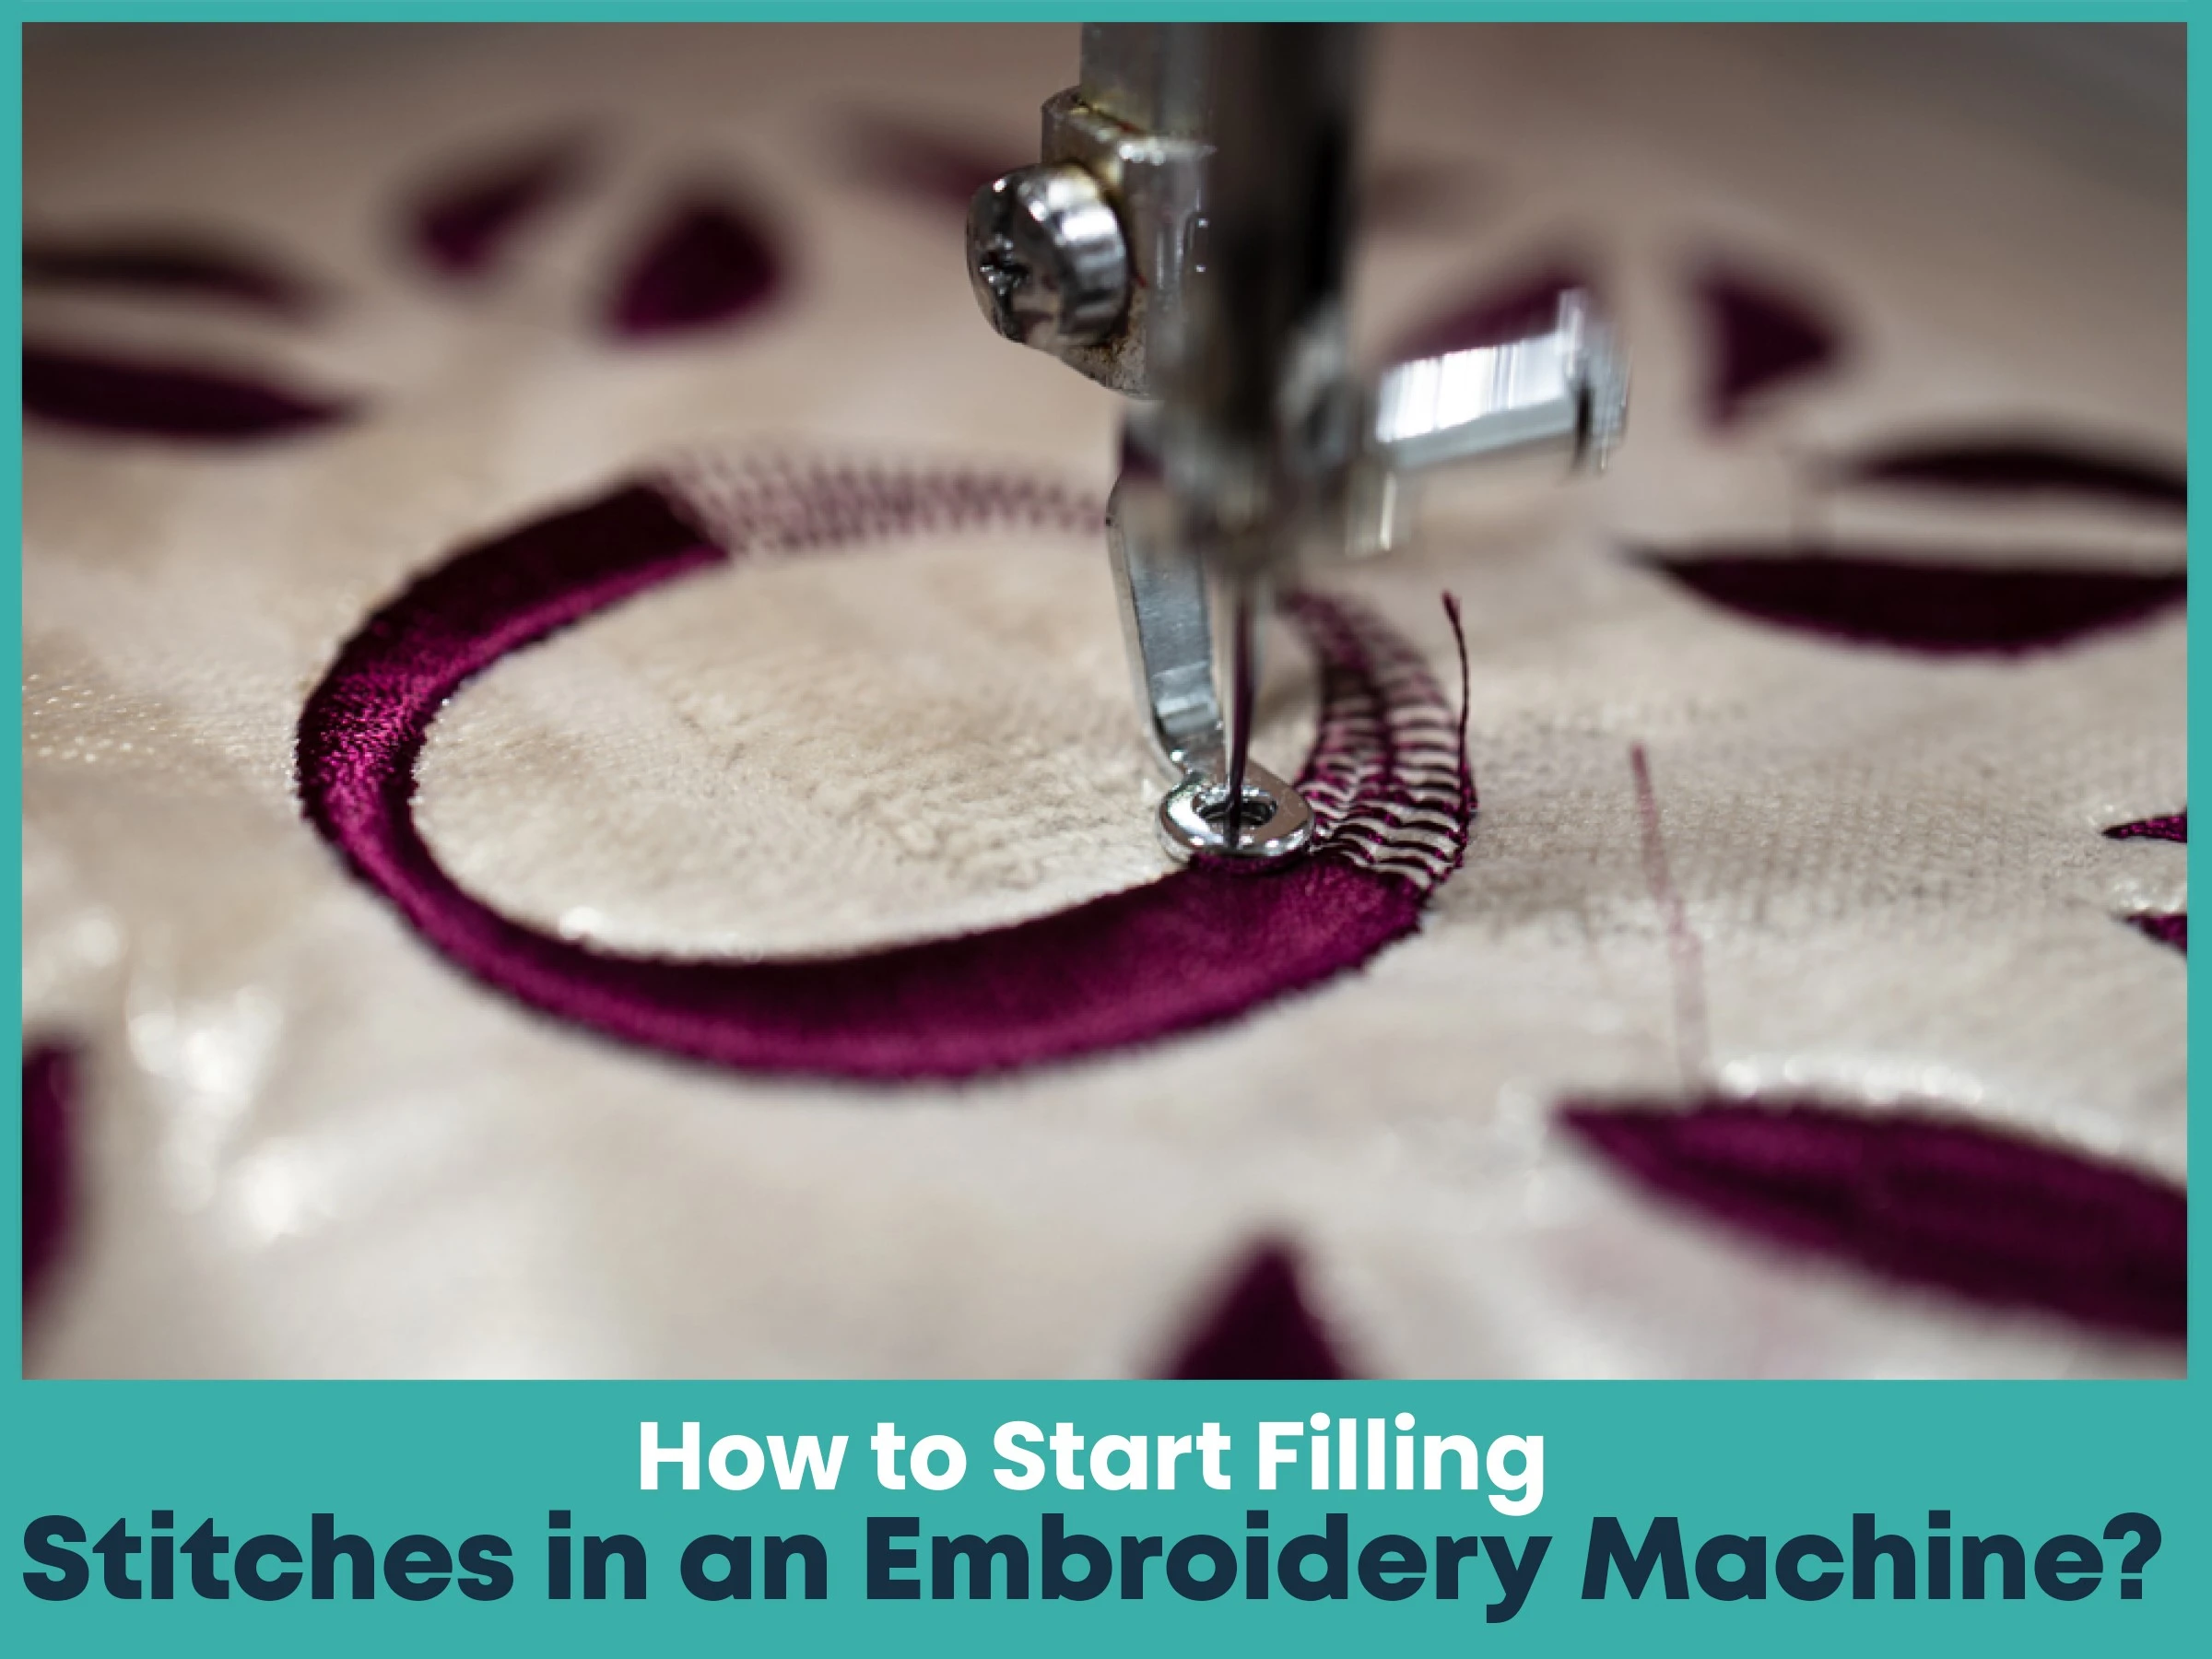
When your machine begins filling areas like satin stitches or tatami fills, it still uses the same locking method. Here’s what happens:
The machine locks the thread before filling.
Then it moves smoothly to fill the area with no loose ends.
The thread tension stays even for a clean look.
Just make sure your fabric is hooped tightly and your stabilizer is right for the material.
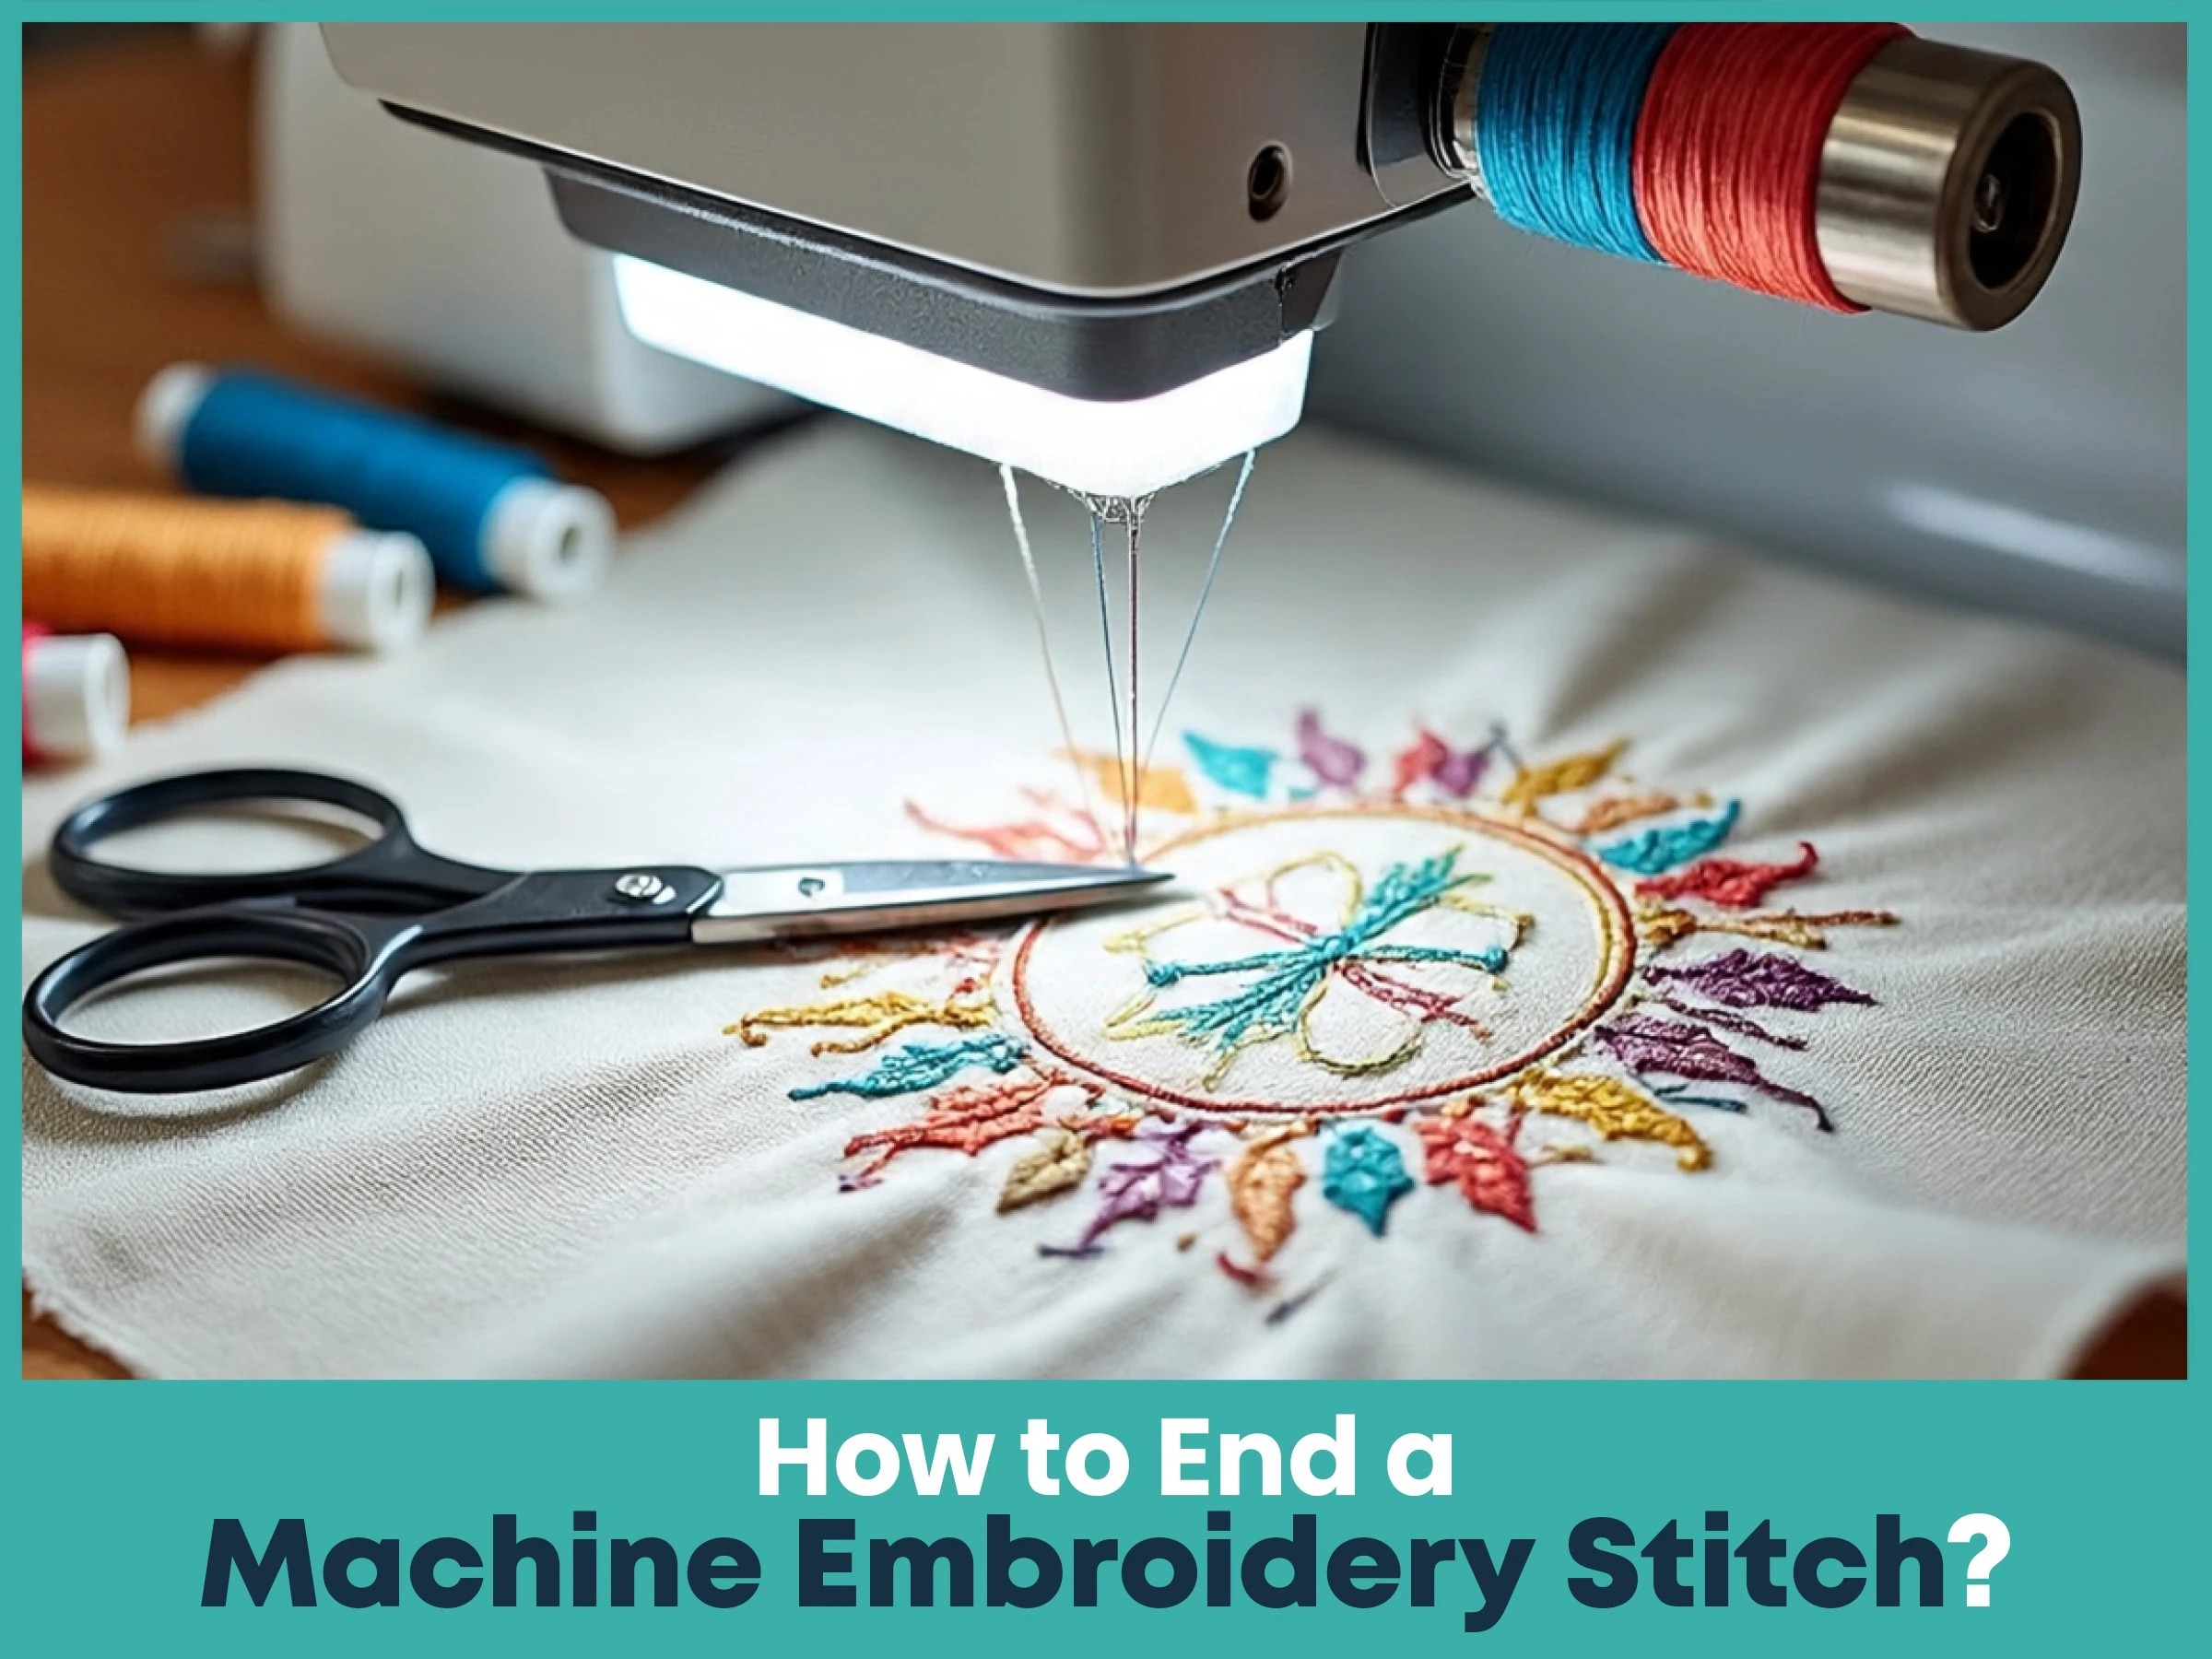
Just like starting, the machine also ends threads with automatic lock stitches or trim functions.
Here’s how it works:
When the design ends or moves to another area, the machine stops and makes small locking stitches.
Some machines will also trim the thread automatically.
This gives you a clean, smooth finish without threads hanging out.
You don’t need to tie knots or hide tails manually.
If your machine does not trim automatically, follow these steps:
Stop the machine after the design section ends.
Pull the thread slightly then trim close to the fabric.
If needed, manually press lock stitch to secure the thread before cutting.
This is good for older or basic embroidery machines.
When filling shapes like logos, letters, or patches, your machine still uses pre-programmed start and stop points.
Make sure your design file is digitized correctly.
The machine will take care of locking the beginning and end of each fill.
You just need to watch the tension and keep the hoop stable.
No need to do anything manually, machine embroidery takes care of it all.

Always use proper stabilizers based on fabric type.
Clean your bobbin case and thread paths regularly.
Use high-quality threads to avoid breakage.
Double-check that tie-off stitches are enabled in your machine.
For multi-colored designs, make sure each color change includes a start/stop sequence.
Machine embroidery is a fun and creative way to make stunning fabric designs. The key to perfect results is to start and end your stitches correctly using your machine’s built-in features like lock stitches and auto-trim.
You don’t need to use knots, loops, or complicated techniques, your machine does it for you. Just focus on proper setup, tension, and design quality.
Nick William has been immersed in the world of embroidery digitizing for over 20 years, earning 25 industry awards throughout his career. As a 3rd generation embroidery expert, Nick’s journey started in his family’s workshop, where he learned the art of digitizing before the rise of modern software. He has worked with leading commercial embroidery businesses and has shared his expertise with over 75,000 home and professional embroiderers. As an author at True Digitizing, Nick is passionate about teaching others how to create beautiful, precise designs through easy-to-follow tutorials and expert advice.
Categories

How to Remove Embroidery From Any Fabric — Step-by-Step Guide 2026
28-06-2026

Embroidery Trends 2026: What's Hot in Machine & Hand Embroidery | TrueDigitizing
26-06-2026

Top Best Embroidery Digitizing Software in 2026
06-05-2026
")
Best Multi-Needle Embroidery Machines for Startups 2026
28-02-2026

DST File: The Complete Guide (What It Is, How to Create, Convert & Use in 2026)
28-02-2026

Janome 550E vs Baby Lock Flare | Best Mid-Range Embroidery Machine?
26-02-2026

Choose the Right Fabric for Embroidery
20-02-2026

Advanced Techniques in Embroidery Digitizing
19-02-2026

Most Common Types of Threads to Use in Machine Embroidery
12-02-2026

AI in Embroidery | Revolutionizing Art and Efficiency
12-02-2026
Asked Questions


