
At True Digitizing, we transform your creative spark into flawless, high-quality embroidery digitized designs that bring your vision to life.
Our Blogs
We Accept
Copyright 2025 Truedigitizing
At True Digitizing, we transform your creative spark into flawless, high-quality embroidery digitized designs that bring your vision to life.
We Accept
Copyright 2025 Truedigitizing

If you are a beginner and looking to learn the basics of machine embroidery stitches, you have come to the right place. Embroidery may look complicated at first, but with the right tools, settings, and stitches, anyone can get started. In this blog, we’ll discuss the basic supplies you need, the most common machine embroidery stitches and how to practice them effectively.
But before we dive in, let’s quickly introduce True Digitizing. We specialize in professional embroidery digitizing services, including 3D puff digitizing, photo digitizing, custom digitizing, and applique digitizing. Whether you’re creating designs for personal projects or running an embroidery business, our expert team ensures your artwork is converted into flawless, machine-ready embroidery files.
Now, let’s move forward and explore the essentials every beginner needs.
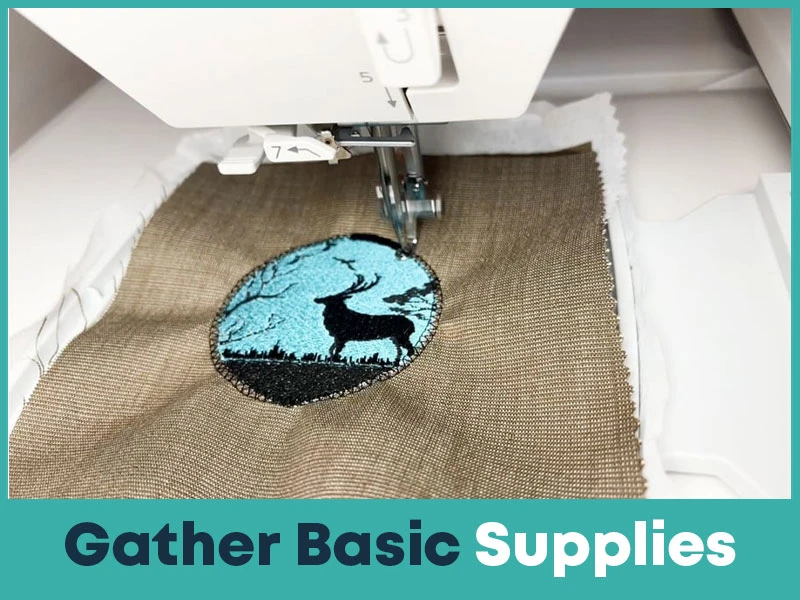
Machine embroidery requires a few specific tools to ensure your designs come out neat and professional. Having the correct setup from the start makes learning easier and helps you avoid common mistakes. Here are the essentials:
Embroidery Machine: Choose a beginner-friendly machine with built-in stitch patterns. Many machines come with preset decorative stitches, lettering options, and digital screens for easy navigation.
Stabilizer: Acts as a base for your fabric, preventing shifting, puckering, or tearing. Beginners often start with cut-away or tear-away stabilizers.
Embroidery Thread: Rayon and polyester threads are the most common. Rayon gives a shiny finish, while polyester is stronger and colorfast, making it ideal for items that require frequent washing.
Fabric: Choose sturdy fabrics like cotton, denim, or polyester blends. Slippery or stretchy fabrics (like silk or jersey) can be challenging at first.
Embroidery Hoop (Machine-Compatible): Keeps fabric firmly in place during stitching, ensuring accuracy and preventing bunching.
Needles: Use machine embroidery needles (sizes 75/11 or 80/12). The right size ensures smooth stitching without breaking the thread.
Scissors: Small, sharp scissors or snips help trim jump stitches and loose threads precisely.
Always test your stitch on a scrap piece of fabric before embroidering on your final project. This helps you check the thread tension, stitch density, and overall design look.

Advanced embroidery machines come with a wide variety of built-in stitches. Learning the basics helps you understand how different stitches behave and where they can be used in your projects. Let’s explore the most common stitches every beginner should know:
The most basic stitch, often used for outlines, borders, and text underlays. It creates a dashed line and is lightweight, making it ideal for delicate designs.
How to use: Select “running stitch” on your machine. Adjust the stitch length depending on your design, shorter for curves and longer for straight lines.
Stronger and bolder than the running stitch, the triple stitch goes back and forth to reinforce each line. It’s often used for outlining letters, shapes, or adding durability.
How to use: Select the “triple stitch” setting on your machine. It will automatically sew each stitch three times, creating a dense, polished finish.
A smooth, shiny stitch perfect for filling small areas, lettering, or decorative elements. It creates a raised, professional look.
How to use: Choose the satin stitchoption and adjust the stitch width to match the size of your design. For best results, use a stabilizer to prevent puckering.
One of the most versatile stitches. Often used in applique, borders, or as a decorative stitch. Zigzag stitches can also be adjusted in width and density for different effects.
How to use: Select zigzag mode, set your preferred stitch width, and let the machine stitch smoothly across the fabric.
Some embroidery machines include chain stitch options. This decorative stitch creates loops that look like chains and is often used in borders or floral designs.
How to use: Select chain stitch if your machine offers it. Adjust density to create lighter or heavier chains.
Used to cover large areas with consistent stitching. Ideal for logos, patches, or designs that require solid shapes.
How to use: Load your digitized design into the machine, and it will automatically generate rows of fill stitches. You can adjust density and angle for different effects.
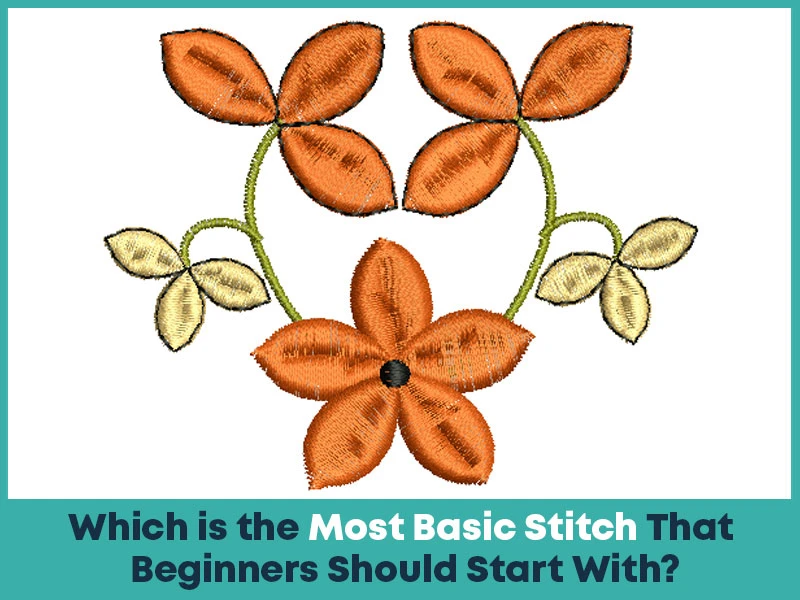
For absolute beginners, the running stitch is the best way to start. It helps you get used to:
Setting up your hoop correctly.
Adjusting thread tension.
Controlling stitch length on your machine.
Once you’re comfortable, you can move to satin stitches for decorative effects and fill stitches for larger designs. These stitches will help you build confidence and give you more creative freedom.
Machine embroidery is more than just pressing a button, it’s about understanding how different stitches work together to bring your designs to life. With practice, you’ll master these basic stitches and gradually move toward advanced techniques.
And when it comes to digitizing your designs, True Digitizing is here to make your journey even easier. We transform your artwork into flawless embroidery files that run smoothly on any machine. From custom embroidery to hat embroidery, our professional team ensures your creative vision turns into high-quality embroidered art.
Start small, practice regularly, and soon you’ll be creating embroidery designs that look as professional as store-bought designs.
Nick William has been immersed in the world of embroidery digitizing for over 20 years, earning 25 industry awards throughout his career. As a 3rd generation embroidery expert, Nick’s journey started in his family’s workshop, where he learned the art of digitizing before the rise of modern software. He has worked with leading commercial embroidery businesses and has shared his expertise with over 75,000 home and professional embroiderers. As an author at True Digitizing, Nick is passionate about teaching others how to create beautiful, precise designs through easy-to-follow tutorials and expert advice.
Categories

Top Best Embroidery Digitizing Software in 2026
06-05-2026
")
Best Multi-Needle Embroidery Machines for Startups 2026
28-02-2026

DST File: The Complete Guide (What It Is, How to Create, Convert & Use in 2026)
28-02-2026

Janome 550E vs Baby Lock Flare | Best Mid-Range Embroidery Machine?
26-02-2026

Choose the Right Fabric for Embroidery
20-02-2026

Advanced Techniques in Embroidery Digitizing
19-02-2026

Most Common Types of Threads to Use in Machine Embroidery
12-02-2026

AI in Embroidery | Revolutionizing Art and Efficiency
12-02-2026

Best Thread Tension 101 | A Guide for Embroidery Machines
09-02-2026

Mastering Small Lettering in Machine Embroidery
04-02-2026
Asked Questions


