
At True Digitizing, we transform your creative spark into flawless, high-quality embroidery digitized designs that bring your vision to life.
Our Blogs
We Accept
Copyright 2025 Truedigitizing
At True Digitizing, we transform your creative spark into flawless, high-quality embroidery digitized designs that bring your vision to life.
We Accept
Copyright 2025 Truedigitizing

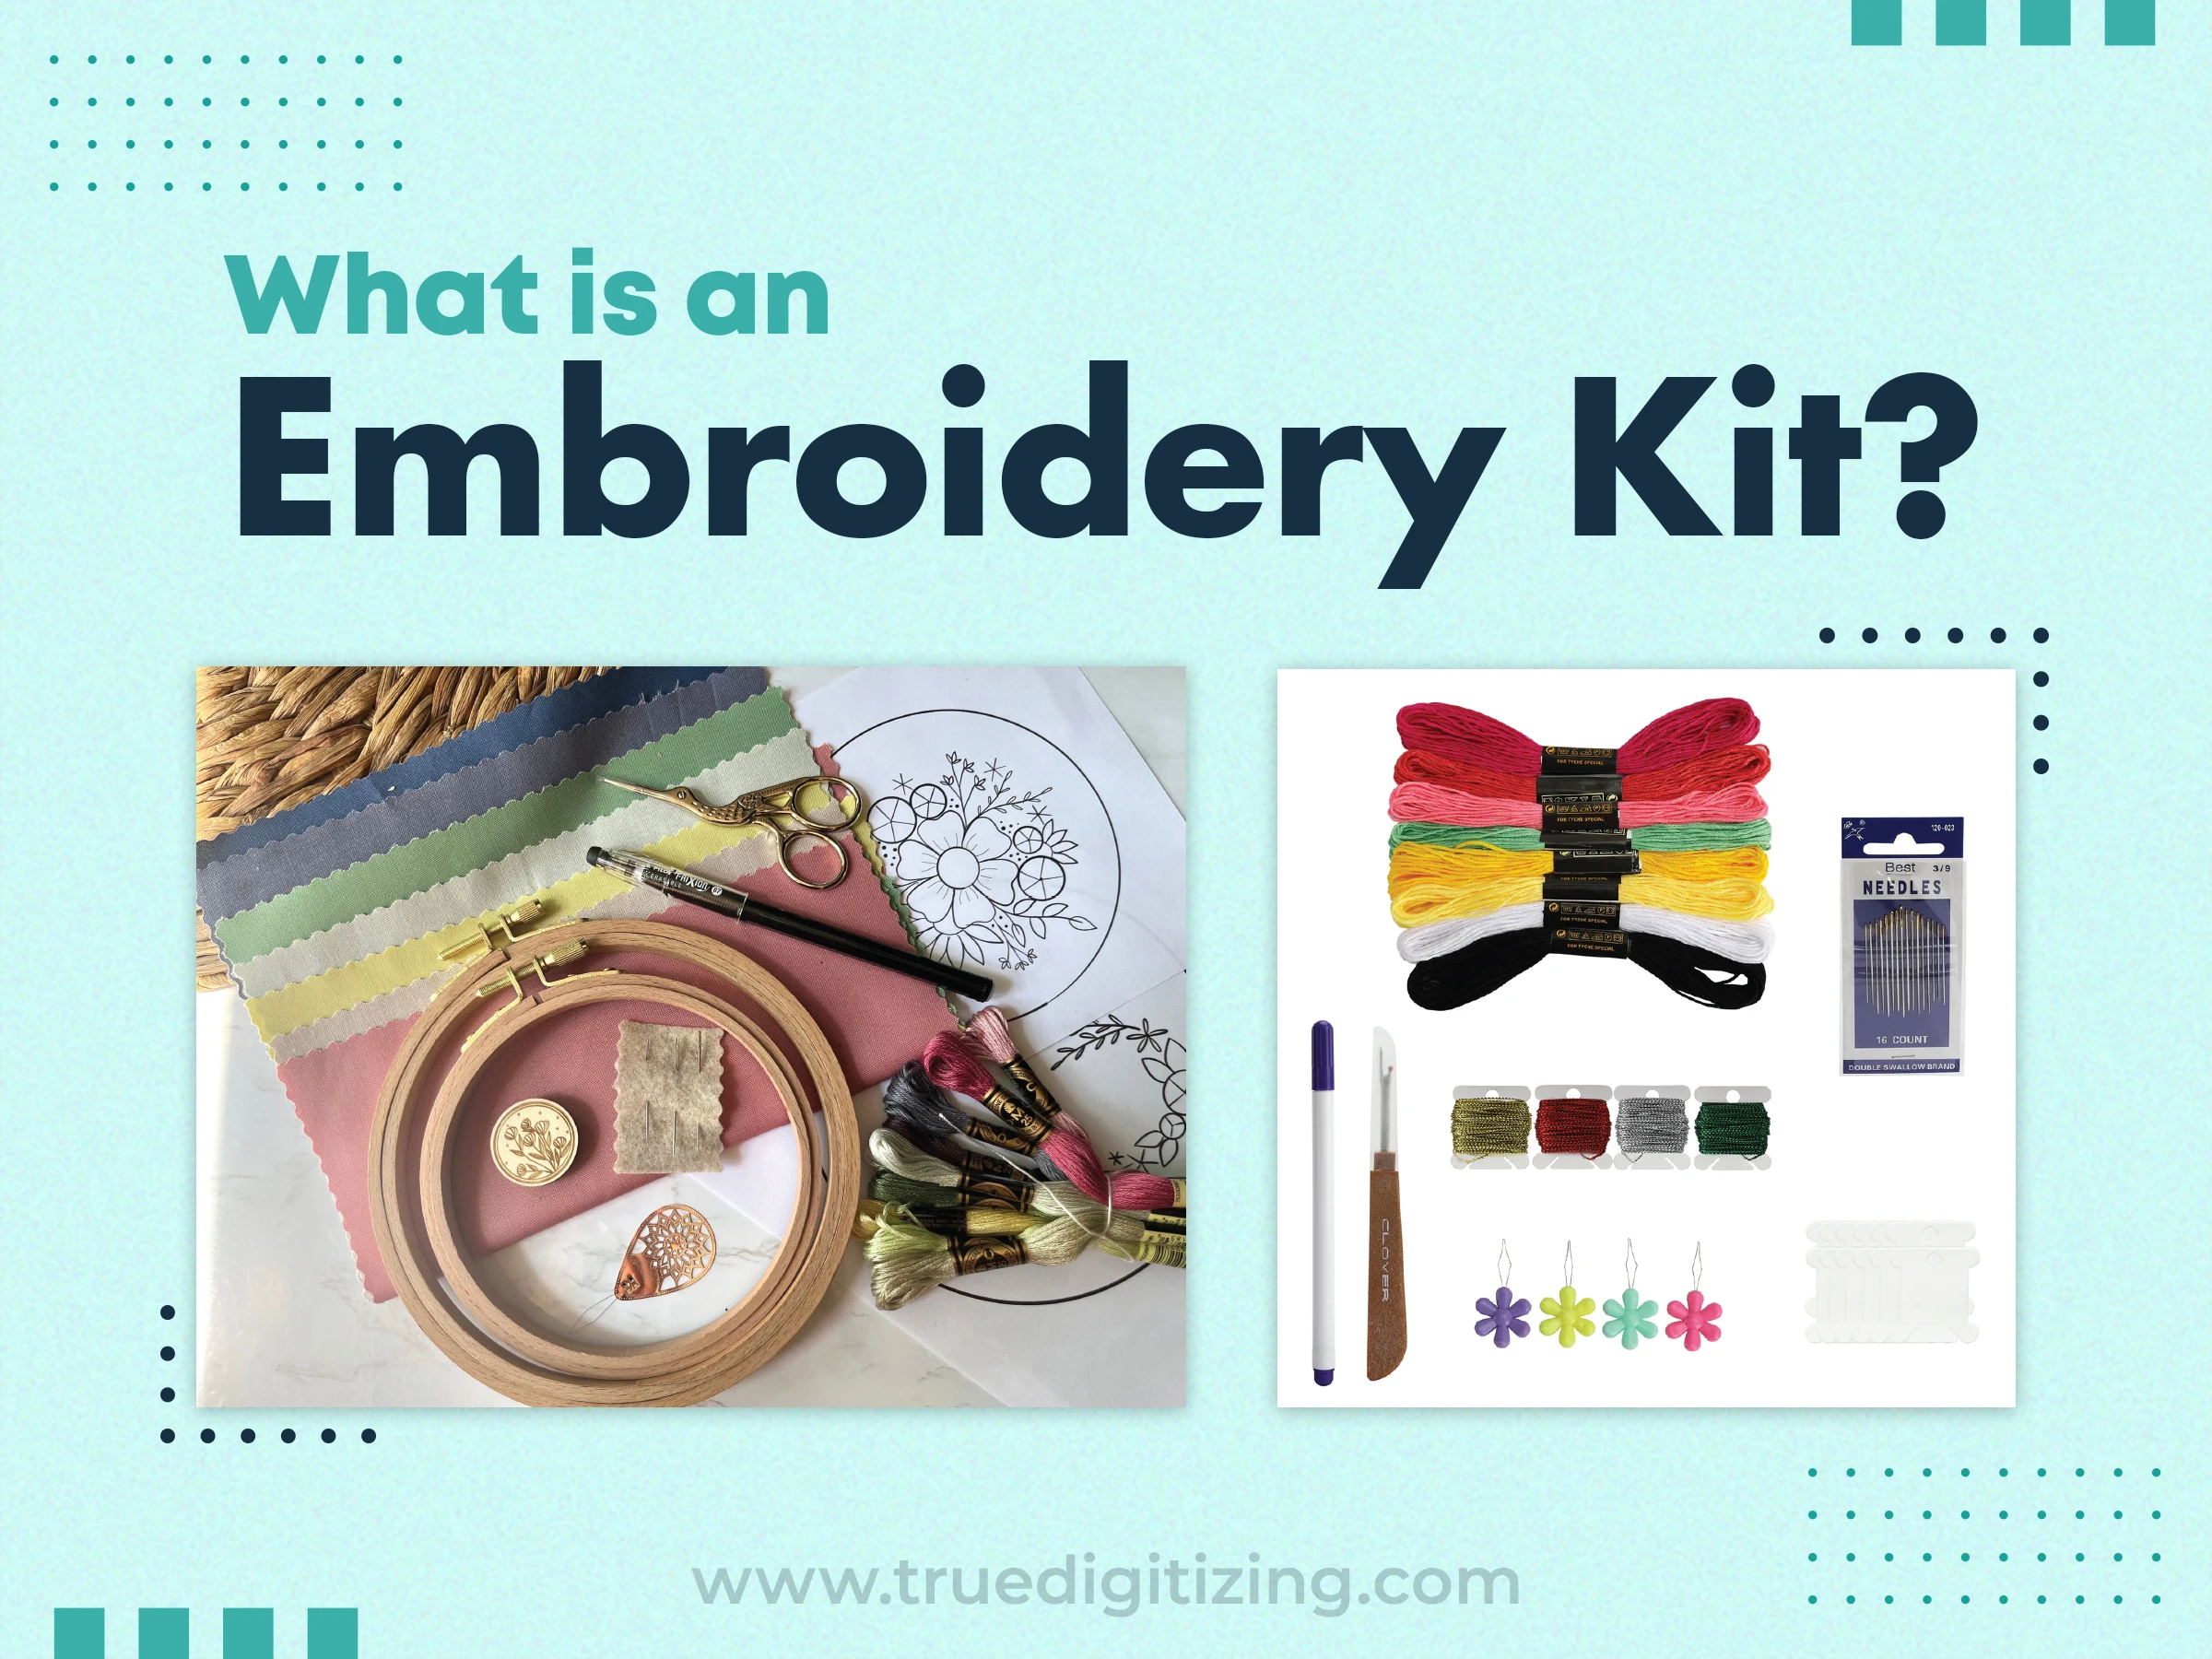
Your all-in-one solution for making something lovely is an embroidery kit. You don't have to go out and buy supplies because it comes with everything you need to stitch a design. Five essential supplies are often included in kits: a hoop, fabric, thread, needles, and instructions. Let's look at each supply in detail to see why it is so essential.
The core of your project is the hoop. It’s a round frame, usually wood or plastic, that keeps your fabric nice and tight while you stitch. This stops the fabric from bunching up and helps your stitches look neat.
A 4- or 6-inch hoop, which is ideal for friendly projects like a flowery coaster, is usually found in beginner kits. It is used by loosening the top screw, placing the fabric between the two rings, and then tightening it again. You may focus on stitching rather than adjusting because the solid hoop keeps the fabric securely in place without moving.
Your fabric is where the magic happens. It’s the canvas for your design. Most beginner kits use cotton or linen because they’re smooth and easy to stitch on. Fabric usually comes with a design printed on it, so you don't have to bother about creating designs. Aida cloth, which has a grid-like weave to make stitching accurate, may be included in cross-stitch kits. For your needle to pass through without grabbing, the fabric should be tough but soft.
Check out this blog post: 3 Best Fabrics for Embroidery You Must Know About
The floss, also known as embroidery thread, is what gives your work its color. Six-strand cotton floss usually comes in kits; for delicate stitches, you can break it into finer strands (such as two or three). The colors are ideal for your design.
For example, use calm blues or vivid reds for flowers. Brands like DMC are a favorite because their threads don’t fade or tangle easily.
Note: Keep your floss organized in a bag or on bobbins to avoid a knotted mess.
Needles are your trusty sidekicks. Embroidery needles have a bigger eye than regular sewing needles, so threading multiple strands of floss is easy. Usually, kits include a few needles(sizes 5 or 7 are common) to handle different embroidery stitches. They’re sharp enough to pierce fabric smoothly but won’t bend if you’re stitching carefully.
To cut threads neatly, a small pair of scissors is essential. Stitching scissors, which are small and sharp for accurate cuts, can be found in beginner kits. They are ideal for cutting threads close the fabric or trimming extra floss without ruining your work. Any small, sharp pair of scissors will work if your kit doesn't have them; just keep them close at hand for clean finishing.
The instructions are like having a patient teacher by your side. Clear, detailed instructions, sometimes supported by images or video links, are included with beginner kits. They are going to show how to thread your needle, set up your hoop, and perform basic stitches like the French knot and running stitch. Some even include a cheat sheet for stitch techniques. Good instructions can make or break your experience, so look for kits that explain things plainly.
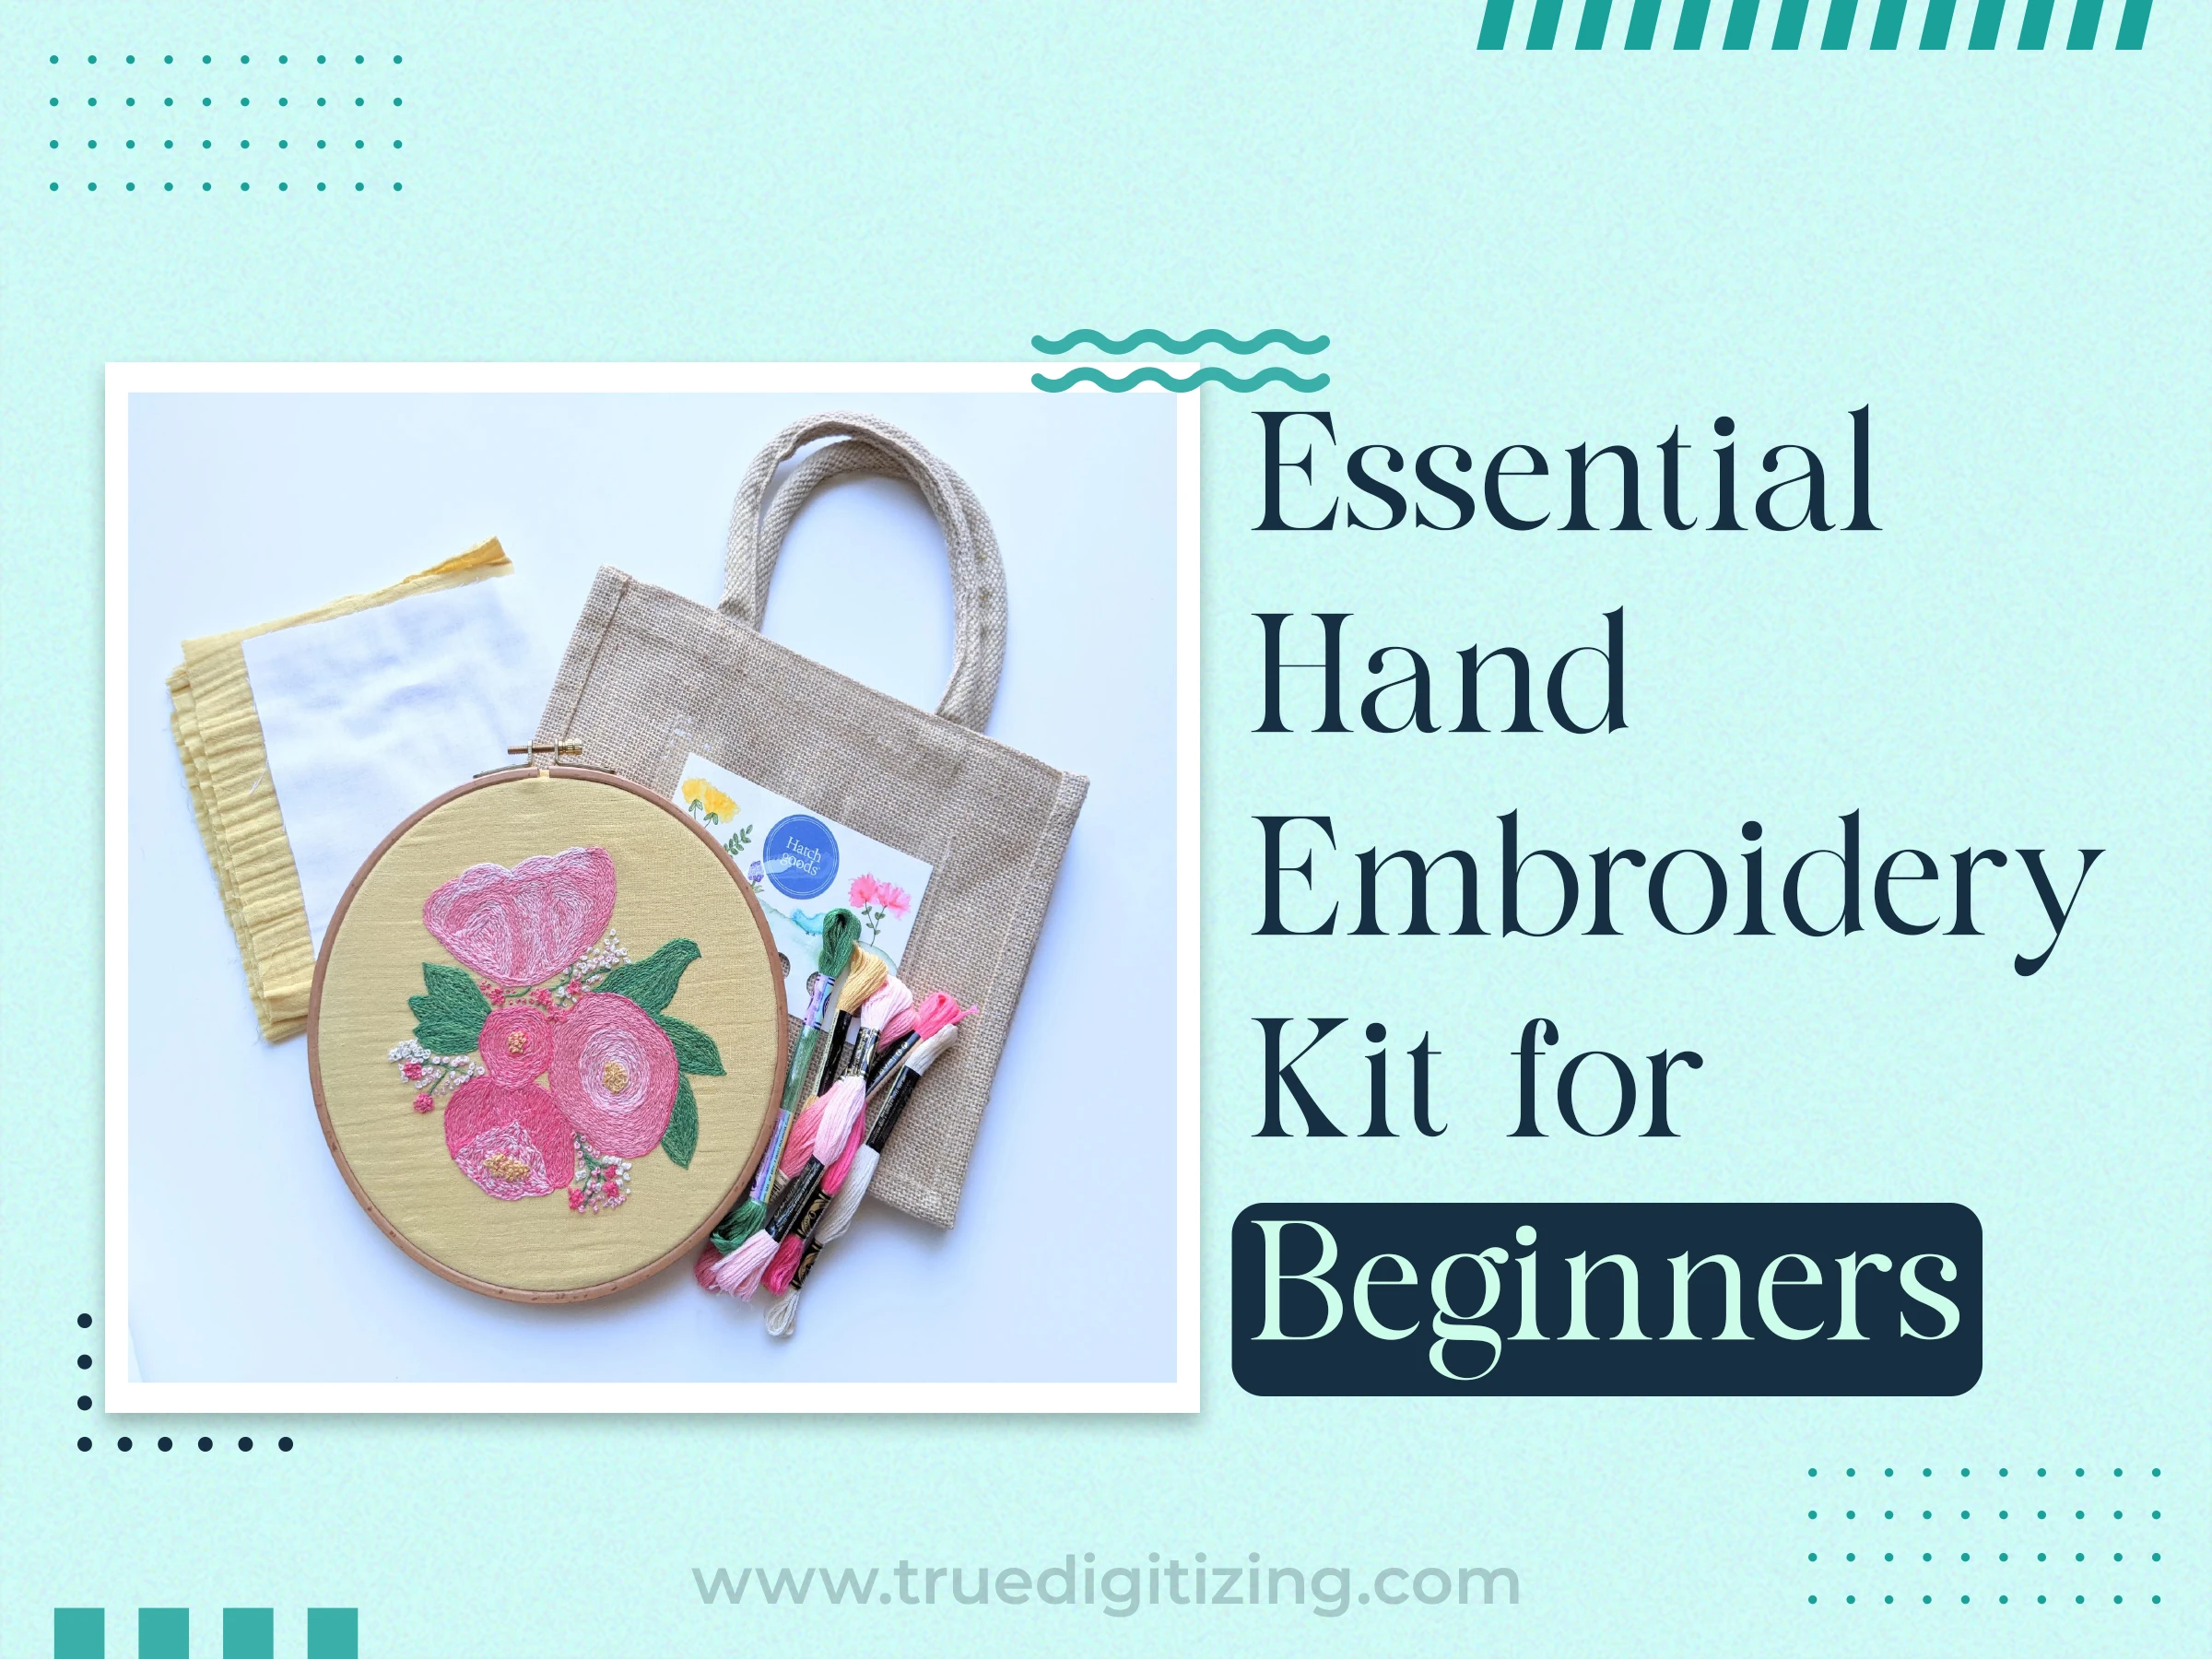
Hand embroidery kits are perfect for those who want to stitch very carefully. Because of their easy stitches and designs that make you a master in a few weeks. A typical hand embroidery kit includes:
Pre-printed fabric with a simple design, like a cactus or a heart.
4- or 6-inch hoop that’s easy to hold.
Cotton floss in 4 to 8 colors, sorted for your designs.
A couple of needles for different tasks.
Instructions with diagrams or video links.
Go for kits with pre-printed designs to keep things stress-free. Designs like embroidery flowers or animals are awesome because they use basic stitches that look impressive but aren’t hard to master.
The beginning machine kit is a great way to get started if you're passionate about machine embroidery. These kits, which are compatible with Brother PE550D and other home embroidery machines, include:
Digital design files (like .PES files) to load into your machine.
Stabilizer to keep fabric from shifting while the machine stitches.
Thread spools in colors that match the design.
Instructions for setting up your machine and hooping fabric.
Machine kits cost more because you need a machine (which can run $200+), but they’re great for precise designs, like logos or detailed animals. Start with simple patterns, like a single-color monogram, to get the hang of it. Always iron your fabric first to avoid puckering later.
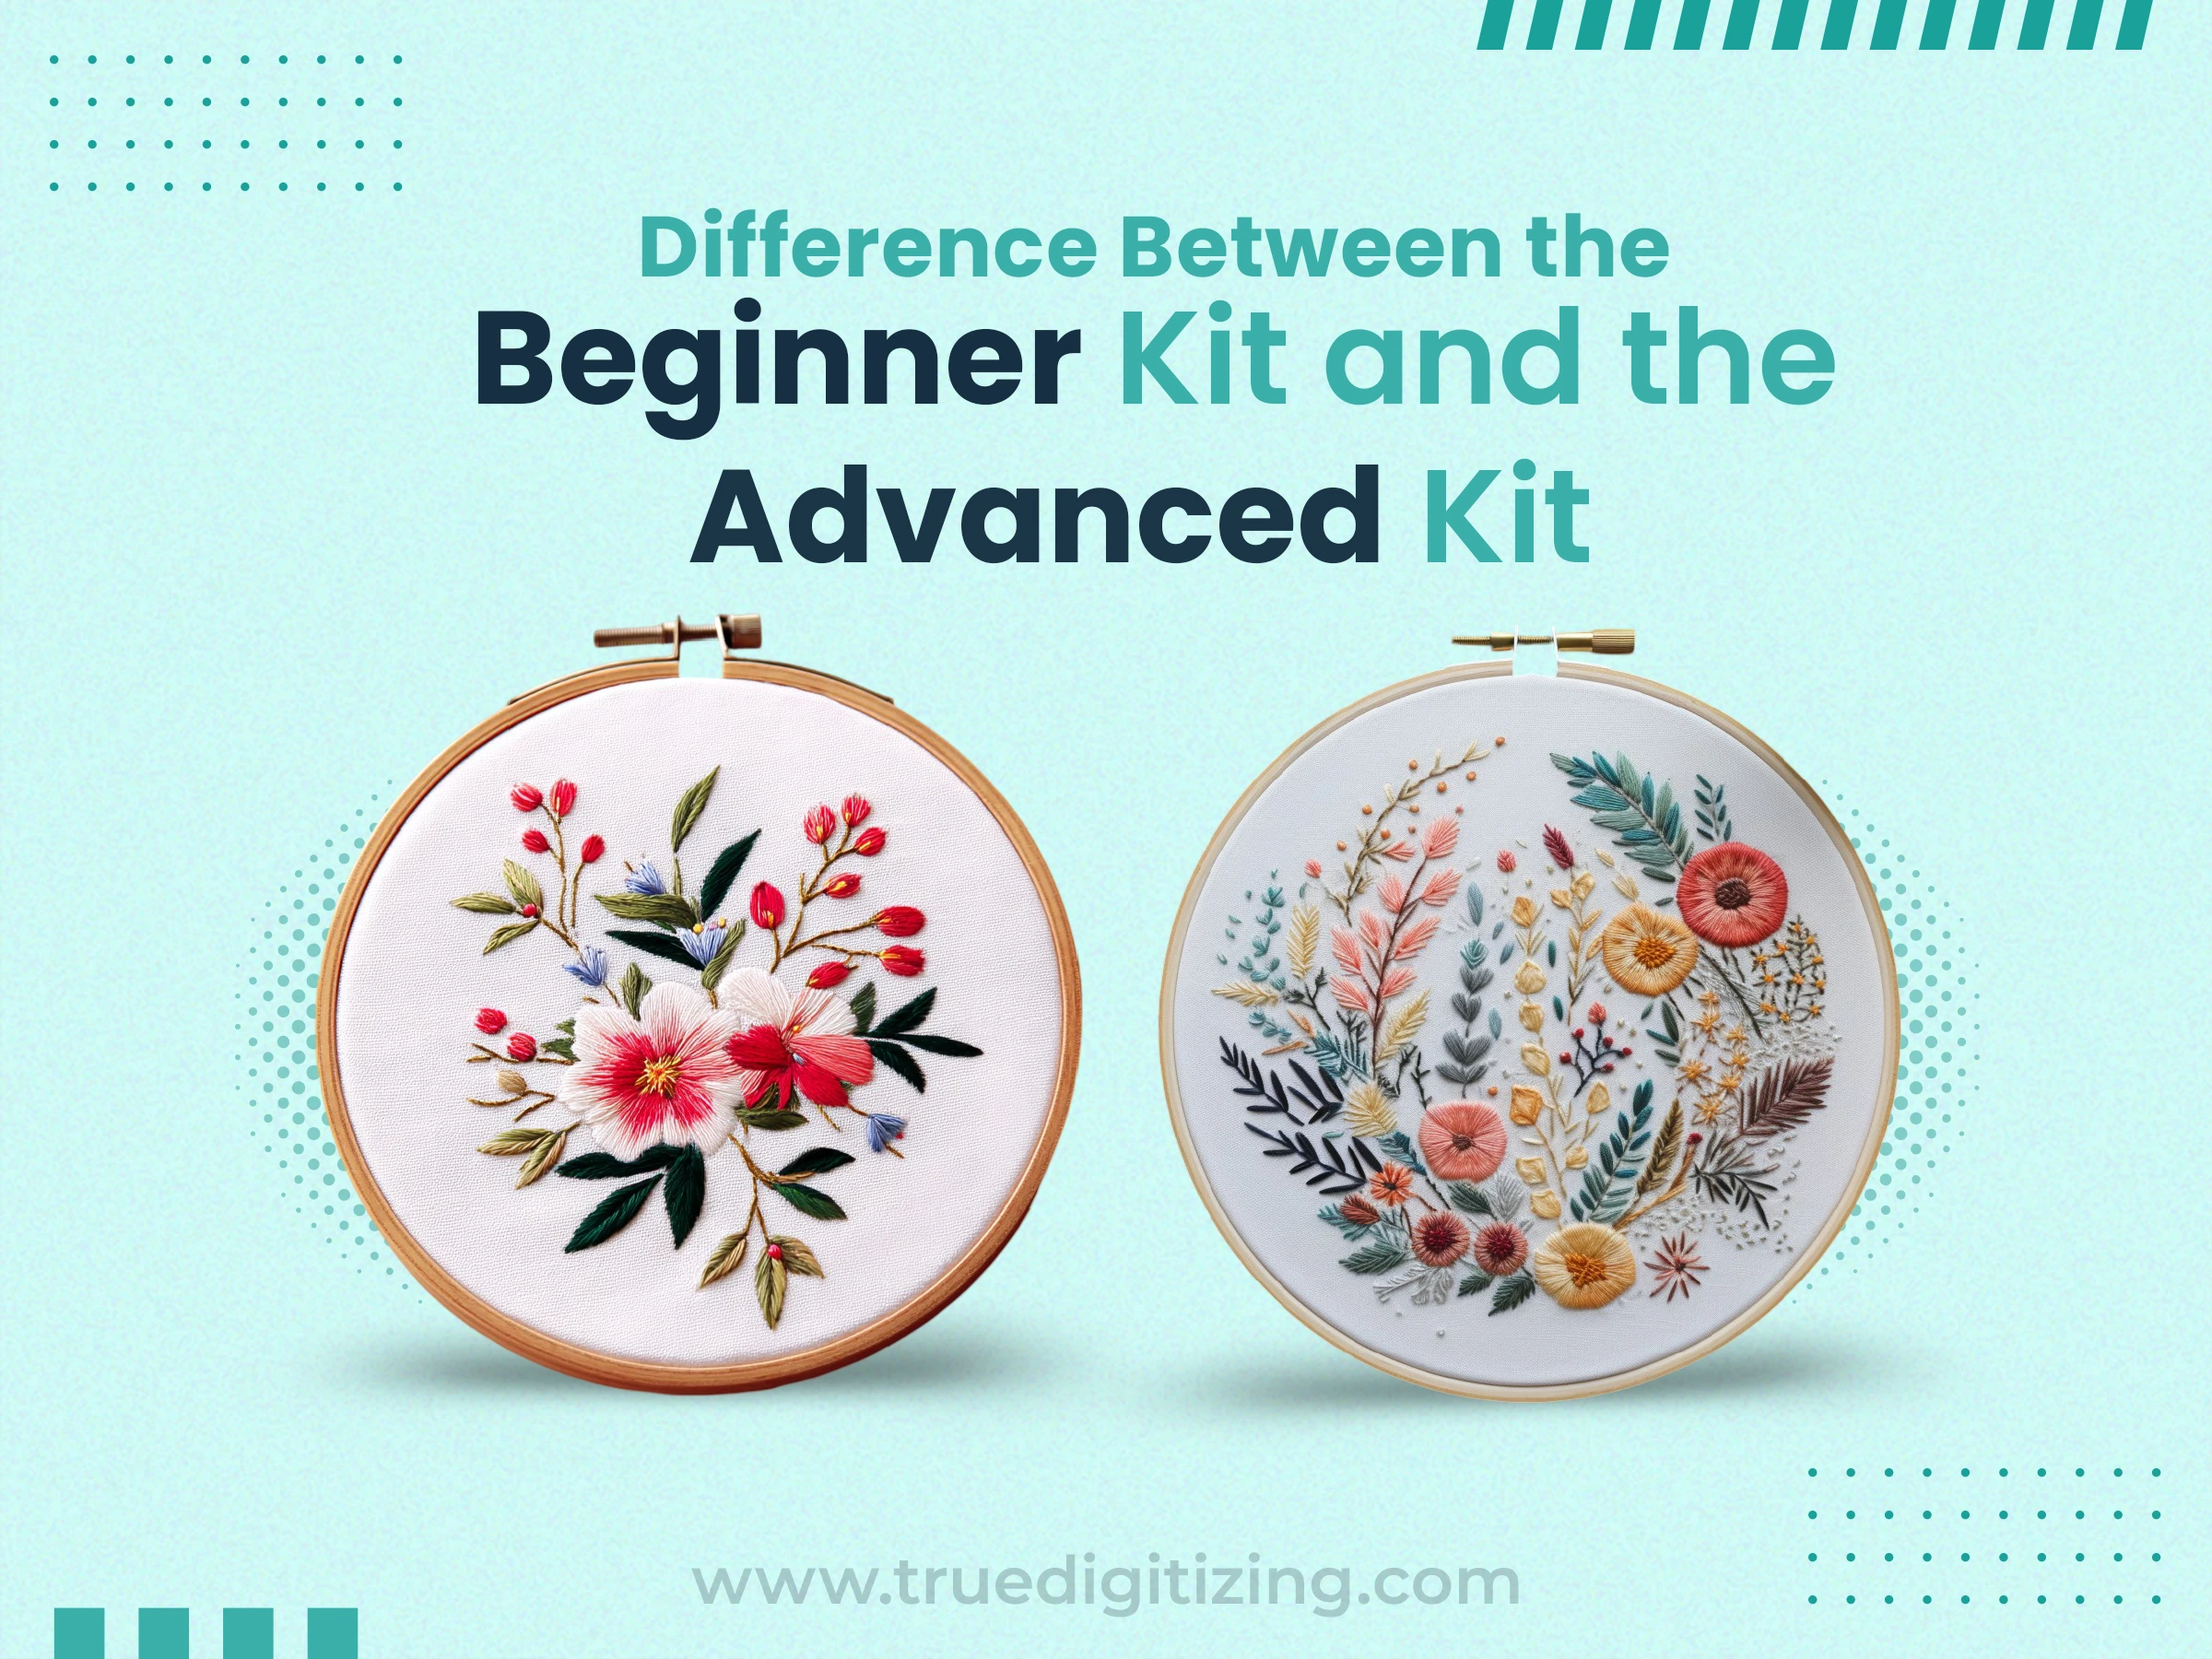
Beginner and advanced kits are like training wheels vs a pro bike. They have different needs. Here’s the breakdown:
Beginner kits hold your hand, while advanced ones assume you’ve got some skills. If you’re new, stick with a beginner kit to build confidence without feeling overwhelmed.
Why grab a kit instead of buying supplies one by one? Here’s why they’re awesome:
Everything’s Included: No need to guess which thread or hoop to buy. It’s all there.
Easy to Start: Learning becomes easy with pre-printed designs and clear guidelines.
Save Money: Especially for small projects, kits are sometimes more affordable than purchasing materials separately.
Calm and Fun: Stitching helps you to create beautiful art and is calming, much like yoga for the brain.
Take It Everywhere: Kits are easy to carry and be put in a bag and be used for making while traveling or somwhere.
Kits make embroidery seem achievable, whether you're stitching something for a friend or simply for fun at home.
.webp)
The secret to enjoying your embroidery journey is choosing the appropriate kit. What to look for is as follows:
Beginner Label: Pick a kit marked “beginner” with simple designs and easy stitches.
Fun Design: Choose a pattern you’re excited about, like animals, plants, or quirky quotes.
Complete Supplies: Make sure it has a hoop, pre-printed fabric, enough thread, needles, and instructions.
Good Quality: Go for trusted brands or kits with 4+ star reviews online.
Price Range: Expect to spend $10–$25. Super cheap kits might have threads that break or fade.
Here are 5 beginner kits that are popular on Amazon and Etsy, based on reviews and quality.
ETSPIL 4-Pack Embroidery Kit
Four floral patterns, a 6-inch hoop, threads, needles, and video tutorials. Great for learning lots of stitches.
Hoffelt & Hooper Co. Bloom Kit
Pre-printed cotton with a floral design, a hoop, floss, a needle, and a clear instruction booklet. Perfect for newbies.
Picoey 4-Pack Starter Kit
Four stamped patterns, two hoops, threads, needles, and instructions. A steal for the price.
Rikrack Firefly Kit
Teal pre-printed fabric, hoop, floss, needle, and instructions. A bit more, but worth it for the quality.
Craftwiz Beginner Set
Simple patterns, hoop, threads, needles, and instructions for 20+ stitches. Awesome for kids or adults.
Double-check prices and stock before buying, as they can change.
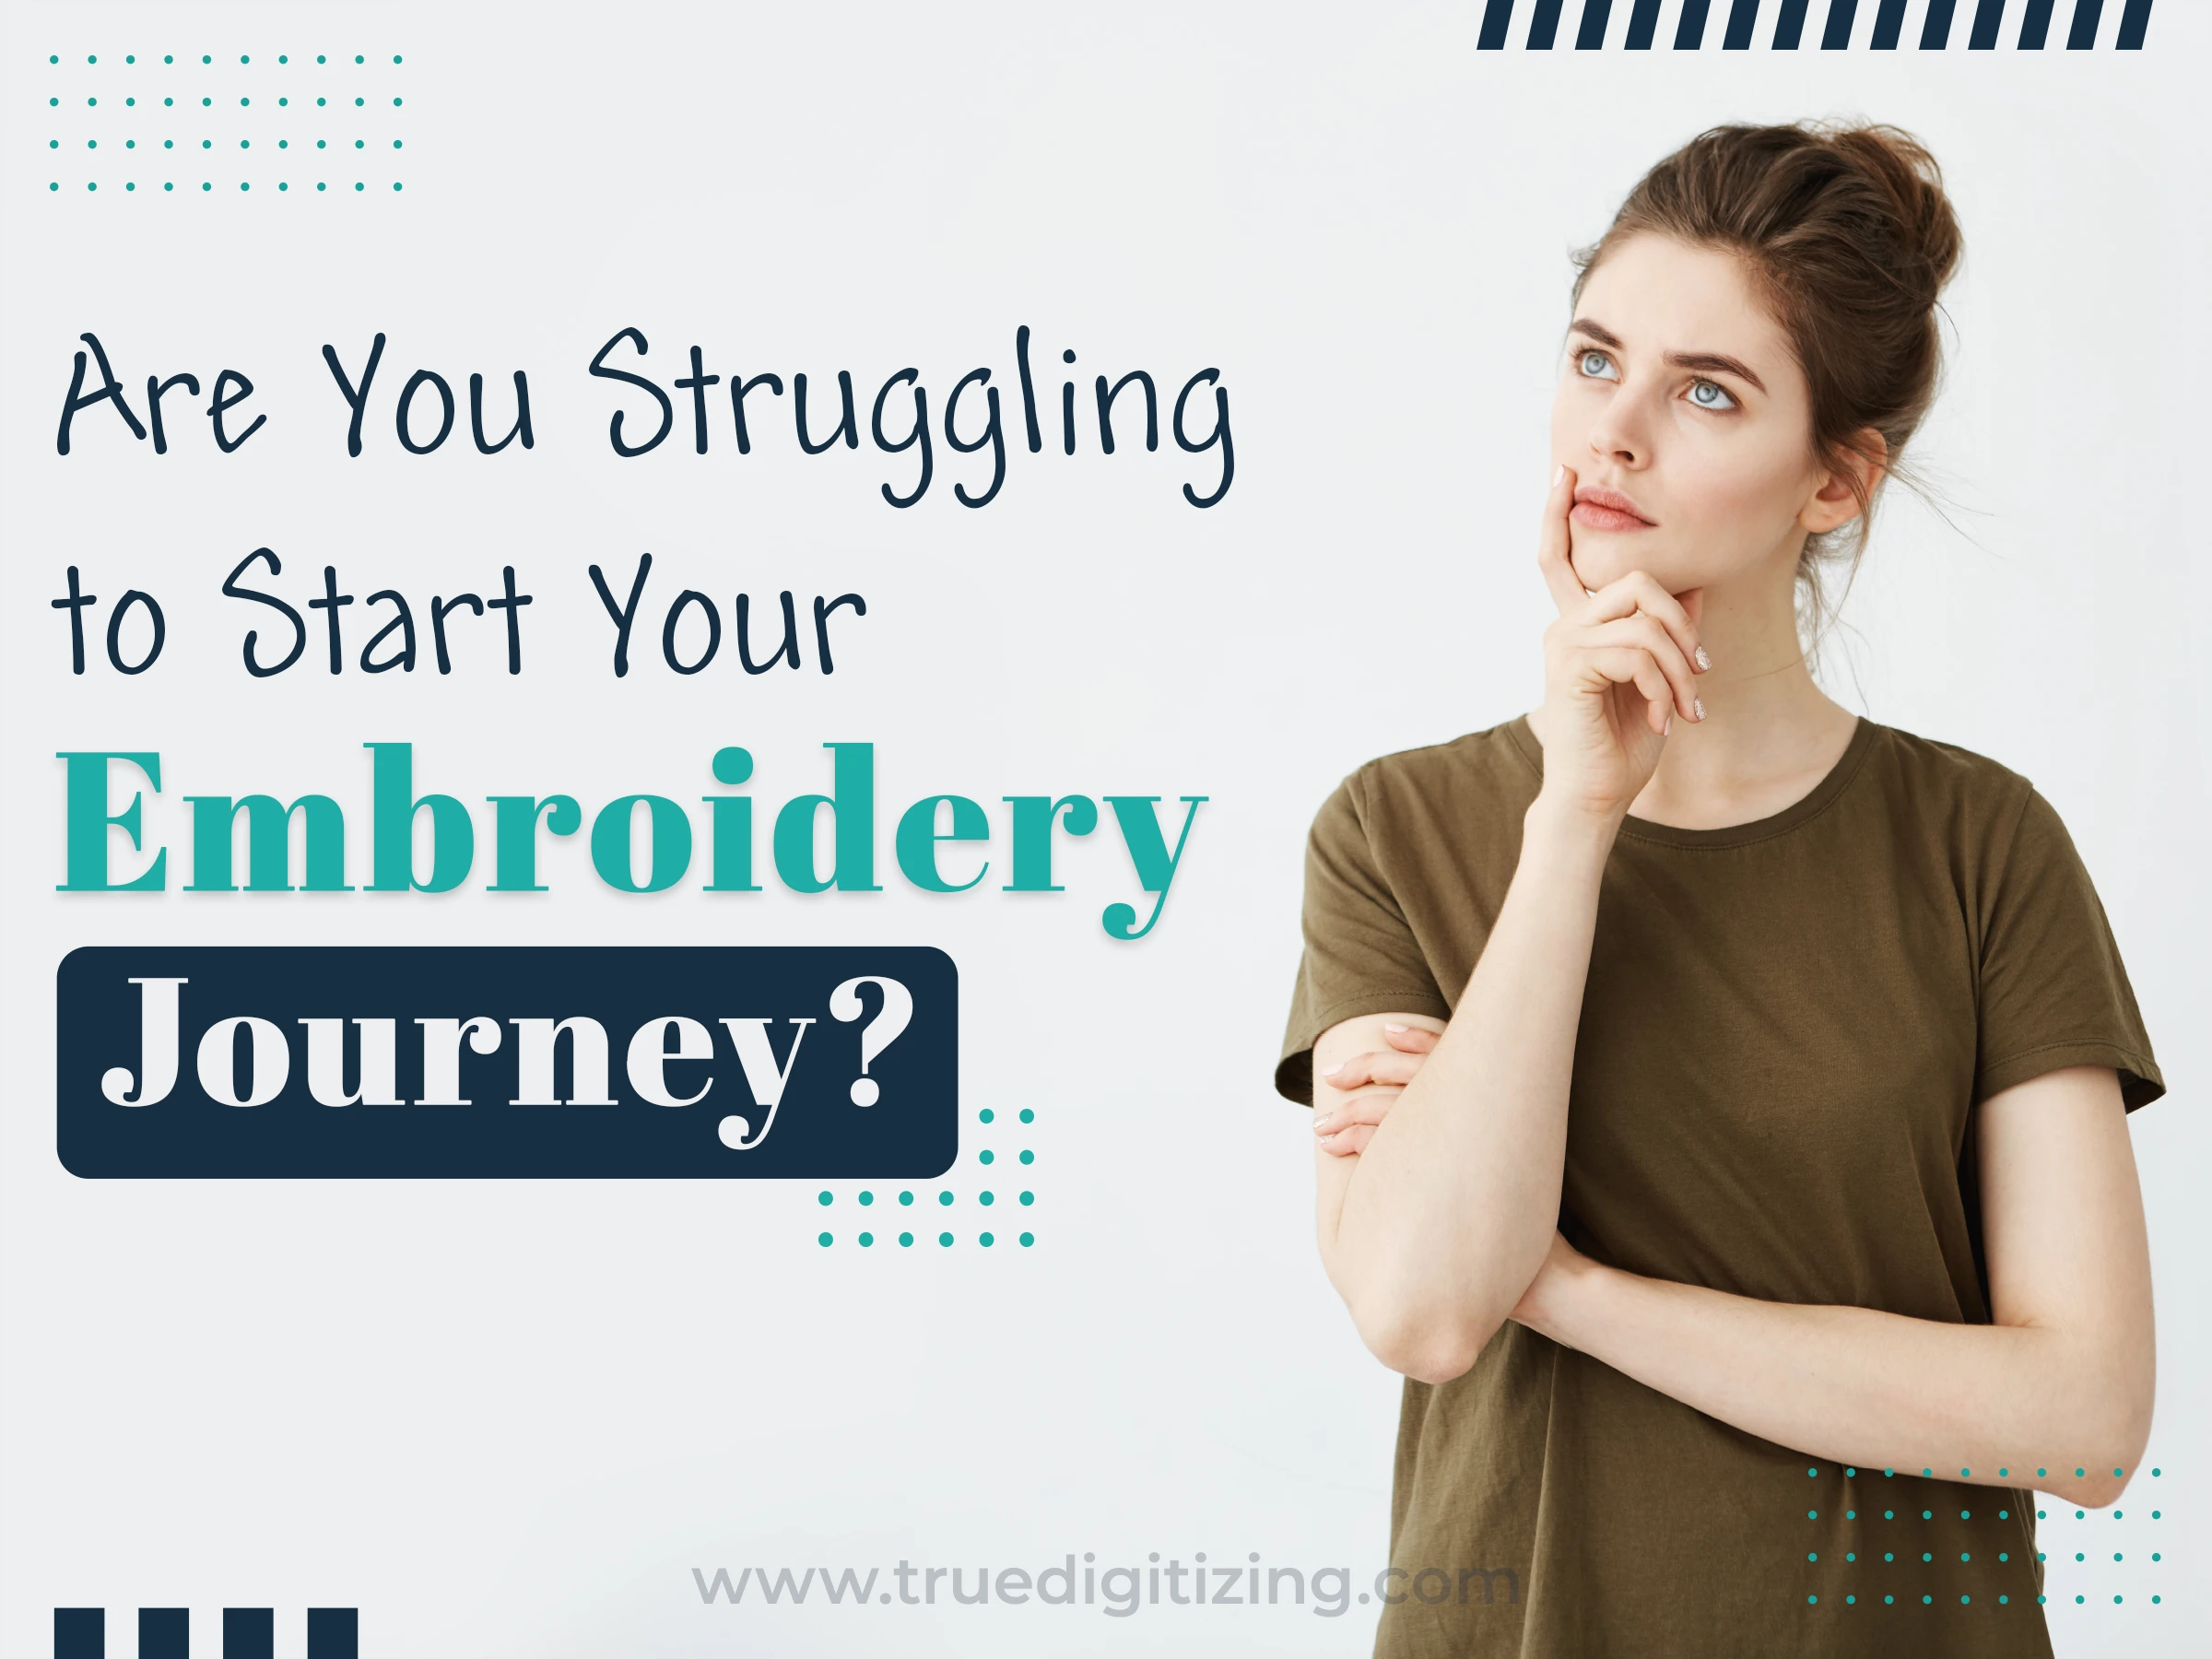
Starting something new might seem like the biggest challenge because the first step is always difficult, especially if you have no idea where to start or are afraid of making a mistake. No worries, embroidery kits are designed to make things simple, with designs and instructions that guide you like a friend. But if you are still facing challenges, True Digitizing is always here for you. Want embroidery digitizing services within your budget? True Digitizing provides budget-friendly digitizing services for you at the cheapest rates (12 $). So get your favorite embroidery digitizing services now and save your time and money.
Ready to start? Here’s how to make your first project a success:
Read the Guide: Flip through the instructions to get a feel for the steps and stitches.
Set Up Right: Make sure your hoop keeps the fabric snug, not super stretched.
Practice First: Try simple stitches like backstitch on scrap fabric before starting the real thing.
Find Good Light: Stitch in a bright spot to see your work.
Take It Slow: Pause if your eyes or hands feel tired. Embroidery’s supposed to be fun.
Check YouTube: Many kits link to videos, or you can search for free stitch tutorials online.

Nobody is perfect, especially when you are in a learning phase. Here are mistakes newbies often make and how to fix them.
Pulling Fabric Too Tight: Stretching the hoop too much warps the fabric and messes up stitches.
Using All the Threads: Stitching with all six floss strands makes your work look bulky.
Big Knots: Tying chunky knots on the back creates bumps or shows through.
Straying from the Pattern: Stitching outside the lines throws off the design.
Tangled Threads: Loose or messy floss leads to sloppy stitches.
Adjust the Hoop: To ensure that the fabric is tight rather than stretched, loosen the hoop screw gently. Check the tension every few hours.
Split the Floss: Use 2 or 3 strands, as the kit suggests, for cleaner stitches.
Skip Big Knots: Start with a small loop or weave the thread under stitches to secure it. End by tucking the thread under the back.
Stick to the Lines: Follow the printed pattern closely. If you mess up, mark it with a washable pen to fix later.
Keep Threads Neat: Store floss on bobbins or in a bag, and trim loose ends to avoid tangles.
You can snag great kits online or at local stores. Here’s where to look:
Etsy: Awesome for handmade kits from shops like Hoffelt & Hooper or Rikrack. Prices are $15–$30, and reviews are usually 4 or 5 stars. Check for fast shipping and detailed instructions.
Amazon: Perfect for deals, like ETSPIL or Picoey kits ($10–$20). Browse Best Sellers and read reviews to avoid duds.
Craft Stores: Michaels, Joann, or Hobby Lobby carry brands like Dimensions or DMC ($10–$25). Pop in to see the kits or shop online for discounts.
Walmart: Stocks budget kits, like Jiaroutk’s 4-pack for $16.99. Grab them in-store or order online.
Read reviews and make sure the kit has all the supplies you need. Skip kits that seem too cheap. They might have bad threads or thin fabric.
Nick William has been immersed in the world of embroidery digitizing for over 20 years, earning 25 industry awards throughout his career. As a 3rd generation embroidery expert, Nick’s journey started in his family’s workshop, where he learned the art of digitizing before the rise of modern software. He has worked with leading commercial embroidery businesses and has shared his expertise with over 75,000 home and professional embroiderers. As an author at True Digitizing, Nick is passionate about teaching others how to create beautiful, precise designs through easy-to-follow tutorials and expert advice.
Categories

Top Best Embroidery Digitizing Software in 2026
06-05-2026
")
Best Multi-Needle Embroidery Machines for Startups 2026
28-02-2026

DST File: The Complete Guide (What It Is, How to Create, Convert & Use in 2026)
28-02-2026

Janome 550E vs Baby Lock Flare | Best Mid-Range Embroidery Machine?
26-02-2026

Choose the Right Fabric for Embroidery
20-02-2026

Advanced Techniques in Embroidery Digitizing
19-02-2026

Most Common Types of Threads to Use in Machine Embroidery
12-02-2026

AI in Embroidery | Revolutionizing Art and Efficiency
12-02-2026

Best Thread Tension 101 | A Guide for Embroidery Machines
09-02-2026

Mastering Small Lettering in Machine Embroidery
04-02-2026
Asked Questions


