
At True Digitizing, we transform your creative spark into flawless, high-quality embroidery digitized designs that bring your vision to life.
Our Blogs
We Accept
Copyright 2025 Truedigitizing
At True Digitizing, we transform your creative spark into flawless, high-quality embroidery digitized designs that bring your vision to life.
We Accept
Copyright 2025 Truedigitizing

3D embroidery digitizing started with basic stitching methods, but it has changed a lot with modern technology. Today, embroidery machines and advanced software make it easier and faster to create detailed designs and realistic textures.
In this blog, we delve into the captivating world of 3D embroidery digitizing. We will unravel the secrets behind achieving stunning results that push the boundaries of artistic expression. From understanding the digitizing process to exploring an array of stitch types, thread colors, and embroidery software features, we will guide you through the techniques that breathe life into embroidery designs.To get outstanding embroidered results, it is essential to become proficient in the digitizing process. Converting artwork into stitch files that embroidery machines can understand is known as digitizing. This complex process includes thread color placement, stitch type determination, and careful design analysis. Efficiency and accuracy are increased by using embroidery software, which makes it possible for a variety of projects to succeed.
The first step in this life-changing process includes:
Checking the design in detail.
Thinking about factors like complexities.
Level of detail.
The type of fabric that will be designed.
Selecting the most suitable stitch types, satin, fill, running, or puffy foam, contributes significantly to the desired visual effects and textures. The careful selection of thread colors is equally crucial for maintaining both visual appeal and an accurate representation of the original artwork.
Using advanced embroidery software simplifies the digitizing process by providing many useful features. No matter how complicated the pattern is, these tools allow for stitch density change, rotation, and scaling, enabling embroiderers to realize their creative ideas. Embroiderers may create eye-catching embroidered results with the help of smooth digitizing processes, which open up many possibilities.
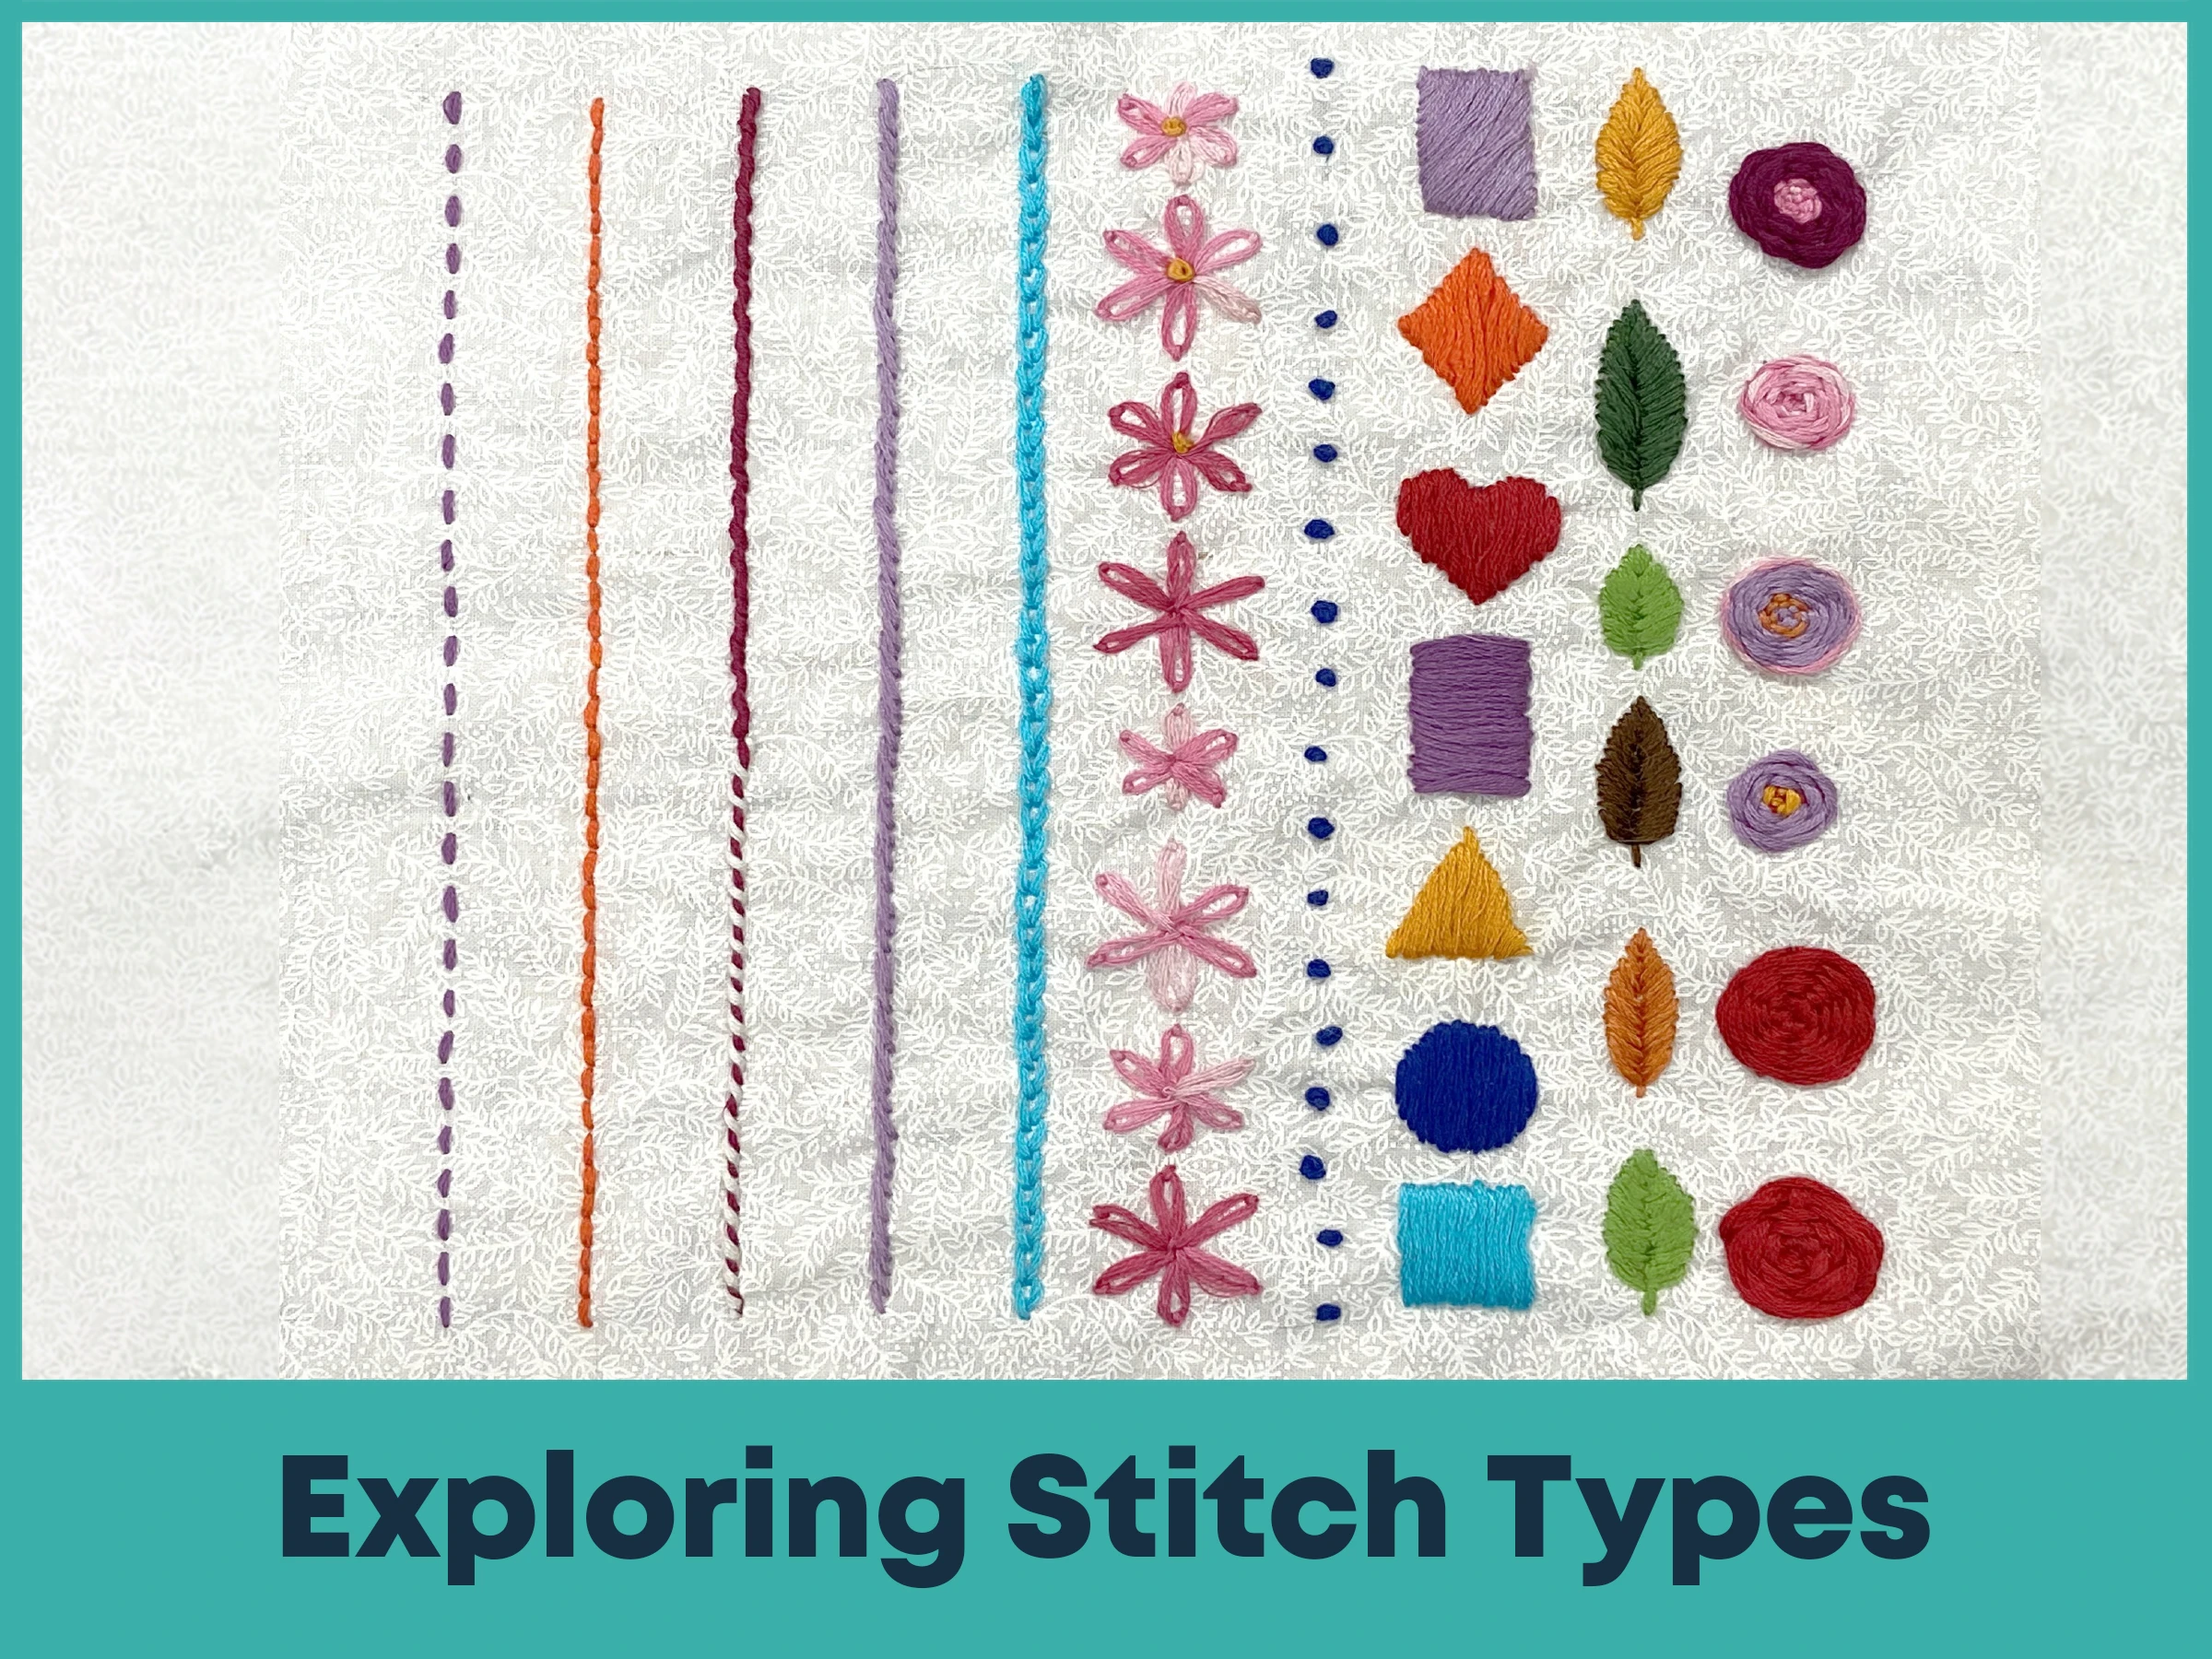
Understanding different stitch types is key to bringing your embroidery design to life. Each stitch, such as running, single, or straight, adds its own look to your design.
Running stitches help show movement. They work well for outlines or small details. Single stitches give perfection, making them great for highlighting small areas. Straight stitches are simple and flexible. You can use them in the same length or vary them to fill areas and create patterns.
When you combine these stitches, you can create complex patterns, smooth gradients, or material-like effects in embroidery. Whether your design is simple or detailed, experimenting with stitch types adds depth and interest to the fabric. Try different stitch styles to make your design stand out.
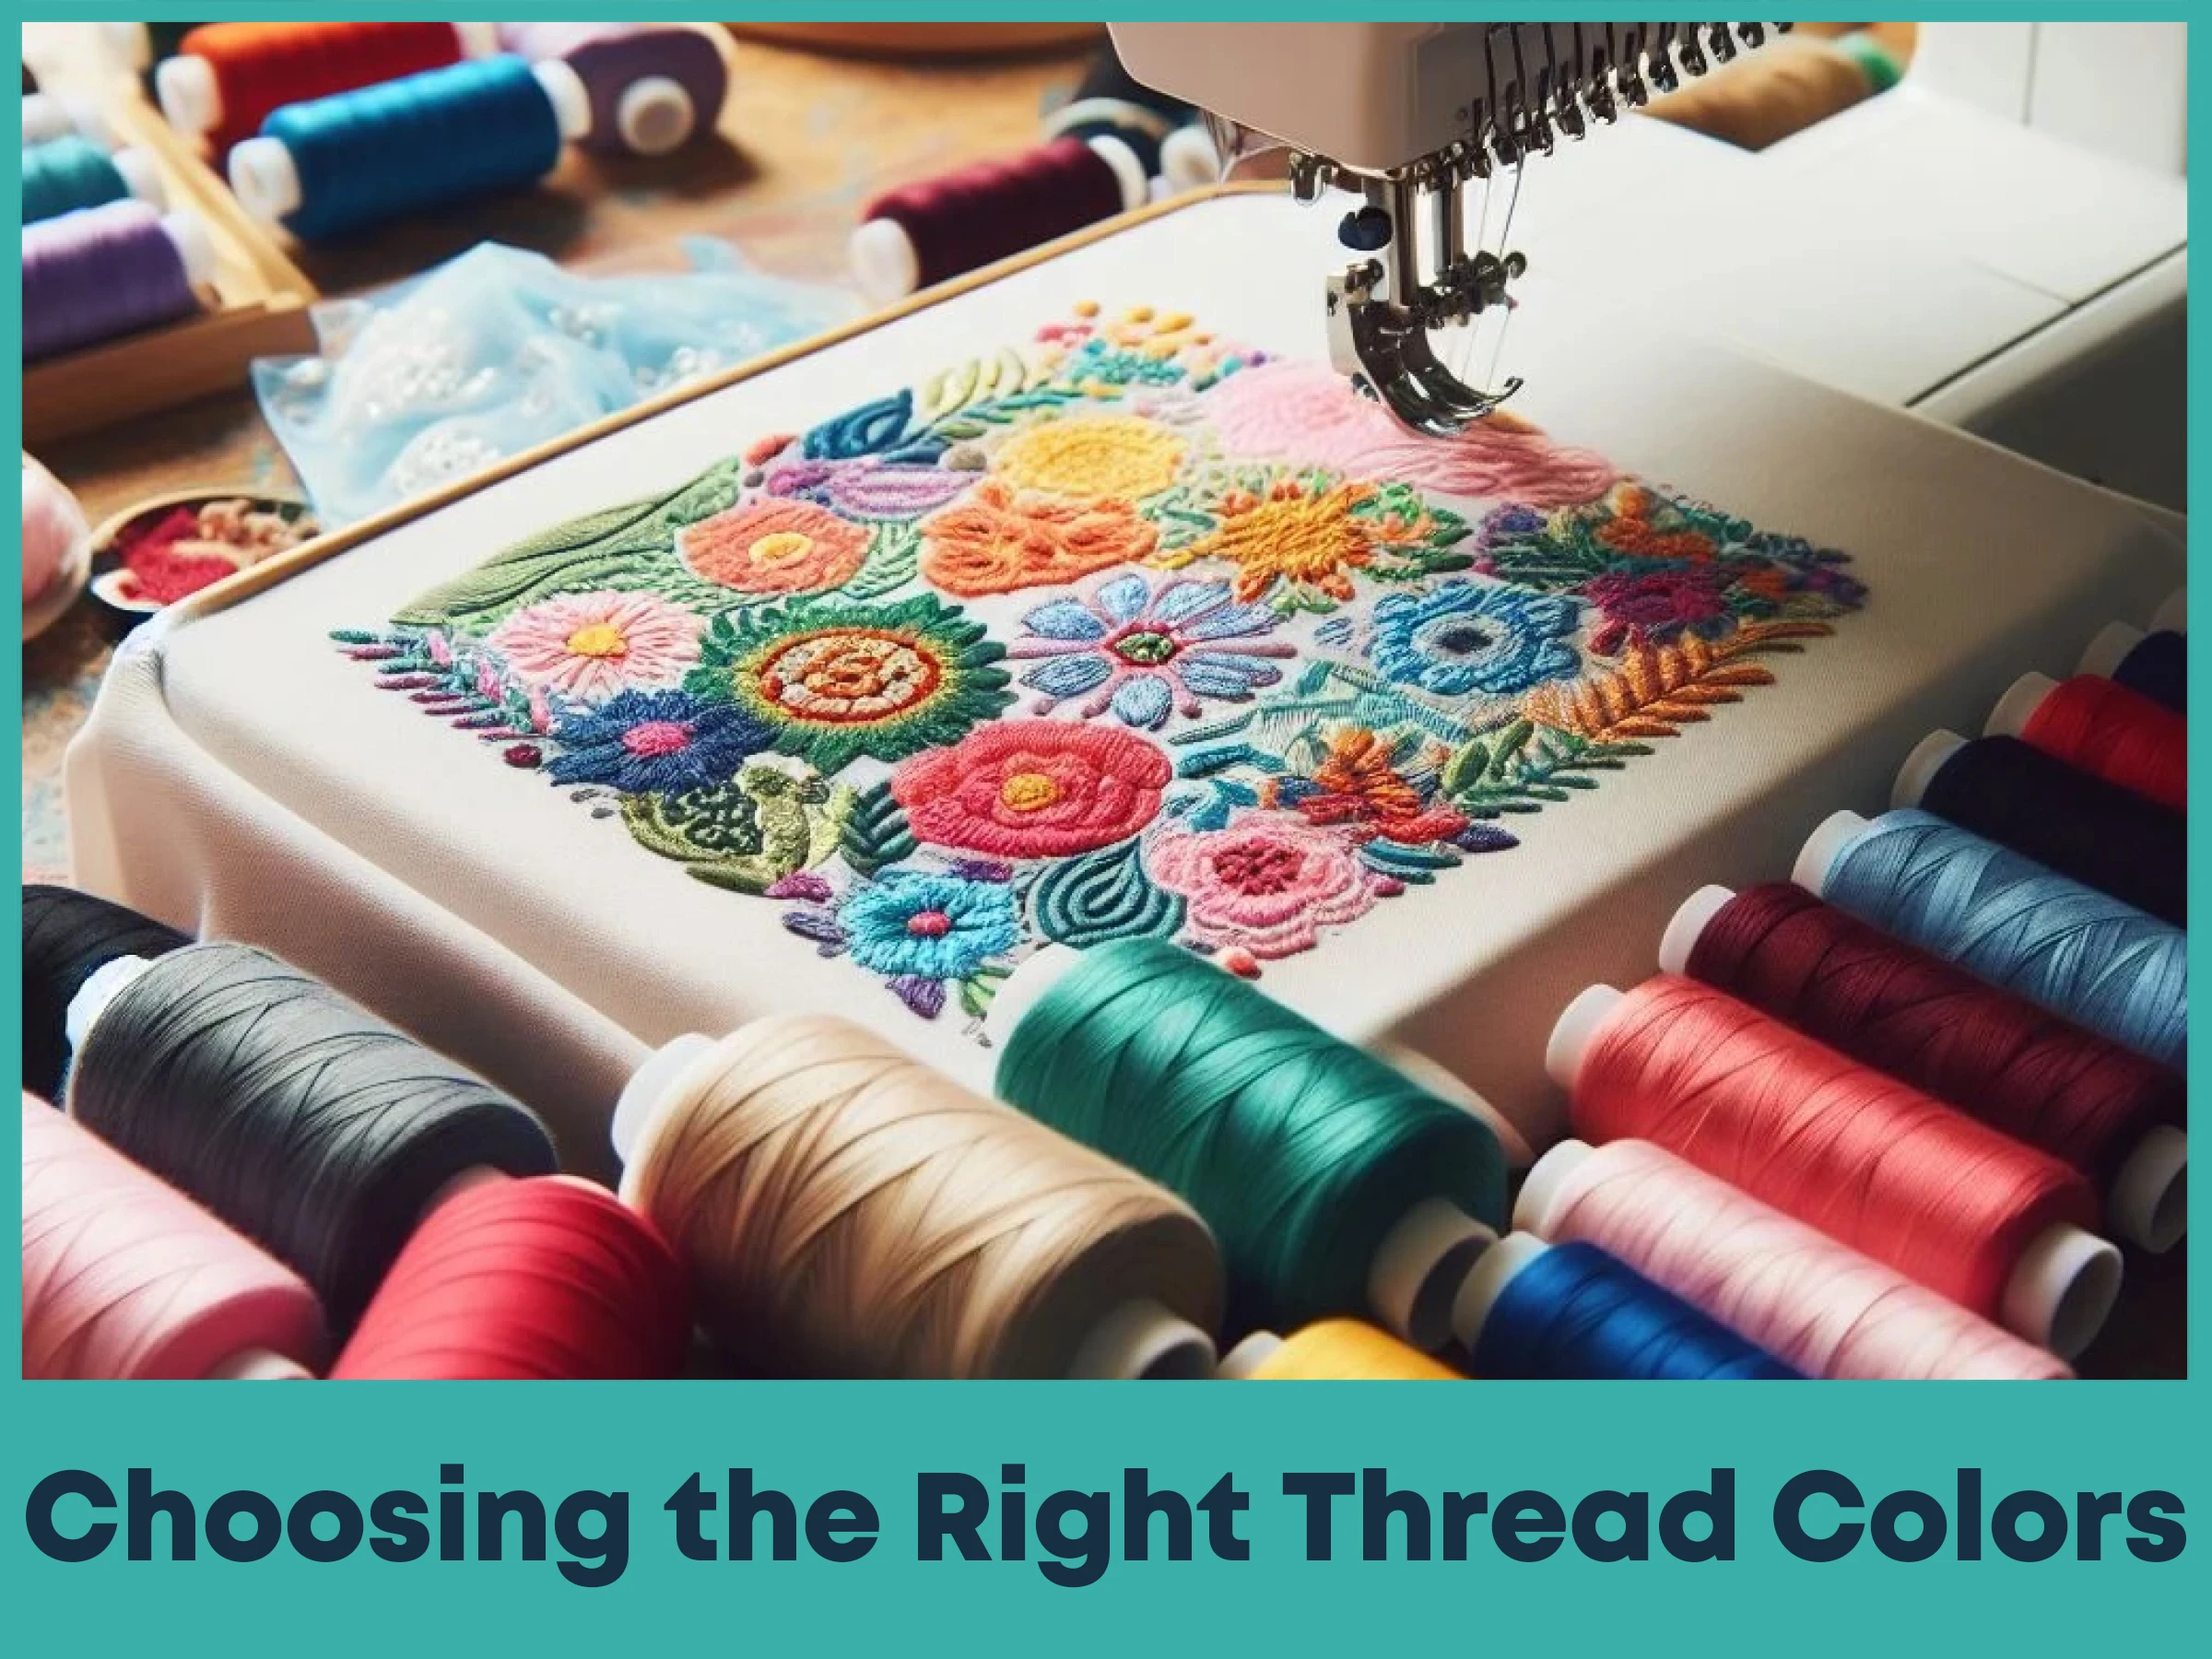
Selecting thread colors greatly affects how your embroidery looks. Your choice depends on the fabric type, the visual effect you want, and the message you are sending.
Start by matching the thread color to the fabric. Some colors contrast sharply, while others blend softly. Choosing colors that pair well with your fabric gives a better result.
Next, consider the overall effect. Bright, bold colors attract attention. Soft, muted shades suggest a calm or classic feeling. Pick colors that fit what you want your design to convey.
Don't be afraid to mix colors. Blending shades or using gradual transitions can add richness and detail. With thoughtful color choices, your embroidery will be eye-catching and visually appealing.
True Digitizing offers custom embroidery digitizing services in the USA at a very reasonable price. Take your embroidery projects further with our skilled digitizing team and excellent customer care. Contact us today to bring your designs to life with clear textures and depth.
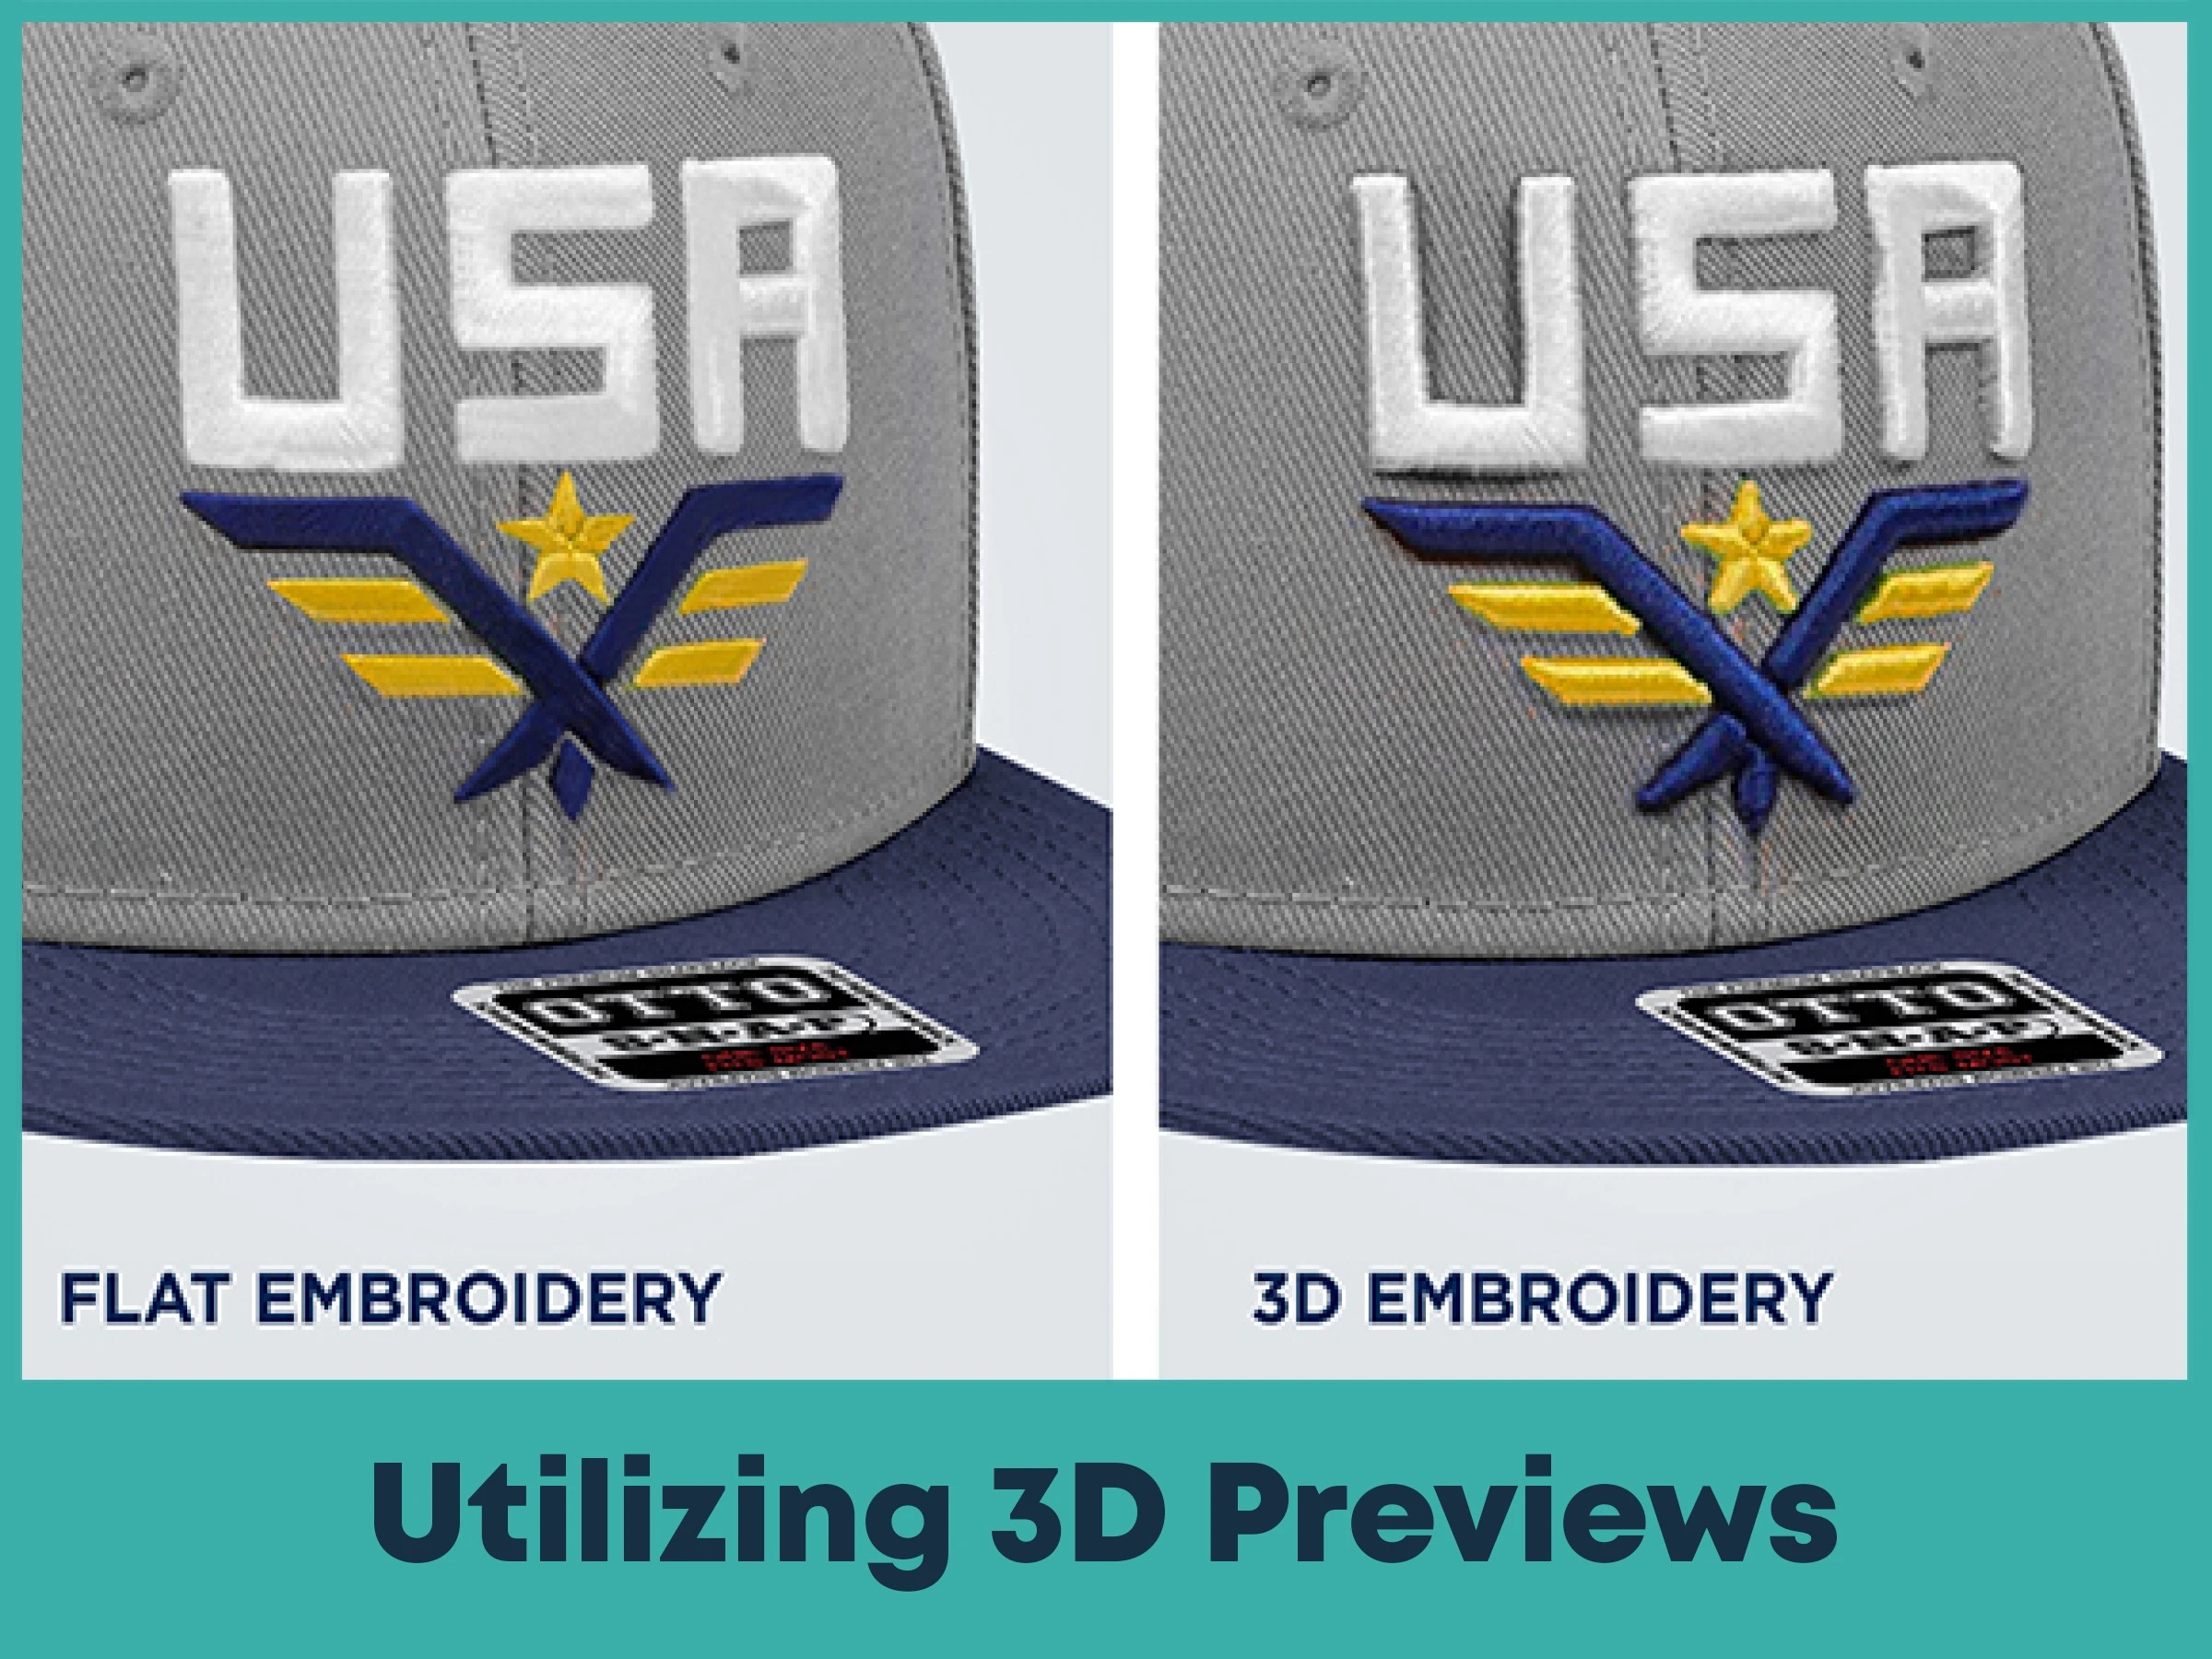
Most embroidery software has a unique feature: a 3D preview. This shows how your design will look once stitched, before you start.
Using the preview, you can check stitch placement, switch stitch types, and experiment with thread colors. This helps you catch problems early and tweak the design to get the look you want.
These previews help you avoid surprises and give confidence that the final stitch-out will match your original vision.
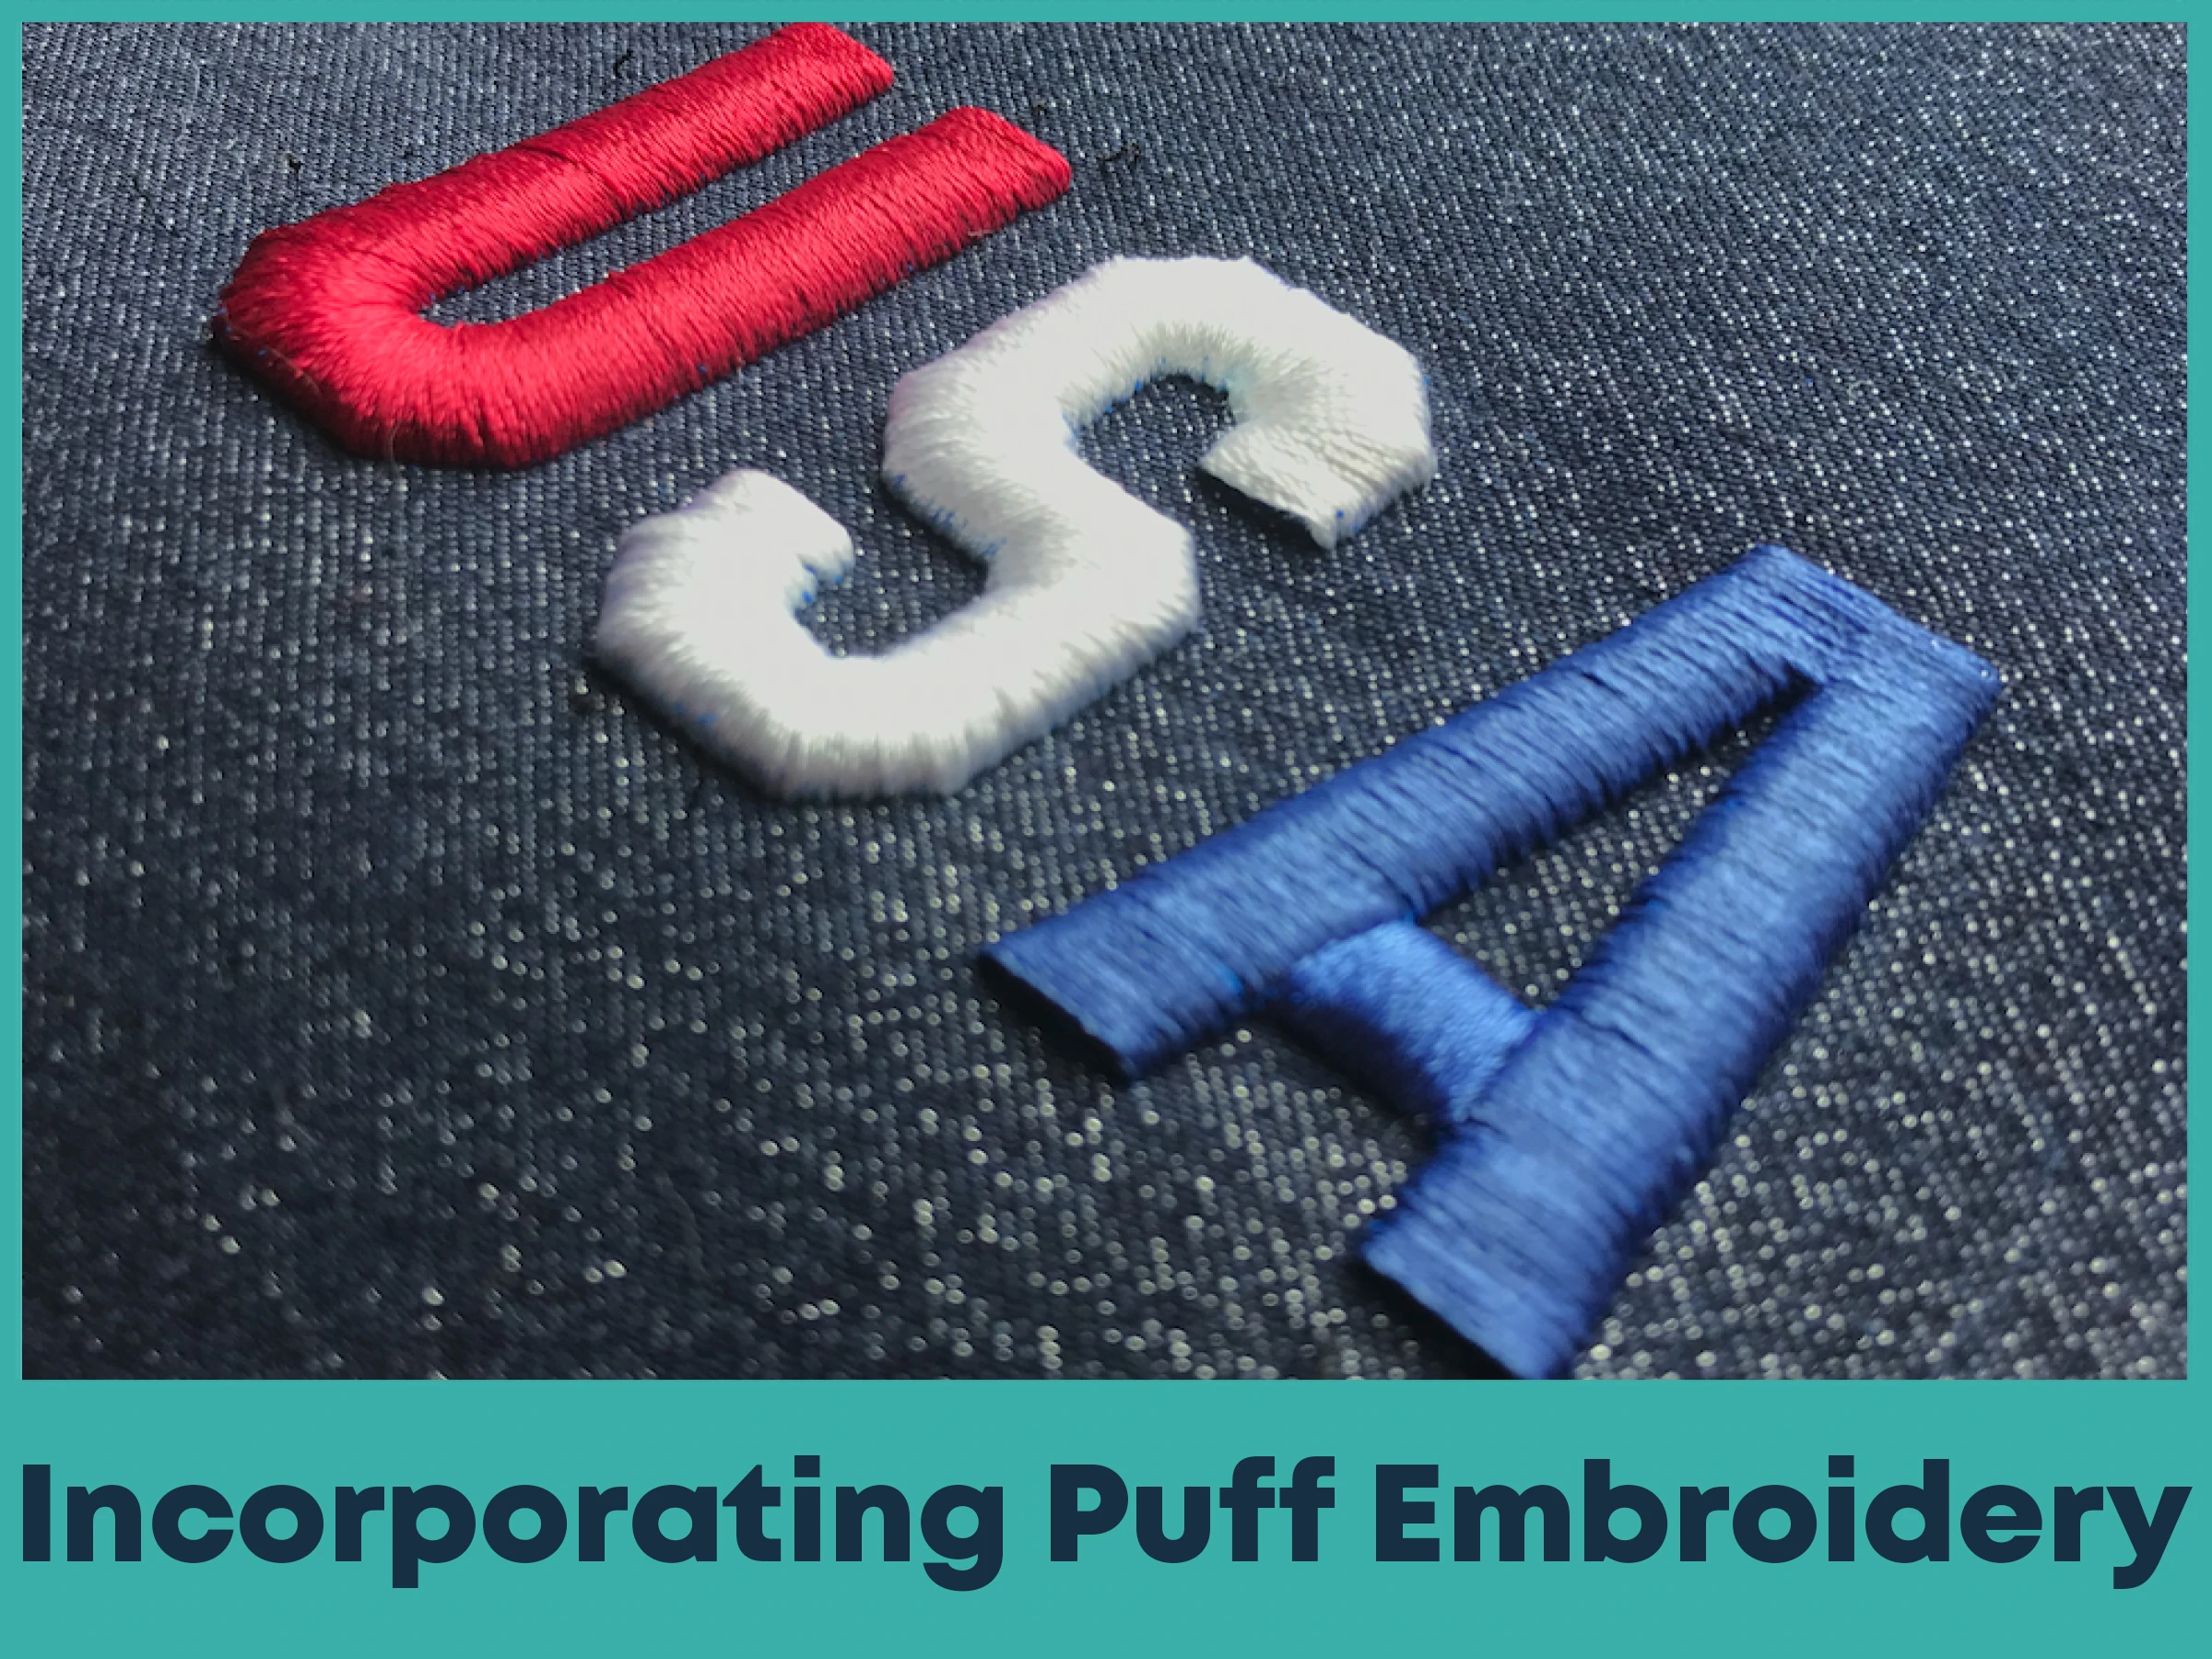
Puff embroidery, also called 3D foam embroidery, adds raised texture to your design. It uses foam under certain parts of the design, then heat to lift those areas.
This style works especially well for logos or text. The raised foam makes the design unique and gives a tactile feel.
Puff embroidery adds a bold, refined look. It takes your design up a level and can give it a more professional and memorable appearance.
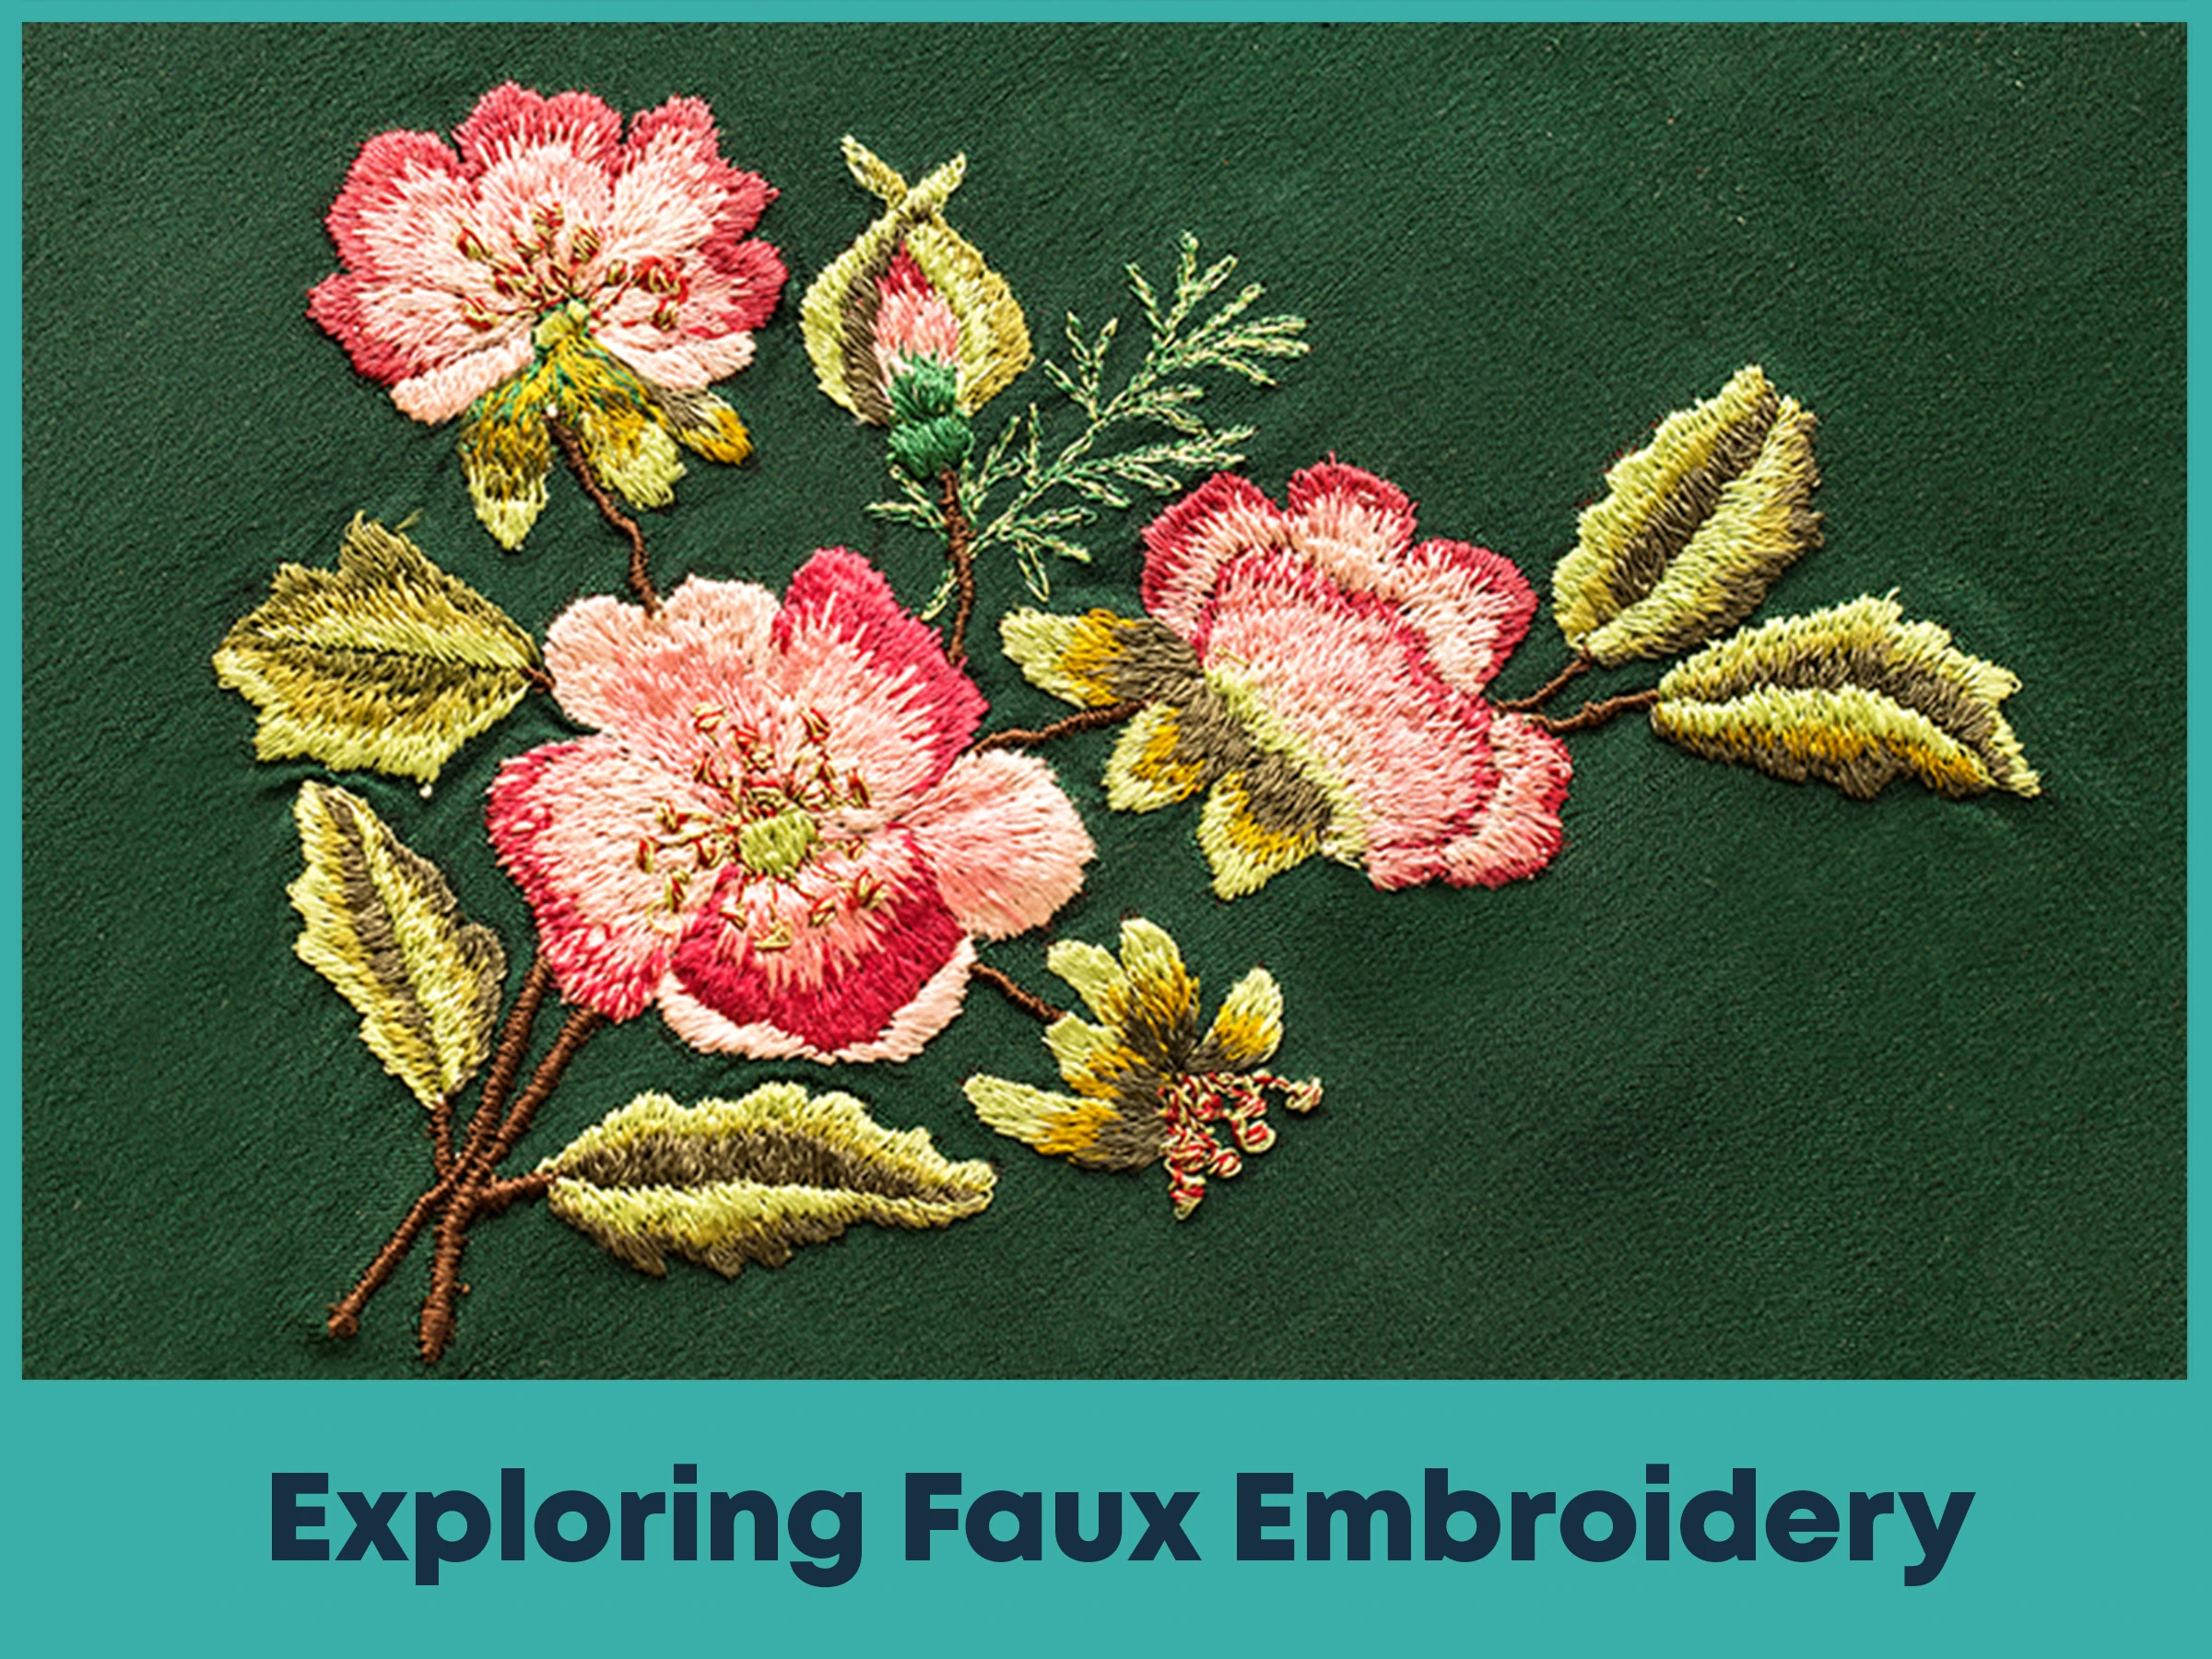
If you don’t have a puff embroidery setup, faux embroidery can give a similar look. You can use stitch patterns and color changes to mimic a raised effect.
Faux embroidery is more affordable and flexible. By arranging stitches and colors carefully, without foam, it is possible to create a feel of depth and texture.
Pay attention to stitch placement and shading. When done well, faux embroidery offers an elegant and textured result without needing special equipment.
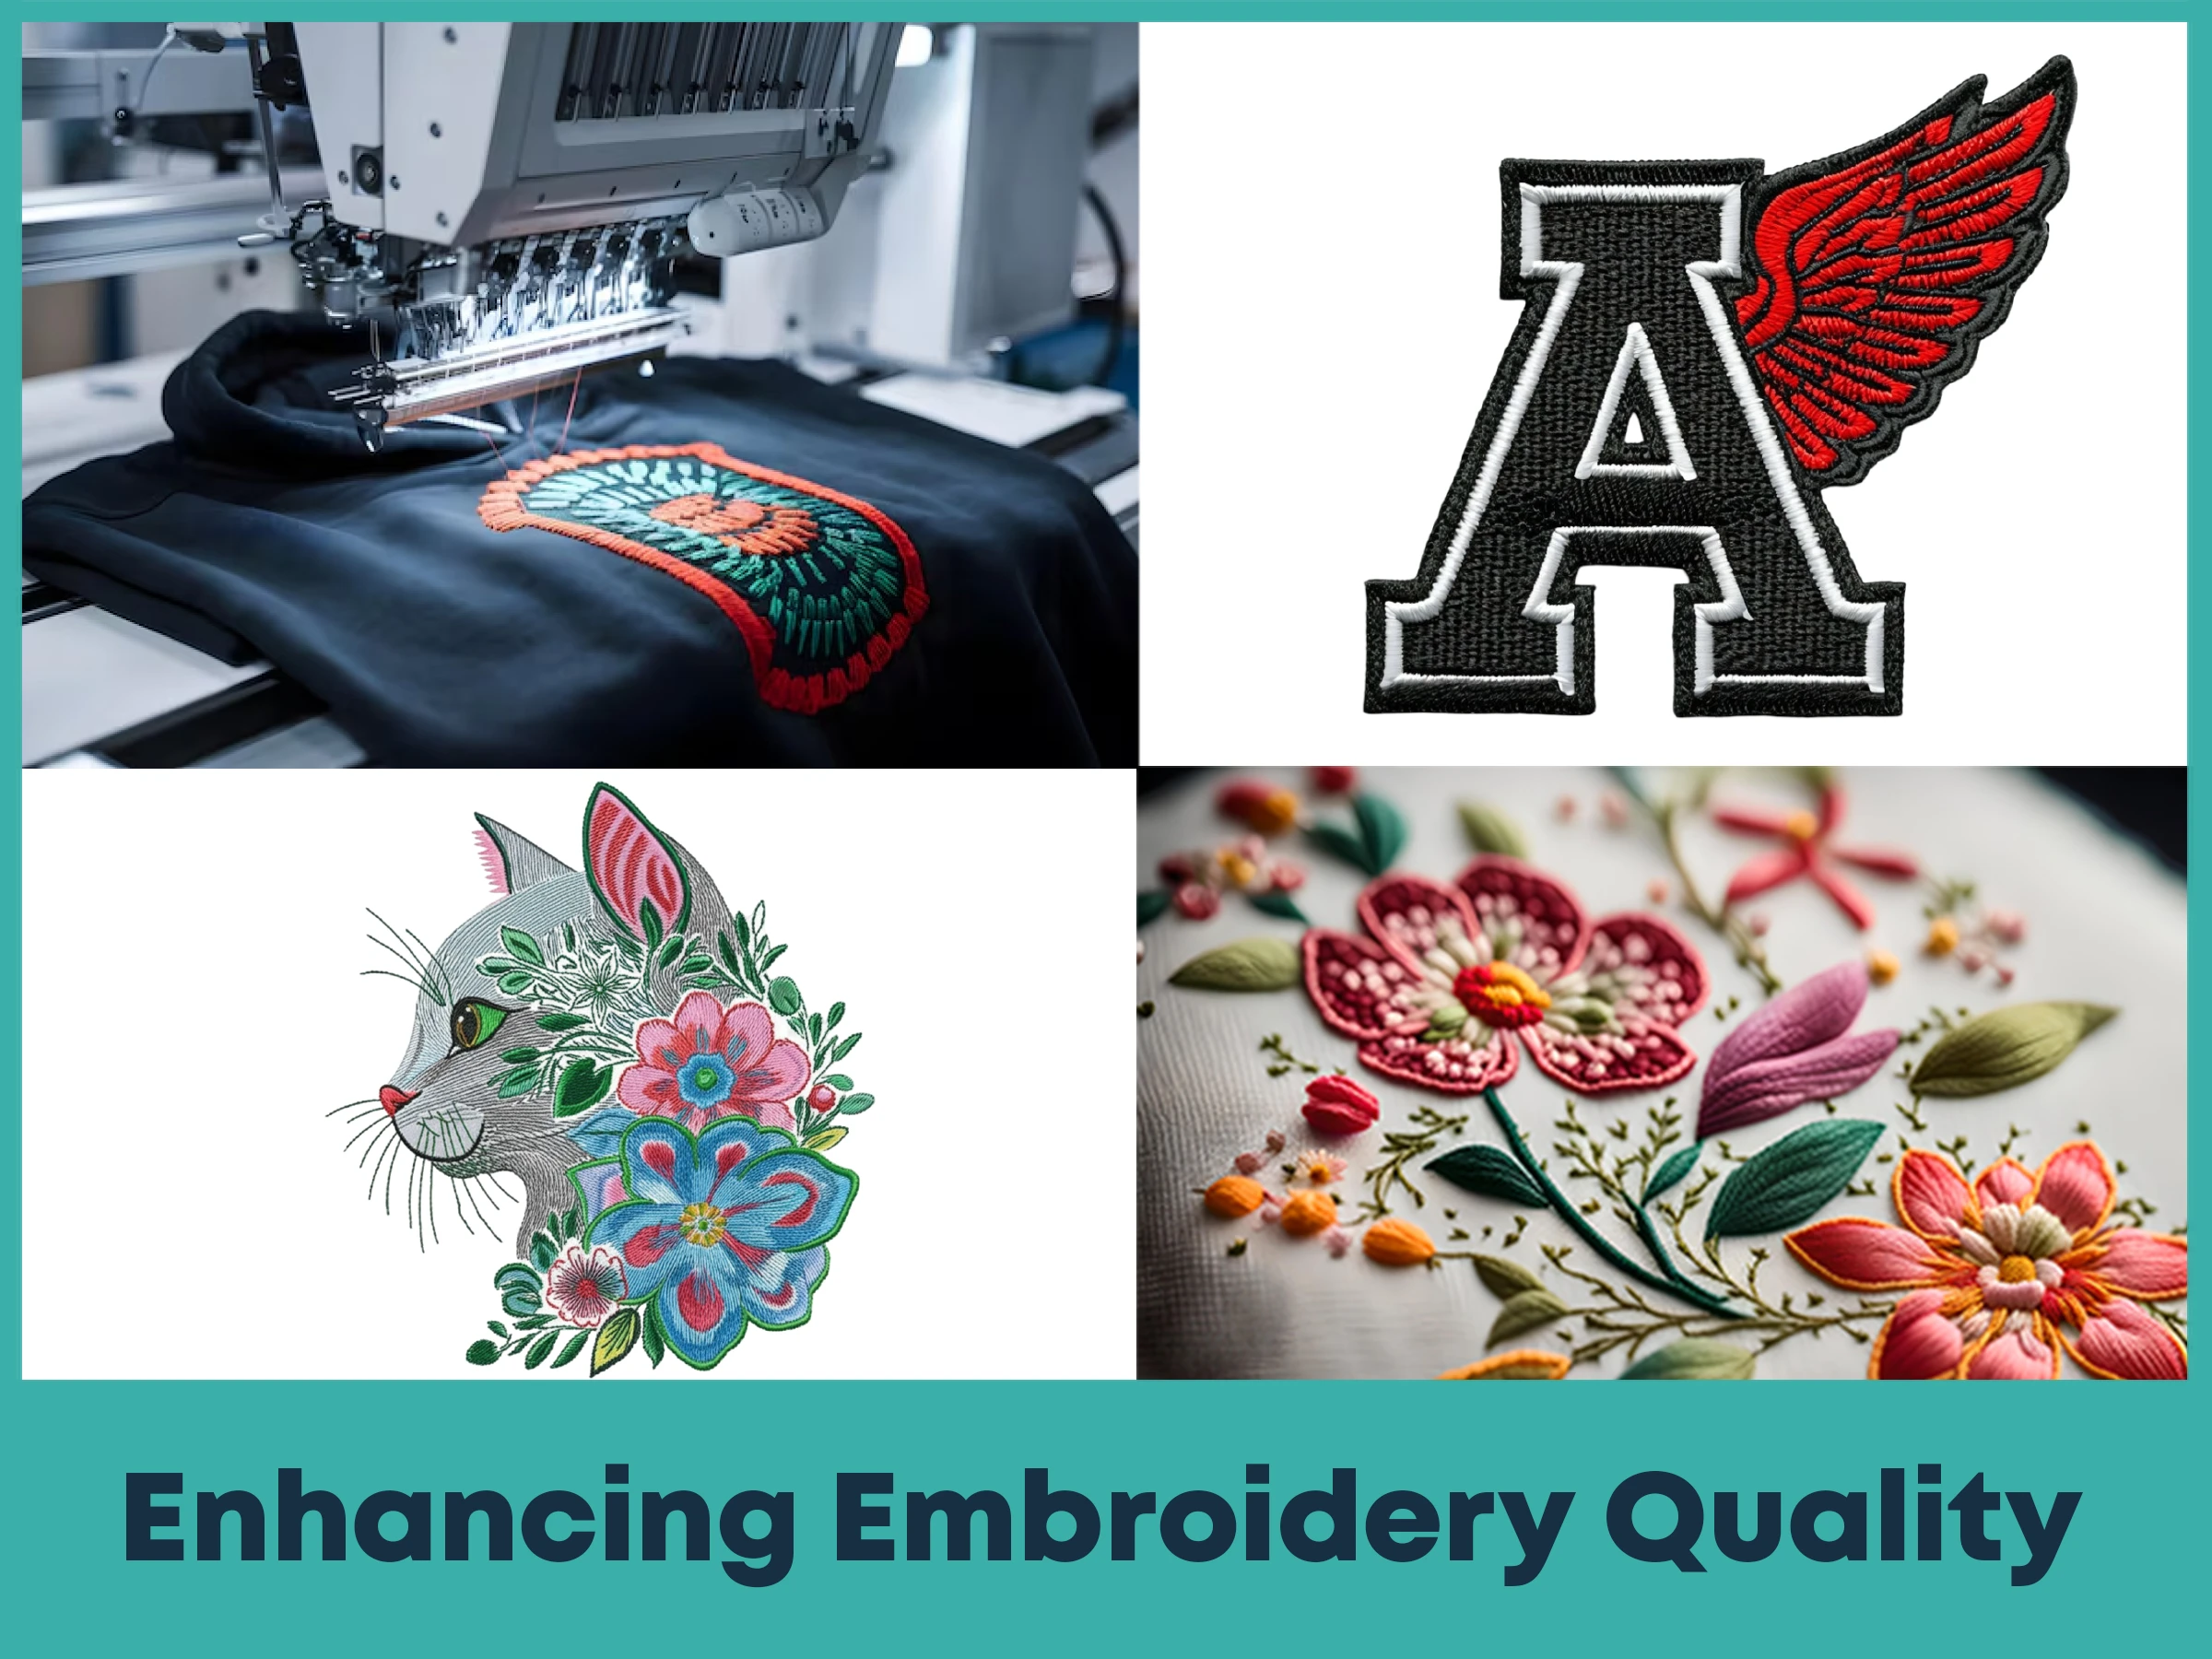
Achieving high-quality embroidery relies on attention to detail. Start with a clean digitized file. Choose stitch types that match the design and its intended effect.
Consider factors like stitch density, underlay, and pull compensation. These details help ensure your stitches are clear, even, and sharp.
Taking time to refine these elements leads to embroidery that looks professional and well-made. Carefully placed stitches and thoughtful settings help your design look its best.
However, if you're working with 3D puff embroidery and aren’t sure how to get the right structure or finish,True Digitizing is here to help. We provide 3D puff embroidery digitizing services at affordable prices across the USA. If you want the perfect design and want it to look polished and professional then feel free to contact us. Our experienced digitizing team will handle your design with care and deliver the high-quality results you expect.
Good embroidery software is essential. It makes digitizing easier and helps you achieve rich textures and realistic effects.
Features to explore:
Bitmap fill types for patterned areas.
Pen tools to define outlines and fine detail.
Paint fill tools for clean color transitions.
Using these tools helps you to bring your creative ideas to life. Explore different features, experiment with techniques, and watch your design improve.
With modern embroidery tools and software, creating designs with real texture and depth has become easier than ever. By learning different stitch types, choosing color carefully, and using software wisely, you can bring your embroidery to life.
Whether you're using puff or faux embroidery, experimenting leads to more engaging designs. Let your creativity shine by using these techniques to make vibrant, textured pieces.
Nick William has been immersed in the world of embroidery digitizing for over 20 years, earning 25 industry awards throughout his career. As a 3rd generation embroidery expert, Nick’s journey started in his family’s workshop, where he learned the art of digitizing before the rise of modern software. He has worked with leading commercial embroidery businesses and has shared his expertise with over 75,000 home and professional embroiderers. As an author at True Digitizing, Nick is passionate about teaching others how to create beautiful, precise designs through easy-to-follow tutorials and expert advice.
Categories

How to Remove Embroidery From Any Fabric — Step-by-Step Guide 2026
28-06-2026

Embroidery Trends 2026: What's Hot in Machine & Hand Embroidery | TrueDigitizing
26-06-2026

Top Best Embroidery Digitizing Software in 2026
06-05-2026
")
Best Multi-Needle Embroidery Machines for Startups 2026
28-02-2026

DST File: The Complete Guide (What It Is, How to Create, Convert & Use in 2026)
28-02-2026

Janome 550E vs Baby Lock Flare | Best Mid-Range Embroidery Machine?
26-02-2026

Choose the Right Fabric for Embroidery
20-02-2026

Advanced Techniques in Embroidery Digitizing
19-02-2026

Most Common Types of Threads to Use in Machine Embroidery
12-02-2026

AI in Embroidery | Revolutionizing Art and Efficiency
12-02-2026
Asked Questions


