
At True Digitizing, we transform your creative spark into flawless, high-quality embroidery digitized designs that bring your vision to life.
Our Blogs
We Accept
Copyright 2025 Truedigitizing
At True Digitizing, we transform your creative spark into flawless, high-quality embroidery digitized designs that bring your vision to life.
We Accept
Copyright 2025 Truedigitizing

If you have ever done embroidery on different fabrics, you know the stabilizer can make or break your project. One design turns out nice but the next one gets puckers or the stitches pull the wrong way. A lot of people get confused because every fabric acts differently. Some stretch, some are very thin, and some move a lot inside the hoop.
This happens over and over when you are not sure what stabilizer to pick. One small mistake wastes threads, fabrics and of course time. Selecting the right stabilizer is the most important step in embroidery. When the backing is correct, the design looks clean, sharp and professional but when the stabilizer is wrong, it ruins your design, fabric and everything.
In this blog, you will learn which stabilizer works best for different kinds of fabrics so you can stop the common problems and get the desired results.
Choosing a stabilizer will be easy if you follow the right steps. First, understand the nature of fabric. Light fabrics need something soft that will not show through. Stretchy fabrics need more support so the stitches stay in place. Heavy fabrics need a strong backing to keep everything together.
Next, think about the design. Designs with thousands of stitches need more support. Designs with only a few stitches can use something lighter. Also think about how the finished item will be used. Clothes that stretch need cut away because they stay strong after many washes. Towels or fleece need a water-soluble topping so the stitches sit on top.
Once you know these things, it is easy to match the right stabilizer to the fabric.
But if you are still confused or tired of guessing, you don't have to do it by yourself because True Digitizing makes clean and professional embroidery digitized designs. We digitize your designs within 2 to 6 hours but it depends on the design complexity, fair pricing, so you don't have to worry about the stabilizer. We carefully digitize your designs so you will never be disappointed.
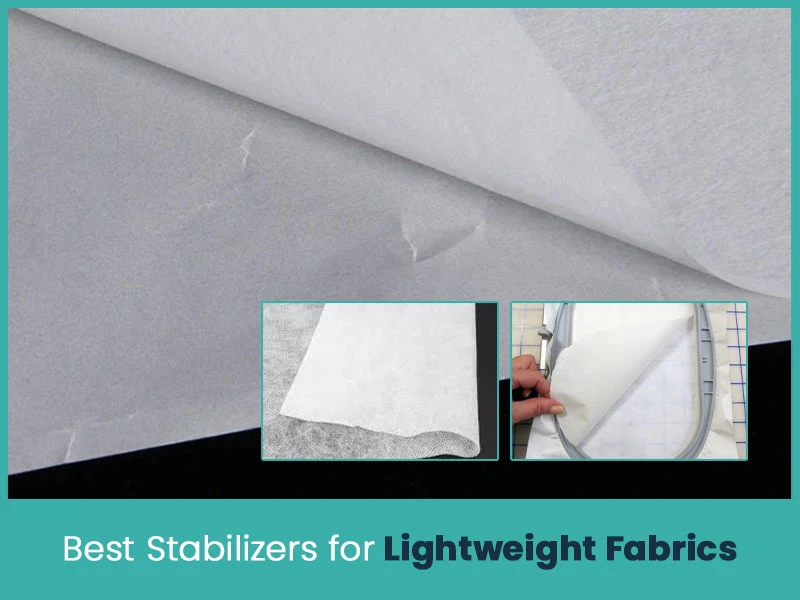
Light fabrics like cotton lawn, voile and thin polyester move very easily. They pucker if the backing is too stiff or too heavy. For these fabrics, use a lightweight tear-away or a soft cut-away.
Use one layer for simple designs.
Use two layers if the design has more stitches.
Don’t use heavy stabilizers because they leave marks.
A light stabilizer keeps the fabric flat and smooth.
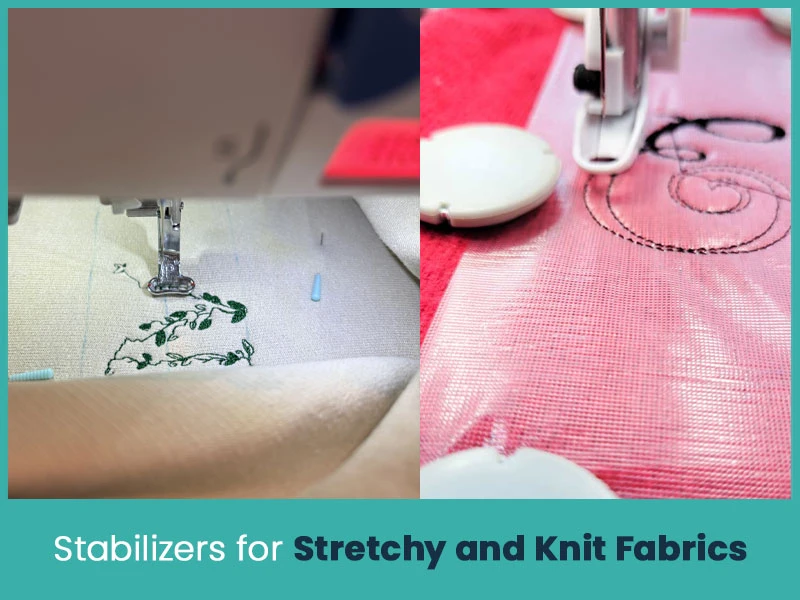
Stretchy fabrics like jersey, rib knit and spandex move in any direction. That movement makes the stitches uneven and the design looks messy and unprofessional. The best choice for these fabrics is cut-away because it stays there even after washing many times.
Cut-away is good when you want something soft that doesn’t show on light shirts. Always hoop the fabric tightly.
Never use tear-away on stretchy fabric because it doesn’t last. Cut-away keeps the design from stretching out later when the shirt is worn.
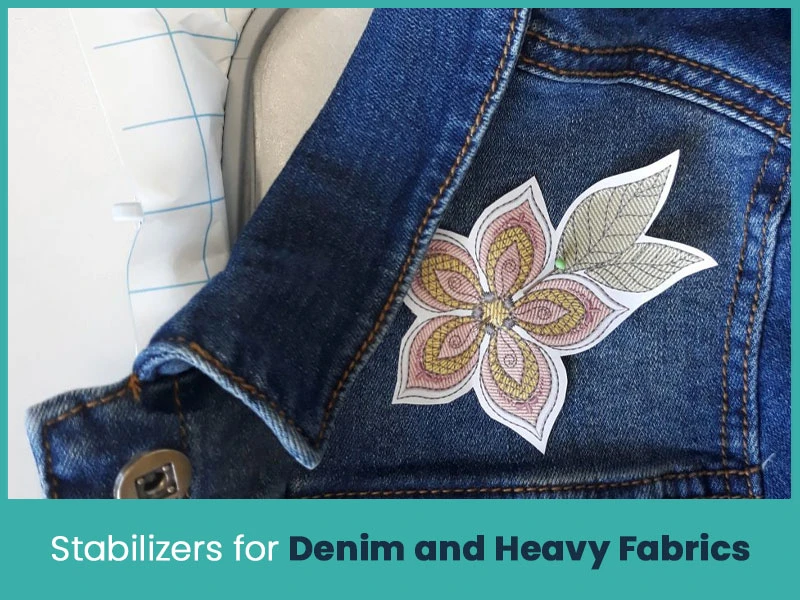
Denim and other heavy fabrics need strong backing because the needle pushes hard. These fabrics don’t stretch but they still need something firm so the design stays neat. A medium or heavy tear-away is fine for simple designs. For big or dense designs, cut-away gives even better results. Use strong needles. Hoop the fabric very tightly. Heavy fabrics can take stronger stabilizers without any marks.
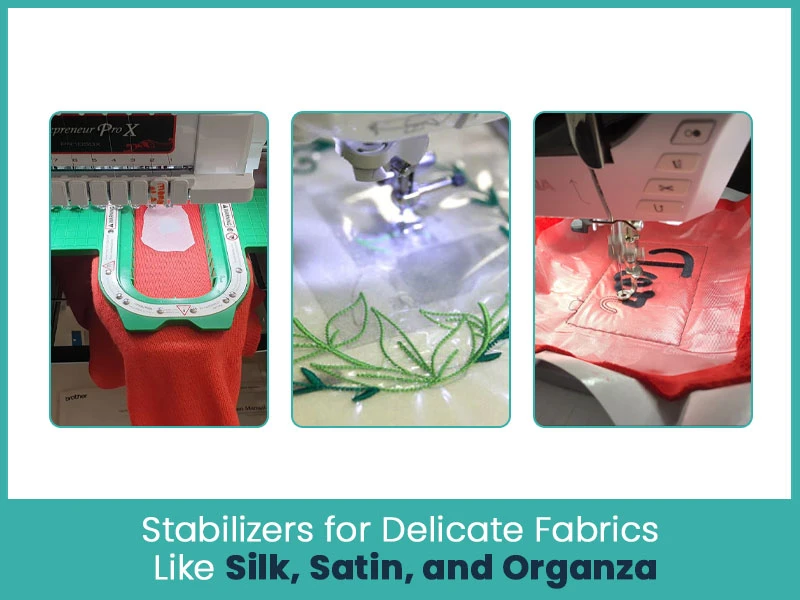
Delicate fabrics tear or mark easily. A heavy stabilizer can leave holes or marks. These fabrics are also slippery and move a lot.
The best choices are:
Wash-away stabilizer for temporary help.
Soft tear-away for light support.
Water-soluble topping for satin so stitches stay on top.
These keep the fabric safe and don’t add weight or marks.
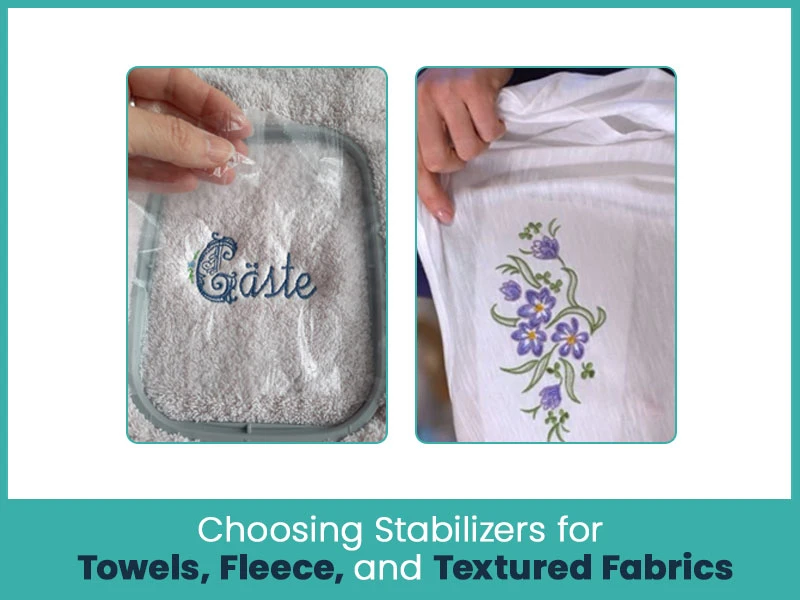
Towels, fleece, and other fabrics with loops or texture, the stitches break and disappear.
The best way is:
Water-soluble topping on the top side.
Medium tear-away on the back.
For heavy designs, add a light cut-away.
The topping keeps the stitches clear and on the surface.
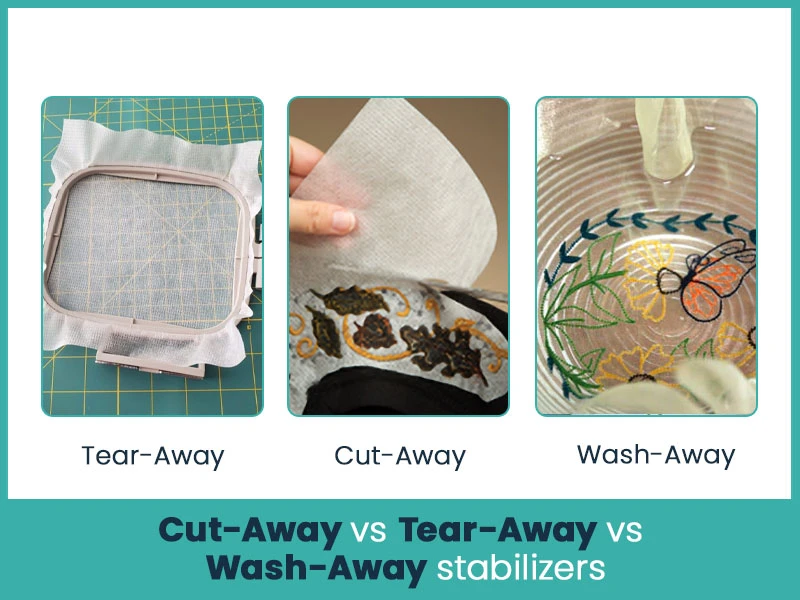
Cut-away, tear-away and wash-away stabilizers depend on the fabric and how the item will be used. Each one helps in its own way.
Cut-away stays in the fabric for a lifetime and gives strong support. It is best for stretchy items or things that get washed a lot.
Tear-away is easy to pull off and works great on fabrics that don’t stretch.
Wash-away dissolves in water and is perfect when you don’t want any stabilizer left or for very delicate fabrics.
When you know what each one does, it is easy to pick the right stabilizer.
Each stabilizer has its own quality:
Cut-Away
Stays in the fabric forever.
Best for stretchy or often-washed items.
Tear-Away
Easy to remove.
Good for stable fabrics like cotton or denim.
Wash-Away
Goes away with water.
Perfect for delicate items or when nothing should stay behind.
Do’s
Test the stabilizer on a scrap first.
Match the stabilizer weight to the fabric weight.
Use topping on towels or fleece.
Pick cut-away for anything stretchy.
Don’ts
Don’t put a heavy stabilizer on delicate fabric.
Do not rip the stabilizer too hard.
Do not skip tight hooping.
Do not use tear-away on stretchy fabric.
These easy rules give you clean and smooth embroidery every time.
Right stabilizer makes your embroidery much easier and better. When the stabilizer matches the fabric, you don’t get puckers, shifting or crooked stitches. Light cotton, knits, heavy denim or delicate silk all look sharp and professional with the correct backing.
If you are not sure about backing or design, True Digitizing is here. We make professional embroidery designs with the right settings so your design sews perfectly on any fabric.
Visit our website today. We offer different types of embroidery digitizing services at affordable rates. Contact us today and place an order now.Nick William has been immersed in the world of embroidery digitizing for over 20 years, earning 25 industry awards throughout his career. As a 3rd generation embroidery expert, Nick’s journey started in his family’s workshop, where he learned the art of digitizing before the rise of modern software. He has worked with leading commercial embroidery businesses and has shared his expertise with over 75,000 home and professional embroiderers. As an author at True Digitizing, Nick is passionate about teaching others how to create beautiful, precise designs through easy-to-follow tutorials and expert advice.
Categories

Top Best Embroidery Digitizing Software in 2026
06-05-2026
")
Best Multi-Needle Embroidery Machines for Startups 2026
28-02-2026

DST File: The Complete Guide (What It Is, How to Create, Convert & Use in 2026)
28-02-2026

Janome 550E vs Baby Lock Flare | Best Mid-Range Embroidery Machine?
26-02-2026

Choose the Right Fabric for Embroidery
20-02-2026

Advanced Techniques in Embroidery Digitizing
19-02-2026

Most Common Types of Threads to Use in Machine Embroidery
12-02-2026

AI in Embroidery | Revolutionizing Art and Efficiency
12-02-2026

Best Thread Tension 101 | A Guide for Embroidery Machines
09-02-2026

Mastering Small Lettering in Machine Embroidery
04-02-2026
Asked Questions


