
At True Digitizing, we transform your creative spark into flawless, high-quality embroidery digitized designs that bring your vision to life.
Our Blogs
We Accept
Copyright 2025 Truedigitizing
At True Digitizing, we transform your creative spark into flawless, high-quality embroidery digitized designs that bring your vision to life.
We Accept
Copyright 2025 Truedigitizing

Embroidery is a highly creative way to bring ideas to life, with the help of colorful threads, turning plain apparel or a hat into something distinctive and attractive. However, it does not matter about the size of any business. You already know that establishing a successful embroidery business involves more than simply a passion for embroidery. You may produce outstanding designs without stress or delays if you have a strong embroidery production workflow. Every stage of the process, from creating a design to delivering it to your client, will be covered in this blog post. We'll also discuss some pointers to assist you in doing your work more efficiently and successfully. So are you ready to improve your embroidery skills? Let's move ahead to this guide.
Imagine a customer comes to you with a sketch of their dream logo for a set of team jackets. Your job is to take that idea and make it real, stitch by stitch. The embroidery production workflow is the step-by-step plan you follow to do that, starting with the design, moving through stitching, and wrapping up with delivery. It’s like following a treasure map: each step gets you closer to a happy customer. A good workflow keeps things organized, cuts down on mistakes, and makes sure every piece looks amazing.
Right now, in 2025, embroidery is super popular. Everyone wants custom apparel. Think personalized tote bags, polos, or even funky home decor. Recent industry reports from 2025 say the embroidery market is growing like crazy because people love unique, high-quality stuff.
A streamlined workflow is what keeps you in the game. Here’s why:
You get orders done faster, so you can take on more projects.
You minimize waste of thread or fabric, saving costs..
Your work looks professional, which makes customers rave about you.
You hit deadlines, building trust with your clients.
Without a clear plan, you’re stuck fixing mistakes or missing deadlines, and that’s a quick way to lose customers.
Creating embroidered designs requires a precise fit, much like assembling a puzzle. Here are seven essential steps in this process, some helpful suggestions, and mistakes you should avoid.

It all starts with the design. This is where you nail down what your customer wants so you can bring their vision to life.
Chat with Your Customer: Ask about the details. How big should the design be? What colors? Where’s it going, like on a cap or a bag? Getting this right upfront saves you from headaches later.
Create or Grab the Artwork: If you’re making the design, use software like Adobe Illustrator to draw a clean, sharp version. If the customer sends you a file, make sure it’s clear, not some pixelated mess.
Get Their Okay: Show them a mock-up of the design on the item. Once they give you the green signal, you’re ready for the next step.
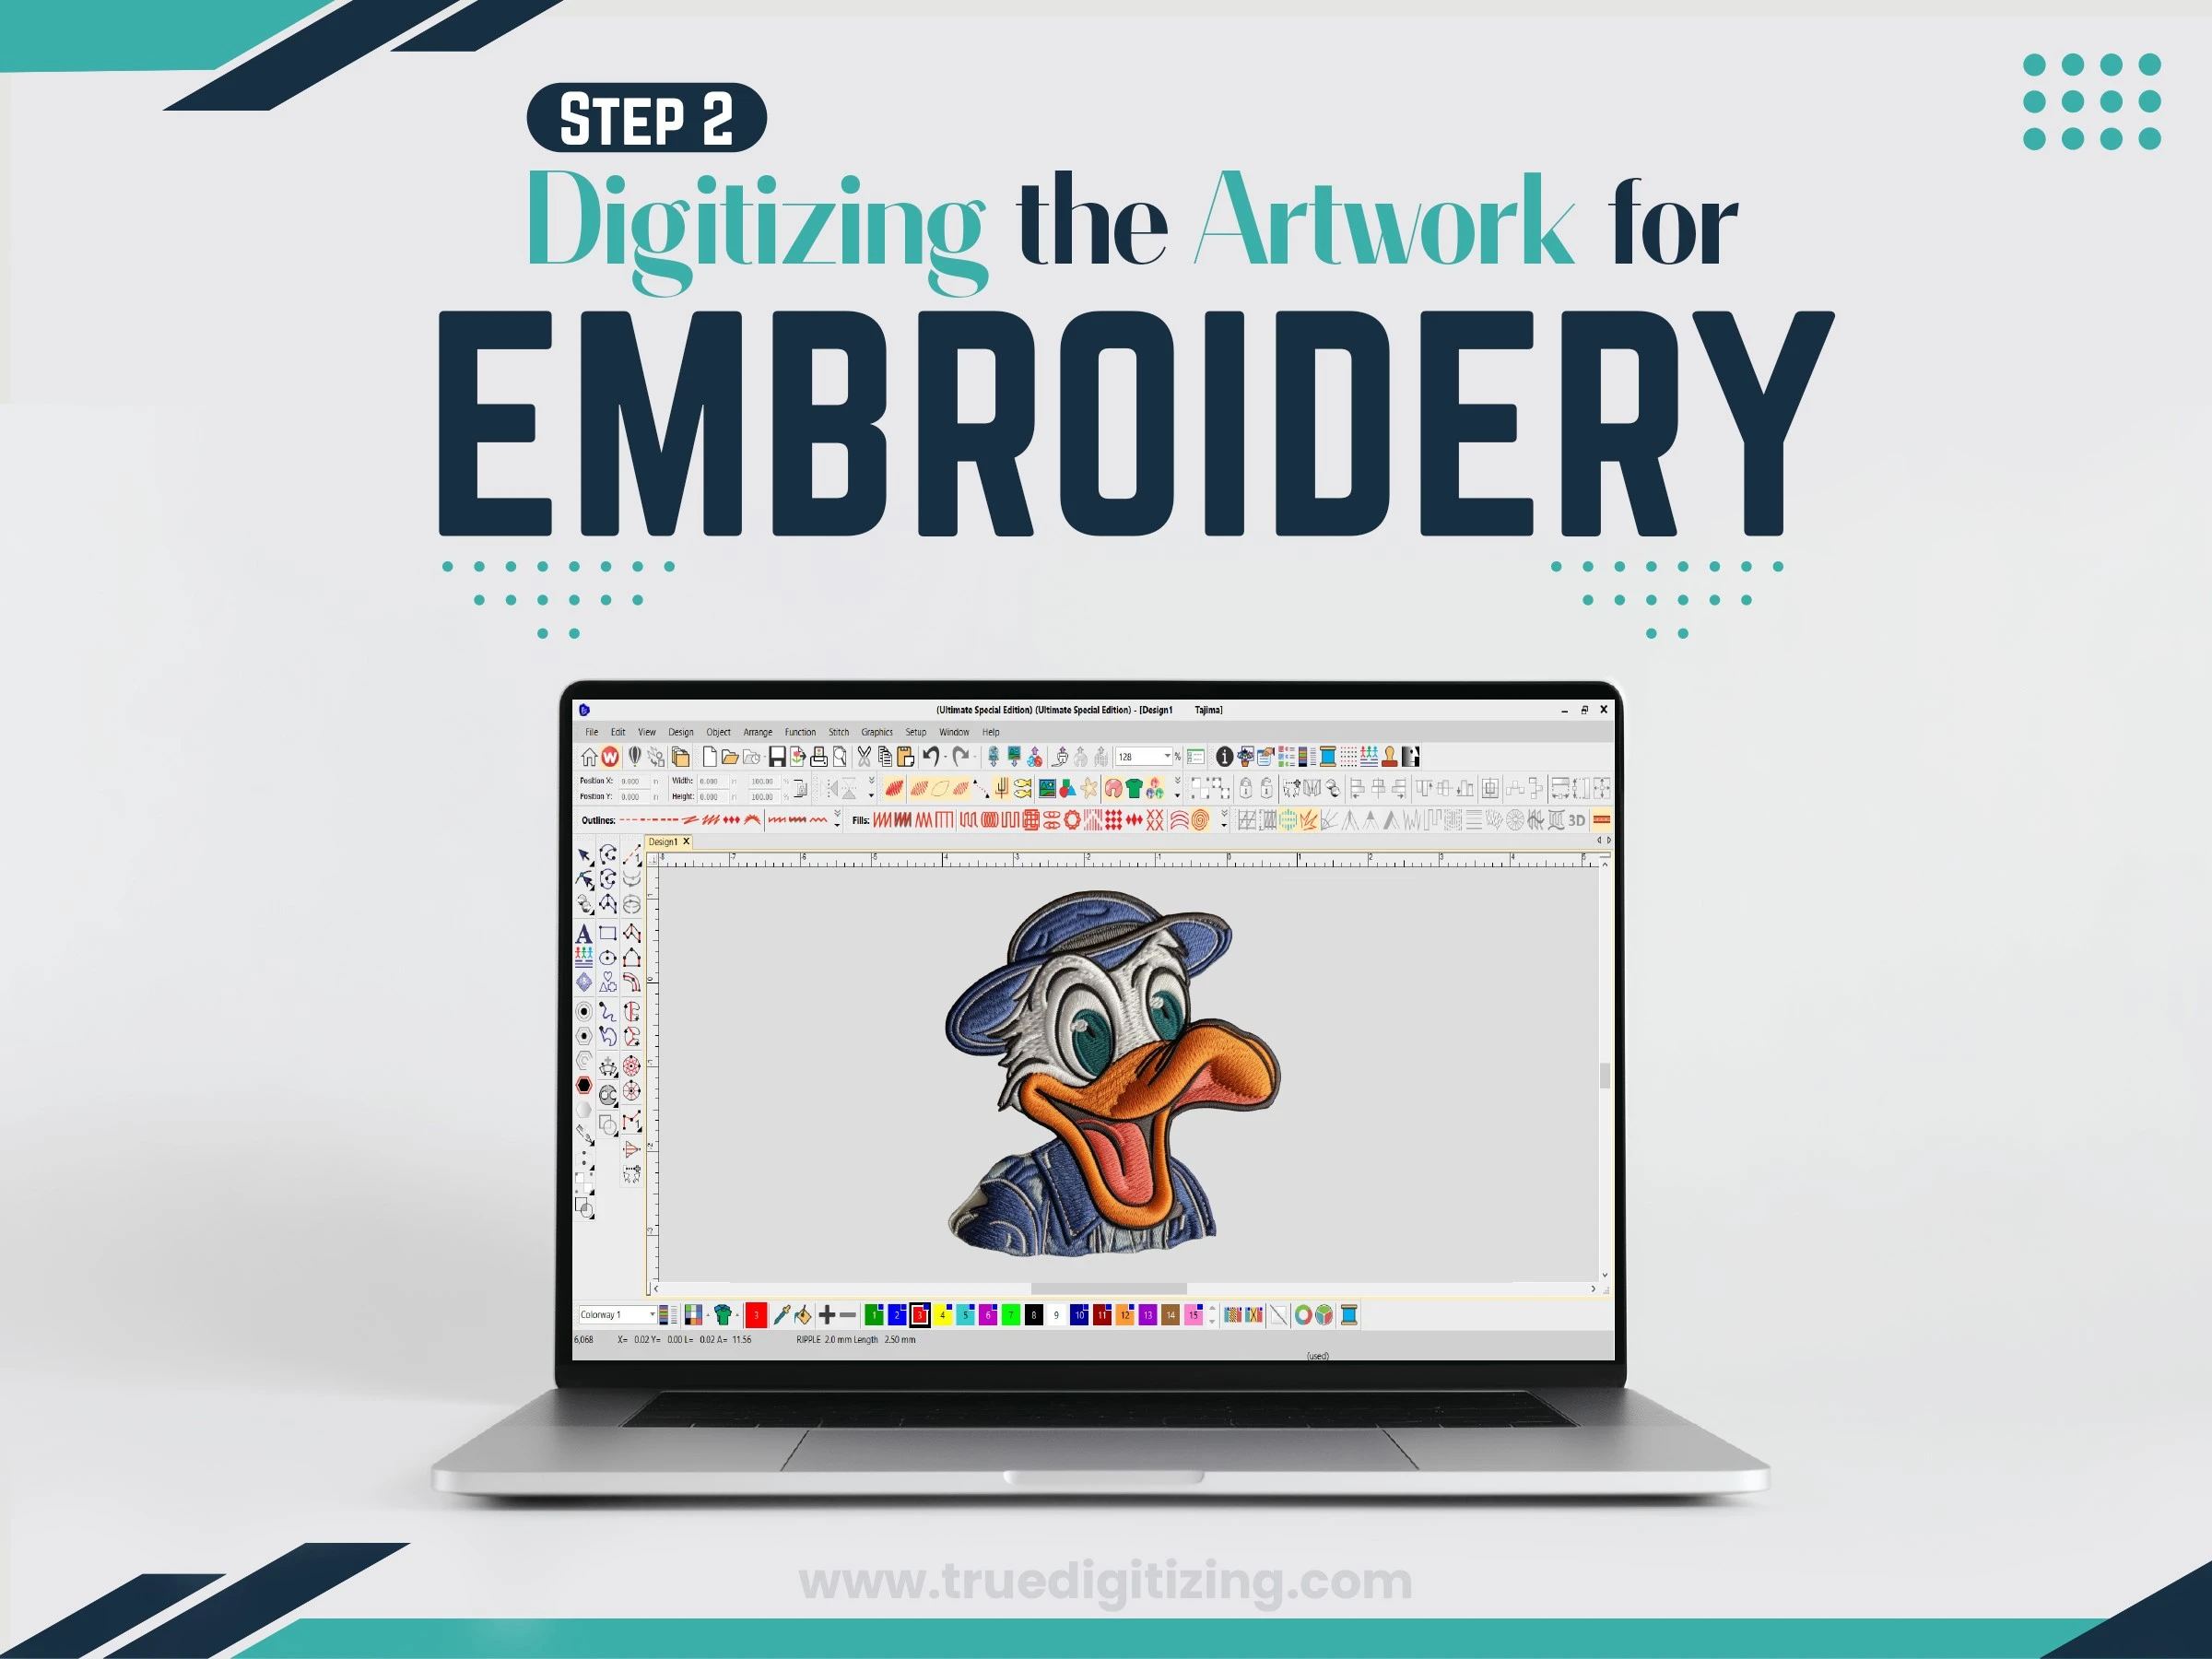
Digitizing is where you turn that design into something your embroidery machine can read. It’s a big deal because it affects how the final piece looks.
Pick the Right Software: In 2025, programs like Wilcom, Hatch, or Brother PE-Design are super popular. They’re easy to use and work with most machines.
Set Up the Stitches: You’ve got to choose the stitch style, like satin for borders or fill for bigger areas, and how tight the stitches should be. A design on a fluffy towel needs denser stitches than one on a cotton tee.
Double-Check the File: Save it in a format your machine likes, such as DST or PES, and make sure it’s error-free.
Neat Fact: A poorly digitized file can cause broken threads or a design that looks off, so don’t rush this part.
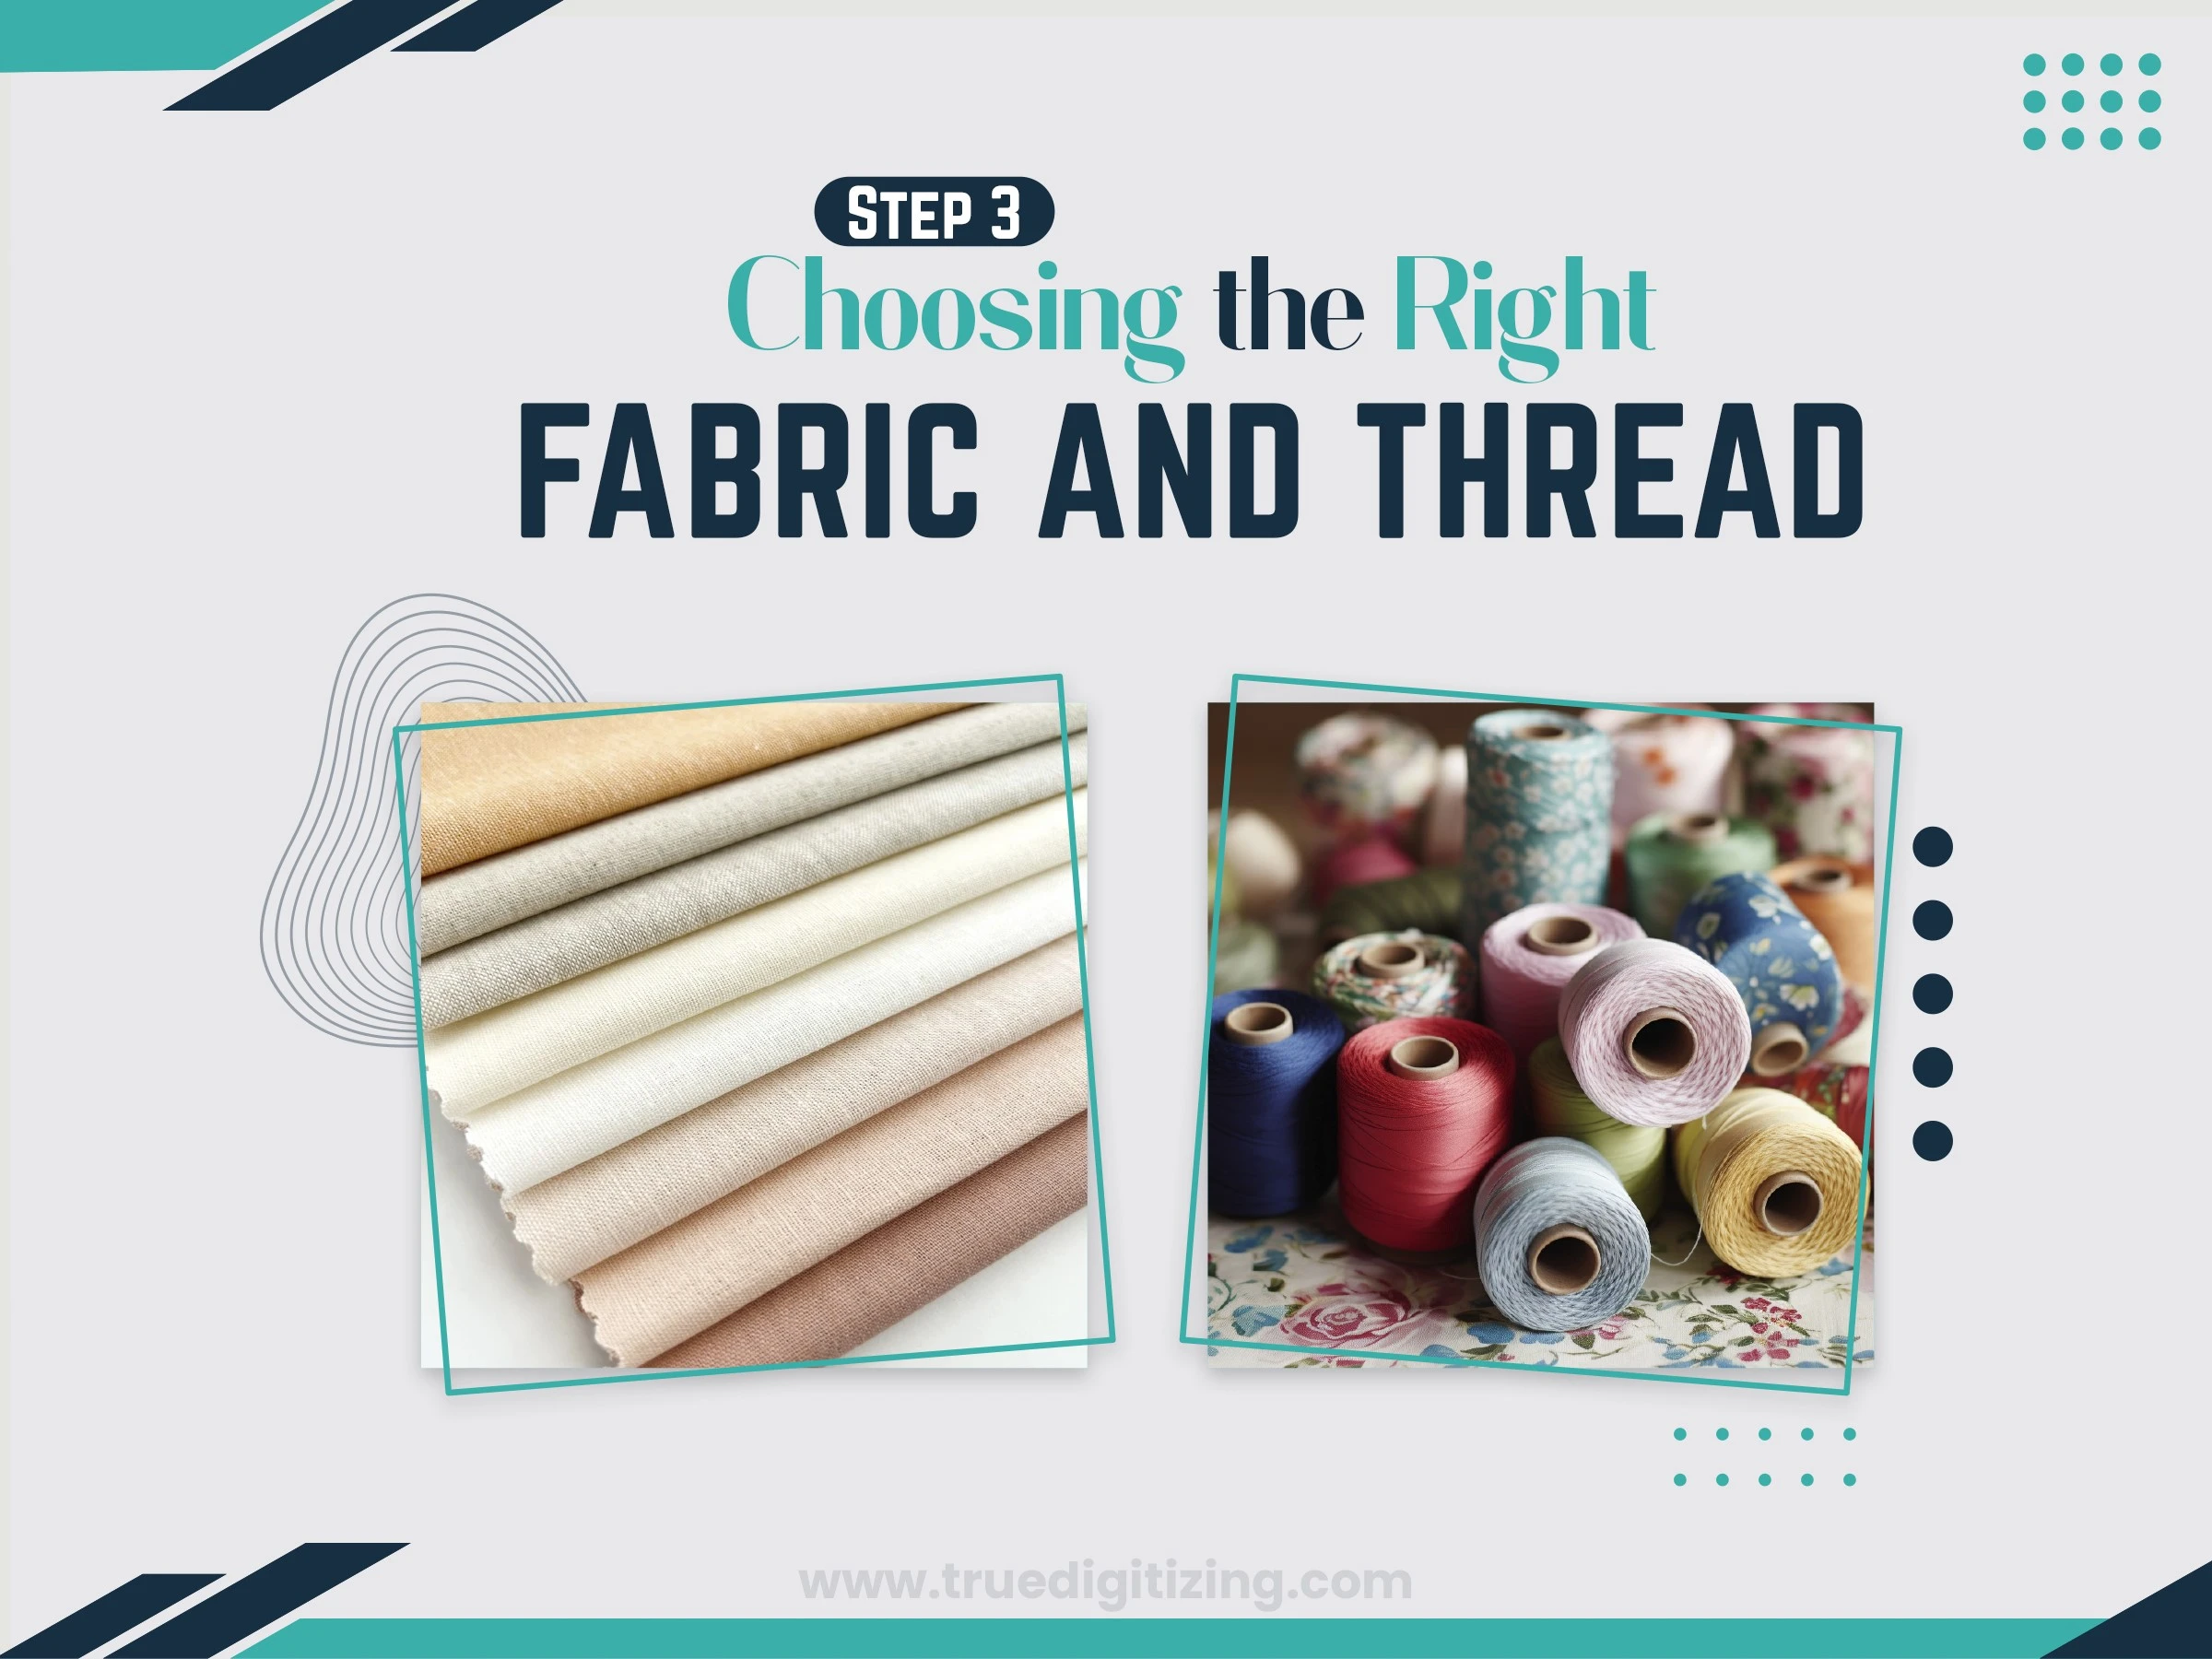
Your materials are everything. Pick the wrong ones, and even a great design can flop.
Find the Perfect Fabric: Make sure the fabric matches the project. Stretchy fabrics like fleece need extra support, but something sturdy like denim is easier to handle.
Choose Awesome Threads: Go for strong, bright threads like polyester or rayon. Brands like Madeira and Isacord are big in 2025 because they don’t fade easily.
Add Stabilizers: These keep your fabric steady while stitching. Use cut-away stabilizers for stretchy stuff and tear-away for stable fabrics.
Tip: List down what materials you have in a notebook or app so you’re never stuck waiting for supplies.
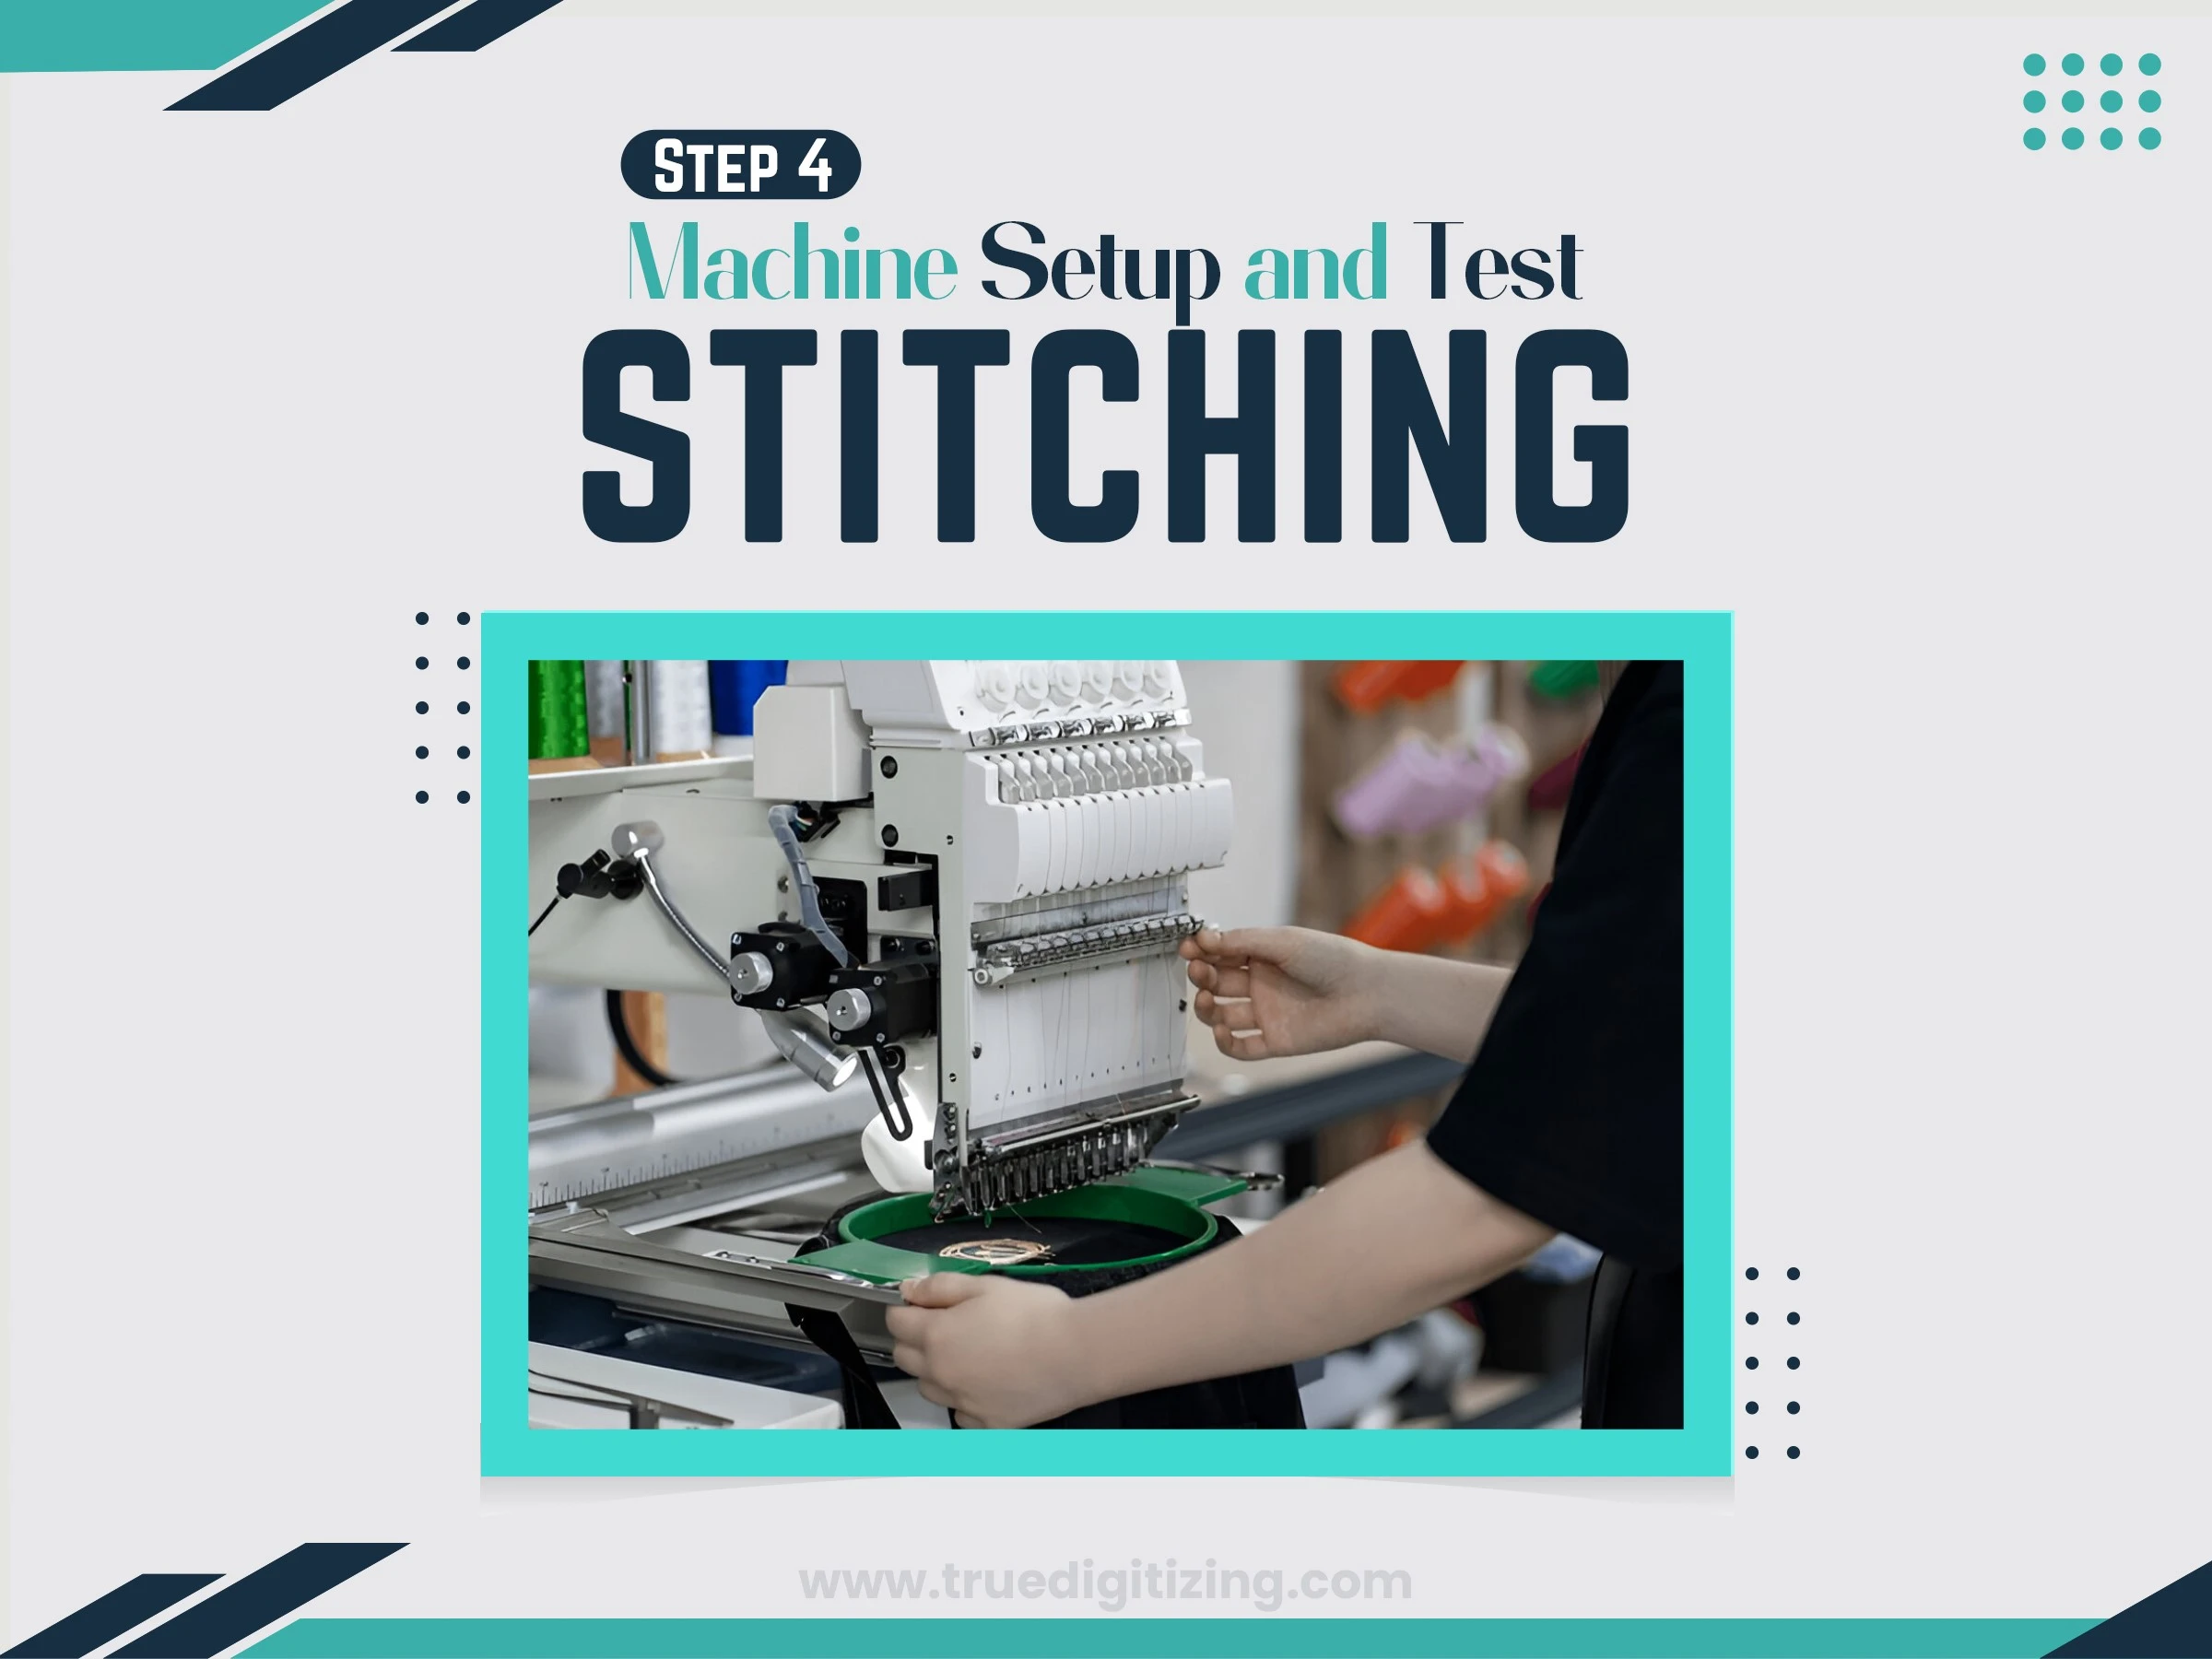
Getting your machine set up correctly is like preparing for an essential game; it must be flawless to prevent mistakes.
Set up the machine: Make sure that the thread tension is exactly correct and clean your embroidery machine, such as a Brother or Tajima.
Hoop the Fabric: To prevent shifting or puckering, firmly lock the fabric and stabilizer in the hoop.
Do a Test Run: Stitch the design on a scrap piece first to catch any issues, like threads not lining up or breaking.
Cool Fact: A 2024 industry survey showed that test stitching can cut mistakes by almost a third. It’s a small step that saves big headaches.
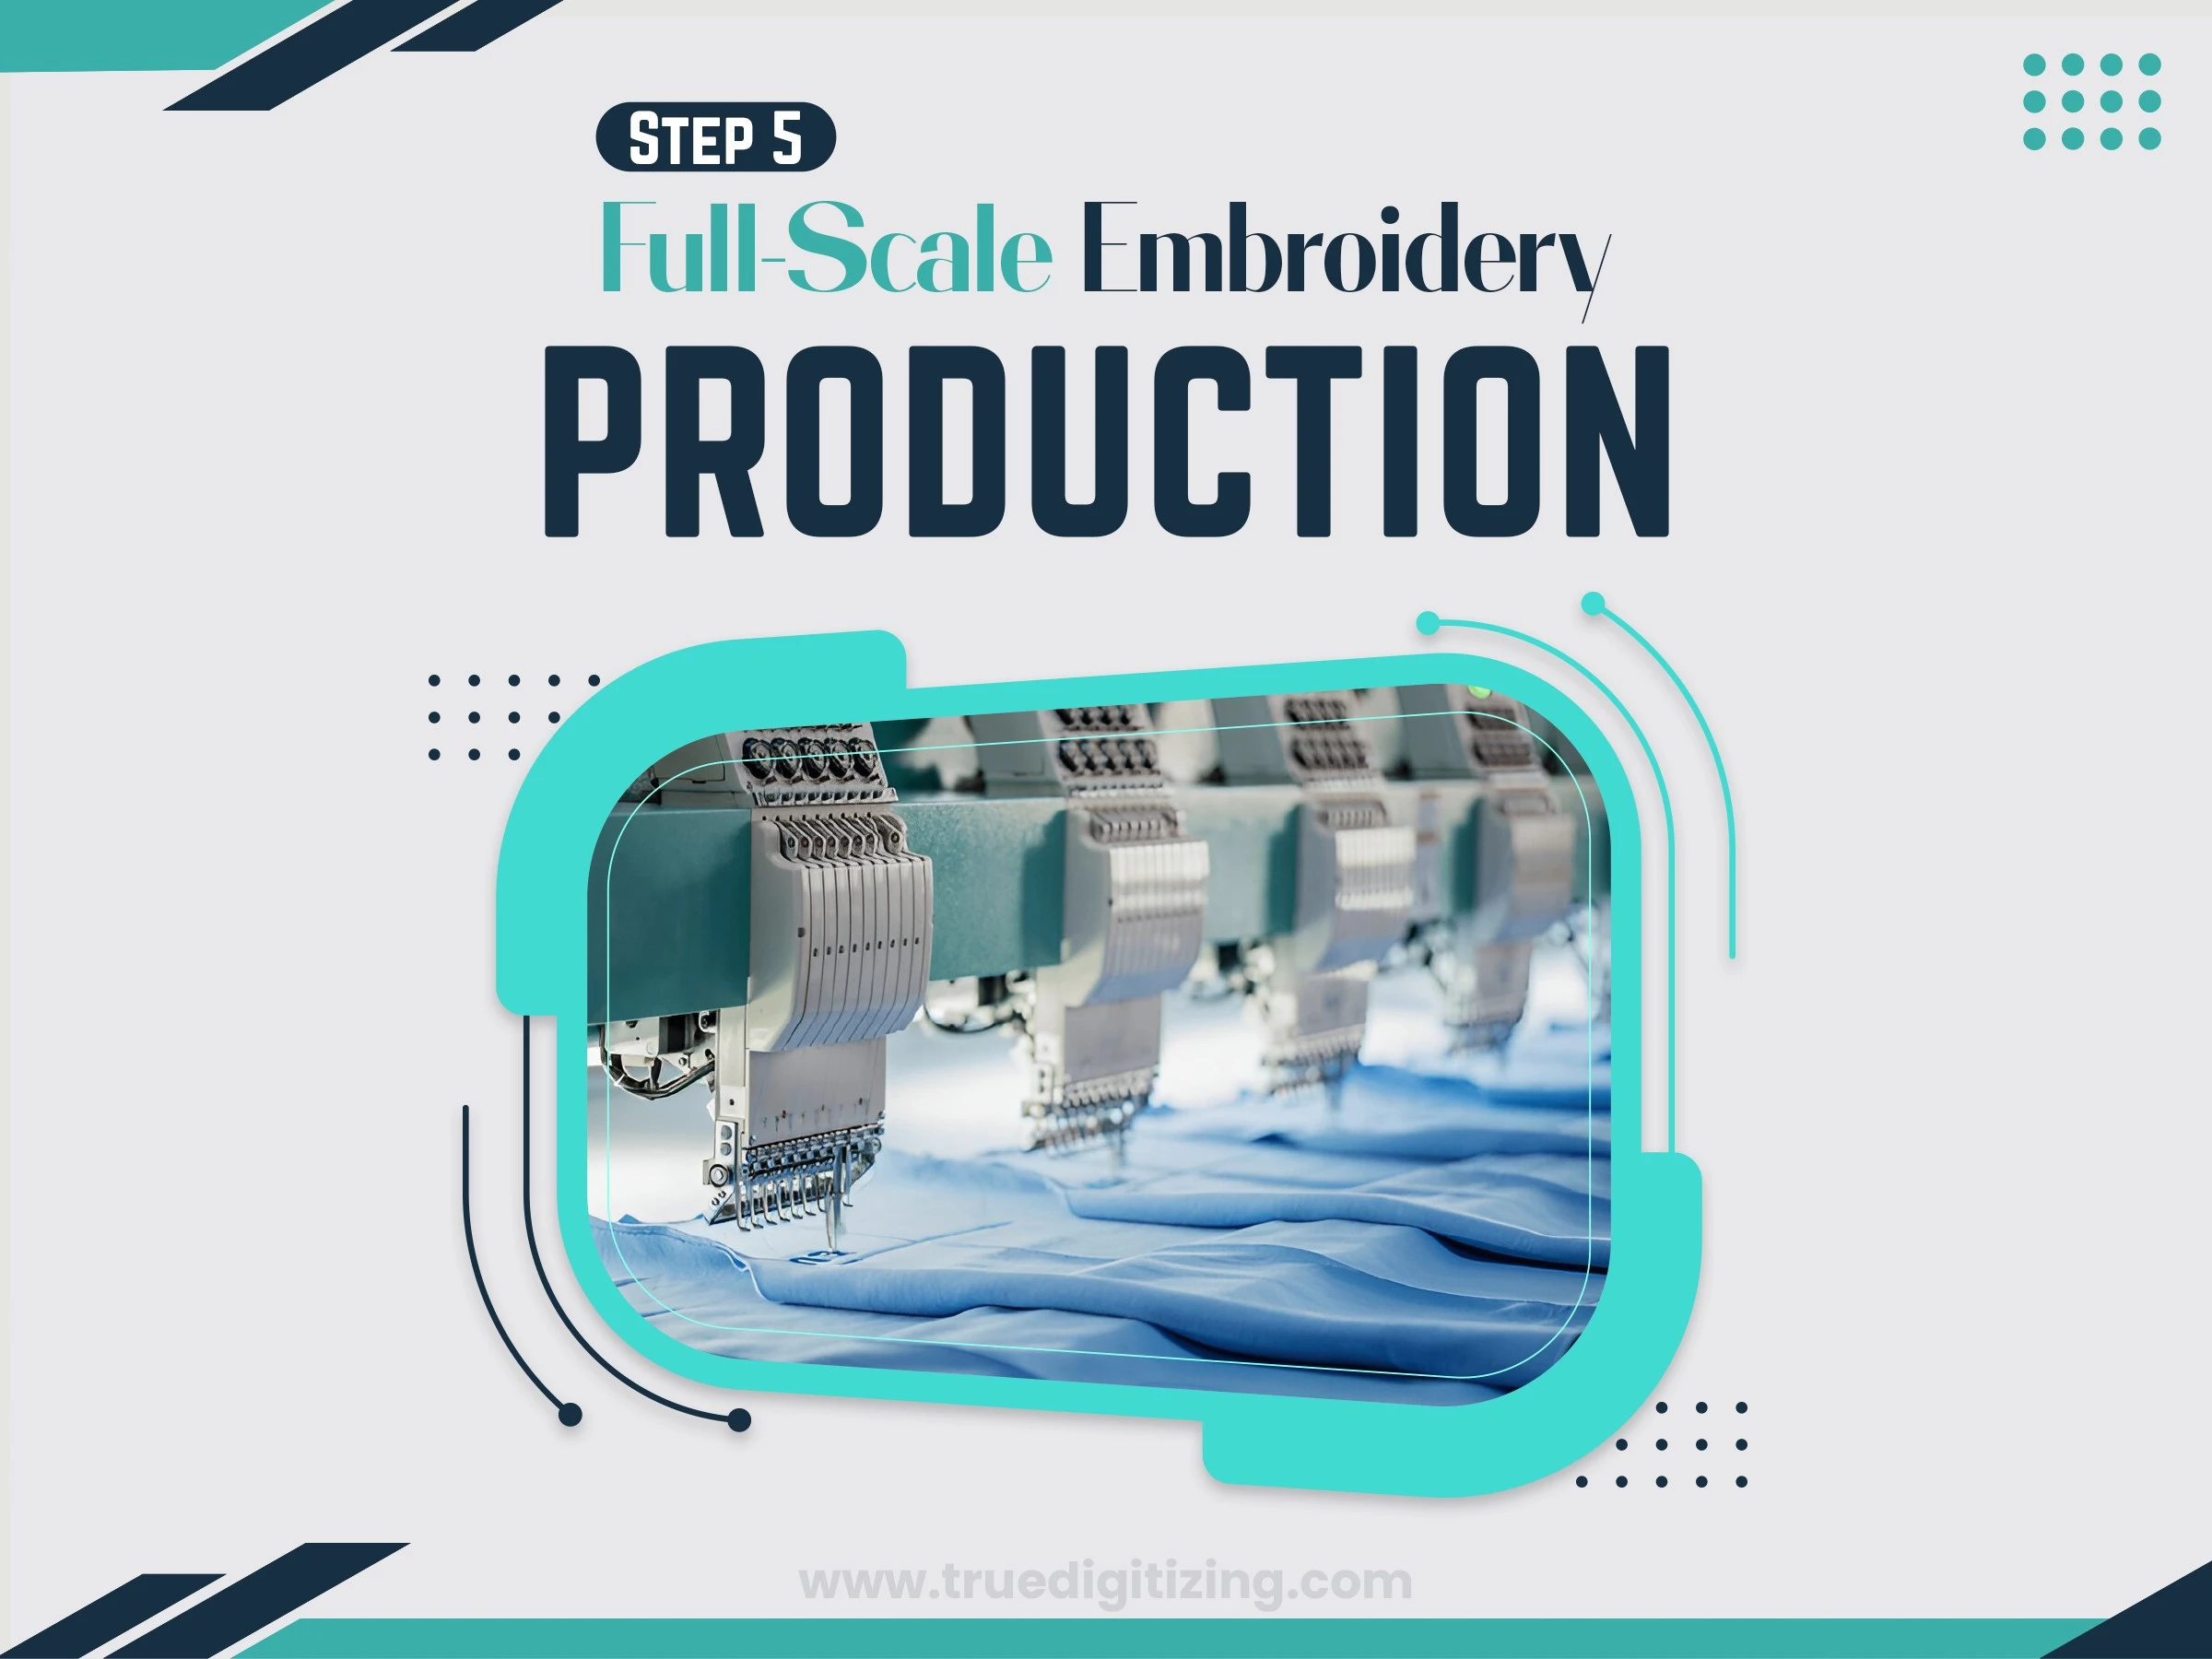
Once your test looks great, it’s time to get stitching for real.
Group Similar Orders: If you’ve got a bunch of orders with the same colors or designs, do them together to save time swapping threads.
Watch the Machine: Keep an eye out for problems like thread breaks or needle jams while it’s running.
Keep Your Machine Clean: Clean it regularly and swap out needles to avoid breakdowns.
Tip: For big orders, a multi-head machine can stitch multiple pieces at once, making things way faster.
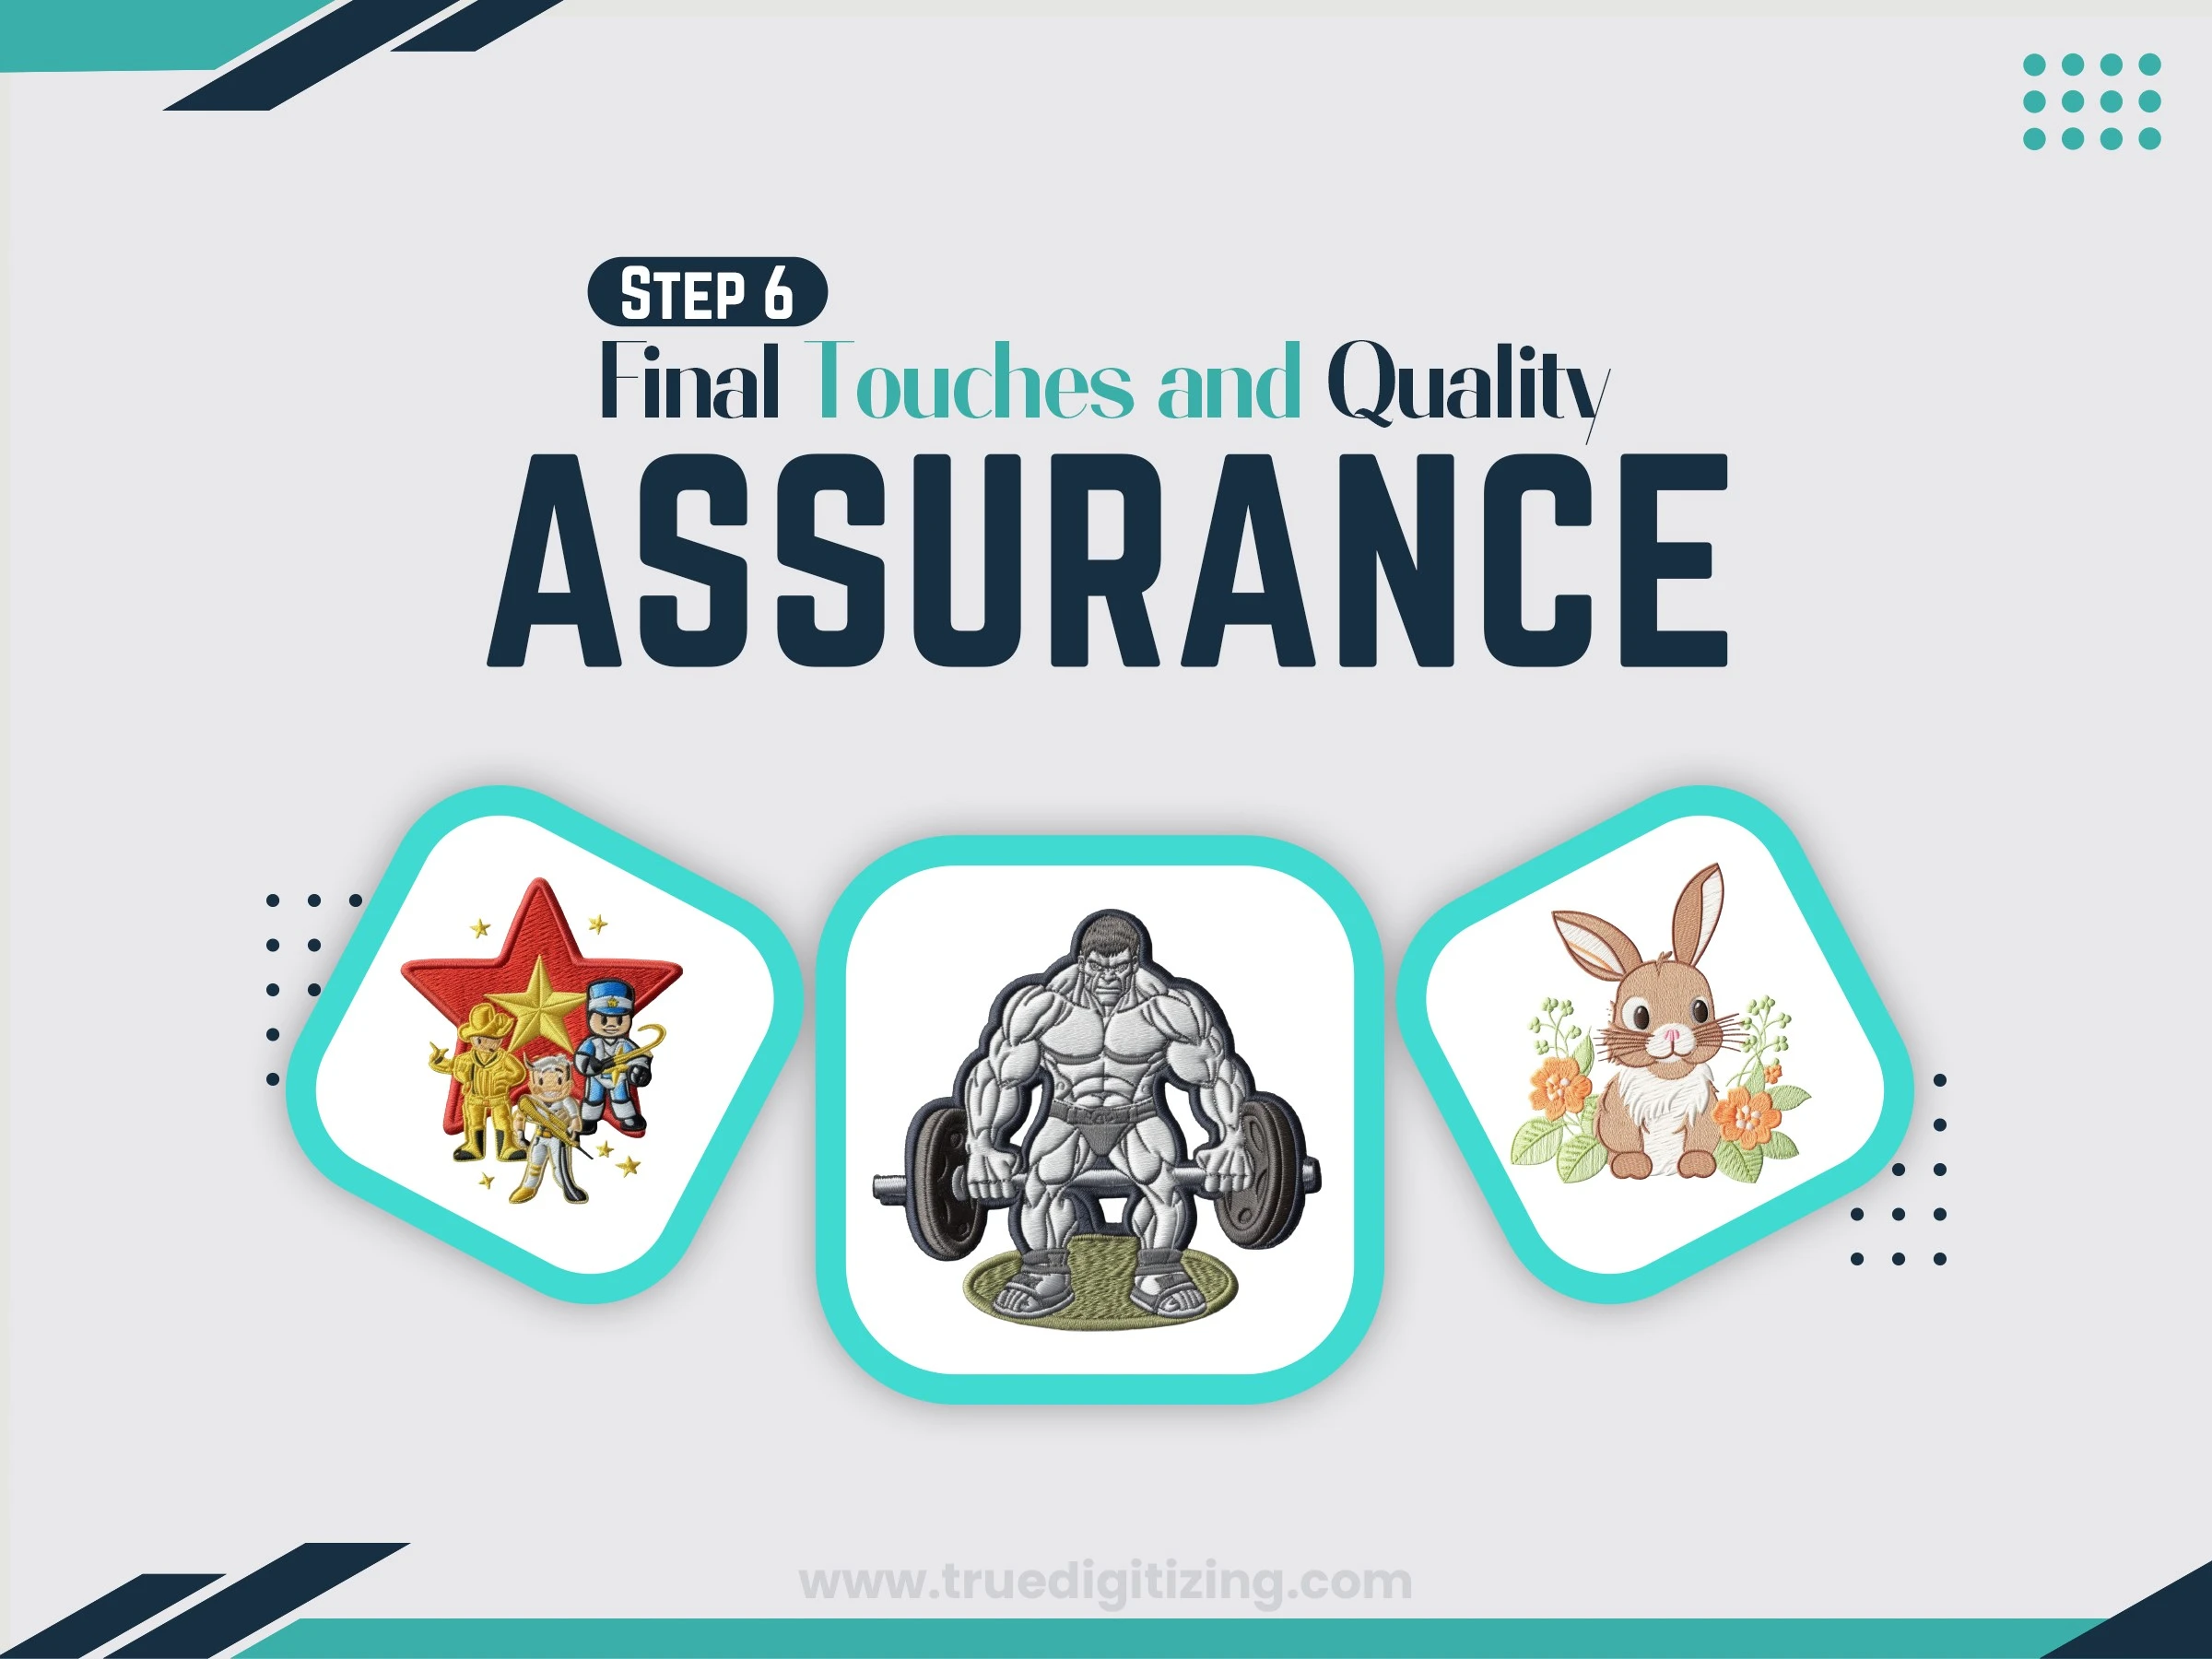
This is your opportunity to ensure that everything is flawless before it is delivered.
Check Every single Stitch: Check for any places that don't fit the design or loose threads. Carefully cut any leftovers.
Clean and Press: To give the object a clean, polished appearance, remove the stabilizers and iron it.
Match the Mock-Up: Check that the final result is precisely what the customer intended by comparing it to their design.
Recommendation: When managing many orders, have a checklist close to hand to ensure you don't miss anything.
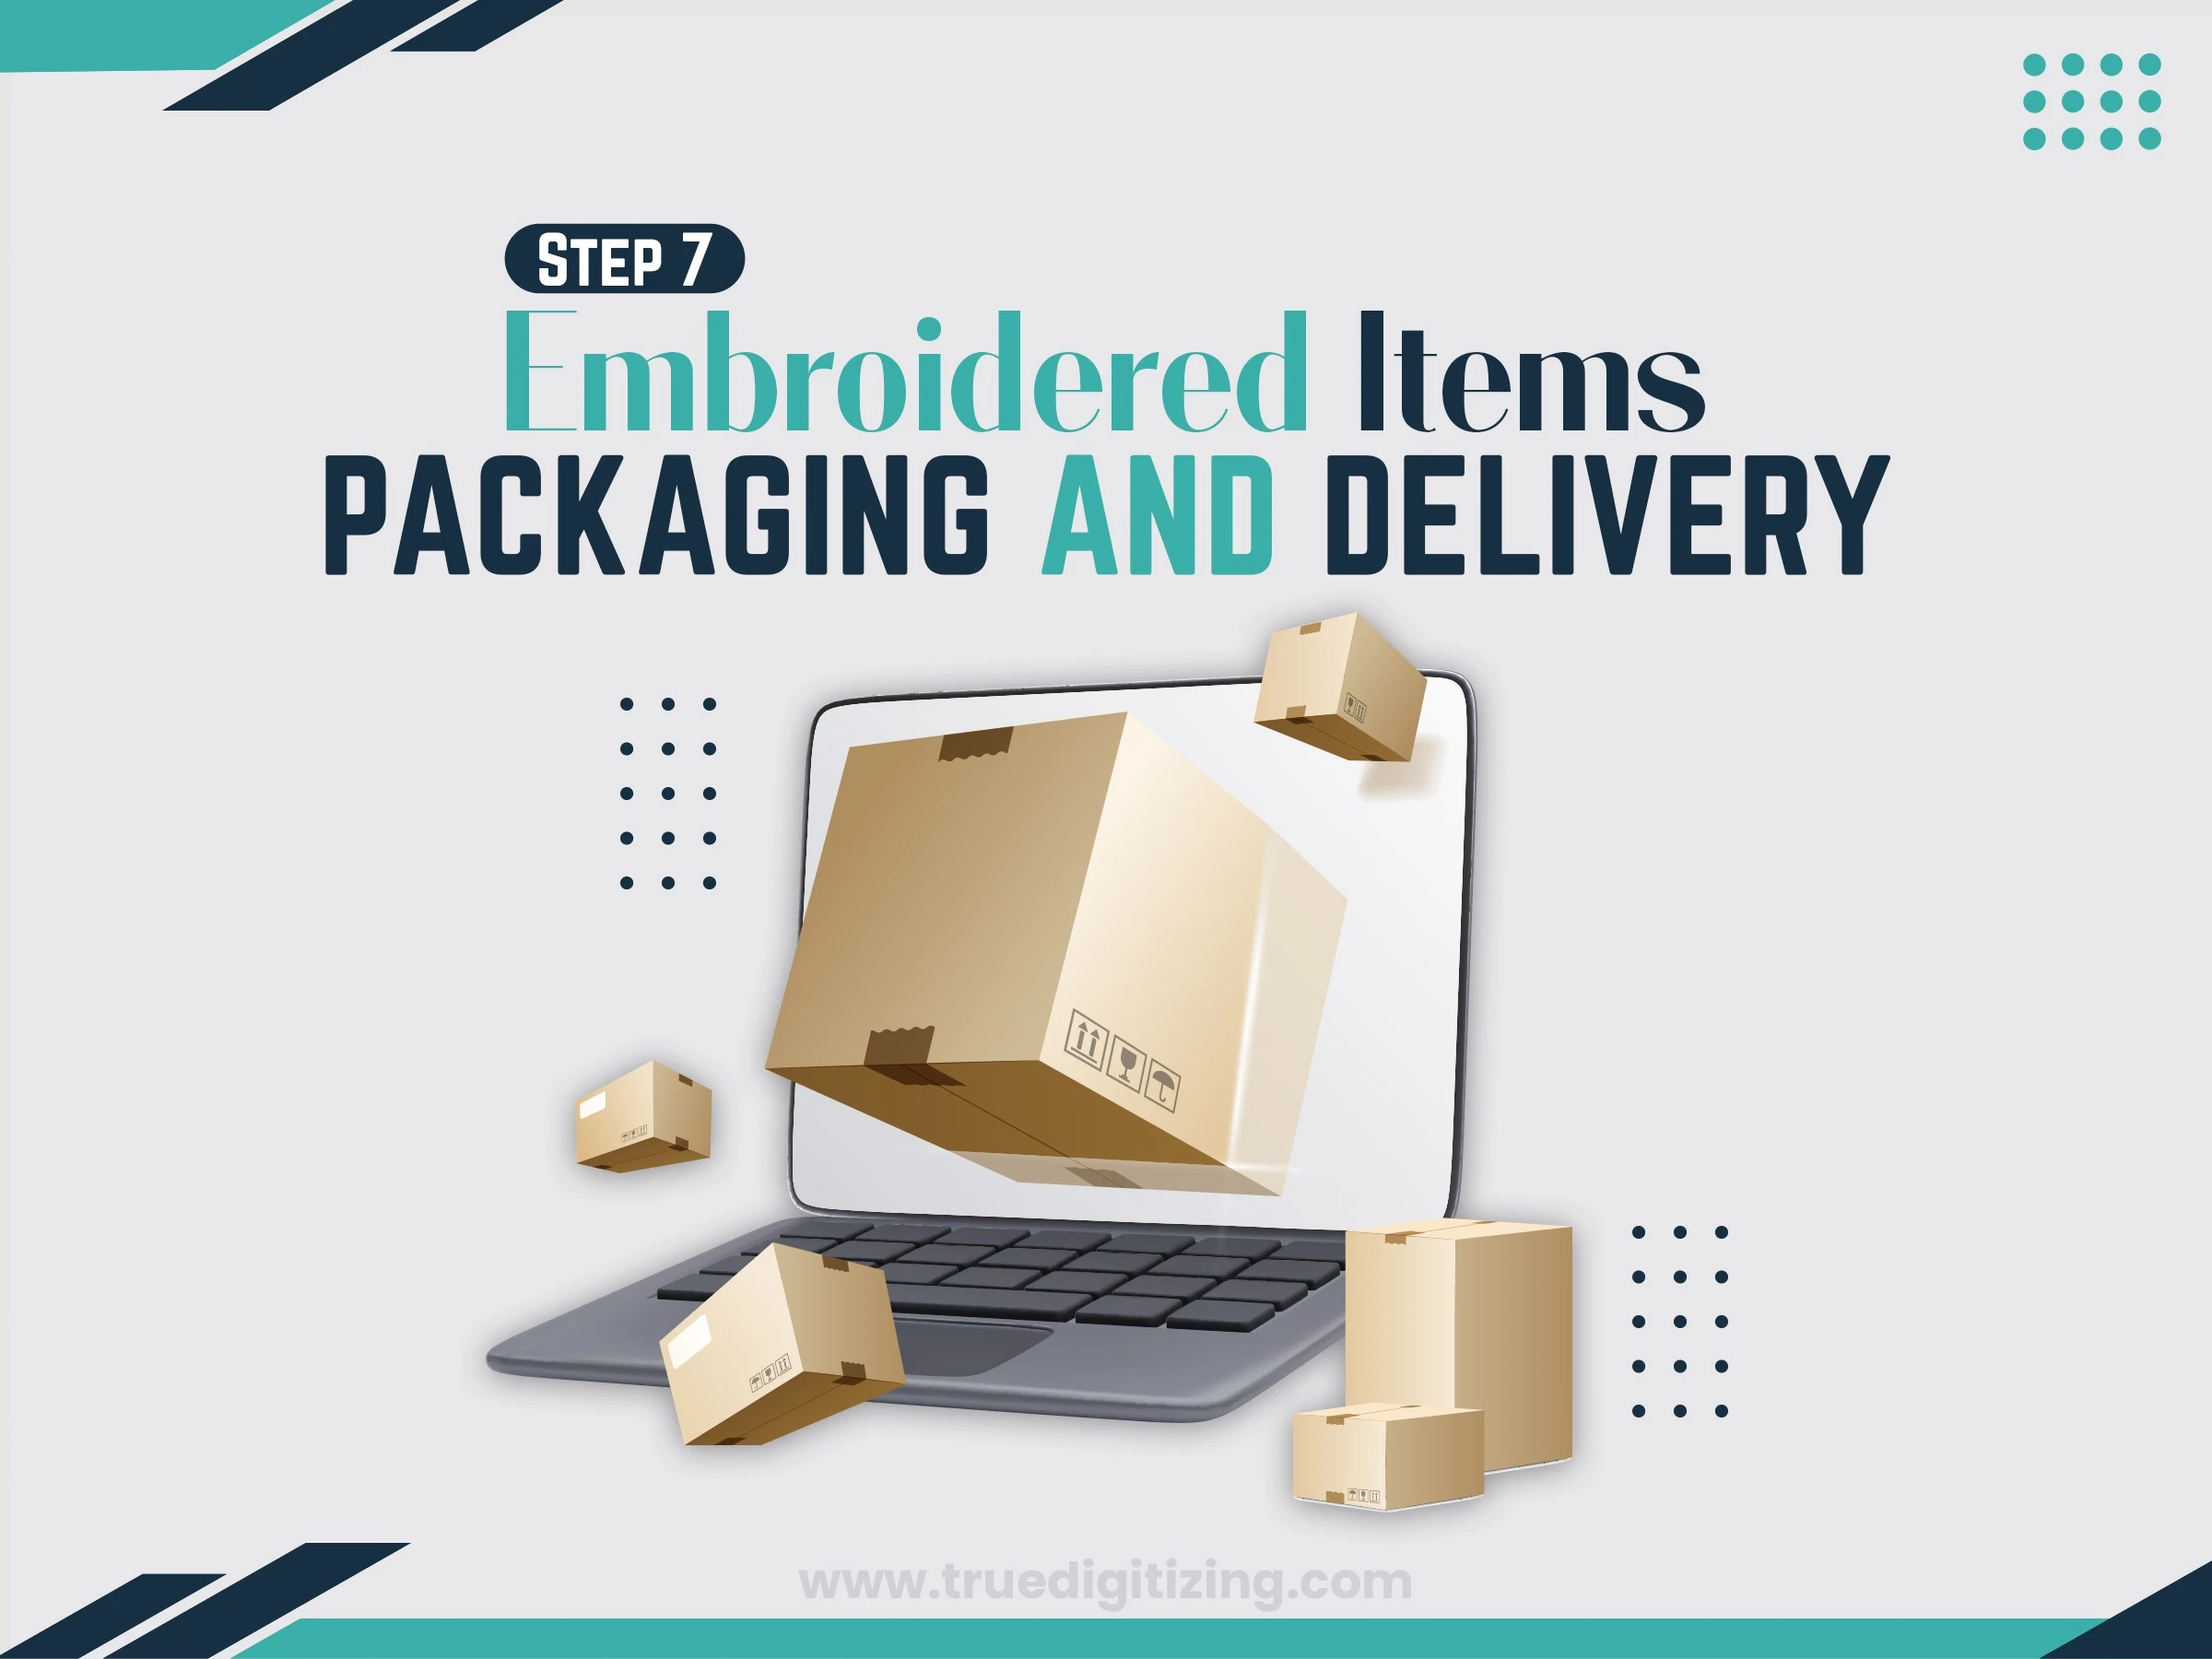
The final step is getting your work to the customer in style.
Pack It Well: Use strong bags or boxes to keep items safe during shipping.
Make It Special: Throw in a thank-you note or a cool branded sticker to wow your customer.
Track the Package: Give your customer tracking info so they know when their order will arrive.
Use an app to organize orders or track your supplies, it’s a game-changer.
Teach your team the ins and outs of digitizing and running machines so everyone’s ready to roll.
Keep customer chats in one spot, like WhatsApp, to avoid mix-ups.
Save up for newer machines or software, they’re worth it for speed and quality.
Create templates for designs you do a lot, so you’re not starting from scratch every time.

Don’t skip the test stitch, even if you’re in a rush. It's sure to lead to problems.
Stay away from cheap threads or stabilizers; they make your work look sloppy.
Don’t forget to clean your machine. A little maintenance goes a long way.
Be super clear with customers about their designs to avoid back-and-forth.
Don’t overwork your machines; it wears them out and messes things up.

Using a pen and paper, sit down and sketch the whole procedure. List down all of the tasks, along with who is doing it and when it should be finished. Apps like Trello or a basic spreadsheet can keep you organized. Every few months, check what’s slowing you down; maybe you’re spending too long on digitizing or cutting corners on quality checks. Make small tweaks as you go, and stay on top of trends, like eco-friendly threads, which are popular in 2025. A solid workflow grows with your business.
A reliable embroidery production workflow acts like your playbook for success., helps you to create exceptional designs stress-free. Follow these seven steps to keep your customers happy and your business operating efficiently: create a flawless design, meticulously digitize, select the right materials, set up your machine, sew carefully, check every detail, and deliver with a smile. Skip shortcuts like cheap supplies or rushing through tests, and use tools and training to stay sharp. In 2025, embroidery is all about mixing creativity with a smart process. Get your workflow sorted, and you’ll be stitching up a storm in no time.
Nick William has been immersed in the world of embroidery digitizing for over 20 years, earning 25 industry awards throughout his career. As a 3rd generation embroidery expert, Nick’s journey started in his family’s workshop, where he learned the art of digitizing before the rise of modern software. He has worked with leading commercial embroidery businesses and has shared his expertise with over 75,000 home and professional embroiderers. As an author at True Digitizing, Nick is passionate about teaching others how to create beautiful, precise designs through easy-to-follow tutorials and expert advice.
Categories

Top Best Embroidery Digitizing Software in 2026
06-05-2026
")
Best Multi-Needle Embroidery Machines for Startups 2026
28-02-2026

DST File: The Complete Guide (What It Is, How to Create, Convert & Use in 2026)
28-02-2026

Janome 550E vs Baby Lock Flare | Best Mid-Range Embroidery Machine?
26-02-2026

Choose the Right Fabric for Embroidery
20-02-2026

Advanced Techniques in Embroidery Digitizing
19-02-2026

Most Common Types of Threads to Use in Machine Embroidery
12-02-2026

AI in Embroidery | Revolutionizing Art and Efficiency
12-02-2026

Best Thread Tension 101 | A Guide for Embroidery Machines
09-02-2026

Mastering Small Lettering in Machine Embroidery
04-02-2026
Asked Questions


