
At True Digitizing, we transform your creative spark into flawless, high-quality embroidery digitized designs that bring your vision to life.
Our Blogs
We Accept
Copyright 2025 Truedigitizing
At True Digitizing, we transform your creative spark into flawless, high-quality embroidery digitized designs that bring your vision to life.
We Accept
Copyright 2025 Truedigitizing

Now start reading this blog post and make it really easy for everyone to understand. Here we go.
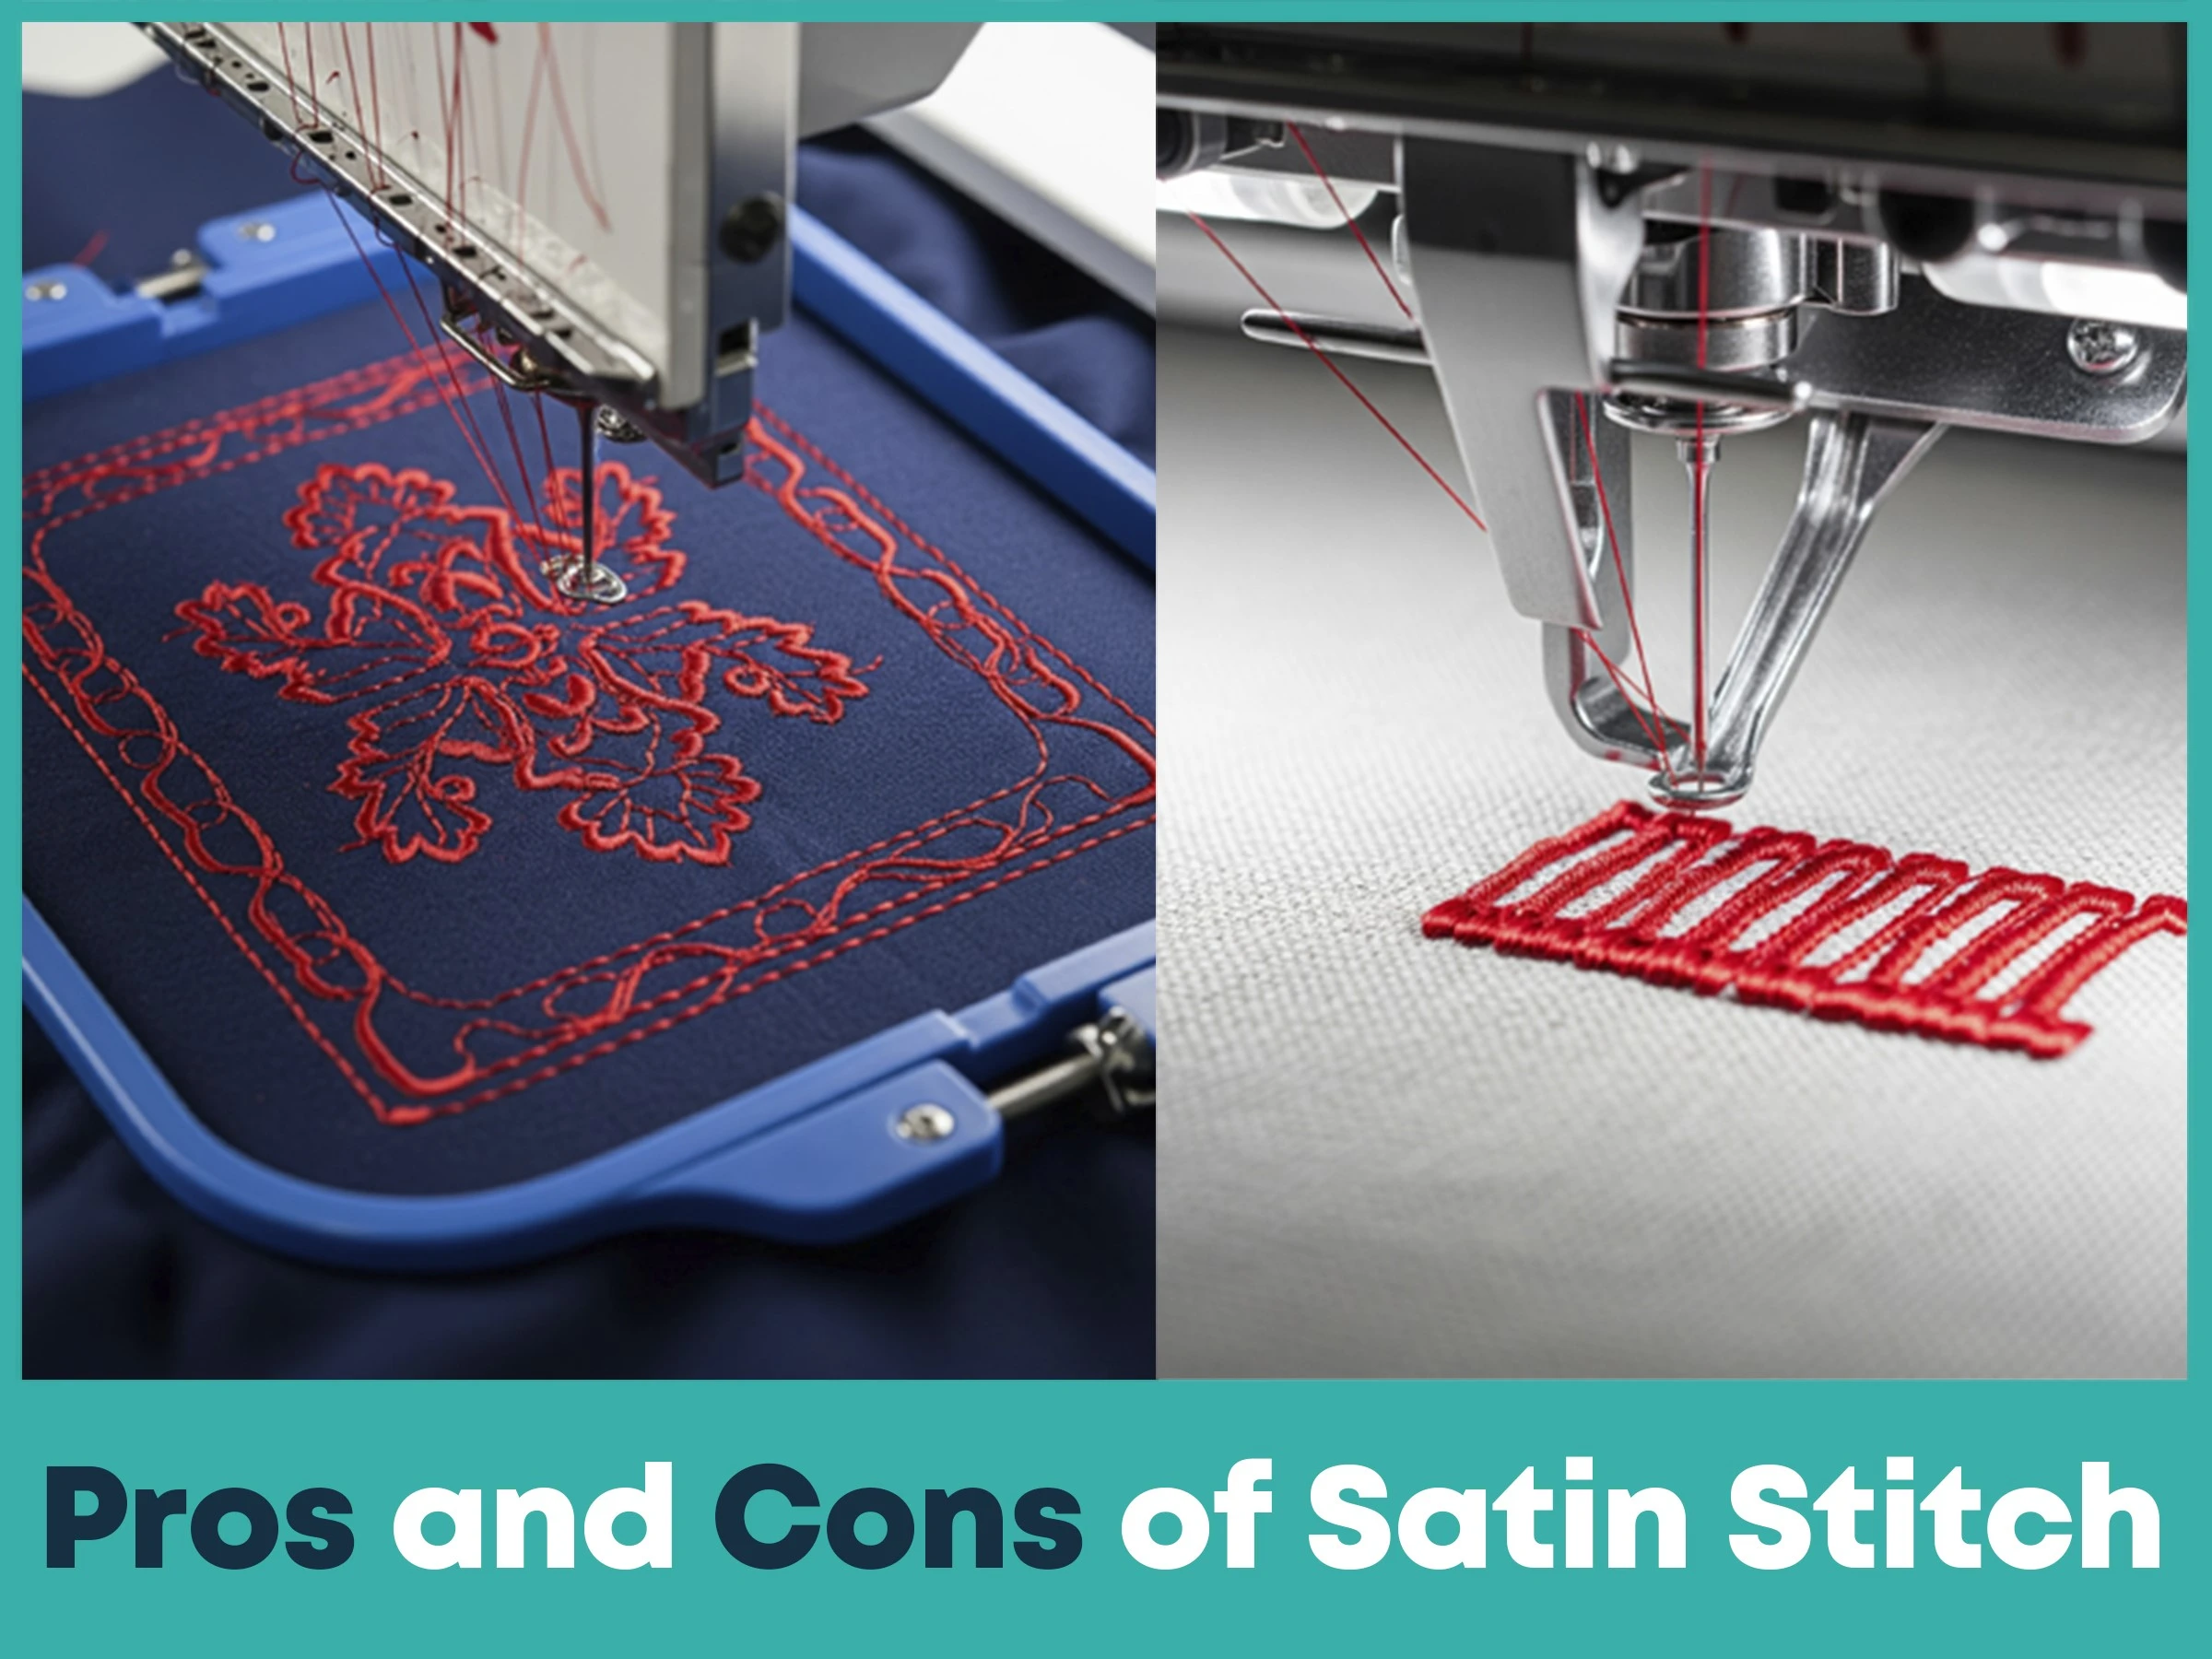
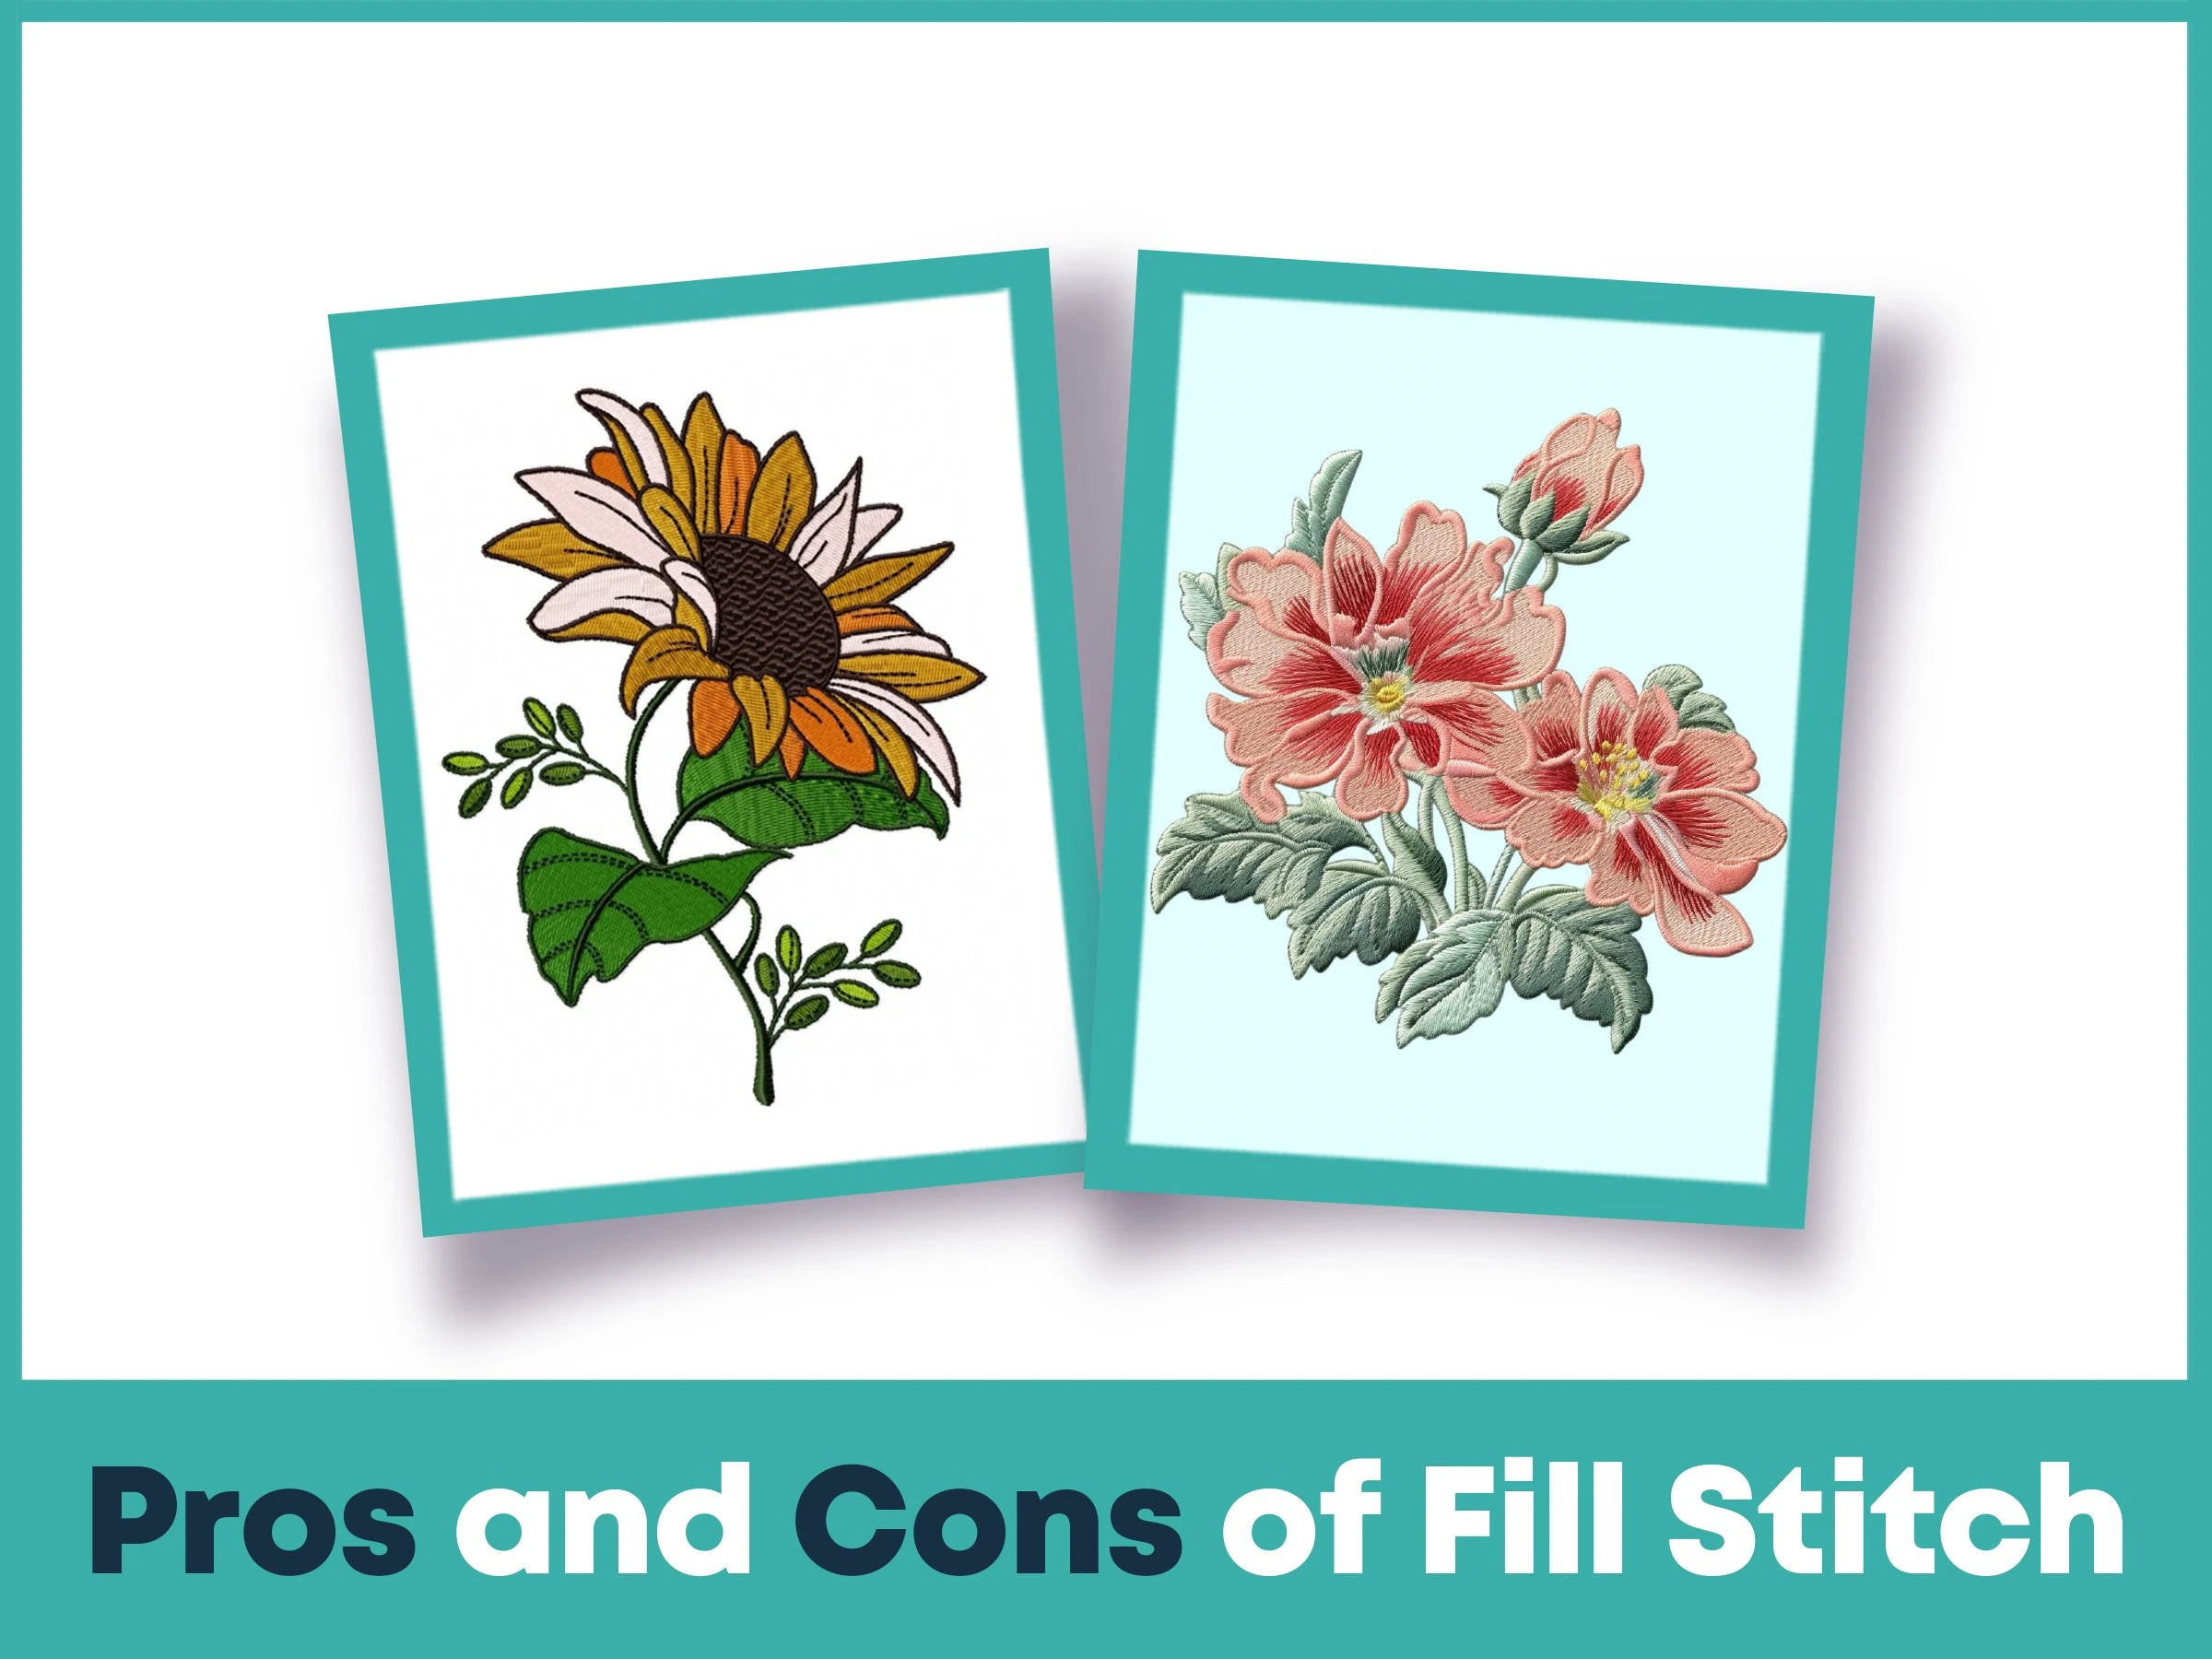
Imagine a design that has a clear, smooth surface that nearly seems to shine.That’s the essence of satin stitch. It’s made by laying straight stitches right next to each other. It is perfect for stuff like names on a towel, thin borders around a logo, or small details like flower petals.
Now, fill stitch is a whole different beast. Sometimes called tatami or weaving stitch, it’s your go-to for covering bigger areas with a solid, textured feel. Instead of long, straight stitches, it uses short, crossing ones that look kind of woven mat. It’s great for filling in stuff like the background of a design, a big heart, or a chunky logo shape.
By the way, with the help of embroidery digitizing software, you can experiment around with fill stitch patterns, suppose zigzag or basketweave to give your design an awesome look. You can also change things like stitch angle or how dense the stitches are to get the exact vibe you want. It’s tough, versatile, and awesome for designs that need to last.
.webp)
So, how do you know which stitch to pick? Here’s the lowdown on how they stack up:
Size of the Area: Satin stitch is great for small, narrow spots, think 10-12mm wide at most. Fill stitch is better for big, wide shapes that need to be completely covered.
How It Looks: Satin stitch has a sleek, glossy finish, like you’d see on fancy text or outlines. Fill stitch gives a textured, almost woven look, perfect for bold, solid designs.
Thread Usage: Satin stitch uses less stitches for small areas, so it’s easier for you. Fill stitch uses more thread because it’s packed in many stitches.
How Tough It Is: Satin stitch can loosen up over time, especially if it’s stretched too wide. Fill stitch is stronger, holding up great on stuff that gets washed a lot.
Overall Vibe: Satin stitch feels elegant and refined, ideal for delicate details. Fill stitch is more practical, awesome for wide designs or backgrounds.
Your choice depends on what you’re stitching and the effect you’re aiming for.
Satin stitch is when you want something that looks sharp and classy. Here’s when it’s the way to go:
Names or Lettering: Perfect for stitching names on towels or logos on shirts. Makes them stand out.
Borders and Edges: Gives designs clean, crisp outlines that look super professional.
Small Details: Think small shapes like leaves, letters, vines, or thin lines in a pattern, Use to filling small areas of design.
Fancy Fabrics: If you’re working on silk or lightweight stuff, satin stitch adds a touch of elegance.
Suppose you’re making a logo for a boutique’s tote bags. Satin stitch is ideal for clear, crisp text or thin decorative lines.
Although it's not difficult to set up satin stitch on your machine, you must pay attention to do it perfectly. Let's have a look at step-by-step guide.
Pick a Design: Satin stitch is usually used to create shape or border in your software, like Wilcom or Brother PE-Design.
Set Your Stitches: Aim for a stitch length of about 2 to 4mm and keep the width under 10mm. Make sure the stitches follow the shape’s curves for a smooth look.
Adjust Density: Go for a spacing of 0.4-0.6mm so there’s no gaps but not too much thread piled up.
Choose Thread and Needle: Use good embroidery thread; rayon or polyester are solid choices and a needle that fits your fabric, like a 75/11 for lightweight stuff.
Test It First: Stitch a sample on similar fabric to check for wrinkle or gaps. Add underlay stitches if the fabric needs a little extra support.
Start Stitching: Hoop your fabric tightly, upload the design, and let the machine work its magic. Watch for any thread breaks or tension issues.
One trick: Always use a stabilizer, like tear-away for medium fabrics, to keep things from getting wonky.
Satin stitch is a versatile technique used across many embroidery applications., it works for multiple projects. You’ll see it in:
Home Stuff: Pretty borders on tablecloths, napkins, or curtains.
Accessories: Adding flair to bags, scarves, or even shoes with clean outlines.
Gifts: Personalizing towels, blankets, or baby bibs with custom designs.
In 2025, satin stitch is super popular for minimalist logos on eco-friendly clothes, like organic cotton shirts, giving brands a clean, green look.
Looks Gorgeous: That shiny, smooth finish makes small details pop.
Saves Thread: Uses less thread for narrow areas, keeping costs down.
Works on Most Fabrics: From cotton to silk, it’s super flexible.
Quick for Small Designs: Fewer stitches mean it’s done faster.
Can’t Go Too Wide: Over 10-12mm, stitches can get loose or messy.
Tension’s Tricky: Needs perfect machine settings to avoid uneven results.
Not the Toughest: Can wear out on stuff that’s washed a lot if not done right.
Digitizing Takes Care: You are going to nail the underlay and density setting to avoid fabric issues.
.webp)
Fill stitch is your go-to for big, larger embroidered areas that need a solid look. Here’s how to set it up:
Choose a Shape: Pick a larger spaces, like a background or big motif, in your software.
Pick a Pattern: Try something like tatami or a motif fill to match your design’s style.
Tweak Settings: Set stitch length to 3-4mm and density to 0.3-0.5mm. Adjust the stitch angle like 45° for a cool vibe.
Add Underlay: Use a tatami or lattice underlay to keep the fabric from puckering.
Test It Out: Run a sample to spot any gaps or too-heavy threads. Adjust as needed.
Get Stitching: Hoop the fabric with a stabilizer. Cut away for stretchy stuff, load the design, and let it roll.
Double-check your machine’s tension to avoid loops or pulling.
Fill stitch is perfect when you need something fill larger areas. Use it for:
Big Areas: Backgrounds, animals, or chunky shapes that need full coverage specially larger design.
Sturdy Fabrics: Denim, canvas, or towels that can handle dense stitching.
Textured Designs: Think landscapes, geometric patterns, abstract stuff or shading .
Long-Lasting Items: Great for workwear or bags that get used a lot.
For example, a big flower embroidery design on a denim jacket? Fill stitch will make it bold and built to last as it has closely spaced stitches.
Covers Big Spaces: Use fill stitch to cover large areas without losing shape or stability.
Super Durable: Holds up great on stuff that gets washed or used a ton.
Lots of Options: Different patterns and angles let you get creative.
Good for Tough Fabrics: Performs well when used on suitable fabrics with the right stabilizer.
Uses Lots of Thread: May require more thread, increasing production costs also may reduce machine speed to avoid thread break.
Takes a While: Dense patterns take longer to stitch out.
Needs Careful Setup: Wrong settings can cause puckering or uneven coverage.
Not as Fancy: Doesn’t have the glossy, elegant look of satin stitch.
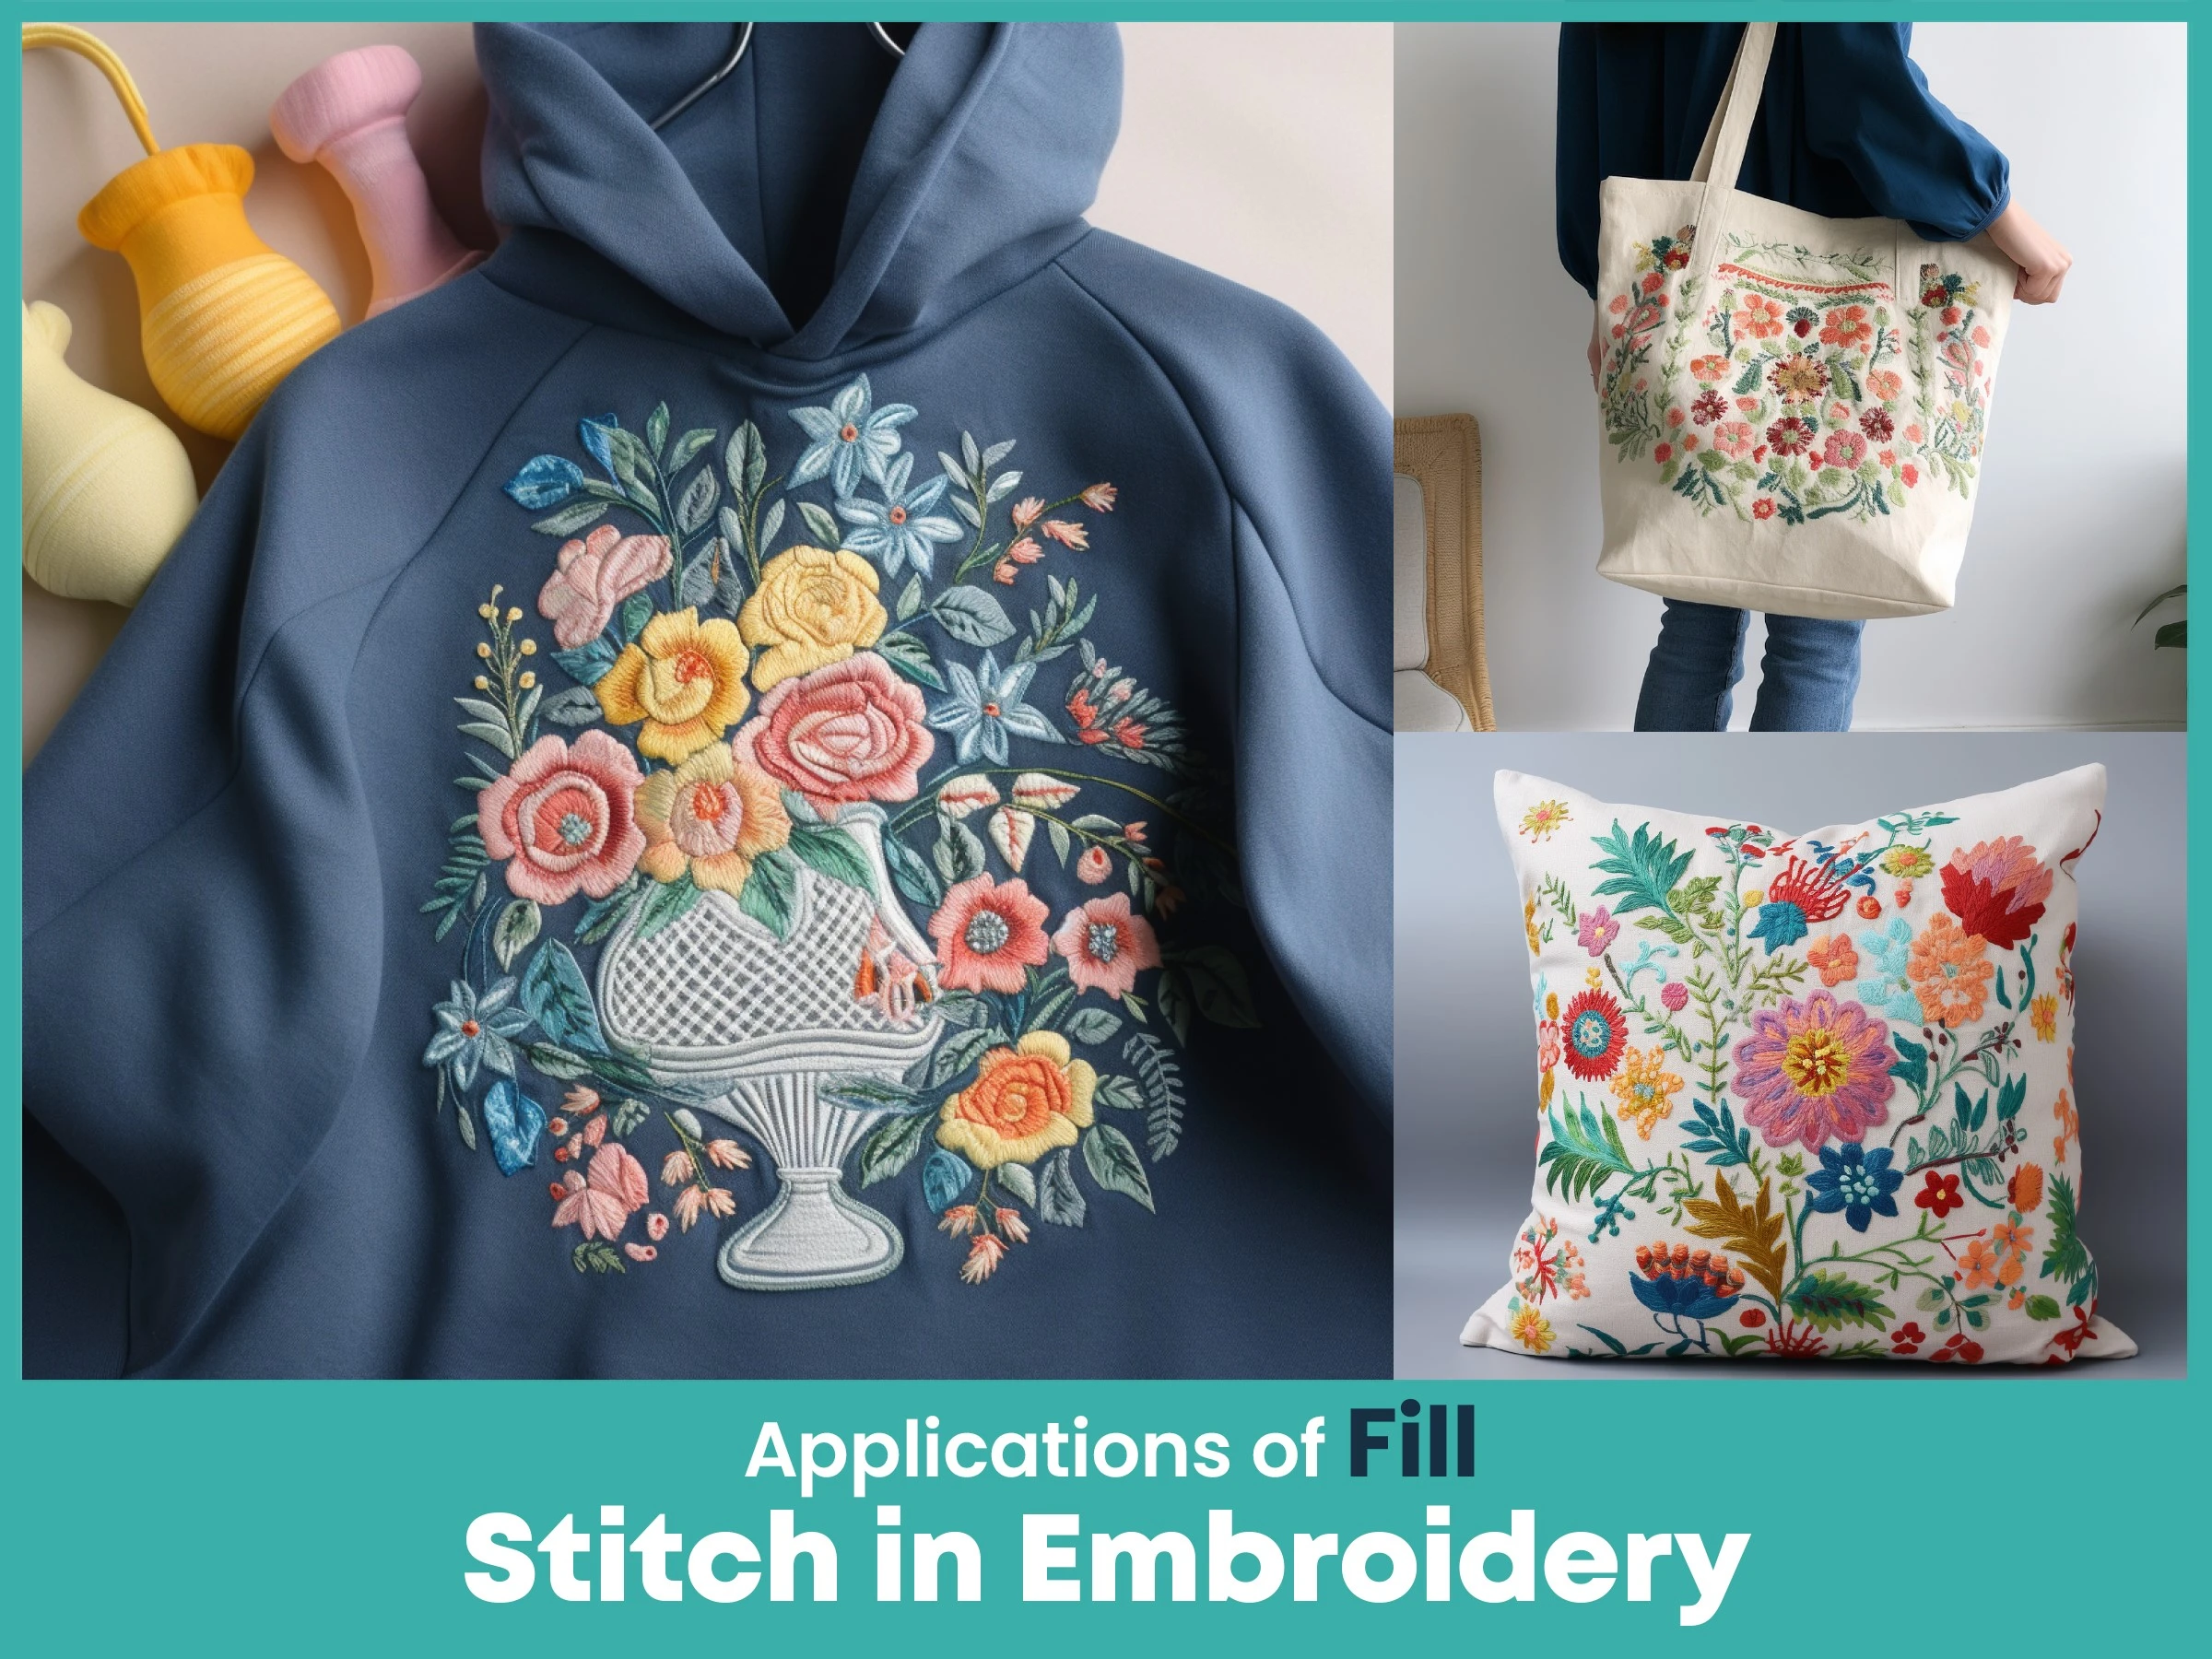
Fill stitch is an absolute powerhouse for filling large areas. You’ll find it in:
Workwear: Big logos or patterns on uniforms or aprons.
Home Goods: Textured designs on quilts or pillows.
Sports Stuff: Team logos or mascots on jerseys or hoodies.
Promo Apparel: Eye-catching designs on tote bags or backpacks.
Want pro-level embroidery digitizing? True Digitizing is the way to go. Whether you need satin stitch for crisp logos or fill stitch for bold, textured designs, our team nails it every time. From clothes to home decor, they make sure your designs are digitized just right for your machine. Hit up True Digitizing to bring your embroidery ideas to life with top-notch quality.
So, satin stitch or fill stitch? It’s all about what your project needs. Satin stitch is perfect for sleek, narrow designs like names or borders, giving that fancy, polished look. Fill stitch is your pick for big, bold areas, with tough, textured patterns that hold up over time. Both are awesome in their own way, and knowing when to use each is the secret to great embroidery.
Play around with both, run some test stitches, and see what clicks for your project. If you want flawless results without the stress, True Digitizing can handle all your digitizing needs. So choose your stitch, Power up your embroidery machine and bring your vision to life.
Nick William has been immersed in the world of embroidery digitizing for over 20 years, earning 25 industry awards throughout his career. As a 3rd generation embroidery expert, Nick’s journey started in his family’s workshop, where he learned the art of digitizing before the rise of modern software. He has worked with leading commercial embroidery businesses and has shared his expertise with over 75,000 home and professional embroiderers. As an author at True Digitizing, Nick is passionate about teaching others how to create beautiful, precise designs through easy-to-follow tutorials and expert advice.
Categories

How to Remove Embroidery From Any Fabric — Step-by-Step Guide 2026
28-06-2026

Embroidery Trends 2026: What's Hot in Machine & Hand Embroidery | TrueDigitizing
26-06-2026

Top Best Embroidery Digitizing Software in 2026
06-05-2026
")
Best Multi-Needle Embroidery Machines for Startups 2026
28-02-2026

DST File: The Complete Guide (What It Is, How to Create, Convert & Use in 2026)
28-02-2026

Janome 550E vs Baby Lock Flare | Best Mid-Range Embroidery Machine?
26-02-2026

Choose the Right Fabric for Embroidery
20-02-2026

Advanced Techniques in Embroidery Digitizing
19-02-2026

Most Common Types of Threads to Use in Machine Embroidery
12-02-2026

AI in Embroidery | Revolutionizing Art and Efficiency
12-02-2026
Asked Questions


