
At True Digitizing, we transform your creative spark into flawless, high-quality embroidery digitized designs that bring your vision to life.
Our Blogs
We Accept
Copyright 2025 Truedigitizing
At True Digitizing, we transform your creative spark into flawless, high-quality embroidery digitized designs that bring your vision to life.
We Accept
Copyright 2025 Truedigitizing

If you have been digitizing for a while, you already know one thing very clearly. A design can look perfect on the screen but once it gets stitched, the shapes shift, outlines go off, small letters close up and fill areas stretch. Many digitizers face these issues every single day. Most of the time, the root cause is the same, that is, pull and push distortion.
Pull and push distortion is something that every digitizer faces, no matter how simple or complex the design is. The challenge becomes even bigger when you work on thin columns, curved shapes, small text or detailed logos. Without the right compensation, even a well-digitized file looks uneven or out of proportion after stitching.
Now, let's understand this guide.
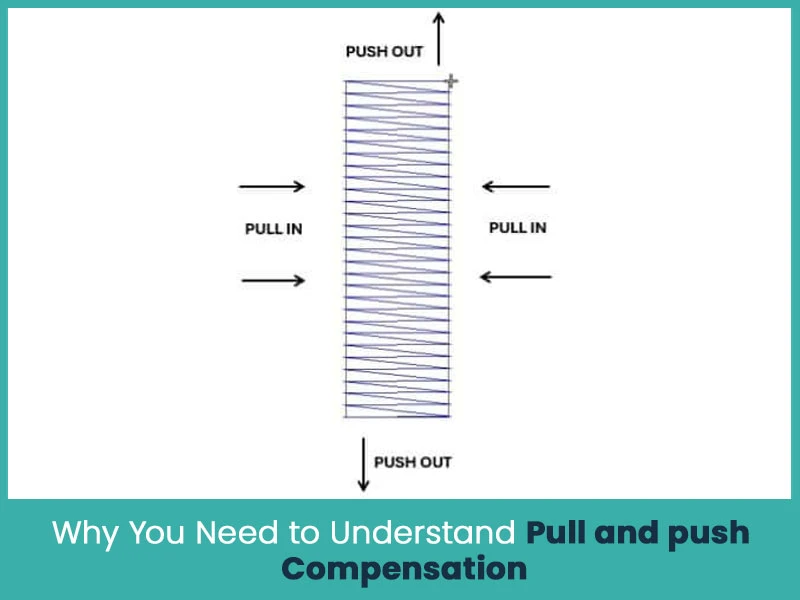
Pull and push compensation is one of the most important parts of embroidery digitizing. If you don't balance it correctly, even a simple rectangle can turn into a distorted shape. Every stitch creates a little movement in the fabric. Satin stitches pull inward, while fill stitches push outward. This movement changes how the final design looks on the garment.
When you understand how pull & push work, you can make the shapes better, keep letters readable, maintain outlines and avoid gaps or overlaps. It helps you create cleaner, sharper and more accurate embroidery results.
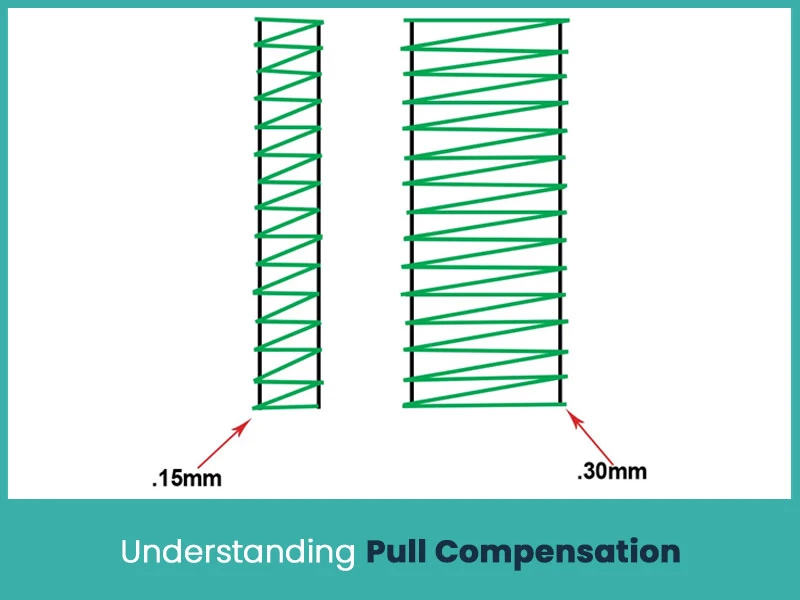
Pull compensation deals with how stitches pull the fabric inward. This usually happens in satin stitches and thin elements.
You need to pull compensation when:
- Your columns look thinner after stitching.
- Outlines don’t align with the inner shapes.
- Small letters shrink or lose thickness.
- Satin stitches look tight or uneven.
When you add a bit of pull compensation, you allow the stitch to form correctly without becoming too narrow.
While every design and fabric behaves differently, digitizers commonly use:
- Satin stitches: Slight increase in width to maintain smooth edges.
- Fill stitches: Moderate pull compensation based on density.
- Run stitches: Light adjustments when outlining small shapes.
These values are not fixed because each fabric has its own stretch but balanced adjustments always help keep the shape stable.
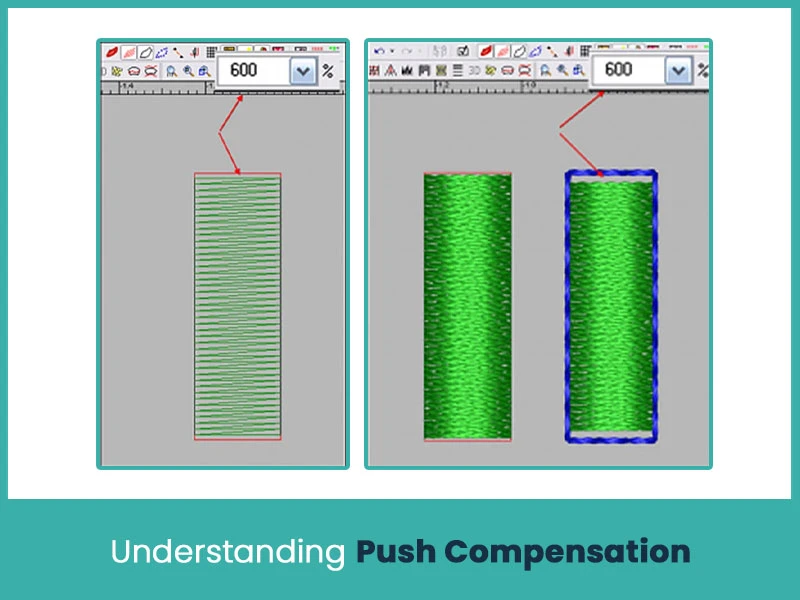
Push compensation focuses on the way stitches push the fabric outward. This is common in fill stitches and wide areas.
When the needle moves back and forth, the stitches push the design outward in the direction they run. This makes shapes look longer or wider than they appear on screen. Without push compensation, circles become ovals and squares lose their corners.
Soft and stretchy fabrics need more push compensation than firm fabrics. Fabrics like fleece or knits are more stretchy so you must adjust accordingly. By controlling push values, you keep the design in its original shape after stitching.
Changing stitch length and density helps reduce fabric movement. Shorter stitches tend to stabilize shapes better, while balanced density prevents over-pulling.
Sometimes you need to adjust the artwork slightly before digitizing. A small extension or shortening of a shape helps match the final stitched result.
Your digitized embroidered designs are created on an underlay. It gives support to the fabric and helps hold the design in place. Edge walk, zigzag and center underlay all play an important role.
Small elements need extra attention because even minor movement can ruin the overall look. You can:
- Increase pull compensation for thin strokes.
- Reduce density so letters don’t close.
- Use strong underlay to keep the shapes open.
- Avoid very narrow columns that may break into the fabric.
- These small adjustments help keep text readable and clean.
Large designs have wide fill areas that tend to push outward. You can manage this by:
- Adding push compensation along long stitch paths.
- Using the right underlay to stabilize larger areas.
- Breaking the fill into smaller sections if needed.
- Controlling density so the design doesn’t over expand.
Large shapes stay more accurate when the stitch direction and compensation are well balanced.
To get reliable results:
- Always test your design on a preview before exporting.
- Match density and underlay according to fabric type.
- Keep stitches balanced and avoid over-compensation.
- Check corners, curves and fine details carefully.
- Adjust columns and borders where needed.
A consistent approach saves time and reduces chances of errors.
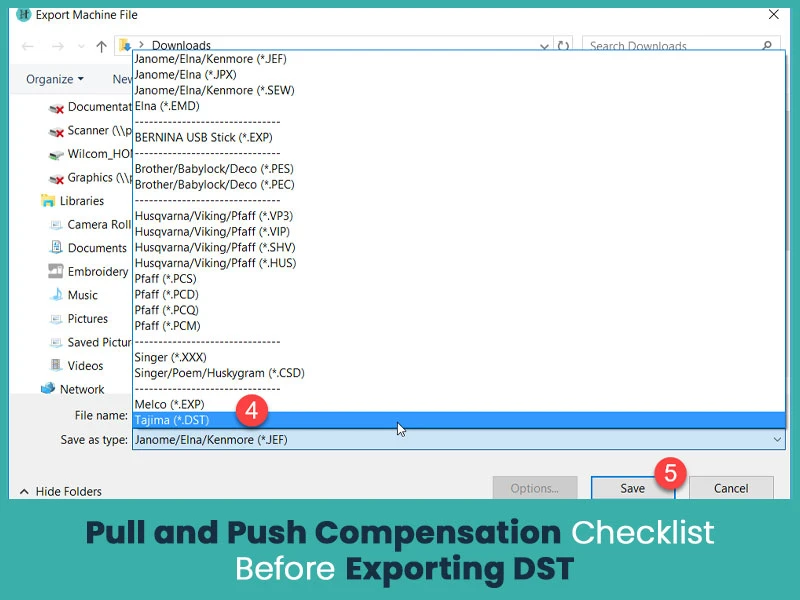
Before saving your final file, go through this quick checklist:
- Are the columns wide enough to handle pull?
- Did you adjust fill areas for push movement?
- Are outlines aligned with the final shape?
- Is underlay set correctly for support?
- Are density and stitch direction balanced?
- Did you test the preview for any distortion?
If everything looks good on this list, you are ready to export.
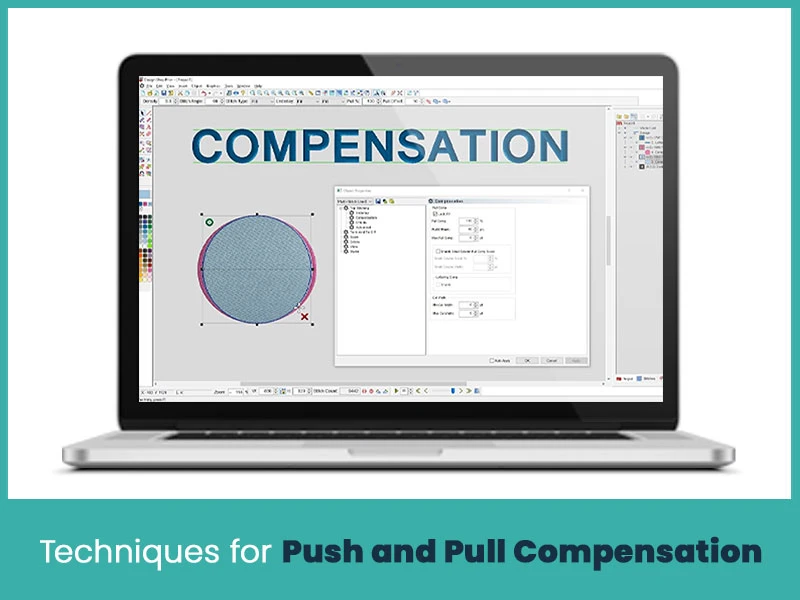
True Digitizing is known for its skill in handling embroidery digitizing with accuracy and proper care. Our team understands how pull and push distortion affects the final stitch-out. We use proven techniques to manage both pull and push compensation so your designs stay clean, sharp and the same as the original artwork.
When you choose a digitizing service provider, it is very important to consider their experience with compensation. A skilled team saves your time, avoids mistakes and delivers professional and best quality results. True Digitizing has years of experience and a strong commitment to quality and we make sure that your designs stitch the way you want.
Pull and push compensation can be difficult at first but once you understand how stitches behave, the entire digitizing process becomes smoother and easier. You can easily control the shapes better, reduce distortion and get cleaner results on any fabric. If you ever need help or want files that stitch cleanly without extra editing and want to save on high costs, True Digitizing is here to support you.
Nick William has been immersed in the world of embroidery digitizing for over 20 years, earning 25 industry awards throughout his career. As a 3rd generation embroidery expert, Nick’s journey started in his family’s workshop, where he learned the art of digitizing before the rise of modern software. He has worked with leading commercial embroidery businesses and has shared his expertise with over 75,000 home and professional embroiderers. As an author at True Digitizing, Nick is passionate about teaching others how to create beautiful, precise designs through easy-to-follow tutorials and expert advice.
Categories

Top Best Embroidery Digitizing Software in 2026
06-05-2026
")
Best Multi-Needle Embroidery Machines for Startups 2026
28-02-2026

DST File: The Complete Guide (What It Is, How to Create, Convert & Use in 2026)
28-02-2026

Janome 550E vs Baby Lock Flare | Best Mid-Range Embroidery Machine?
26-02-2026

Choose the Right Fabric for Embroidery
20-02-2026

Advanced Techniques in Embroidery Digitizing
19-02-2026

Most Common Types of Threads to Use in Machine Embroidery
12-02-2026

AI in Embroidery | Revolutionizing Art and Efficiency
12-02-2026

Best Thread Tension 101 | A Guide for Embroidery Machines
09-02-2026

Mastering Small Lettering in Machine Embroidery
04-02-2026
Asked Questions


