
At True Digitizing, we transform your creative spark into flawless, high-quality embroidery digitized designs that bring your vision to life.
Our Blogs
We Accept
Copyright 2025 Truedigitizing
At True Digitizing, we transform your creative spark into flawless, high-quality embroidery digitized designs that bring your vision to life.
We Accept
Copyright 2025 Truedigitizing

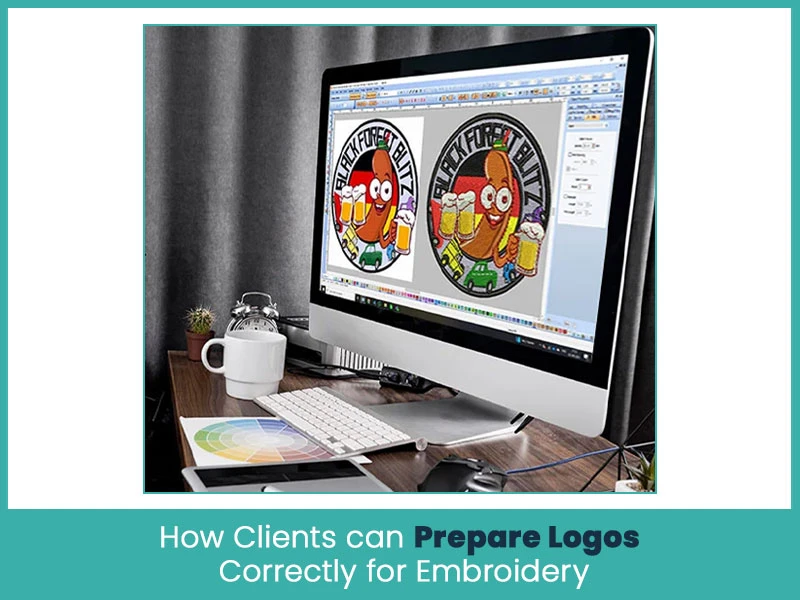
Ah! It is very common when clients send logos for embroidery and they expect perfect stitches, sharp edges, and a professional look but instead of getting perfect results, they receive an output that looks different from what they imagined. Design looks bad, details disappear, or the logo looks uneven. Usually this situation happens and most of the time, the problem doesn't come from the embroidery side. It starts with the logo submission.
Many clients don't even realize that embroidery follows different rules than printing or digital design. When clients submit logos without understanding embroidery basics, errors appear during digitizing and stitching.
This guide specillay for those clients who face these common challenges, you'll understand the most common logo submission errors so next time you can avoid these mistakes and get perfect embroidery results.
Embroidery uses stitches, threads, and fabric tension. Every stitch needs space, direction, and support. When a logo file doesn't match embroidery requirements, digitizers must adjust or recreate the design. These changes increase production time and sometimes reduce design quality.
Incorrect logo submissions lead to broken stitches, thread overlaps, distorted shapes, and color mismatches. As long as clients submit embroidery-ready files, projects move faster and results improve.
Low-resolution logos cause serious embroidery issues. Blurry images hide edges and details, which makes accurate digitizing difficult. When digitizers can’t see clean outlines, they must guess shapes and spacing.
Embroidery needs clear artwork. A sharp logo helps the digitizer define stitch paths correctly. If the file looks pixelated, it won't stitch cleanly.
Many clients send JPG or PNG files because they use them for websites and social media. These raster files contain pixels, not paths. Pixelated images lose quality when enlarged, which causes uneven stitching.
Vector files like AI, EPS or SVG keep shapes clean at any size. Embroidery ready files help digitizers to control stitch flow and density with perfection. Raster images slow down the process and affect the accuracy.
Embroidery can’t handle every detail found in printed designs. Stitches have thickness, and machines follow physical limits. When a logo includes tiny shapes, tight corners, or complex shading, stitches overlap and break.
Good embroidery designs depend on stitch length, direction, and spacing. Ignoring these limits leads to thread breakage and fabric damage.
Thin lines and small text disappear during embroidery. Threads need enough width to hold their shape. If letters are too small, they merge or break apart.
Clear embroidery designs use thicker lines and readable font sizes. This approach keeps the logo visible and professional after stitching.
Screen colors differ from thread colors. Some bright or gradient shades don’t exist in embroidery threads. When clients submit logos without color guidance, final results may look different.
Thread charts help match colors accurately. Converting logo colors to solid, thread friendly shades ensures consistent embroidery results.
Size and placement affect how a logo stitches on fabric. A large logo on a small cap panel causes distortion. A tiny logo on thick fabric loses detail.
Clients should share exact size and placement details. This information helps digitizers adjust stitch density and direction for the best outcome.
Printed designs rely on ink and resolution. Embroidery relies on stitches and texture. Many printed effects, like gradients and shadows, don't convert well into embroidery.
Successful embroidery designs simplify shapes and colors. Clients who understand this difference receive cleaner and longer-lasting results.
Each stitch type creates a different look. Flat stitches work for detailed logos. Satin stitches suit bold text. 3D puff adds raise but needs thicker shapes.
When clients don’t mention stitch type, digitizers must choose based on judgment. Clear instructions help achieve the exact style clients want.
Logo submission errors reduce embroidery quality in several ways. They cause uneven stitching, thread breaks, and poor shape definition. They also increase production time and costs.
Correct submissions improve stitch clarity, fabric stability, and overall durability. Quality starts with proper preparation.
Clients can prepare logos properly by following simple steps. These steps save time and improve results.
- First, always submit high-resolution or vector files. Clear artwork helps digitizers define stitch paths accurately.
- Second, simplify the design. Remove tiny details and thin lines that can’t stitch well.
- Third, choose solid colors and match them with thread charts.
- Fourth, share fabric type, logo size, and placement details.
- Fifth, confirm stitch type before digitizing begins.
Quick preparation tips:
- Use vector formats like AI, EPS, or SVG.
- Keep text readable and lines thick.
- Select solid thread-friendly colors.
- Share size, placement, and fabric details.
Avoiding mistakes starts with clear communication and basic embroidery knowledge.
Clients should review logos before submission and ask questions early. Simple changes during planning prevent major issues later.
Helpful tips:
- Don’t rely on screen previews only.
- Avoid gradients and fine shading.
- Confirm final logo approval before digitizing.
- Work with experienced embroidery digitizers.
Logo submission plays a major role in embroidery quality. Most embroidery issues begin with incorrect files, unclear instructions, or unrealistic design expectations. When clients understand embroidery limits and submit proper files, results improve significantly.
Nick William has been immersed in the world of embroidery digitizing for over 20 years, earning 25 industry awards throughout his career. As a 3rd generation embroidery expert, Nick’s journey started in his family’s workshop, where he learned the art of digitizing before the rise of modern software. He has worked with leading commercial embroidery businesses and has shared his expertise with over 75,000 home and professional embroiderers. As an author at True Digitizing, Nick is passionate about teaching others how to create beautiful, precise designs through easy-to-follow tutorials and expert advice.
Categories

How to Remove Embroidery From Any Fabric — Step-by-Step Guide 2026
15-07-2026

Is SVG a Vector File? Yes — SVG vs EPS, PNG, PDF Vector Formats you need to know
08-07-2026

Embroidery Trends 2026: What's Hot in Machine & Hand Embroidery | TrueDigitizing
26-06-2026

Top Best Embroidery Digitizing Software in 2026
06-05-2026
")
Best Multi-Needle Embroidery Machines for Startups 2026
28-02-2026

DST File: The Complete Guide (What It Is, How to Create, Convert & Use in 2026)
28-02-2026

Janome 550E vs Baby Lock Flare | Best Mid-Range Embroidery Machine?
26-02-2026

Choose the Right Fabric for Embroidery
20-02-2026

Advanced Techniques in Embroidery Digitizing
19-02-2026

Most Common Types of Threads to Use in Machine Embroidery
12-02-2026
Asked Questions


