

At True Digitizing, we transform your creative spark into flawless, high-quality embroidery digitized designs that bring your vision to life.
Our Blogs
We Accept
Copyright 2025 Truedigitizing
At True Digitizing, we transform your creative spark into flawless, high-quality embroidery digitized designs that bring your vision to life.
We Accept
Copyright 2025 Truedigitizing

Have you ever waited for an embroidered logo and felt nervous when the machine started stitching? That quiet moment when you hope everything turns out right but deep down, you are not sure. Many people experience this. The logo looks perfect on the screen but once it is placed on the fabric, everything goes wrong. Stitches look messy, threads break, edges lose their shape and small text becomes difficult to read.
This doesn't happen by chance. In most cases, the problem starts with how the logo was digitized. A logo is not just a picture. It carries a brand name, a business image and of course builds trust. Even one stitching mistake can make a logo look unprofessional on caps, shirts, jackets and more.
This is where the question arises: which one is good for logos, manual digitizing or auto digitizing? well this guide is specially for you. In this guide, you will understand every point clearly. Let's start understanding this mystery with the help of this guide.
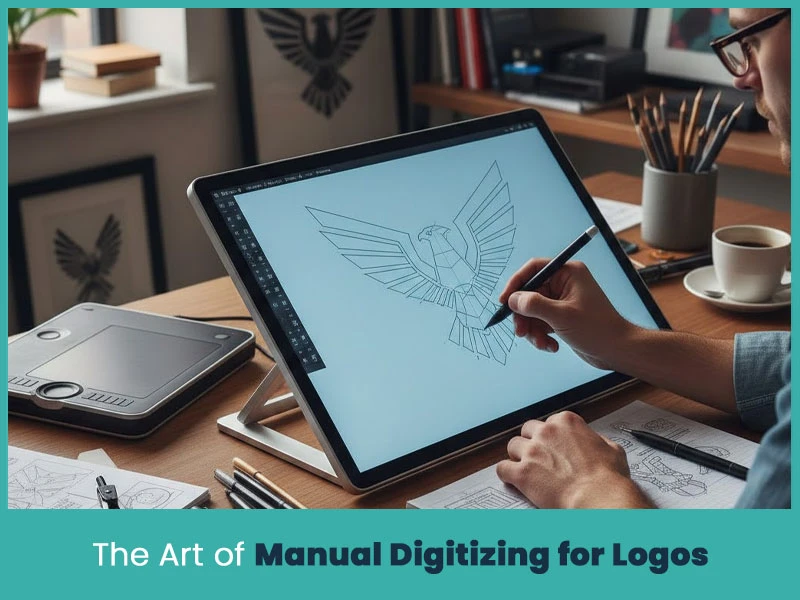
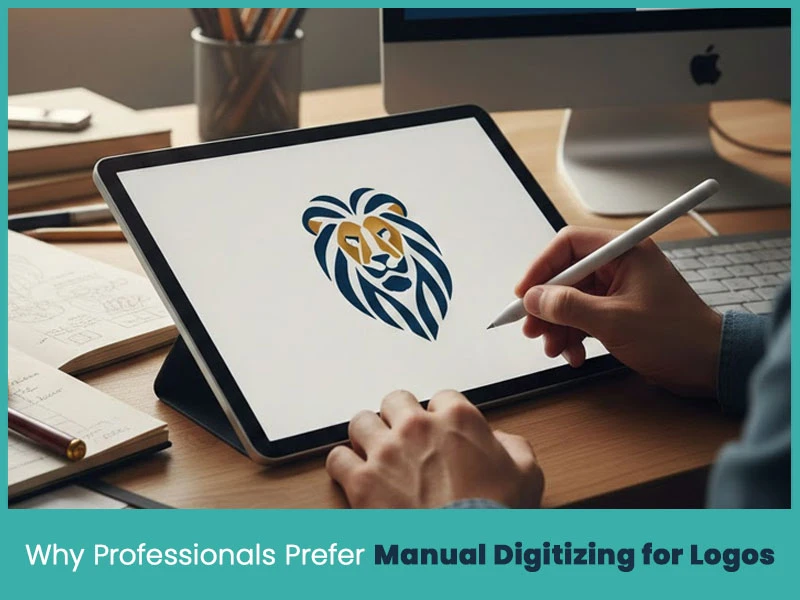
Manual digitizing is not just a process. It is careful planning of stitches, directions, angles, and density. Every part of the logo is digitized using professional software. The digitizer decides where stitches should start, where they should end & how they should flow on fabrics.
Logos have fine lines, small text, sharp corners, and color changes. Manual digitizing allows full control over all these elements. The goal is not just to convert an image into stitches but make sure the logo stitches smoothly on fabric without problems.
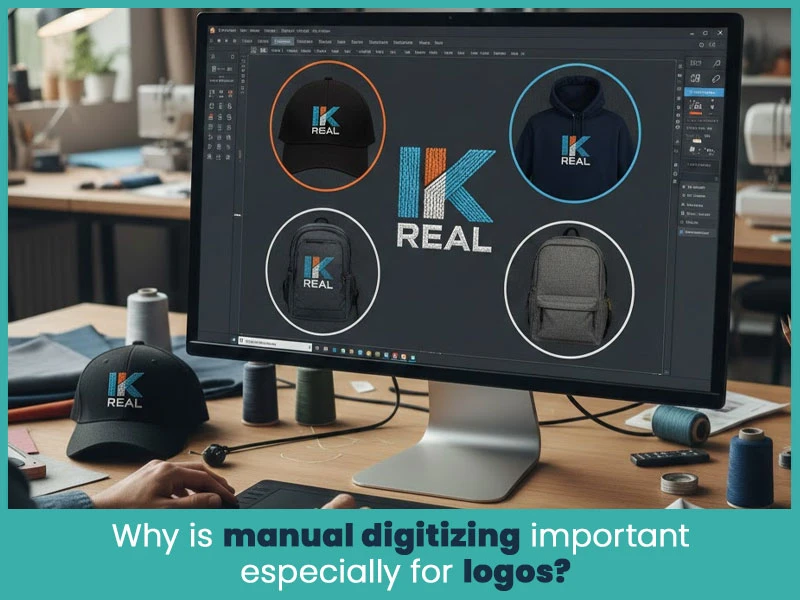
Logos can be stitched on different items like caps, uniforms, hoodies, bags and more. Every fabric has a different nature under the needle. Manual digitizing considers fabric type, stretch, thickness, and usage.
With manual digitizing:
Stitch flow looks natural.
Shapes stay sharp.
Text remains readable.
Machines run smoothly with fewer breaks.
This level of control is very important for branding and professional embroidery.
Manual digitizing gives full control over stitch placement, which keeps logo shapes clean and accurate.
Small lettering and fine details remain readable when digitized manually.
Stitch angles are adjusted to match logo shapes, improving visual quality.
Manual files reduce thread breaks, trims, and jump stitches.
The final embroidery looks clean, sharp, balanced and consistent across different products.
Manual digitizing needs planning and effort, so it is slower than auto digitizing.
Quality depends on the experience of the digitizer.
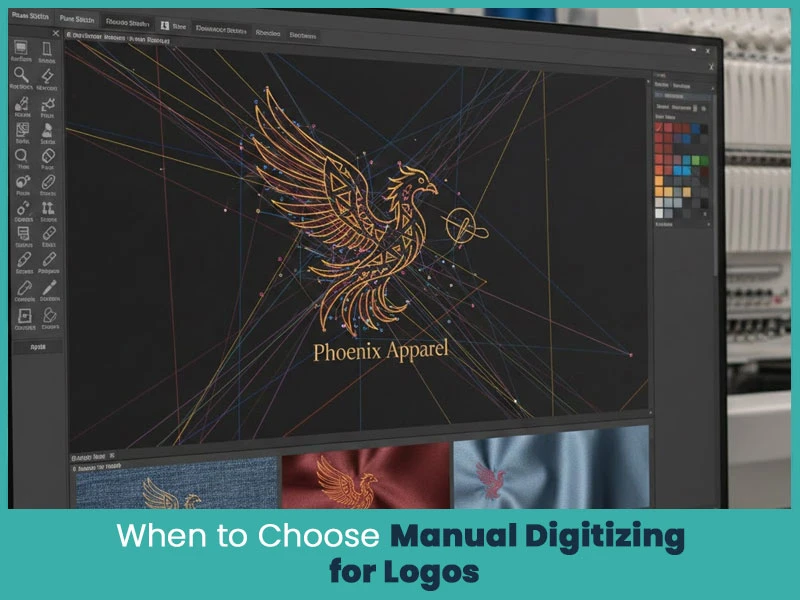
Manual digitizing is the right choice when:
The logo has small text or thin lines.
The design is complex or detailed.
The logo will be used for branding or resale.
The embroidery must look professional.
Multiple fabric types are involved.
For business logos, manual digitizing is always the safer option.
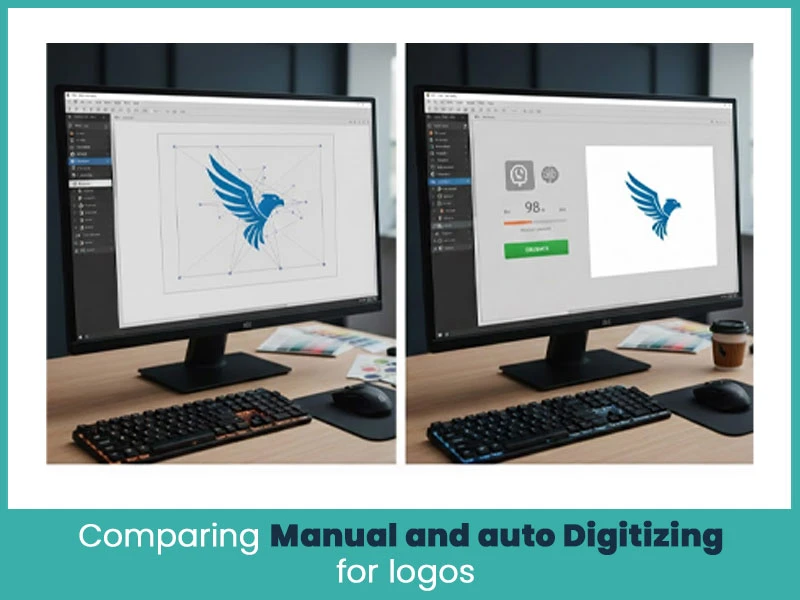
Manual digitizing focuses on quality, control, and stitch behavior. Auto digitizing focuses on speed and automation. Manual digitizing adapts to fabric and design needs, while auto digitizing follows fixed software rules.
This difference is clearly visible once embroidery starts on the machine.
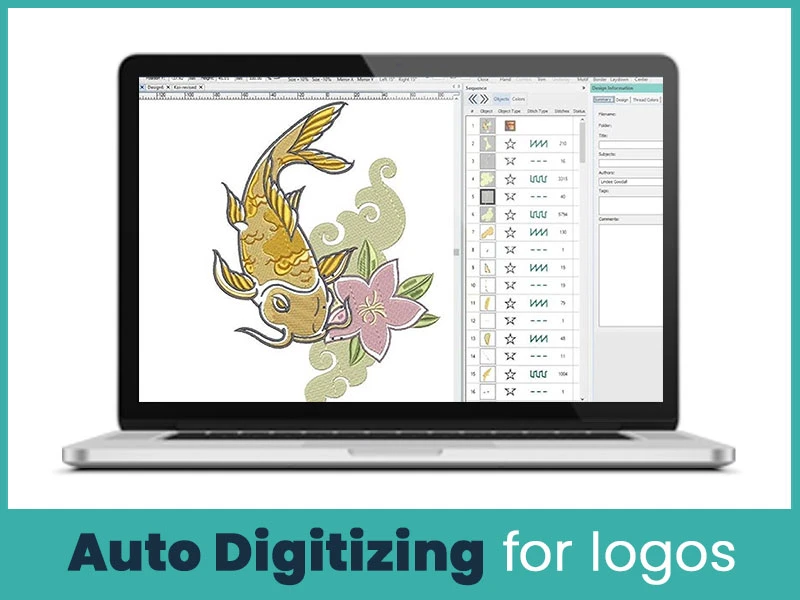
Auto digitizing uses software to convert images into stitch files automatically. It works by detecting shapes and filling them with default stitches. While it sounds helpful but auto digitizing doesn't understand the design nature or embroidery logic.
Auto digitizing may look acceptable on screen, but embroidery machines expose its weaknesses quickly.
Auto digitizing often creates unnecessary trims and jumps, which slow production and weaken stitches.
So many stitches in one area can cause puckering and thread breaks.
Underlay stitches are usually missing or incorrect, which affects stability.
Shapes lose their form during stitching because pull compensation is missing.
Fabric stretch is ignored, causing uneven embroidery.
Satin stitches may be used where fill stitches are needed, and vice versa.
Stitch directions change randomly, making logos look messy.
Text often becomes unreadable, especially at small sizes.
Files are created quickly without manual effort.
Auto digitizing is usually cheaper.
Works for very basic shapes with no detail.
No technical embroidery knowledge required.
Can be used for rough previews.
Stitch quality is inconsistent and unreliable.
Fails with small text and fine details.
Causes thread breaks and slow stitching.
Stitch flow cannot be adjusted properly.
Final embroidery often looks cheap.
Auto digitizing may work if:
The design is very simple.
Quality is not important.
The embroidery is for personal use.
The logo has no text.
It is not recommended for professional logo embroidery.
Professionals care about quality, consistency, and machine efficiency. Manual digitizing gives you accurate results and reduces production issues. It protects brand identity and makes sure logos look the same as you want.
At True Digitizing, manual digitizing is the preferred option for embroidered logos & other embroidery designs. Every design is carefully digitized, including stitch type, stitch behavior and machine requirements. This helps businesses deliver embroidery that looks professional and lasts longer.
If you want quality work and professional embroidery designs, manual digitizing is the first priority for professionals.
Choosing between manual and auto digitizing for logos is a quality decision. Auto digitizing saves time but it creates problems and you will not get clear and high quality results. Well, manual digitizing takes time but you will get clean and sharp lines, smooth stitches and professional results.
Nick William has been immersed in the world of embroidery digitizing for over 20 years, earning 25 industry awards throughout his career. As a 3rd generation embroidery expert, Nick’s journey started in his family’s workshop, where he learned the art of digitizing before the rise of modern software. He has worked with leading commercial embroidery businesses and has shared his expertise with over 75,000 home and professional embroiderers. As an author at True Digitizing, Nick is passionate about teaching others how to create beautiful, precise designs through easy-to-follow tutorials and expert advice.
Categories

How to Remove Embroidery From Any Fabric — Step-by-Step Guide 2026
15-07-2026

Is SVG a Vector File? Yes — SVG vs EPS, PNG, PDF Vector Formats you need to know
08-07-2026

Embroidery Trends 2026: What's Hot in Machine & Hand Embroidery | TrueDigitizing
26-06-2026

Top Best Embroidery Digitizing Software in 2026
06-05-2026
")
Best Multi-Needle Embroidery Machines for Startups 2026
28-02-2026

DST File: The Complete Guide (What It Is, How to Create, Convert & Use in 2026)
28-02-2026

Janome 550E vs Baby Lock Flare | Best Mid-Range Embroidery Machine?
26-02-2026

Choose the Right Fabric for Embroidery
20-02-2026

Advanced Techniques in Embroidery Digitizing
19-02-2026

Most Common Types of Threads to Use in Machine Embroidery
12-02-2026


