

At True Digitizing, we transform your creative spark into flawless, high-quality embroidery digitized designs that bring your vision to life.
Our Blogs
We Accept
Copyright 2025 Truedigitizing
At True Digitizing, we transform your creative spark into flawless, high-quality embroidery digitized designs that bring your vision to life.
We Accept
Copyright 2025 Truedigitizing

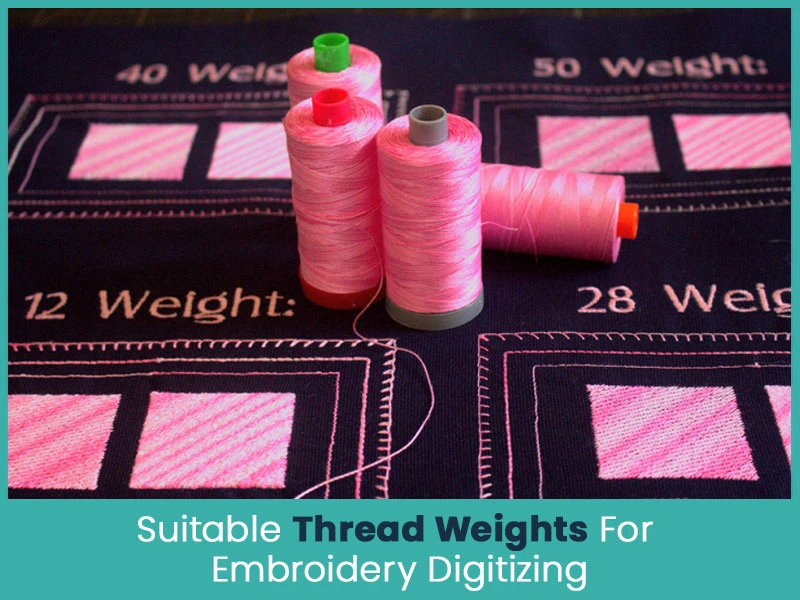
Have you ever picked a nice picture to sew on your shirt? Then after you finish, the threads look bumpy or come loose after you wash them. That can make you sad. Many people who sew with machines have this problem. Do you wonder why your work does not look as good as what experts make? Or why does the thread break while you sew? The answer is easy. It is about the weight of the thread. The numbers 30wt, 40wt, or 60wt tell you if the thread is thick or thin. This number helps your work stay accurate, look nice and fit the clothes well.
In this guide, we will explain it one step at a time. You can stop guessing and make good stitches. Are you ready to learn? Let's start.
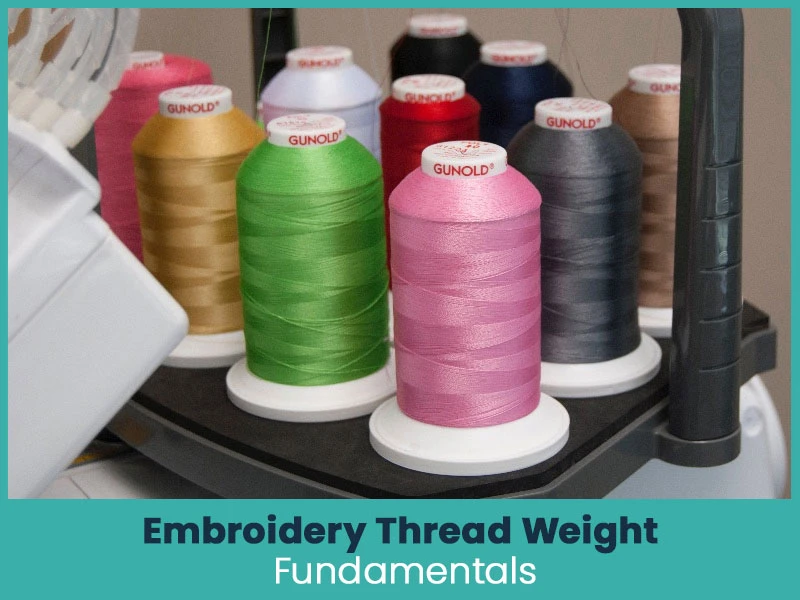
Thread weight is very important for good sewing with an embroidery machine. It shows if the thread is thick or thin. This pick changes how the picture sits on the cloth and how long it lasts. The letters "wt" mean weight. It is measured in a way where a small number means a thick thread. This is the opposite of what you might think. A 30wt thread is thick. It is good for bold looks. A 60wt is very thin. It is best for small stitching.
Why is this so important? If you pick the wrong one, your stitches can make the cloth wrinkle or leave empty spots. That makes it look bad. Nowadays, many people sew at home because machines cost less. Experts say you must match the weight to your work to stop waste and bad feelings. It is not just for looks. It helps your things last through many washes and uses. If you are new, begin with easy steps. Always read the label on the thread. Most machines work best with weights from 30wt to 60wt.
.webp)
Let's learn about these three: 40wt, 60wt, and 30wt. Each one is good for certain things. When you know them, you can pick without tension.
First, 40wt. This is good for many things. Most designs are made for it. It is not too thick or too thin. So it covers well and does not damage clothes. Use it for normal designs like signs on hats or easy flowers on towels. It is safe and easy.
Example: Sarah wanted a fun logo on her hat. She used 40wt thread. The letters looked full and bright. The hat stayed soft after many washes. Now all her friends want one too!
Next, 60wt. This is very thin. It goes through small places for hard work like small letters or edges on lace. But be careful. Since it is thin, you may need to change how close the stitches are to stop see-through parts.
Example: Tom sewed his baby's name on a soft blanket. The name was only half an inch large. He picked 60wt thread. The letters looked clear and tiny. The blanket stayed light and cozy. No big bumps!
Last, 30wt. This is thick and strong. It makes stitches feel high and rough. That is good for big areas or when you want the sewing to show a lot. But if the cloth is thin, it can make it bunch. So match it well.
Example: Emily made a big flower on her jean bag. She chose 30wt thread. The flower stood up like real petals. The bag got tough and pretty. It held books all year without a tear!
If you try on a small piece first, these will help you a lot. So no more bad results.
Not every thread works the same, even if the weight is the same. The stuff it is made from like cotton, rayon, or polyester, changes how it works with the needle. Let's talk about each so you can pick what fits you.
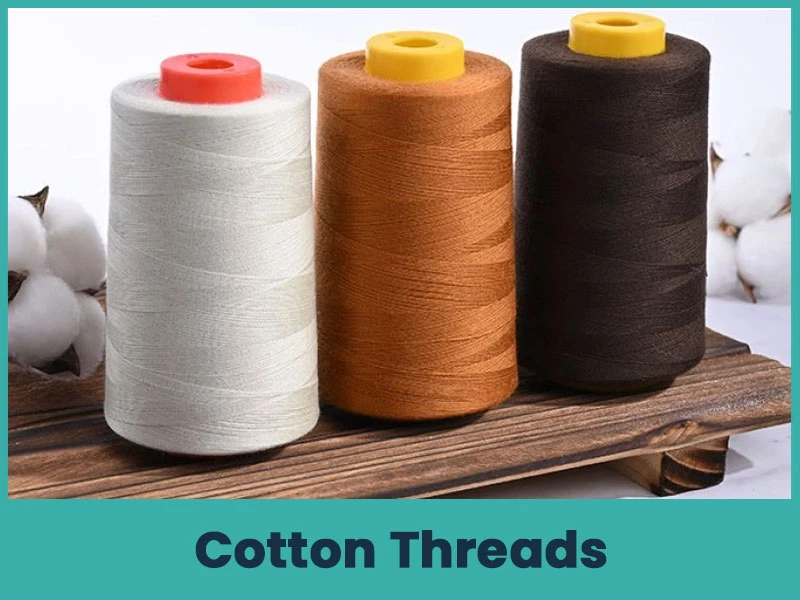
Cotton threads feel soft and real. That is good if you want a flat, warm end. They keep color good but can wear out more over time, especially if used a lot. At 40wt, cotton is best for old-style blankets. It lasts for daily use if you wash it first to stop it from getting small.
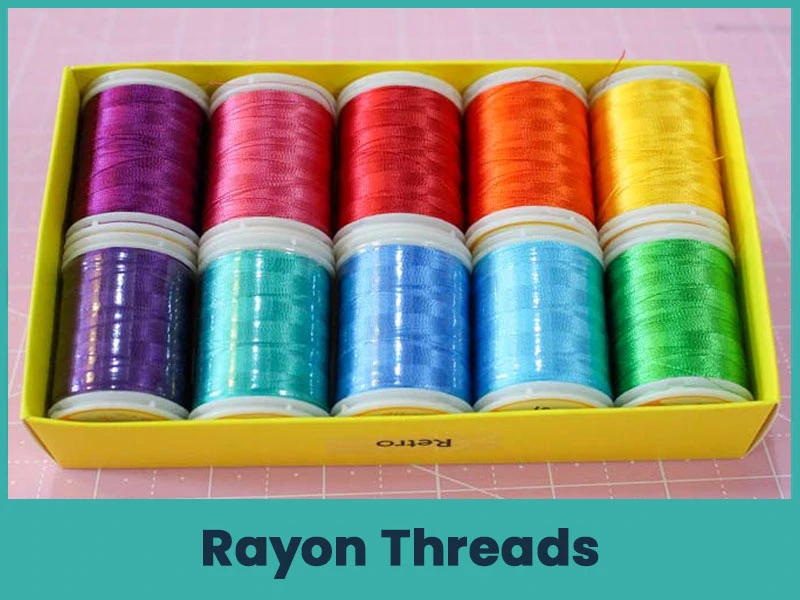
Rayon is different. It has a bright, smooth shine that many like for pretty things. It moves easily on the machine and breaks less. But it may not last as well in washes. Think hard about kids' things. In 60wt, rayon is good for small parts. It gives a nice shine without being big.
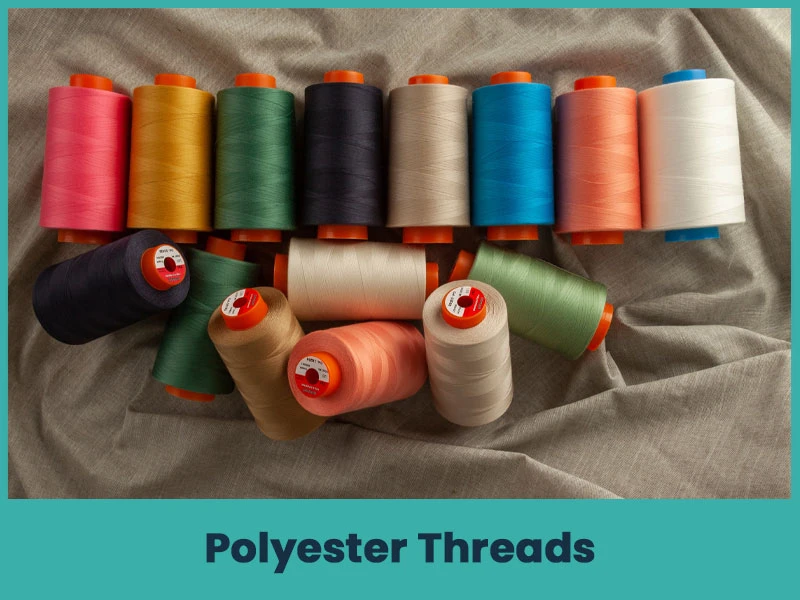
Polyester is strong here. It is tough and can stretch. It comes back from pulls and works fast. It is not as shiny as rayon but colors stay bright after many washes. For 30wt strong work, polyester is best.
Use one type for each project to keep the pull even. That keeps your sewing clean and good.
Picking the right thread weight is not by chance. It is about working with how the cloth is made. Thread count or TPI means threads per inch. It shows how close the cloth threads are. High TPI means smooth and close like silk. Low TPI means open like denim.
The aim is to make stitches go well without holes or pulls. For light cloth with high TPI, use thin thread. For heavy with low TPI, use thick thread. Here is an easy table of what works best.
As you see, if clothes have high TPI, 60wt goes through easily. On rough ones, 30wt holds better. Try on a small area first. You will see how it changes and how it fits.
Thread weights are in three groups: medium, fine, and heavy. Each is for a different project. Let's see them.
Medium like 40wt are for everyday. They cover pictures even, work on most clothes and keep smooth. If you sew a family name or fast sign, this is it. It works for many things.
Fine like 50wt to 60wt are for people who like small designs. They let you do tiny words or thin covers without big knots. Good for small designs but add more stitches a little for full cover.
Thick thread like 30wt or lower makes the design stand out more. They make full, high effects for patches or strong art. Use them little on strong bases. They add power but can be too much if wrong.
Let's understand with the help of table.
Thick threads like 30wt take stitches to the next level. They are high and eye-catching. Hard to beat for signs. They make stronger too, hold against pulls and washes.
Thin threads like 60wt make a flat, nice look. Quiet and fine, good for mixing with the stuff. For strong, they are good with many lines. When you sew more stitches, it holds strong. But they may not show if not closed.
In a few words, thick makes the wow and last long. Pick if you want strong or soft.
Your needle helps the thread's weight. Too big, it wears. Too small, it stops. Match right, the machine works well. For 30wt thick, use 90/14 or 100/16. It gives space without jumps. 40wt goes best with 80/12 to 90/14 for easy projects. For 60wt thin, 75/11 or 65/9 keeps it right.
Here is a table for better understanding.
Change needles every few hours. Old ones come quietly. If the pull is wrong, often the needle and thread need to be changed.
For digitizing, that means making art into stitch files, 40wt is the best. Most programs think of this as even covering. Easy to change size without issue. Good for shirts and bags.
But if you want thin lines, 60wt is good. Add density 10-20% to fill the empty. For rough looks, 30wt is fine but make sure to pull wider to stop wrinkles. If you write the weight in the file, machines change easily.
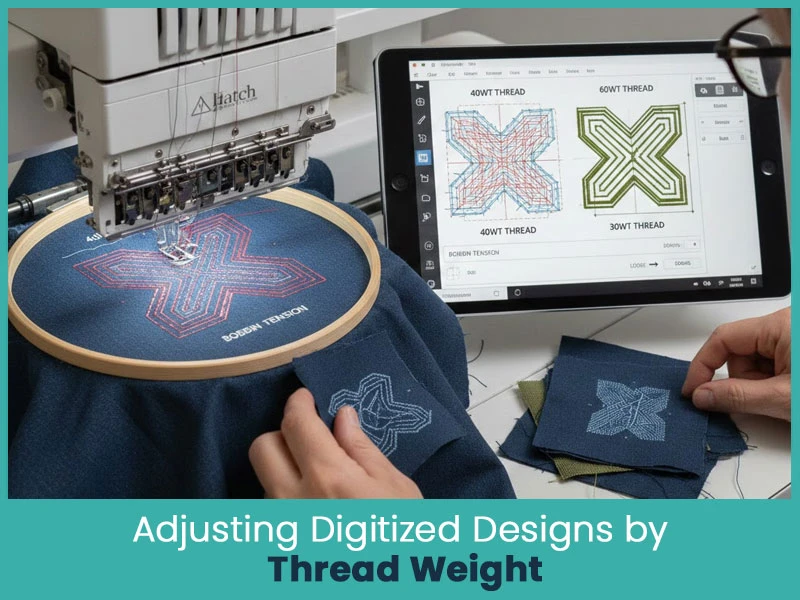
Have a file for 40wt but want 60wt? Easy. Make the file a little smaller or add more stitches to close the gaps.
For 30wt thread, make the design slightly bigger and loosen the bobbin tension to handle the thicker thread.
Programs like Wilcom or Hatch make it fast with sets for weight. Try on clothes bits and change pull. Thick needs more, thin less. So your own work is always good.
Now you know all about thread weight. From 30wt strong hit to 60wt soft nice. Pick right means stitches last, look good, and also feel good. If wrong weights made you stop before, now you know how to sew well.
If digitizing feels difficult, True Digitizing is ready to help. We create custom embroidery designs at affordable rates. Whether you need an embroidery logo or beautiful embroidery designs, we handle it all, from applique embroidery digitizing, 3D puff embroidery, Embroidered Patches and more. You’ll get machine-ready files with free edits until you’re fully satisfied.
Why struggle alone? Turn your ideas into beautiful stitched designs with us. Visit our website and get a free quote, send your design you want to digitize and let’s start creating your best embroidery design today.Nick William has been immersed in the world of embroidery digitizing for over 20 years, earning 25 industry awards throughout his career. As a 3rd generation embroidery expert, Nick’s journey started in his family’s workshop, where he learned the art of digitizing before the rise of modern software. He has worked with leading commercial embroidery businesses and has shared his expertise with over 75,000 home and professional embroiderers. As an author at True Digitizing, Nick is passionate about teaching others how to create beautiful, precise designs through easy-to-follow tutorials and expert advice.
Categories

How to Remove Embroidery From Any Fabric — Step-by-Step Guide 2026
15-07-2026

Is SVG a Vector File? Yes — SVG vs EPS, PNG, PDF Vector Formats you need to know
08-07-2026

Embroidery Trends 2026: What's Hot in Machine & Hand Embroidery | TrueDigitizing
26-06-2026

Top Best Embroidery Digitizing Software in 2026
06-05-2026
")
Best Multi-Needle Embroidery Machines for Startups 2026
28-02-2026

DST File: The Complete Guide (What It Is, How to Create, Convert & Use in 2026)
28-02-2026

Janome 550E vs Baby Lock Flare | Best Mid-Range Embroidery Machine?
26-02-2026

Choose the Right Fabric for Embroidery
20-02-2026

Advanced Techniques in Embroidery Digitizing
19-02-2026

Most Common Types of Threads to Use in Machine Embroidery
12-02-2026


