
At True Digitizing, we transform your creative spark into flawless, high-quality embroidery digitized designs that bring your vision to life.
Our Blogs
We Accept
Copyright 2025 Truedigitizing
At True Digitizing, we transform your creative spark into flawless, high-quality embroidery digitized designs that bring your vision to life.
We Accept
Copyright 2025 Truedigitizing

You upload your logo to an online “AI vector tracing” tool, expecting a smooth, clean result. Instead, you get rough edges, broken lines and totally odd colors. It's still not what you wanted, even when you try again and adjust the settings. Sound familiar?
In this guide, we’ll dive into Vector tracing, what it really means, how it works both automatically (via AI or automation) and manually (by professionals) and most importantly: which approach gives better results in different scenarios. You’ll learn the strengths and weaknesses of each method, how to pick the right one for your project and why the human touch always matters. Let’s get started and by the end of this blog, you’ll see why you will want to think twice before letting automation do everything for you.
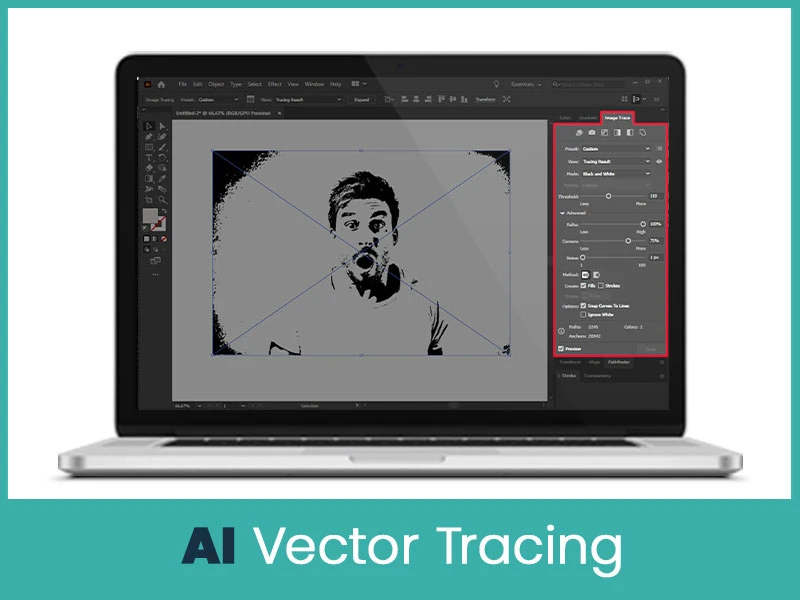
When we talk about “AI vector tracing,” we’re referring to some AI tools, apps and software programs that use automated algorithms to convert a raster image (blurred and pixelated photo) into a vector graphic (paths, curves, scalable shapes). This process is also called auto-tracing or automated vectorization.
Nowadays, many tools claim to use “AI” or machine learning techniques to speed up this vector conversion process. Let's understand with this example. First, software programs analyse or recognize images, detect shapes, curves, and colors and then produce vector paths with minimal human interaction. According to one recent article, the automated approach makes it possible to go from sketch or photo to editable vector in just a few taps.
Well, AI will not give you the best results but only under the right conditions. If you have a small, clean image with high contrast, minimal details, you just need a quick vector version, AI works. For example, tracing apps and tools like auto-trace features in certain software convert sketches, photos or illustrations into editable vector shapes with just a few taps.
So, there are some cons you should keep in mind:
They may misinterpret details (for example, converting a thin outline into a fill or missing small shapes).
They usually produce too many unnecessary nodes which makes editing difficult and increases file size.
Fail to preserve “characters” or “intent” of the design.
Note: If you decide to go with AI, pick tools that help you to adjust tracing settings (detail level, smoothing, simplify path) and then manually clean up. But if your goal is premium quality, professional finish and cross-medium use, manual tracing by an expert remains the better choice.
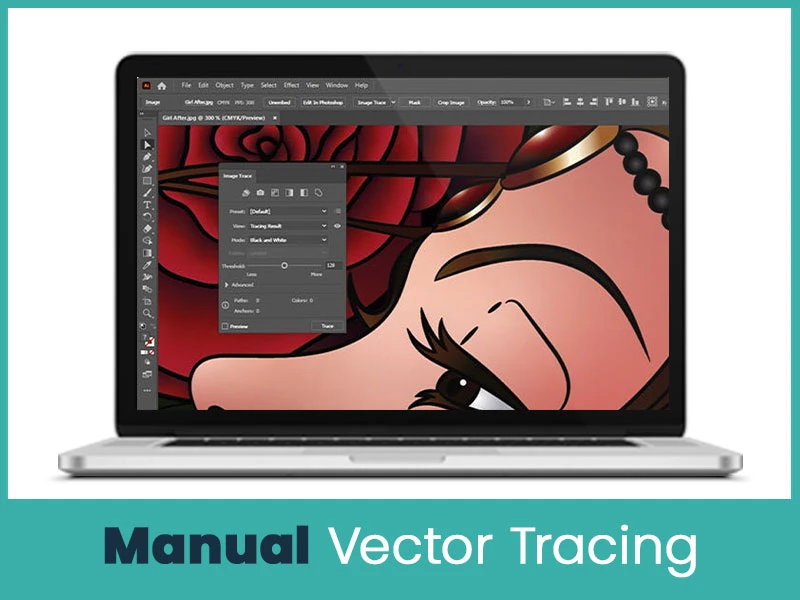
Manual vector tracing means a human designer uses vector software like Adobe Illustrator or similar to trace the image, placing paths, curves, anchor points, fills, and colors intentionally and precisely. The benefit? Unmatched control, quality and customization, humans understand every small, large, simple and complicated details very well. Thin & thick lines, subtle gradients, artistic detail. They can decide what to keep, what to simplify and how to optimize for printing or branding.
When you work with a service provider or want to get any service, then you definitely prefer human professionals, not AI because you know they will do everything right.
Professionals like True Digitizing have years of experience in vector tracing services. We give attention to detail and quality assurance to your vector file.
Because we know every design is unique, especially for logos, branding materials, choosing manual tracing means you’re investing in the best possible base for your design to be used at any size, on any medium, without compromise.
Here’s a side-by-side comparison. Let's check it out:
The main difference between AI and manual tracing is control versus speed. AI tracing gives you a quick vector version, which may be fine for simple shapes or when cost and time are major constraints. On the other hand, Manual tracing has the best precision and polish, good for workflows where your vector graphic must be perfect, scalable and ready for everything from printing to screening. In many professional scenarios, the human-driven approach is still the gold standard.
Very fast output.
Lower cost compared to full manual work.
Suitable for simple designs.
Good for draft or placeholder vectors.
Minimal human touch required.
Less accurate on complex designs.
May produce too many anchor points → harder to edit.
Limited customization of shapes, curves and colors.
Loss of artistic nuance and intent.
Not always ideal for professional use (branding, print).
Highest accuracy and fidelity to original design.
Strong customization: designer can optimize for intended use.
Cleaner vector paths, smaller file size when done well.
Better suited for print, branding at scale.
Preservation of artistic details and unique design elements.
Slower turnaround time.
Higher cost due to skilled human labour.
Requires an experienced designer for best results.
More planning may be needed (review, feedback loops).
When you weigh everything together, here’s the takeaway: automated (AI) vector tracing has its place, especially when you need a quick vector conversion and the image is simple. But if you’re working with logos, illustrations or you need something scalable for print, professional use, or branding then manual tracing remains the more reliable choice. Ai can’t always understand the complicated design details, the design intent, the fine details the way a expert human can.
That’s why when you choose a service provider (True Digitizing), you are not just expecting perfection & not just getting a conversion. You’re getting expert vector tracing service, optimized for your use, polished and ready to go. If you care about how your design will perform when enlarged, printed or reproduced, manual vector tracing is the right path.
Ready to upgrade your graphics? Contact True Digitizing today and make sure your design is vector-ready for whatever you throw at it.
Nick William has been immersed in the world of embroidery digitizing for over 20 years, earning 25 industry awards throughout his career. As a 3rd generation embroidery expert, Nick’s journey started in his family’s workshop, where he learned the art of digitizing before the rise of modern software. He has worked with leading commercial embroidery businesses and has shared his expertise with over 75,000 home and professional embroiderers. As an author at True Digitizing, Nick is passionate about teaching others how to create beautiful, precise designs through easy-to-follow tutorials and expert advice.
Categories

How to Remove Embroidery From Any Fabric — Step-by-Step Guide 2026
28-06-2026

Embroidery Trends 2026: What's Hot in Machine & Hand Embroidery | TrueDigitizing
26-06-2026

Top Best Embroidery Digitizing Software in 2026
06-05-2026
")
Best Multi-Needle Embroidery Machines for Startups 2026
28-02-2026

DST File: The Complete Guide (What It Is, How to Create, Convert & Use in 2026)
28-02-2026

Janome 550E vs Baby Lock Flare | Best Mid-Range Embroidery Machine?
26-02-2026

Choose the Right Fabric for Embroidery
20-02-2026

Advanced Techniques in Embroidery Digitizing
19-02-2026

Most Common Types of Threads to Use in Machine Embroidery
12-02-2026

AI in Embroidery | Revolutionizing Art and Efficiency
12-02-2026
Asked Questions


