
At True Digitizing, we transform your creative spark into flawless, high-quality embroidery digitized designs that bring your vision to life.
Our Blogs
We Accept
Copyright 2025 Truedigitizing
At True Digitizing, we transform your creative spark into flawless, high-quality embroidery digitized designs that bring your vision to life.
We Accept
Copyright 2025 Truedigitizing

Have you tried so many times to resize your embroidery designs but it doesn’t match your hoop size? right? You try to enlarge, shrink it or have tried many options but still show the same results, stitches bunch up or the design gets distorted. So frustrating.
Here is good news for you. This guide will take away your frustration because we are going to cover the safe, reliable steps to resize embroidery designs so they fit your hoop without errors. You’ll understand the basic rules, what to watch out for and how to test to find errors and deliver perfect results. If you're a beginner or experienced, this will help you get clean results every time.
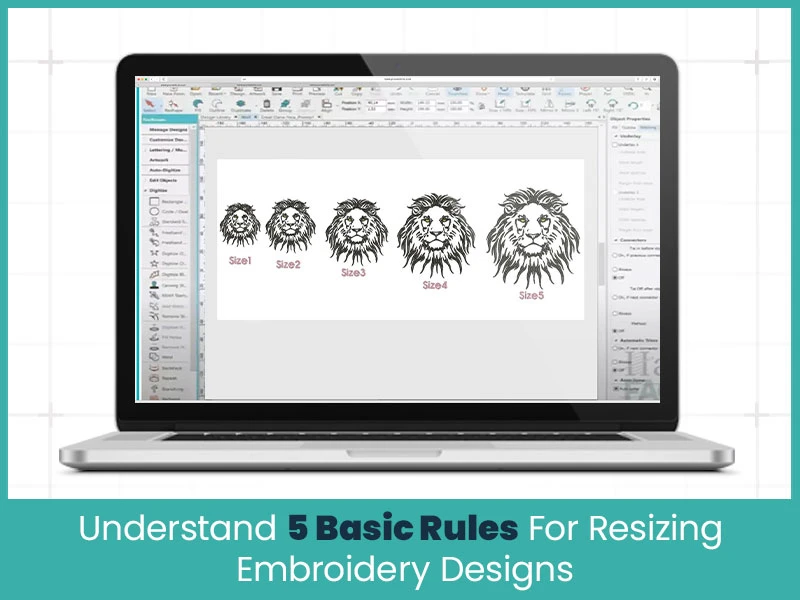
When you try to resize embroidery designs, it takes more than just stretching or compressing to resize embroidered designs. The final appearance of your design can be ruined or broken by some important technical details.
Always lock the aspect ratio (height to width proportion) when resizing. If you stretch more horizontally than vertically (or vice versa), your design will look warped. Many embroidery software tools have a “lock aspect ratio” toggle, use it.
The number of stitches that cover a given area is known as stitch density. Stitches become mixed when a design is scaled down while maintaining the same number of stitches. Thread breaks or very thick embroidery may result from that. If you scale up without adding stitches, the design can appear sparse with gaps.
Good density values depend on the design and fabric but if your software supports it, aim to adjust density proportionally to the new size to keep balance.
Every embroidery machine has limits on how short or long stitches can be. If your design has super short stitches after reducing, they may fail to form properly. Or if a long stitch stretches across fabric without support, it may loop or distort. Always inspect elements like satin stitches, trims and tie offs after resizing.
The underlay is the basic stitching under your design. It stabilizes the fabric and gives structure. If you simply resize without tuning the underlay, it may become too dense (if made smaller) or too weak (if enlarged). You should recalculate or modify underlay settings to align with the new size.
Always run tests. Never send to final fabric without testing. Use rough piece of fabric and the same thread, stabilizer and hoop. A test run will show skipped stitches, misalignments, puckering or any unexpected issues. Adjust density or stitch length in your software and test again until you’re satisfied.
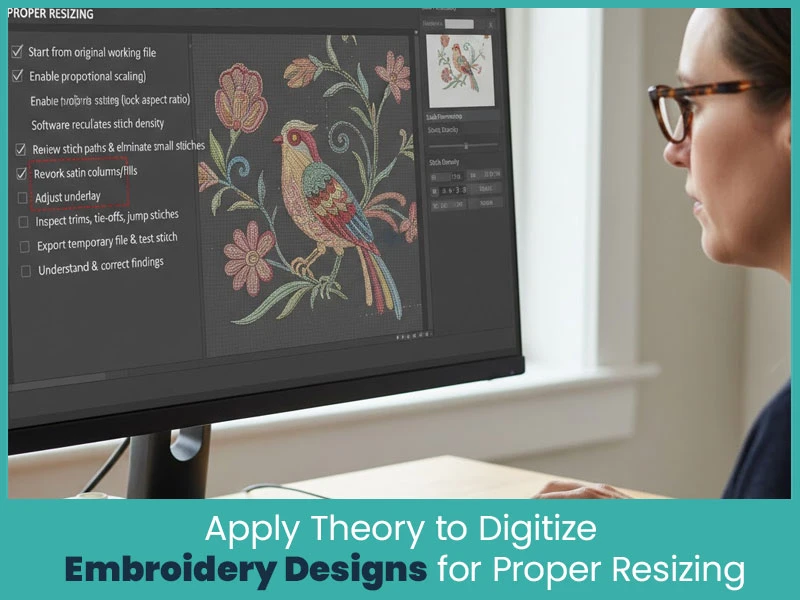
You have learned the rules. Now move ahead & understand how you apply them in practice during digitizing or editing:
Start from the original working file, not a flattened (stitched) export if possible. That allows better control of each object.
Enable proportional scaling (lock aspect ratio).
As you reduce or enlarge, let your software recalculate stitch density. If it doesn’t, manually adjust density settings.
Review stitch paths and eliminate very small stitches that may not sew well.
Rework satin columns or fills if they deform at the new size. Sometimes converting oversized satin to fill or breaking it into sections helps.
Adjust underlay: lower density slightly when reducing or strengthening it when enlarging.
Inspect any trims, tie-offs and jump stitches, and adjust their placement.
Export a temporary file and run a test stitch.
Understand and correct the findings.
This step-by-step application helps prevent common errors like density overload, stitch breaks, and distortion.
Resizing embroidery designs to fit your hoop is more than scaling. You should maintain aspect ratio, adjust density, verify stitch lengths and adapt underlay. Always test before final stitching.
If you want the best results & get custom embroidery digitizing services within your budget, contact True Digitizing. We deliver high quality designs with fast turnaround times in just $12. Also provide free revisions and file backups for all projects. Place an order now & enjoy custom embroidery design services at flat rates.
Nick William has been immersed in the world of embroidery digitizing for over 20 years, earning 25 industry awards throughout his career. As a 3rd generation embroidery expert, Nick’s journey started in his family’s workshop, where he learned the art of digitizing before the rise of modern software. He has worked with leading commercial embroidery businesses and has shared his expertise with over 75,000 home and professional embroiderers. As an author at True Digitizing, Nick is passionate about teaching others how to create beautiful, precise designs through easy-to-follow tutorials and expert advice.
Categories

Top Best Embroidery Digitizing Software in 2026
06-05-2026
")
Best Multi-Needle Embroidery Machines for Startups 2026
28-02-2026

DST File: The Complete Guide (What It Is, How to Create, Convert & Use in 2026)
28-02-2026

Janome 550E vs Baby Lock Flare | Best Mid-Range Embroidery Machine?
26-02-2026

Choose the Right Fabric for Embroidery
20-02-2026

Advanced Techniques in Embroidery Digitizing
19-02-2026

Most Common Types of Threads to Use in Machine Embroidery
12-02-2026

AI in Embroidery | Revolutionizing Art and Efficiency
12-02-2026

Best Thread Tension 101 | A Guide for Embroidery Machines
09-02-2026

Mastering Small Lettering in Machine Embroidery
04-02-2026
Asked Questions


