
At True Digitizing, we transform your creative spark into flawless, high-quality embroidery digitized designs that bring your vision to life.
Our Blogs
We Accept
Copyright 2025 Truedigitizing
At True Digitizing, we transform your creative spark into flawless, high-quality embroidery digitized designs that bring your vision to life.
We Accept
Copyright 2025 Truedigitizing

If you enjoy embroidery, you can relate, you may have tried using metallic embroidery thread many times. It gives your designs a shiny and bright look. But at the same time, it can be hard to handle. The reason is that the thread can twist, break or not stitch the way you want. Many people get upset when this problem happens.
If you are facing the same problems, then no worries. True Digitizing is here. We will share some tips and tricks with you, because with the right tips and a little care, you will make smooth and beautiful embroidery designs with the help of metallic thread.
In this post, you will understand simple tips, useful tricks and the common mistakes to avoid when using metallic embroidery thread.
By the way, True Digitizing is here if you need any type of embroidery digitizing services at very affordable rates. Our experts know very well how to prepare designs that sew neatly and give a perfect finish.
Let’s begin and learn step by step.
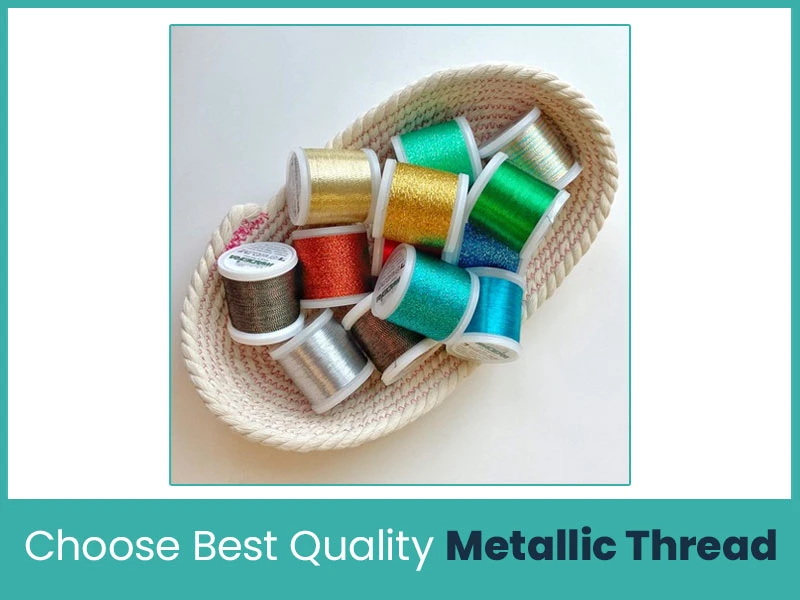
Always buy thread from a trusted brand. Low quality metallic threads easily break and shred. Good quality threads are smooth, have a better coating and pass through the needle without breaking.
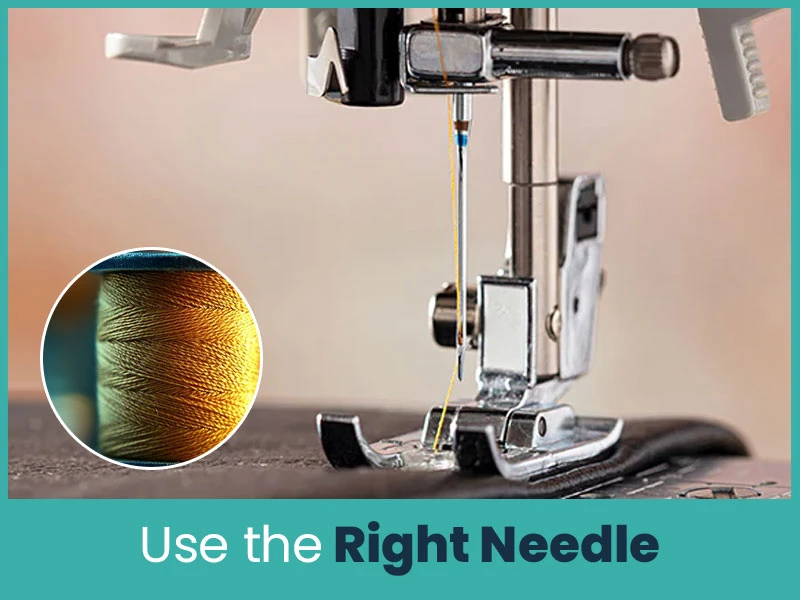
A metallic needle works best for metallic threads. It has a bigger eye that allows the thread to move freely. This helps reduce friction and stops the thread from snapping. A size 90/14 metallic or topstitch needle is a good choice.
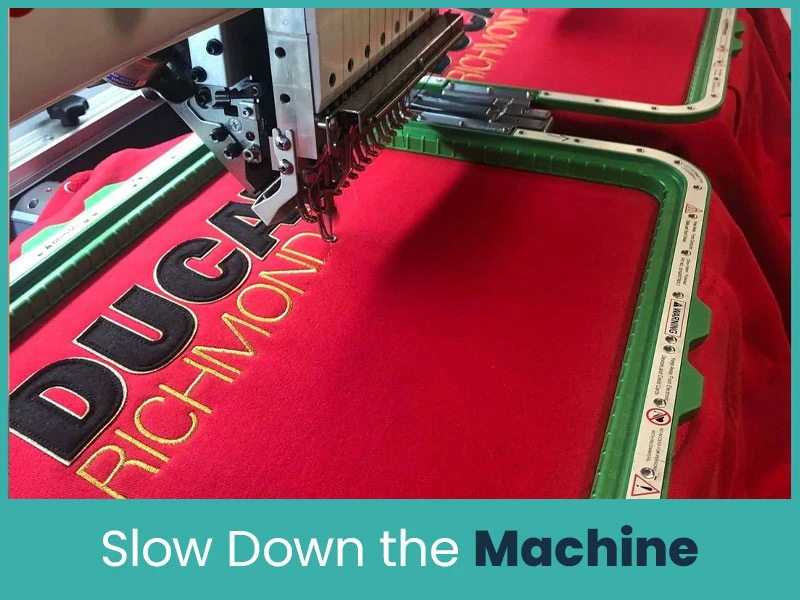
Metallic threads work very well when embroidery machine runs slowly, approximately 500 to 600 stitches each minute. This helps the thread move smoothly without breaking & you will create designs perfectly.
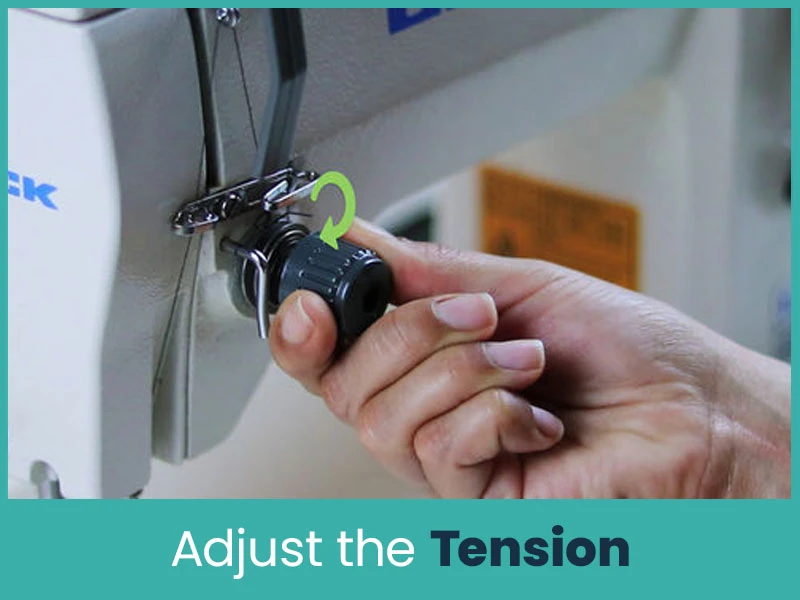
The thread will break if you tighten the tension too much. Make an effort to reduce the tension on the top thread. To figure out the right tension, you might first try a few stitches.
Heat and moisture are avoided by metallic thread. Store it somewhere dry and cool.
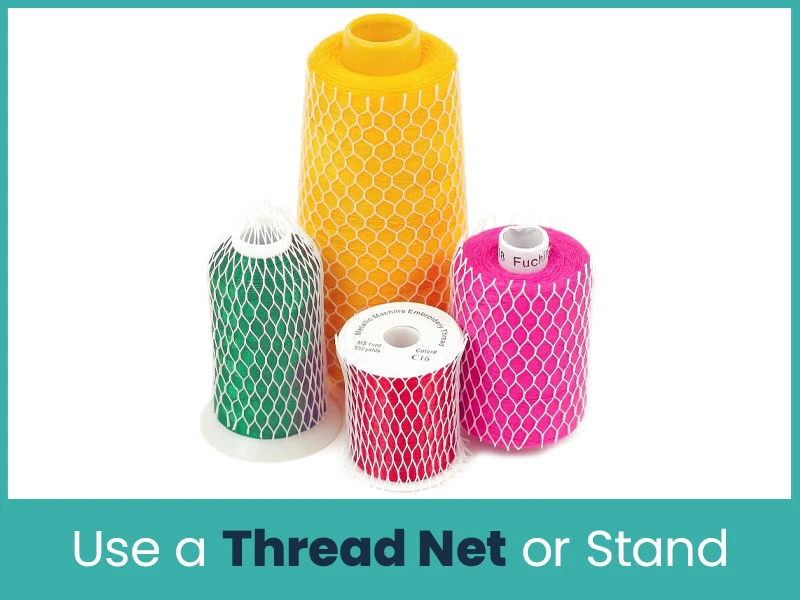
A thread net keeps the thread from tangling. A thread stand helps the thread unwind smoothly while stitching. Both tools make your work easier and prevent twisting.
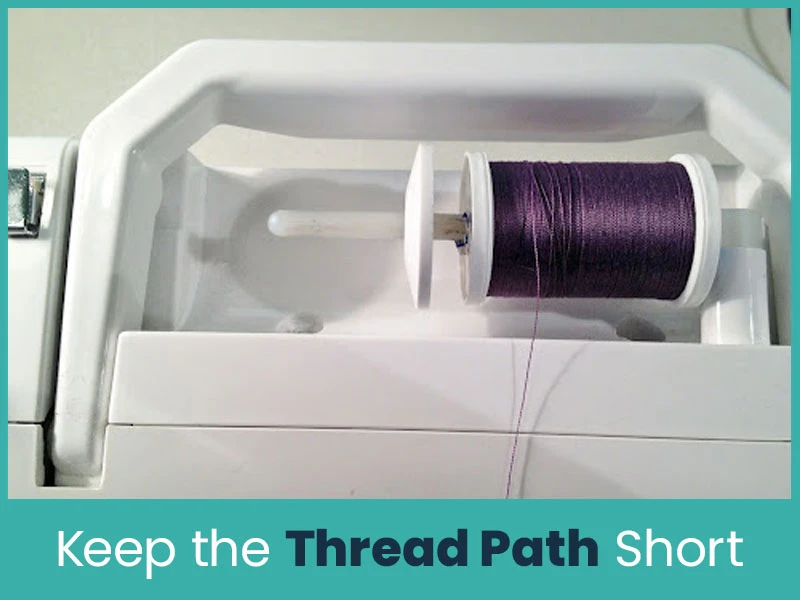
Try to keep the thread path straight and short. Long thread paths may cause tangles or twists. If possible, place your spool close to the machine.
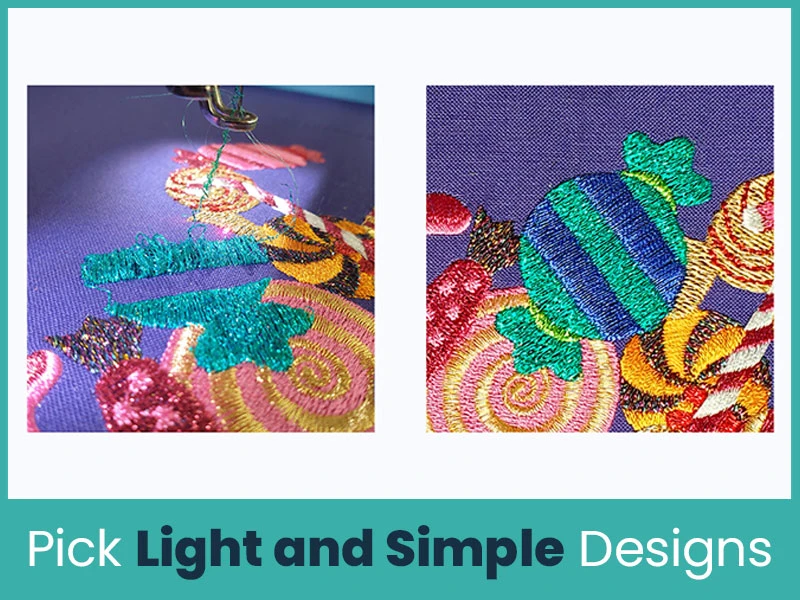
Metallic thread is soft and delicate. Heavy or dense designs can pull the thread too much and cause breaks. Choose light stitch patterns that suit metallic thread.

Metallic thread can leave small pieces of coating inside your machine. Clean the needle plate and bobbin area. A clean machine helps you get neat and even stitches.
Before stitching on the final fabric, don't forget to test your design on a rough cloth. It helps you check color, tension, stitch quality and everything. Once you are happy with the test or it is done perfectly, start the stitching now.
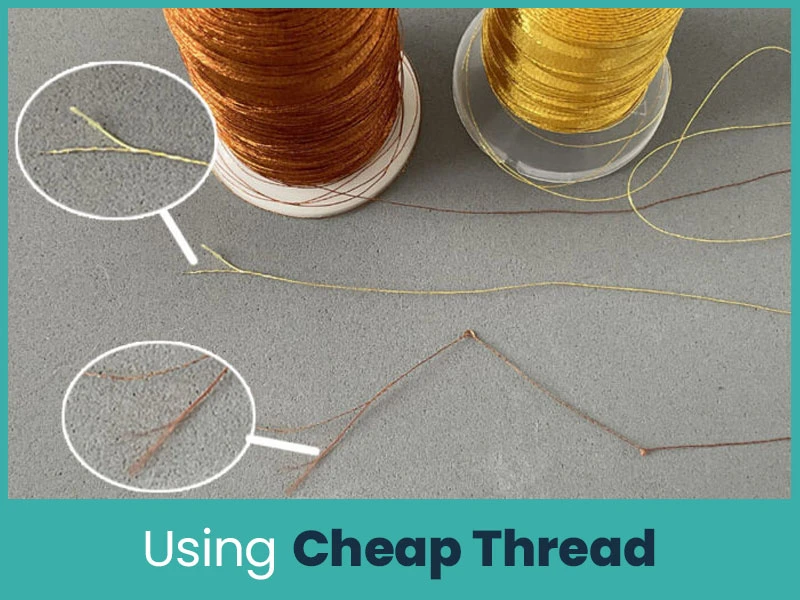
Cheap metallic threads are the most difficult to sew and they break easily due to being less expensive but they will waste your time and ruin your embroidery work. Always select the best quality thread if you want the perfect results.
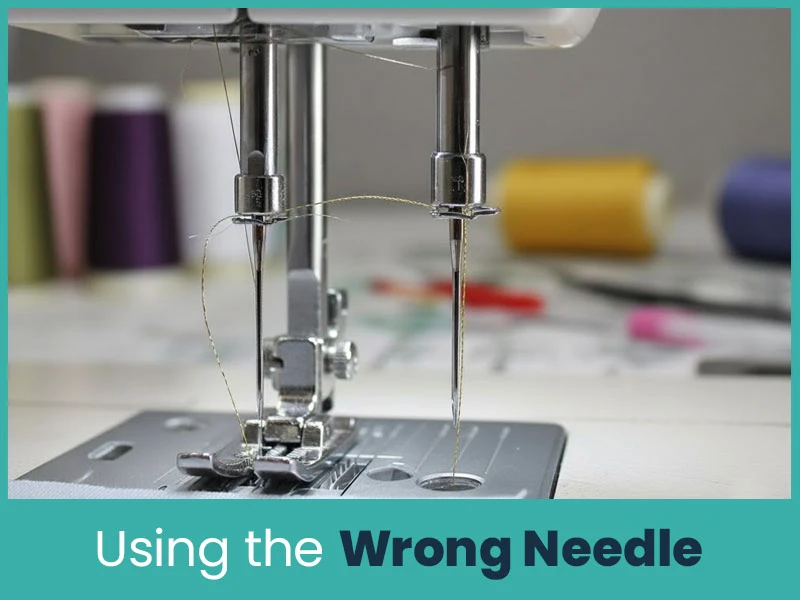
Regular needles are not right for metallic threads. They can cut or damage the thread coating. Always use a metallic or topstitch needle with a large eye.
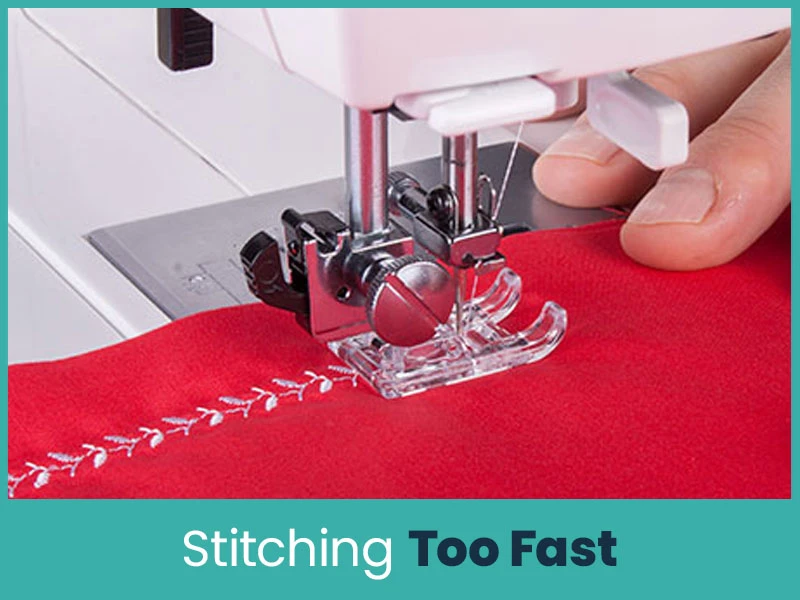
Many people forget to slow down the machine. Fast stitching makes the thread heat up and break. Metallic thread needs slow and steady stitching to run smoothly.
During your embroidery project, skipping a test run may result in poor tension or broken threads. Before getting started, always test your design to make sure that any problems can be fixed.
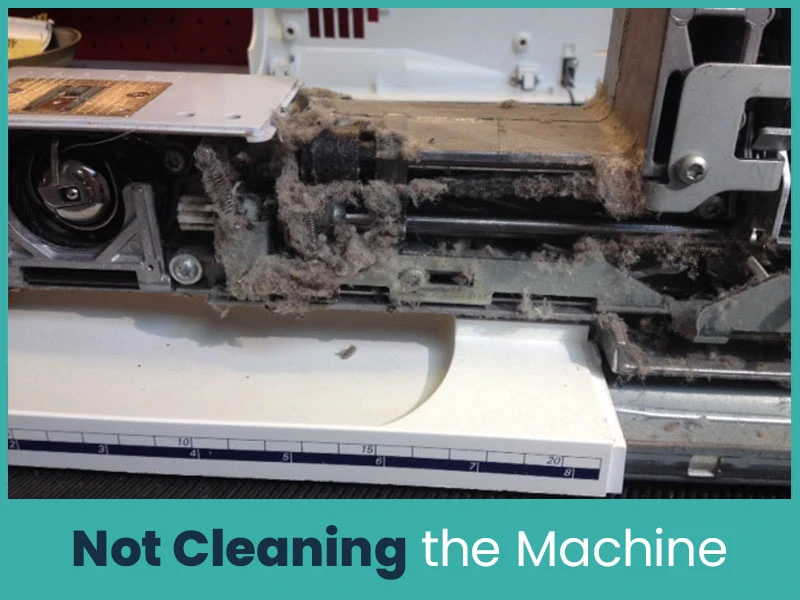
Small thread bits, dust & lint cause the metallic thread to break or tangle. To keep your embroidery machine in good working order, clean it & grease it frequently.
If I'm not wrong, you see metallic thread for the very first time & think it is hard, right? But once you learn how to handle it, it becomes easy, fun and you will enjoy stitching process with metallic thread. Remember to use high-quality thread, run your machine slowly, clean it frequently and always test your design before you start. These common small steps help you get smooth, shiny and professional looking designs every time.
If you can't handle this or want to get your designs to stitch perfectly, take it easy. True Digitizing is always there for you. Our skilled and professional team of experts creates custom embroidery designs that work perfectly on all types of fabrics.
So connect with us today to get top quality digitizing services and take your embroidery project to the highest level.
Nick William has been immersed in the world of embroidery digitizing for over 20 years, earning 25 industry awards throughout his career. As a 3rd generation embroidery expert, Nick’s journey started in his family’s workshop, where he learned the art of digitizing before the rise of modern software. He has worked with leading commercial embroidery businesses and has shared his expertise with over 75,000 home and professional embroiderers. As an author at True Digitizing, Nick is passionate about teaching others how to create beautiful, precise designs through easy-to-follow tutorials and expert advice.
Categories

Embroidery Trends 2026: What's Hot in Machine & Hand Embroidery | TrueDigitizing
26-06-2026

Top Best Embroidery Digitizing Software in 2026
06-05-2026
")
Best Multi-Needle Embroidery Machines for Startups 2026
28-02-2026

DST File: The Complete Guide (What It Is, How to Create, Convert & Use in 2026)
28-02-2026

Janome 550E vs Baby Lock Flare | Best Mid-Range Embroidery Machine?
26-02-2026

Choose the Right Fabric for Embroidery
20-02-2026

Advanced Techniques in Embroidery Digitizing
19-02-2026

Most Common Types of Threads to Use in Machine Embroidery
12-02-2026

AI in Embroidery | Revolutionizing Art and Efficiency
12-02-2026

Best Thread Tension 101 | A Guide for Embroidery Machines
09-02-2026
Asked Questions


