At True Digitizing, we transform your creative spark into flawless, high-quality embroidery digitized designs that bring your vision to life.
Our Blogs
We Accept

Copyright 2025 Truedigitizing


At True Digitizing, we transform your creative spark into flawless, high-quality embroidery digitized designs that bring your vision to life.
We Accept
Copyright 2025 Truedigitizing
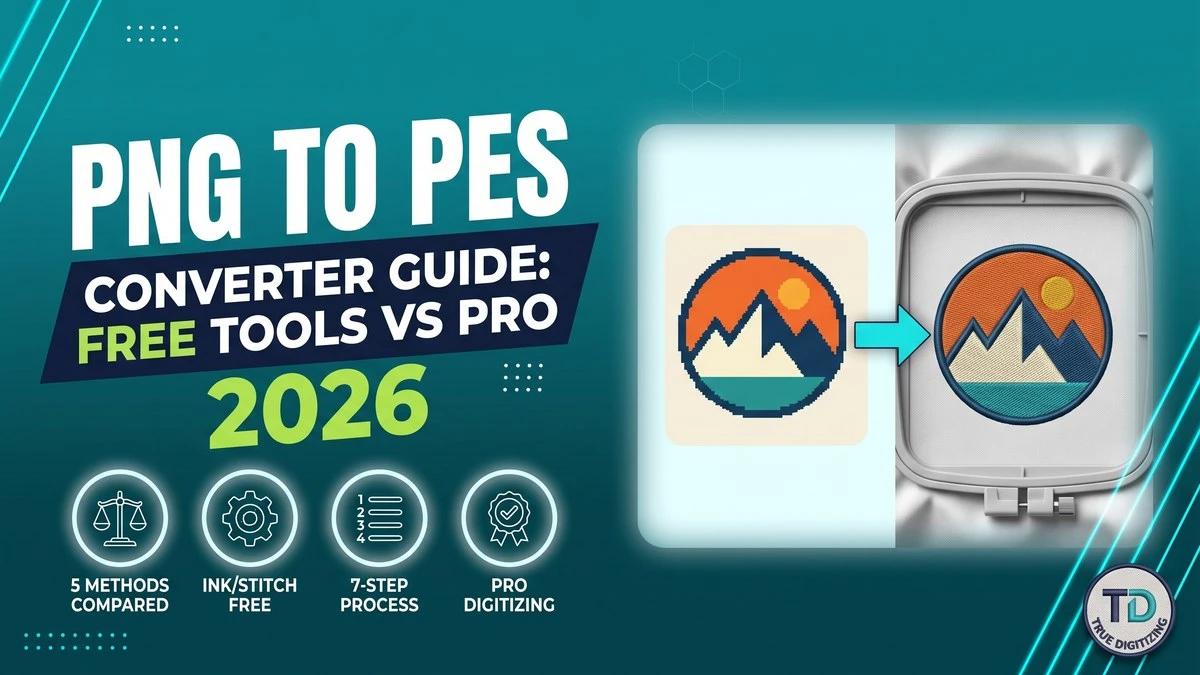


To convert a PNG to PES, the image must be digitized into stitches — a PES file is stitch instructions, not a picture. The free route is Ink/Stitch (trace the PNG in Inkscape, assign stitch types, then File › Save a Copy › PES). Brother's PE-DESIGN 11 and Artspira+ can auto-convert simple artwork, and free online converters work only for bold, single-color shapes. Logos with small text or gradients need professional digitizing; True Digitizing delivers a tested PES file, usually within 2 to 12 hours.
If you've ever dropped a PNG logo onto a USB stick and walked it to an embroidery machine, you know what happens next: nothing. A png to pes converter sounds like a simple file swap, but PES isn't an image format at all. It's a set of stitch instructions, and a flat picture doesn't contain any of that information.
This guide compares the five realistic ways to get from PNG to PES in 2026 — free online converters, Ink/Stitch, Brother's PE-DESIGN 11 and Artspira, Embrilliance, and professional digitizing — with the exact steps for each and an honest look at where each one breaks down.
Whether you're stitching a personal design on a Brother home machine or turning a customer's logo into a production file, the process underneath is the same. Only the amount of hand-finishing changes.
Skip the trial and error — send True Digitizing your PNG
True Digitizing has completed 20,000+ designs for USA embroiderers over 13+ years. Upload your PNG and get a stitch-ready PES file back without fighting free converters.
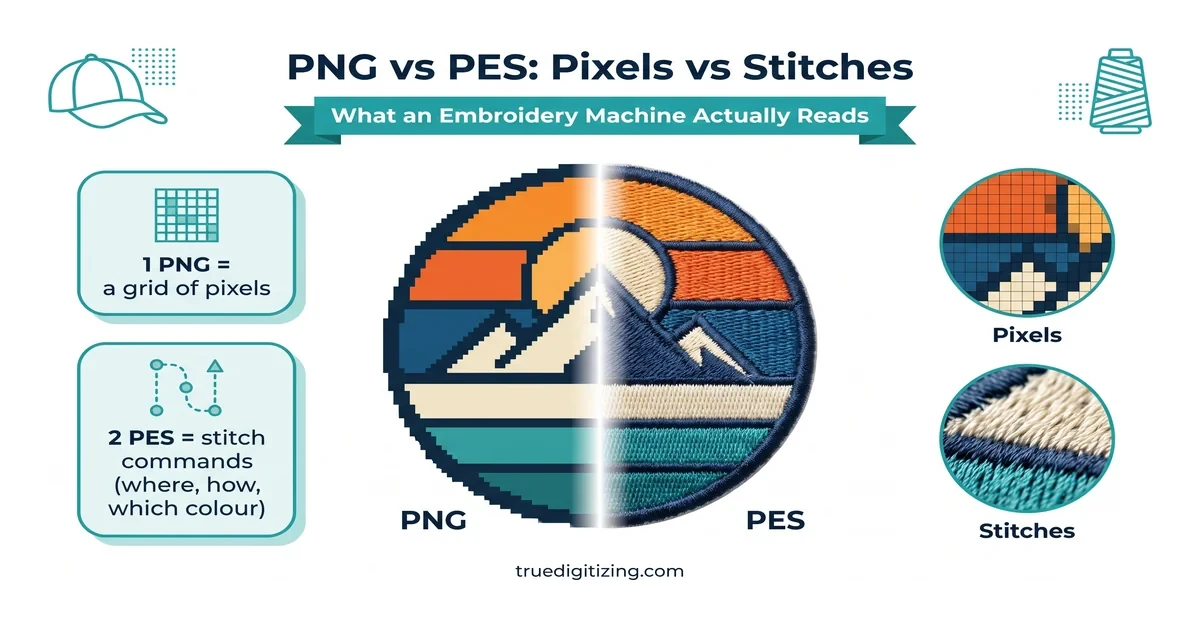
Get a Free Quote — True DigitizingPNG is a raster image format — a grid of colored pixels built to look right on a screen, not to be sewn.
PES is the native embroidery format used by Brother and Baby Lock home machines. Instead of pixels, a PES file stores a sequence of stitch commands: where the needle drops, which direction each stitch runs, when the machine changes thread color, and where it stops. One PES file can contain thousands of individual stitch points.
That's why no formula turns a PNG into a PES. Something — software or a person — has to look at the artwork and decide how to build it in thread. That decision-making is called embroidery digitizing, and it's the real work hiding behind the phrase "png to pes converter."
There is no single best method — the right one depends on your artwork, budget, and how much time you want to spend learning software. Here is how the five options stack up:
| Method | Cost | Skill Needed | Best For | Where It Falls Short |
|---|---|---|---|---|
| Free online auto-converters | Free | None | Quick test of a bold, single-color shape | Small text, gradients, photos; uploads your artwork to a third party |
| Ink/Stitch (Inkscape extension) | Free, open-source | Medium–High | Hobbyists willing to set stitch types by hand | Steep learning curve; you set underlay and compensation yourself |
| Brother PE-DESIGN 11 / Artspira+ | Paid software / paid subscription | Low–Medium | Brother owners wanting a fast first draft | Thin lines and fine detail need manual cleanup |
| Embrilliance (StitchArtist level) | Paid software | Medium | Mac and Windows users who want editing control | Image-to-stitch is a digitizing-level feature, not in every edition |
| Professional digitizing | Per-design quote | None | Logos, uniforms, anything worn or sold | Not free — priced by stitch count and detail |
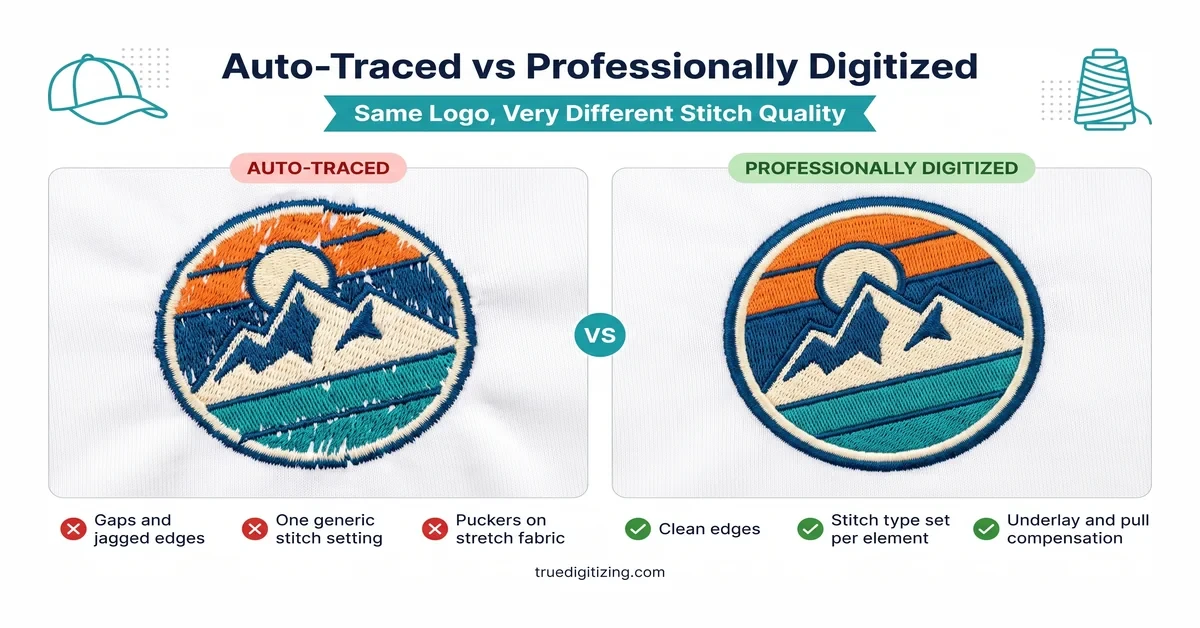
These sites auto-trace your image, detect color blocks, and fill each area with one generic stitch pattern. For a bold, high-contrast shape they can produce a usable draft in minutes. Before you upload anything, remember that your artwork goes to someone else's server — a real consideration for client logos — and that most of these tools give you no control over stitch type, density, or underlay.
Ink/Stitch is an open-source extension for Inkscape, and its official file-format list confirms it can write PES (alongside DST, EXP, JEF and others). The workflow is manual but free:
PE-DESIGN 11 includes a Stitch Wizard that converts an imported image automatically. According to Brother's PE-DESIGN 11 manual, you can create embroidery patterns from images, and the wizard modes (Auto Punch, Cross Stitch, Photo Stitch and Design Center) trade control for speed. Auto Punch is the quickest route for a simple logo; Design Center gives more control but takes longer.
On mobile, Brother's Artspira app has an Image to Embroidery function that turns a phone or tablet image into embroidery data. It requires an Artspira+ subscription. Both tools work best on clean, simple artwork; thin outlines are the usual trouble spot and typically need manual repair.
Embrilliance is popular on both Mac and Windows. Basic editing, resizing and format conversion sit in the entry editions, while turning a raster image into stitches is a digitizing-level capability (StitchArtist). If you search "how to convert png to pes in Embrilliance," check which edition you own before assuming the image-to-stitch tool is included.
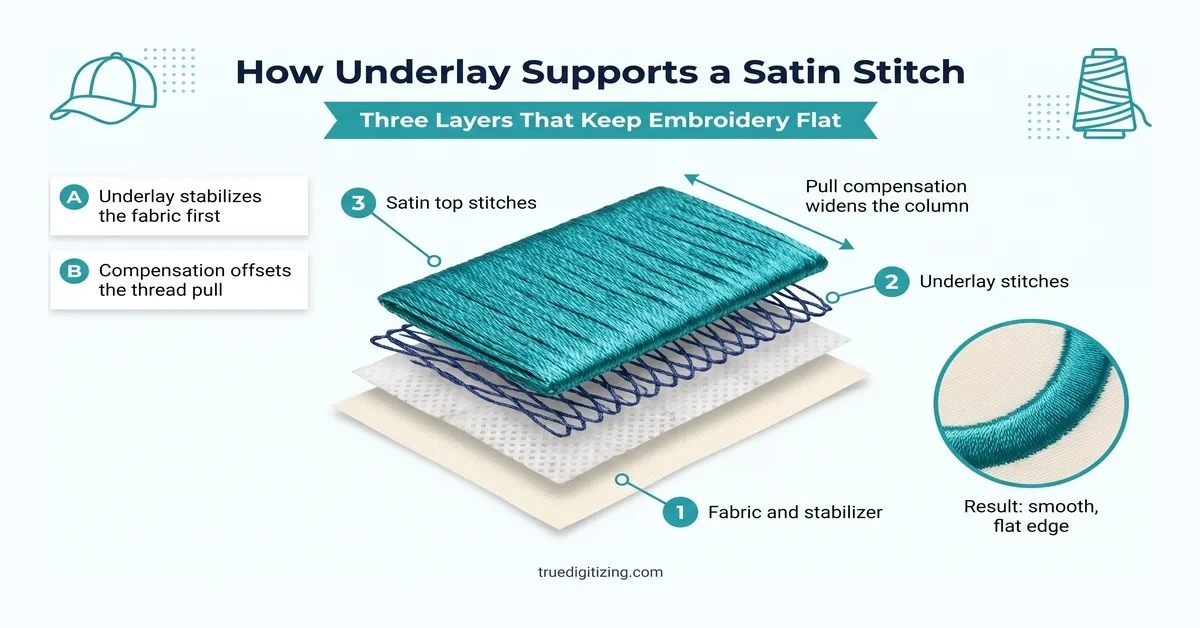
A digitizer rebuilds your artwork as stitches by hand: choosing stitch types per element, setting underlay and pull compensation for your fabric, mapping thread colors, and sewing a test-out before delivery. That is the only route that reliably handles small text, gradients, and brand-critical logos.
Don't guess at underlay and pull compensation
True Digitizing delivers stitch-ready PES files within 2 to 12 hours — trusted by 5,000+ USA embroiderers. Send your PNG and get every step handled by a digitizer, not an algorithm.
Start My Order at True DigitizingWhichever method you choose, the same seven steps apply. A free auto-digitizer handles the first two and part of the fourth, then guesses at the rest with one generic setting.
Auto-digitizing tools apply one stitch setting across the whole design. That works on a plain circle. It falls apart on a logo with small lettering, thin outlines, or a gradient, because each element needs a different density, direction, and underlay to sew cleanly.
Fabric stretch is the other blind spot. A file that stitches perfectly on a stiff denim cap panel can pucker on a stretchy performance shirt because the software has no idea what the fabric is. Pull compensation has to be set for the specific material.
Thread color is a third. A PNG stores exact RGB or hex values, but thread only comes in a fixed set of manufacturer colors. Auto-converters round each color to the "closest" shade without checking how it reads next to its neighbors, which is why an auto-traced logo can look slightly off-brand even when the software technically found a match.
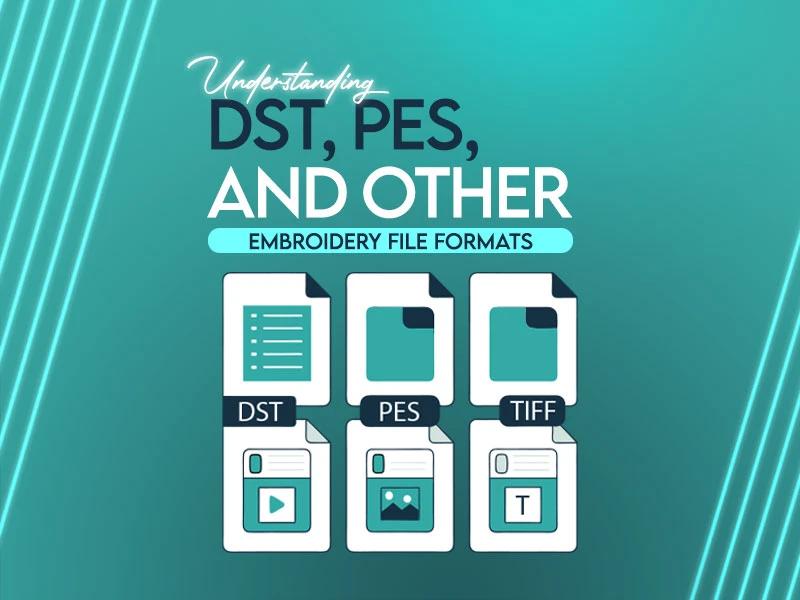
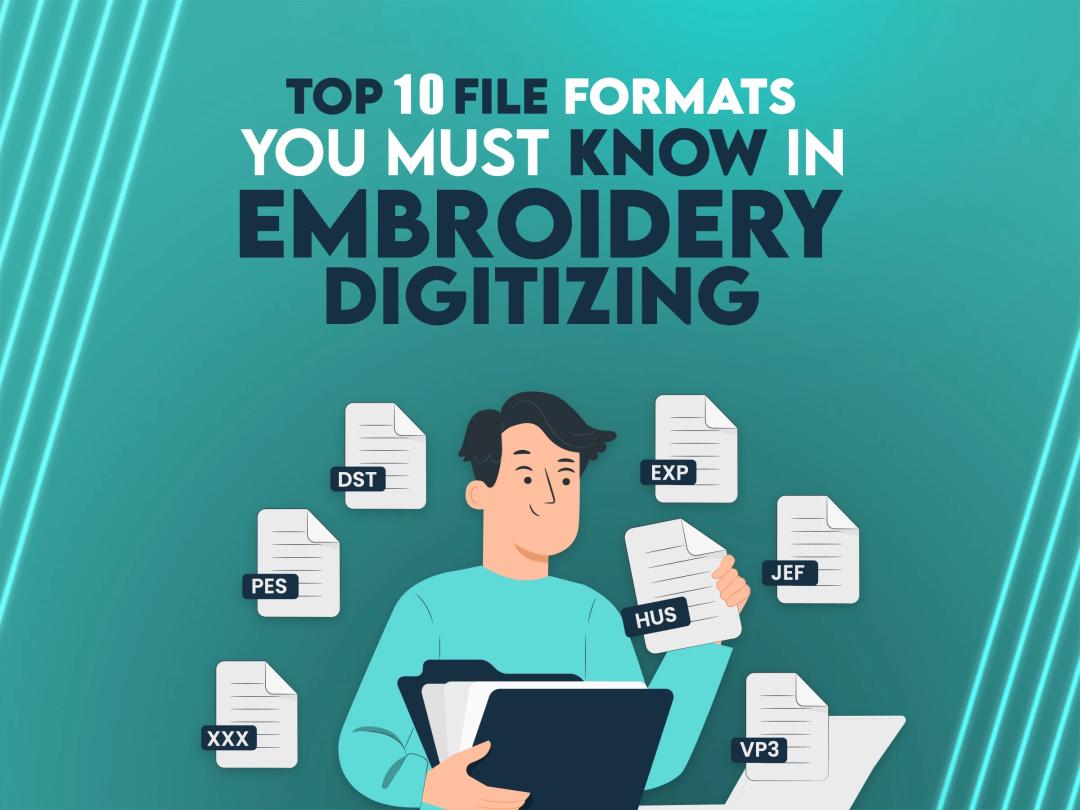
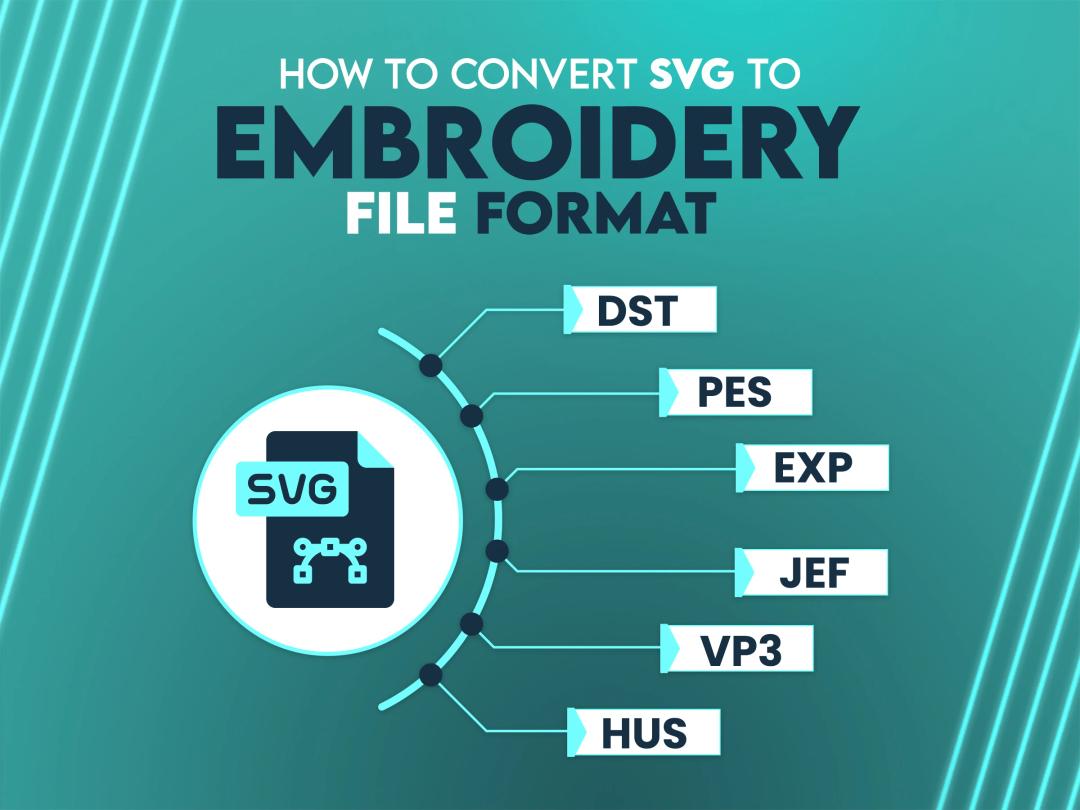
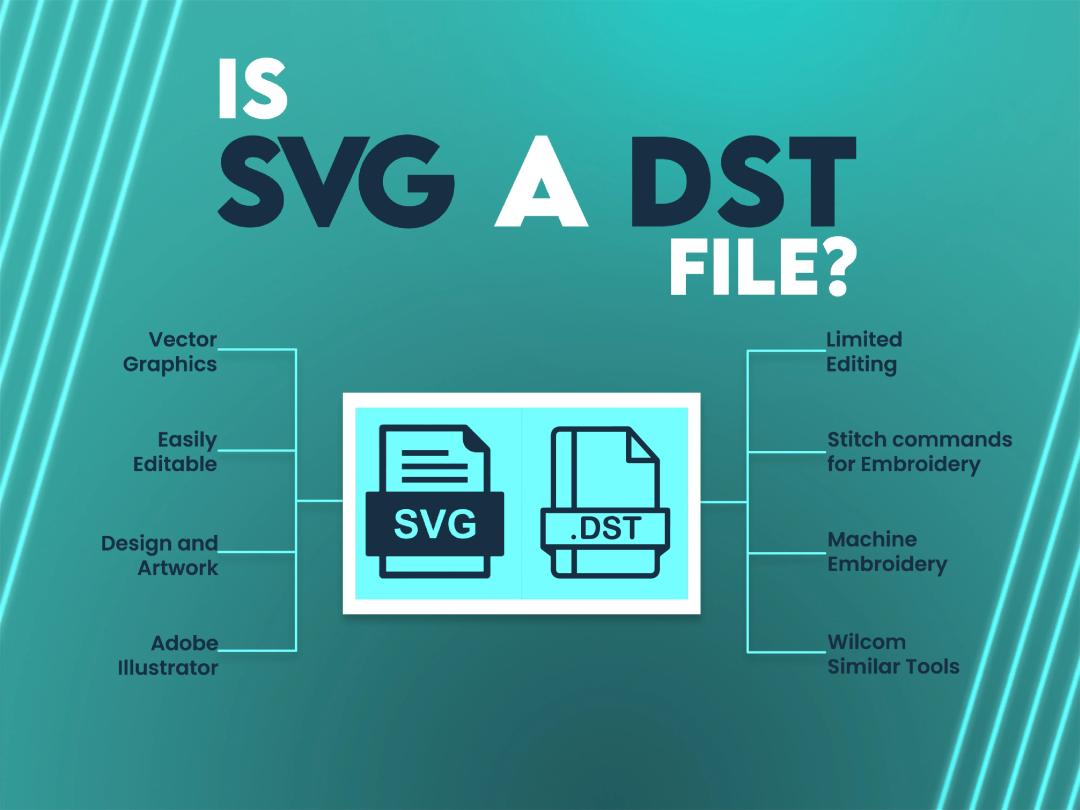
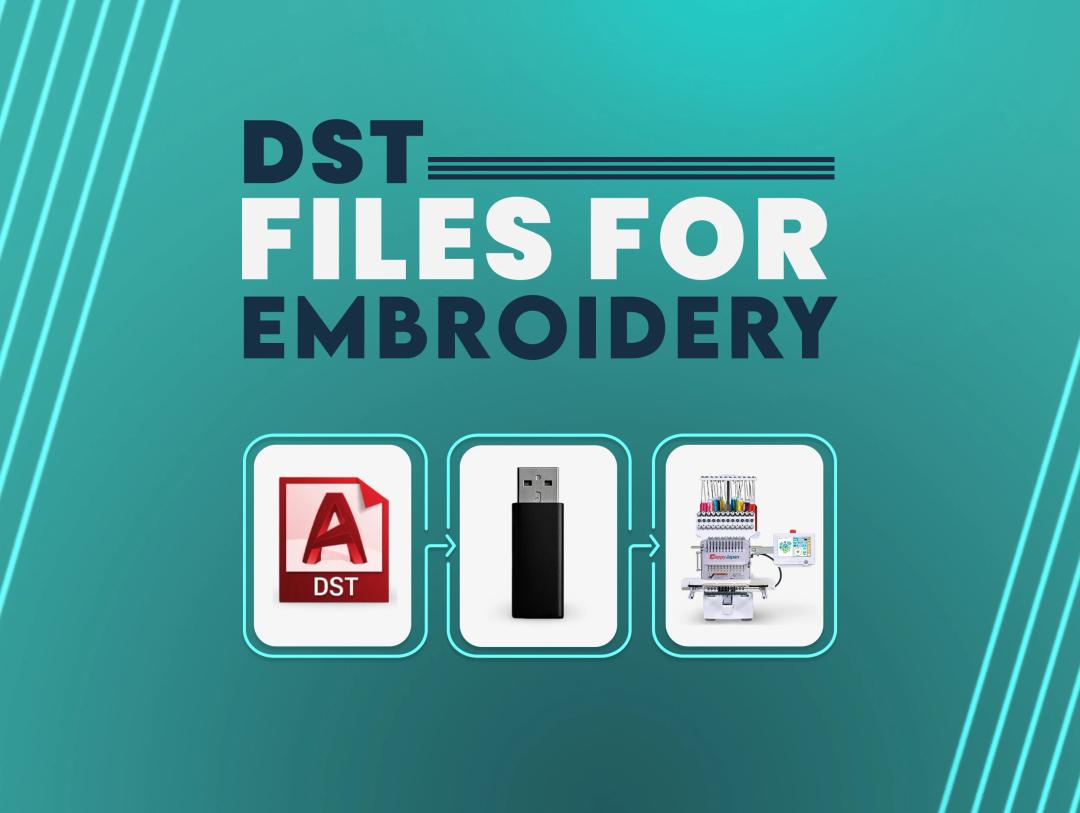
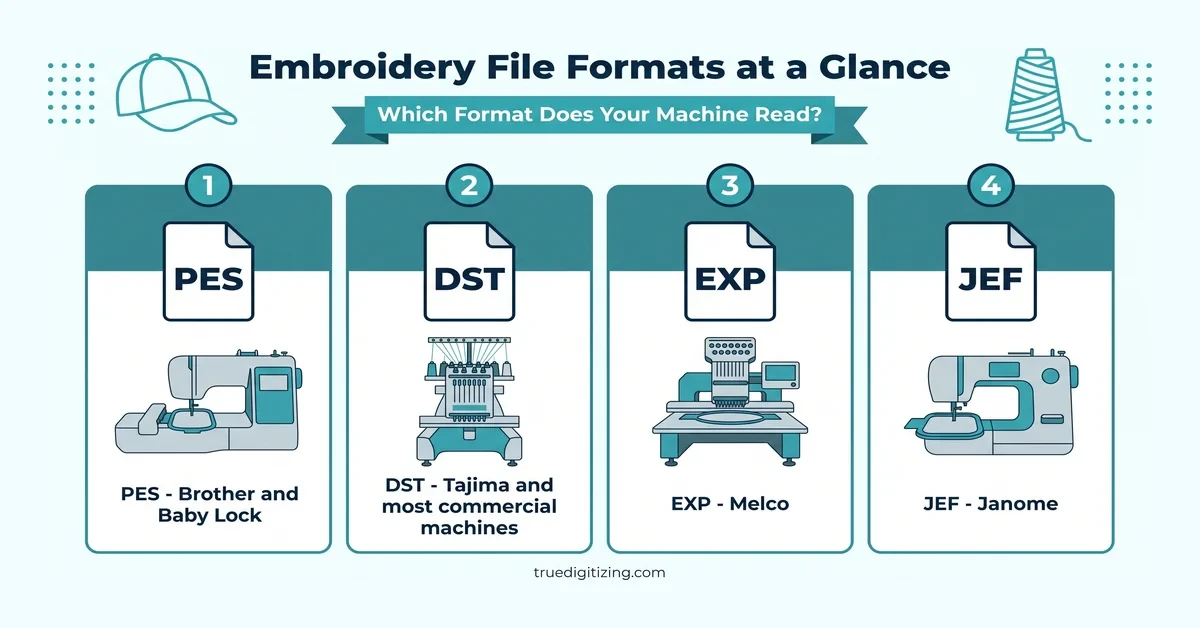
PES isn't the only stitch format. Different machine brands read different native formats, so the right one depends on the machine that will sew the design. For a deeper breakdown, see our guide to embroidery file formats and the full DST file guide.
| Format | Used By | Notes |
|---|---|---|
| PES | Brother, Baby Lock | Most common format for home embroidery machines |
| DST | Tajima, most commercial machines | Industry-standard for production embroidery |
| EXP | Melco | Common on commercial single-head machines |
| JEF | Janome | Home machine format, similar role to PES |
If you're not sure which format your machine needs, check the manual or the machine's on-screen file browser. Most home machines read only one or two formats. A digitizer can usually deliver the same design in several formats from one source file, so mention your machine brand when you order.
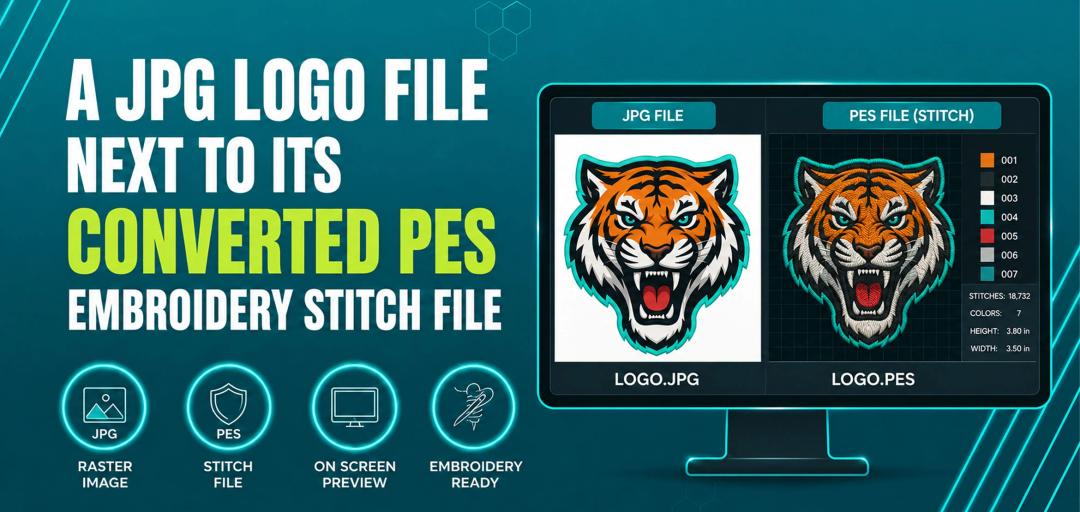
Starting from a different file type? See how to convert JPG to PES, SVG to PES, PDF to embroidery file, or PDF to DST. If your logo is a low-quality PNG, running it through PNG to vector tracing first gives a digitizer far cleaner edges to work from.
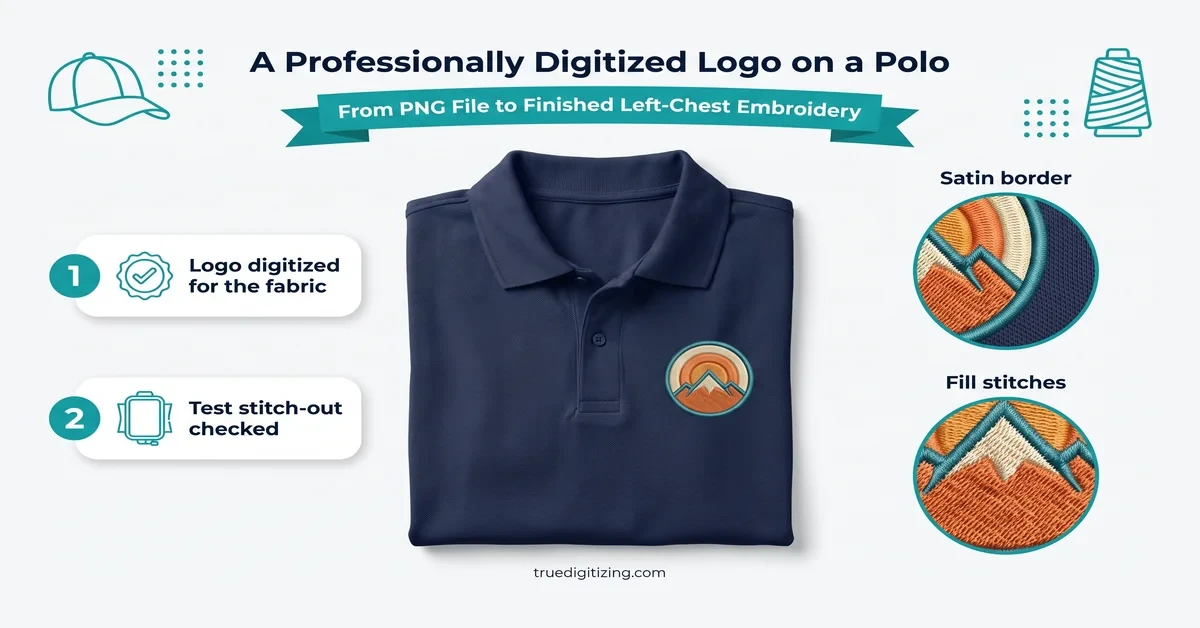
Sending a low-resolution or blurry PNG. Whatever detail is missing from the source is missing from the stitch file. There is nothing for a converter or digitizer to reconstruct from a pixelated logo.
Ignoring the target fabric. One design stitched unchanged on ten different fabrics is a classic cause of puckering and thread breaks.
Skipping the test stitch-out. A single test on scrap fabric catches sizing and color problems before they show up on the final garment.
Resizing after digitizing instead of before. Stitch density and satin width are set for a specific size. Enlarging or shrinking a finished PES file a lot can leave fills too dense or too sparse — confirm final dimensions first.
Assuming "free" means "finished." A free converter can give you a rough draft quickly. It rarely gives you a file you can hand to a customer without cleanup.
Trusting a converter's thread colors. Check every color against your actual thread chart. The closest automatic match may not look right next to the colors around it.
Once you move past free tools, digitizing pricing generally comes down to a few factors rather than a flat rate:
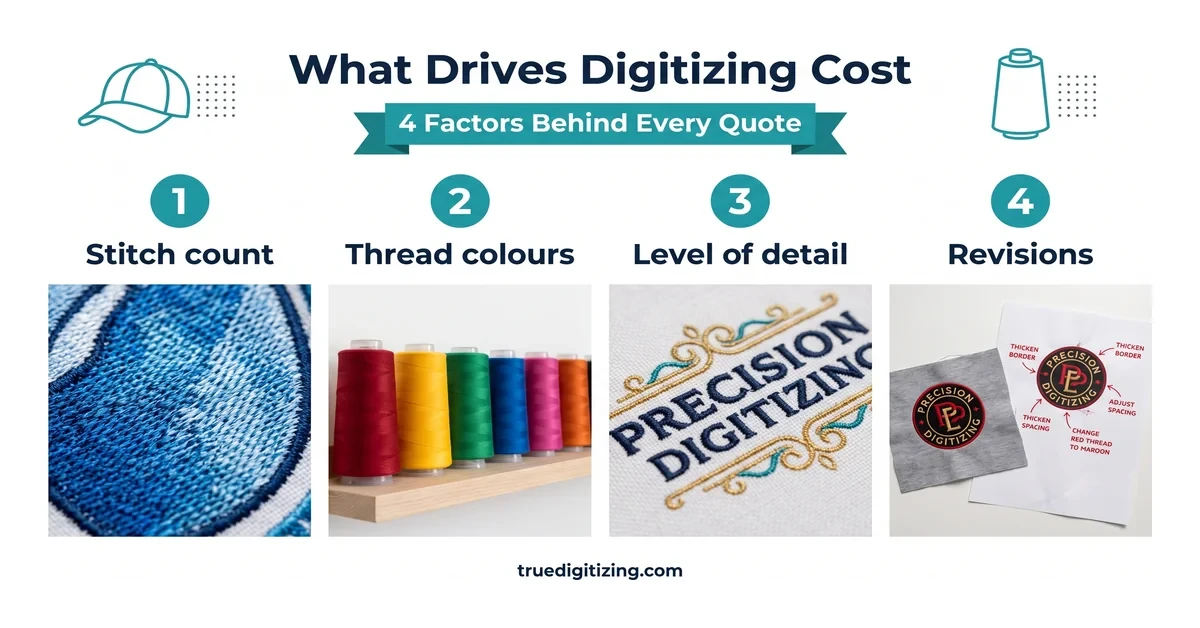
Stitch count. A small left-chest logo has far fewer stitches than a jacket-back design, and stitch count is usually the biggest price driver.
Number of thread colors. Each color adds a stop and a thread change, affecting file complexity and machine run time.
Level of detail. Fine text, thin outlines, and photo-realistic artwork take more digitizing time than a bold, simple mark.
Revisions needed. A resize, format change, or color tweak after the first stitch-out adds a round trip, so confirm revision policy before ordering. True Digitizing includes a test stitch-out check as part of its process, so sizing and color issues get caught before final delivery, usually within 2 to 12 hours.
¿Se puede convertir un PNG a PES gratis? Sí, para diseños simples. Un PNG es una imagen de píxeles y un archivo PES contiene instrucciones de puntadas, por eso hay que "digitalizar" la imagen primero. Los convertidores gratuitos funcionan con formas sencillas de un solo color; los logotipos con texto pequeño o degradados suelen necesitar digitalización profesional.
Pasos básicos: (1) limpia el PNG y quita el fondo transparente; (2) usa Ink/Stitch (gratis) o el software de tu bordadora; (3) asigna tipos de puntada y densidad; (4) exporta como PES; (5) haz una prueba de bordado en tela de muestra antes de producir.
True Digitizing has helped 5,000+ USA embroiderers get professional stitch files since 2013. Send your PNG and get back a clean, tested PES file — no auto-tracing guesswork.
Get My Design Digitized by True Digitizing →Fast turnaround · truedigitizing.com · 100% satisfaction guaranteed
Related reading: Convert JPG to PES · SVG to PES · PNG to Vector File · Embroidery File Formats Explained · Vector Tracing Service
Nick William has been immersed in the world of embroidery digitizing for over 20 years, earning 25 industry awards throughout his career. As a 3rd generation embroidery expert, Nick’s journey started in his family’s workshop, where he learned the art of digitizing before the rise of modern software. He has worked with leading commercial embroidery businesses and has shared his expertise with over 75,000 home and professional embroiderers. As an author at True Digitizing, Nick is passionate about teaching others how to create beautiful, precise designs through easy-to-follow tutorials and expert advice.
Categories
Embroidery Backing Guide: Types & How to Choose (2026)
11-10-2026
Embroidery Digitizing Services: Which Type Do You Need?
17-08-2026
How to Remove Embroidery From Any Fabric — Step-by-Step Guide 2026
15-07-2026
Is SVG a Vector File? Yes — SVG vs EPS, PNG, PDF Vector Formats you need to know
08-07-2026
Embroidery Trends 2026: What's Hot in Machine & Hand Embroidery | TrueDigitizing
26-06-2026
Top Best Embroidery Digitizing Software in 2026
06-05-2026
Best Multi-Needle Embroidery Machines for Startups (2026)
28-02-2026
DST File: The Complete Guide (What It Is, How to Create, Convert & Use in 2026)
28-02-2026
Janome 550E vs Baby Lock Flare | Best Mid-Range Embroidery Machine?
26-02-2026
Choose the Right Fabric for Embroidery
20-02-2026
Asked Questions