




At True Digitizing, we transform your creative spark into flawless, high-quality embroidery digitized designs that bring your vision to life.
Our Blogs
We Accept

Copyright 2025 Truedigitizing






At True Digitizing, we transform your creative spark into flawless, high-quality embroidery digitized designs that bring your vision to life.
We Accept
Copyright 2025 Truedigitizing
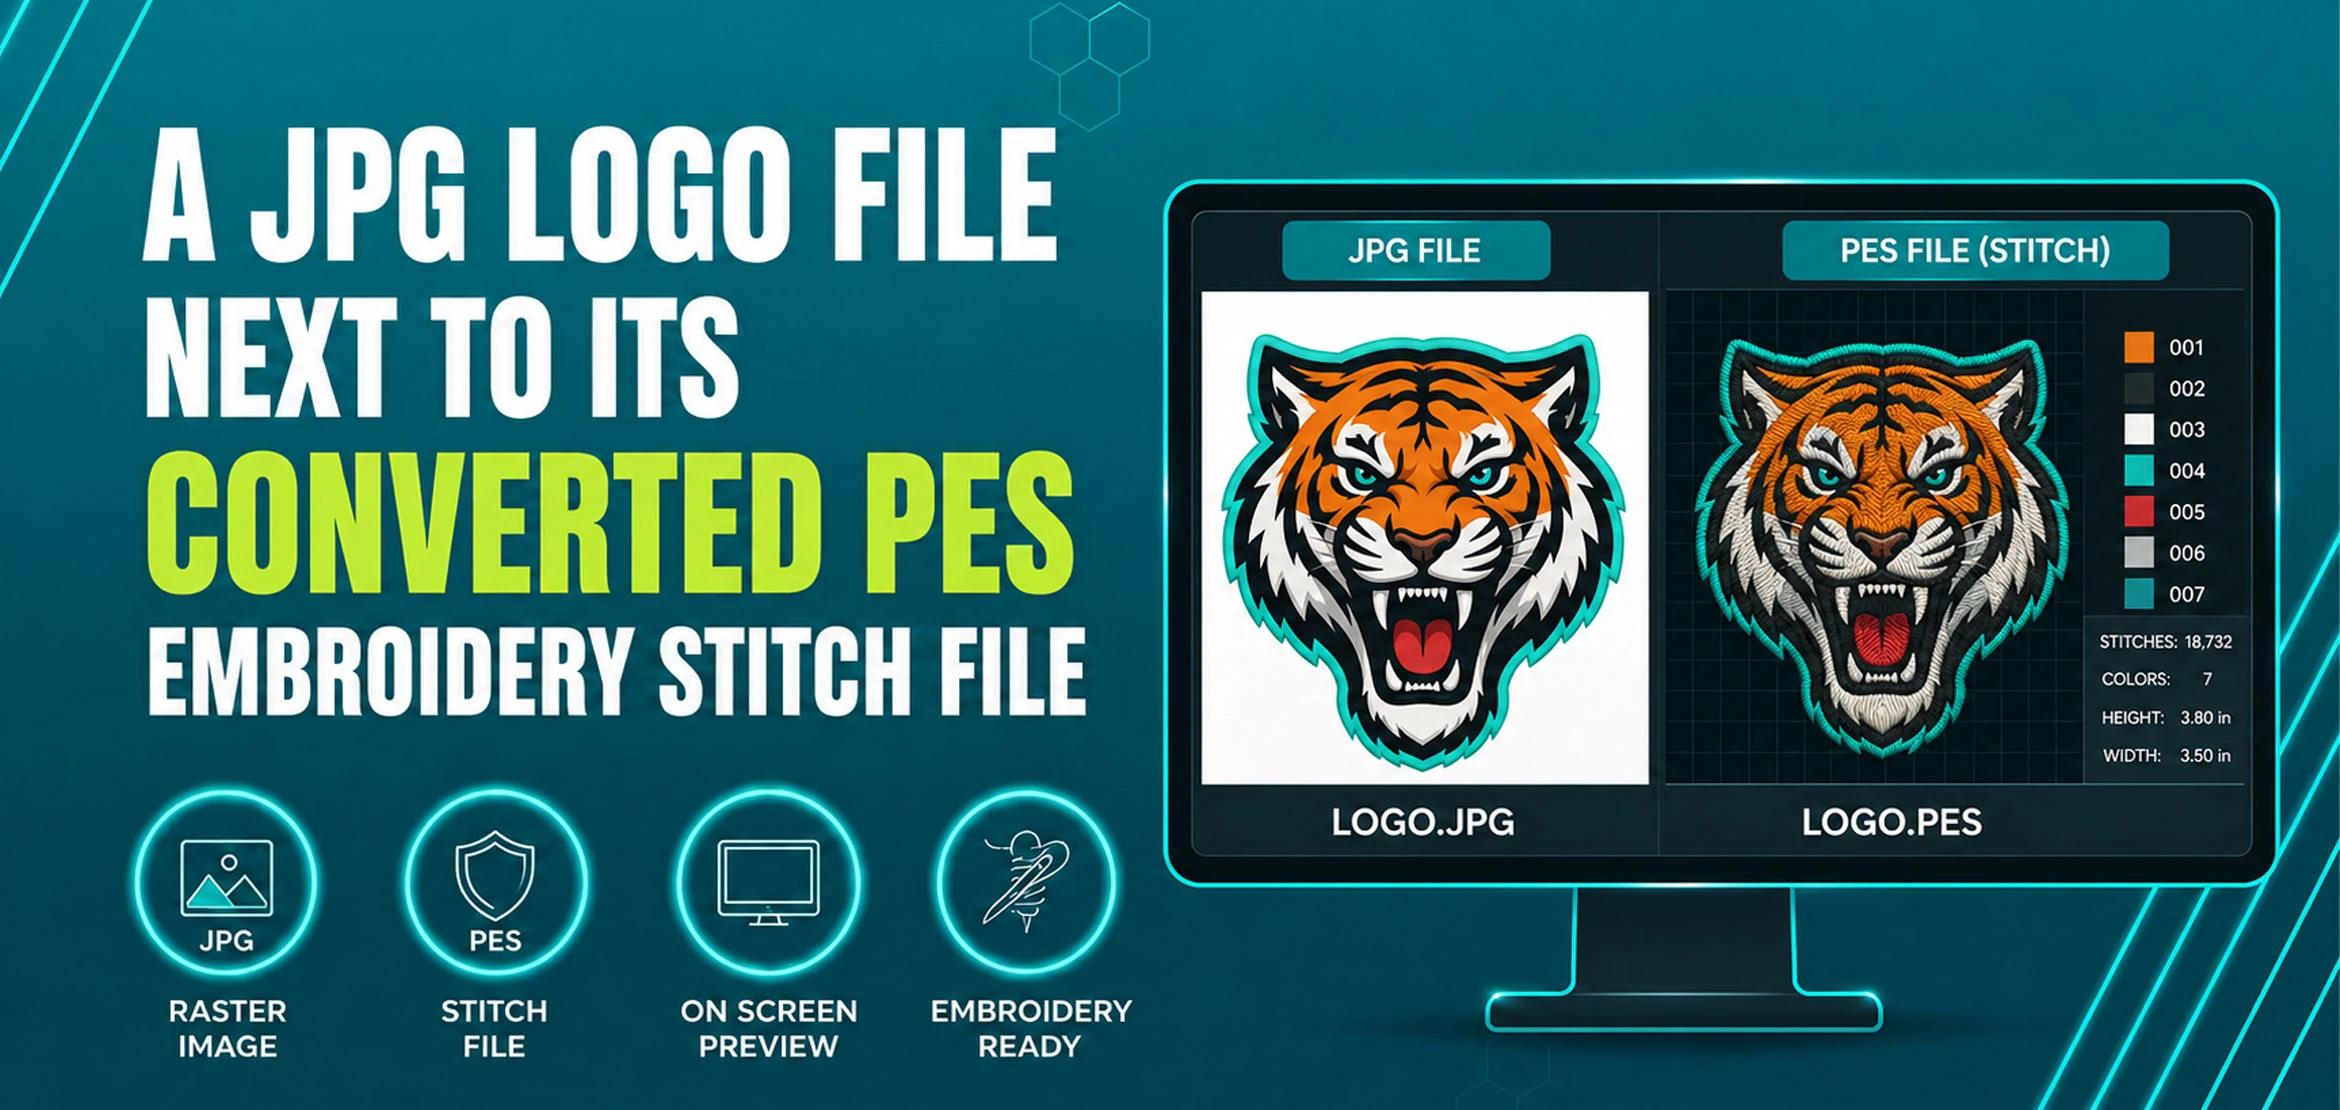


A JPG is a flat image with no stitch data, while a PES file tells a Brother embroidery machine exactly how and where to stitch. Free online converters can produce a basic PES file from a JPG, but they auto-digitize without adjusting stitch density, underlay, or pull compensation — so most JPG images need proper digitizing software, or a professional digitizer, to stitch out cleanly on fabric.
If you have a JPG image and want it stitched onto a shirt, hat, or jacket, you need to convert it to a PES file first — JPG to PES conversion turns a flat picture into stitch instructions a Brother embroidery machine can actually read. It's one of the most common questions embroidery beginners search for, and in 2026 there are more free converter tools promising an instant fix than ever before.
This guide from True Digitizing covers what a PES file actually is, how free JPG to PES converters work (and where they fall short), a step-by-step manual conversion method, the best software options, common mistakes, and when it makes more sense to send your JPG to a professional digitizer instead.
Skip the trial and error — get a clean PES file from True Digitizing
True Digitizing has completed 20,000+ designs for USA embroiderers over 13+ years. Upload your JPG and get a stitch-ready PES file, no software learning curve required.
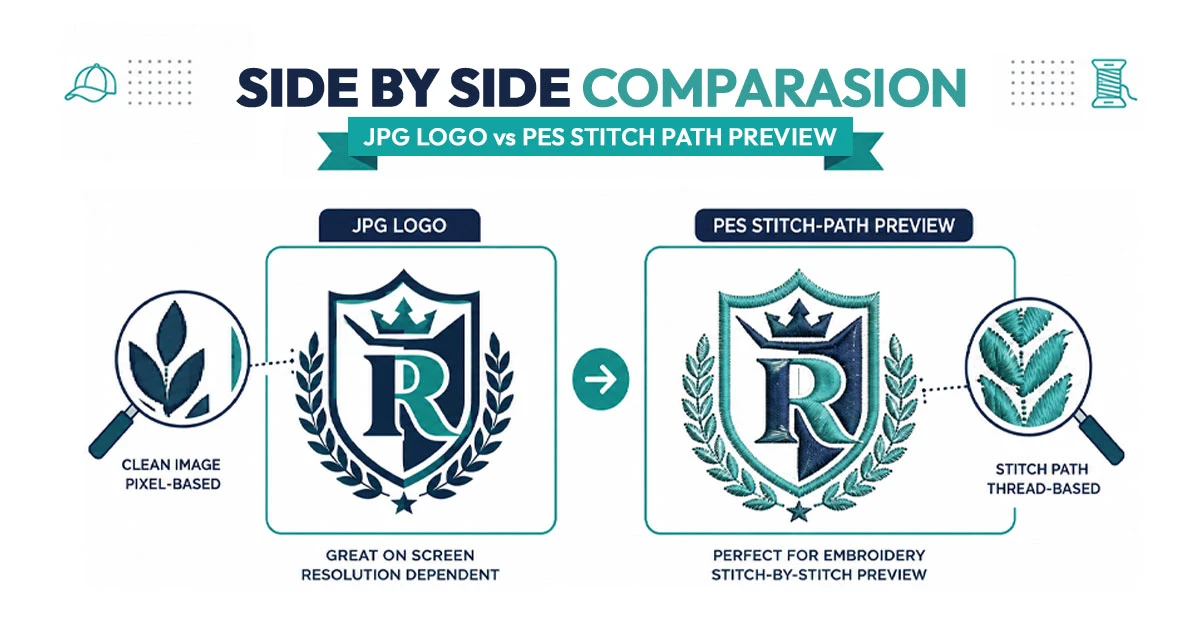
Get a Free Quote — True DigitizingA JPG is a compressed raster image — it stores color and pixel data, but nothing about depth, layering, or stitch order. An embroidery machine doesn't "see" a picture the way you do; it needs a set of coordinates telling the needle exactly where to move, what stitch type to use, and when to change thread colors.
PES is the embroidery file format built by Brother for its machines, and it's also widely supported by Baby Lock, Bernina, and several other brands. A finished PES file contains stitch points, stitch type (satin, fill, or running stitch), underlay instructions, and color-change sequencing — all the technical data a JPG simply doesn't have. Converting a JPG to PES isn't really a "conversion" in the file-format sense; it's a digitizing process that interprets an image and rebuilds it as embroidery.
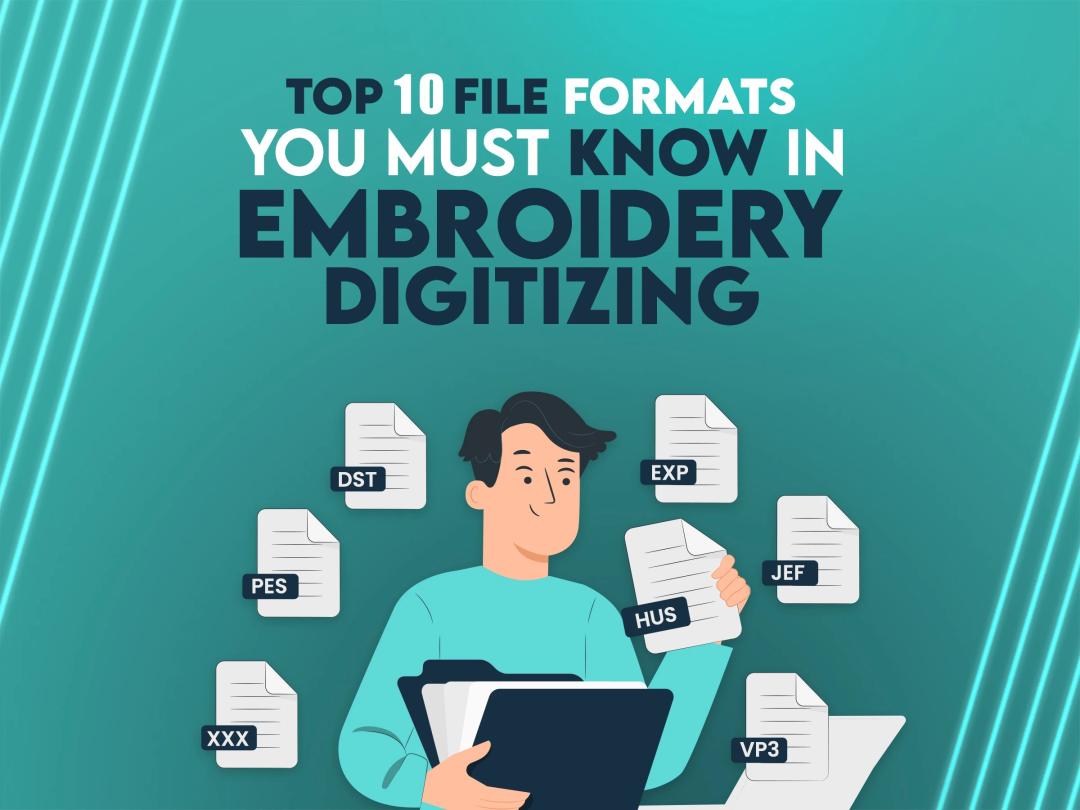
If your machine isn't a Brother, Baby Lock, or Bernina, you'll likely need a different embroidery format instead of PES — Tajima machines typically read DST, and some commercial machines use EXP or JEF. Most digitizing software, including True Digitizing's own delivery process, can export the same design in multiple formats at once, so it's worth confirming your machine brand before you convert anything. If your source file is a vector logo rather than a JPG, True Digitizing's vector tracing service can prep it for embroidery digitizing directly, without the extra raster-to-stitch guesswork.
A search for "convert jpg to pes" now surfaces mostly free online tools and auto-digitizing converters rather than editorial guides. These tools upload your JPG, run it through an automated tracing engine, and hand you back a PES file in seconds. That speed comes with real trade-offs worth knowing before you use one.
Auto-digitizing converters do not adjust stitch density for your fabric, do not add proper underlay, and cannot tell the difference between a logo that needs clean satin edges and a photo that needs shading. On a t-shirt or a stretch fabric, that usually means puckering, thread breaks, or a design that looks nothing like the original once it's stitched out. They work best as a rough first-draft preview, not a finished, production-ready file.
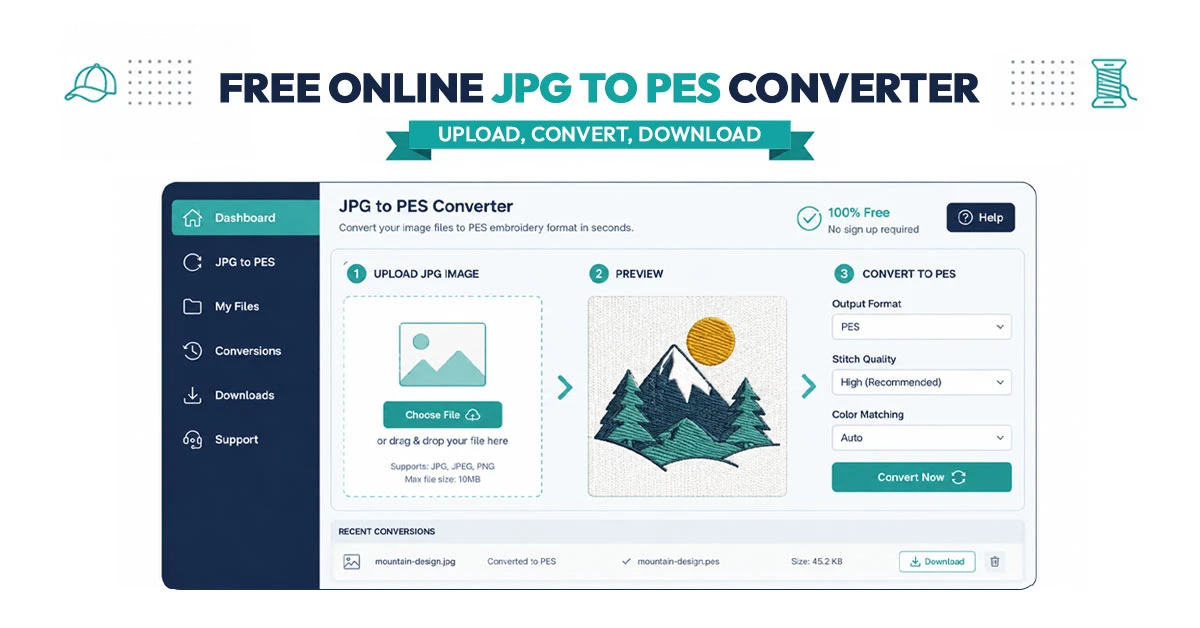
Here's how a free JPG to PES converter compares to a professionally digitized file on the details that actually affect stitch-out quality:
| Feature | Free Auto-Converter | Professional Digitizing (True Digitizing) |
|---|---|---|
| Custom stitch density per fabric | ✗ | ✓ |
| Underlay & pull compensation | ✗ | ✓ |
| Small-text and fine-detail cleanup | ✗ | ✓ |
| Turnaround | Instant | Fast, hands-on review |
| Best for | Rough preview / hobby test | Client work, branded apparel, production runs |
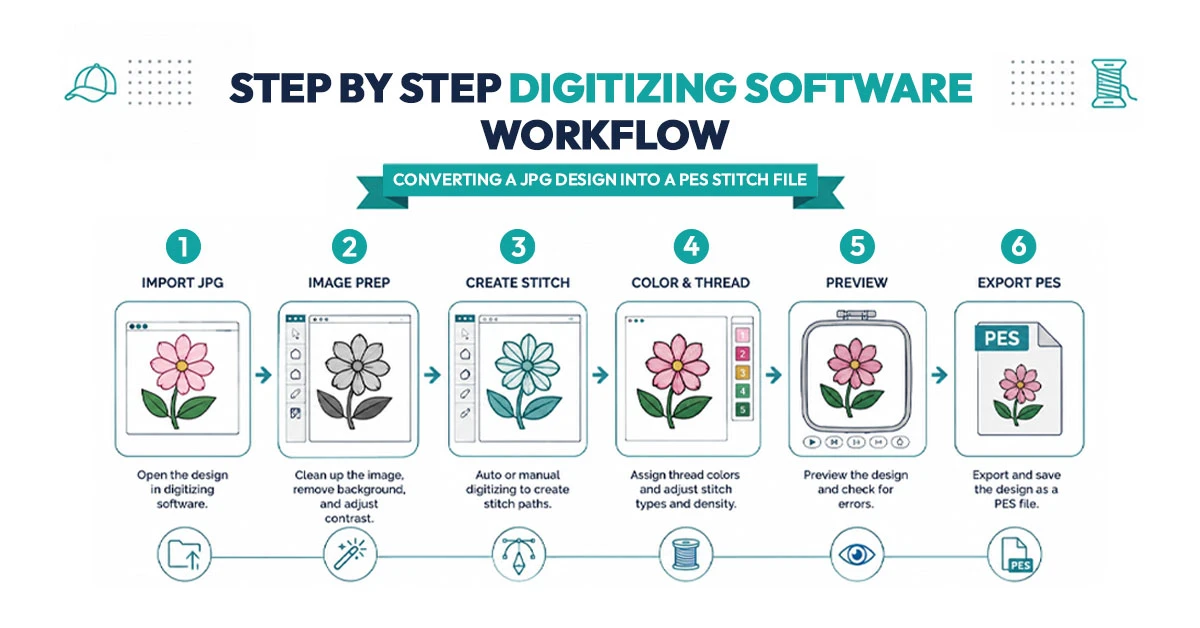
If you want to convert a JPG to PES yourself using digitizing software, the general workflow looks like this:
1. Import the JPG. Open your digitizing software and load the JPG file. Higher-resolution, well-lit images convert far more accurately than blurry or low-contrast photos.
2. Clean up the image. Adjust brightness and contrast, and reduce the design to as few solid colors as possible — most embroidery machines handle 4-8 thread colors comfortably.
3. Trace or auto-digitize. Use the auto-trace tool to generate an initial stitch path from the image outlines, or trace it manually for tighter control over detail.
4. Set stitch types and density. Assign satin stitches to text and borders, fill stitches to larger areas, and set density based on your fabric (denser for stretch knits, lighter for delicate fabrics).
5. Add underlay and preview. Underlay stitches stabilize the fabric underneath the design. Most software includes a stitch simulator so you can preview the run before saving.
6. Save as PES. Export the finished file in PES format, then run a test stitch-out on scrap fabric before committing to your final garment.
Don't want to learn digitizing software? Let True Digitizing convert it for you
True Digitizing delivers stitch-ready files within 24 hours — trusted by 5,000+ USA embroiderers. Upload your JPG and skip the trial-and-error entirely.
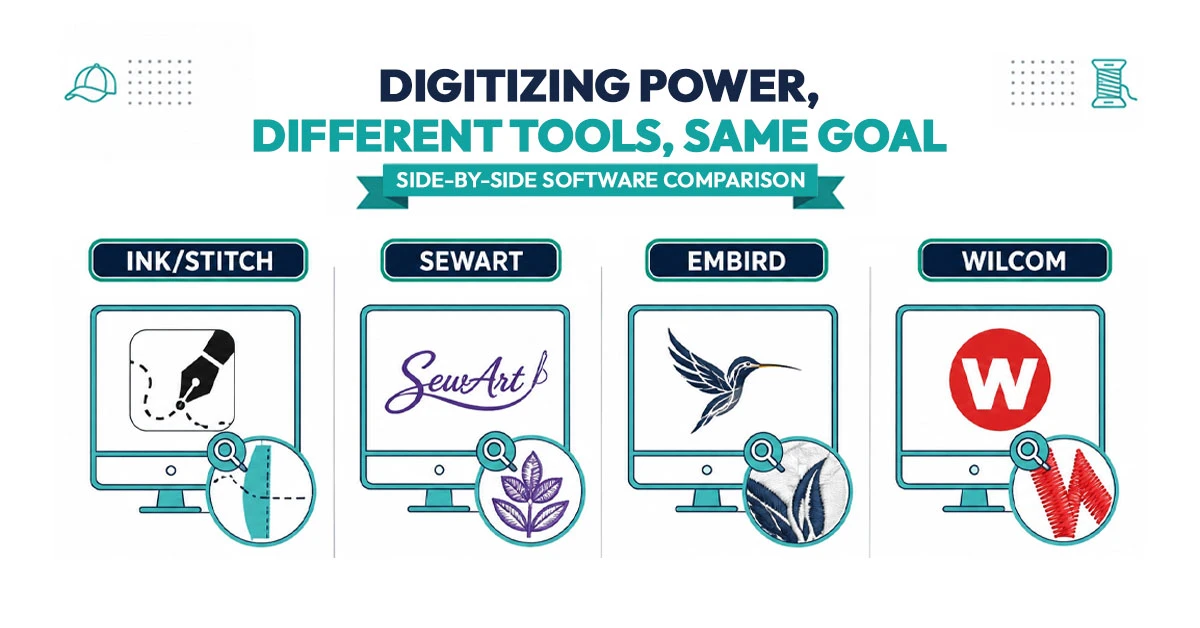
Start My Order at True DigitizingA few tools come up again and again for JPG-to-PES conversion, each suited to a different skill level and budget:
Ink/Stitch is a free, open-source extension for Inkscape and a solid starting point if you're comfortable with vector graphics, though it has a steep learning curve for anyone new to digitizing. For more detail on choosing between these tools, see our Embird software guide.
SewArt is aimed squarely at beginners — its interface is simple, and it handles basic JPG-to-PES conversions for flat, low-detail artwork without much of a learning curve, though it struggles with fine text or complex shading. Embird supports a much wider range of embroidery formats beyond PES and adds useful editing tools for adjusting stitch types after the initial trace, making it a step up for anyone converting files regularly.
Brother PE-Design is built specifically for Brother machines and integrates cleanly with PES export, which makes it a natural pick if you already own Brother hardware. Wilcom sits at the professional end of the spectrum, with the most granular control over stitch density, underlay, and pull compensation — the same variables that separate a rough auto-converted file from one that stitches out cleanly on a finished garment.
Most conversion problems trace back to the source image rather than the software itself. A JPG saved at 72 DPI for web use, or one that's been resized up from a small thumbnail, gives an auto-trace engine very little clean edge data to work with — the result is jagged outlines and stitch paths that wander off the intended shape. Starting from the highest-resolution version of your logo or artwork you can find will save far more troubleshooting time than switching between converter tools.
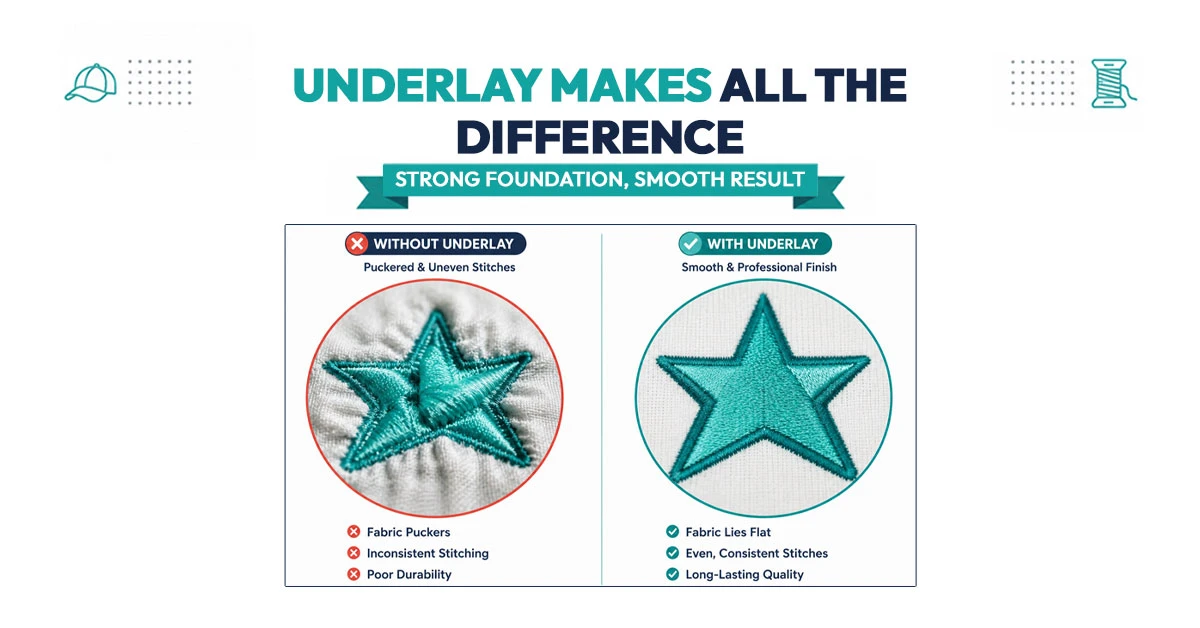
True Digitizing has completed 20,000+ designs for 5,000+ USA customers over 13+ years through its custom embroidery digitizing service, and JPG-to-PES conversion is one of the most common requests submitted. Rather than running your image through an auto-trace tool, a digitizer manually maps stitch direction, density, and underlay to your specific fabric and garment type, then previews the design before it's sent back to you as a stitch-ready PES, DST, or other embroidery format depending on your machine.
This matters most for small text, fine logo detail, and multi-fabric orders, where an auto-converted file typically needs manual correction anyway. For a closer look at how PES compares to other embroidery formats, see our guide on converting PNG to PES. According to general references on embroidery digitizing, stitch quality depends heavily on density, underlay, and pull compensation being matched to the fabric — exactly the variables auto-converters skip.
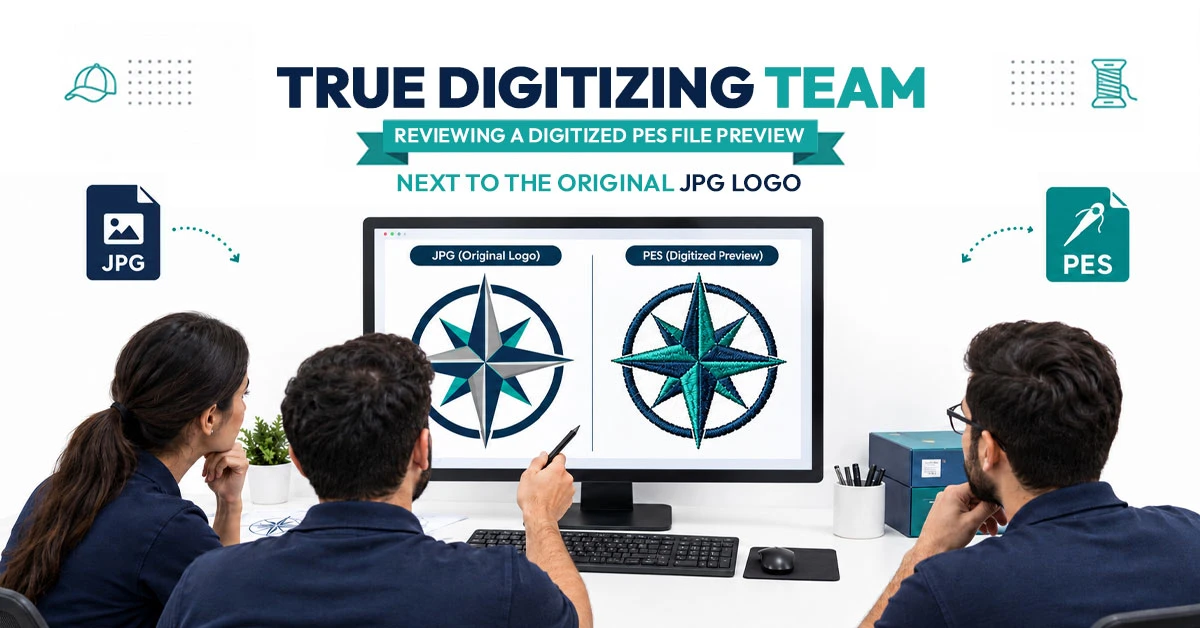
Converting a JPG to PES is straightforward in concept but easy to get wrong in practice — free auto-converters can get you a rough file in seconds, but stitch density, underlay, and fabric matching are what actually determine whether a design stitches out cleanly. For simple, low-stakes projects, a free tool plus a test stitch-out is a reasonable starting point. For branded logos, apparel orders, or anything going out to customers, professional digitizing removes the guesswork and gets it right the first time.
Whichever route you choose, always run a test stitch-out on scrap fabric before committing to the final garment — it's the one step that catches density and underlay problems before they cost you thread, time, or material.
True Digitizing has helped 5,000+ USA embroiderers get professional stitch files since 2013. Upload your JPG and skip the free-converter guesswork entirely.
Get My Design Digitized by True Digitizing →Fast turnaround · truedigitizing.com · 100% satisfaction guaranteed
Nick William has been immersed in the world of embroidery digitizing for over 20 years, earning 25 industry awards throughout his career. As a 3rd generation embroidery expert, Nick’s journey started in his family’s workshop, where he learned the art of digitizing before the rise of modern software. He has worked with leading commercial embroidery businesses and has shared his expertise with over 75,000 home and professional embroiderers. As an author at True Digitizing, Nick is passionate about teaching others how to create beautiful, precise designs through easy-to-follow tutorials and expert advice.
Categories
Embroidery Digitizing Services: Which Type Do You Need?
17-08-2026
How to Remove Embroidery From Any Fabric — Step-by-Step Guide 2026
15-07-2026
Is SVG a Vector File? Yes — SVG vs EPS, PNG, PDF Vector Formats you need to know
08-07-2026
Embroidery Trends 2026: What's Hot in Machine & Hand Embroidery | TrueDigitizing
26-06-2026
Top Best Embroidery Digitizing Software in 2026
06-05-2026
Best Multi-Needle Embroidery Machines for Startups 2026
28-02-2026
DST File: The Complete Guide (What It Is, How to Create, Convert & Use in 2026)
28-02-2026
Janome 550E vs Baby Lock Flare | Best Mid-Range Embroidery Machine?
26-02-2026

Choose the Right Fabric for Embroidery
20-02-2026
Advanced Techniques in Embroidery Digitizing
19-02-2026
Asked Questions