
At True Digitizing, we transform your creative spark into flawless, high-quality embroidery digitized designs that bring your vision to life.
Our Blogs
We Accept
Copyright 2025 Truedigitizing
At True Digitizing, we transform your creative spark into flawless, high-quality embroidery digitized designs that bring your vision to life.
We Accept
Copyright 2025 Truedigitizing

Transferring an embroidery pattern to fabric has evolved far beyond tracing paper and chalk. Today, with the help of embroidery machines and digitizing software, you can create accurate, professional-quality designs quickly and effortlessly. Whether you're a hobbyist or an embroidery business owner, understanding how digital pattern transfer works is essential for producing consistent and beautiful results.
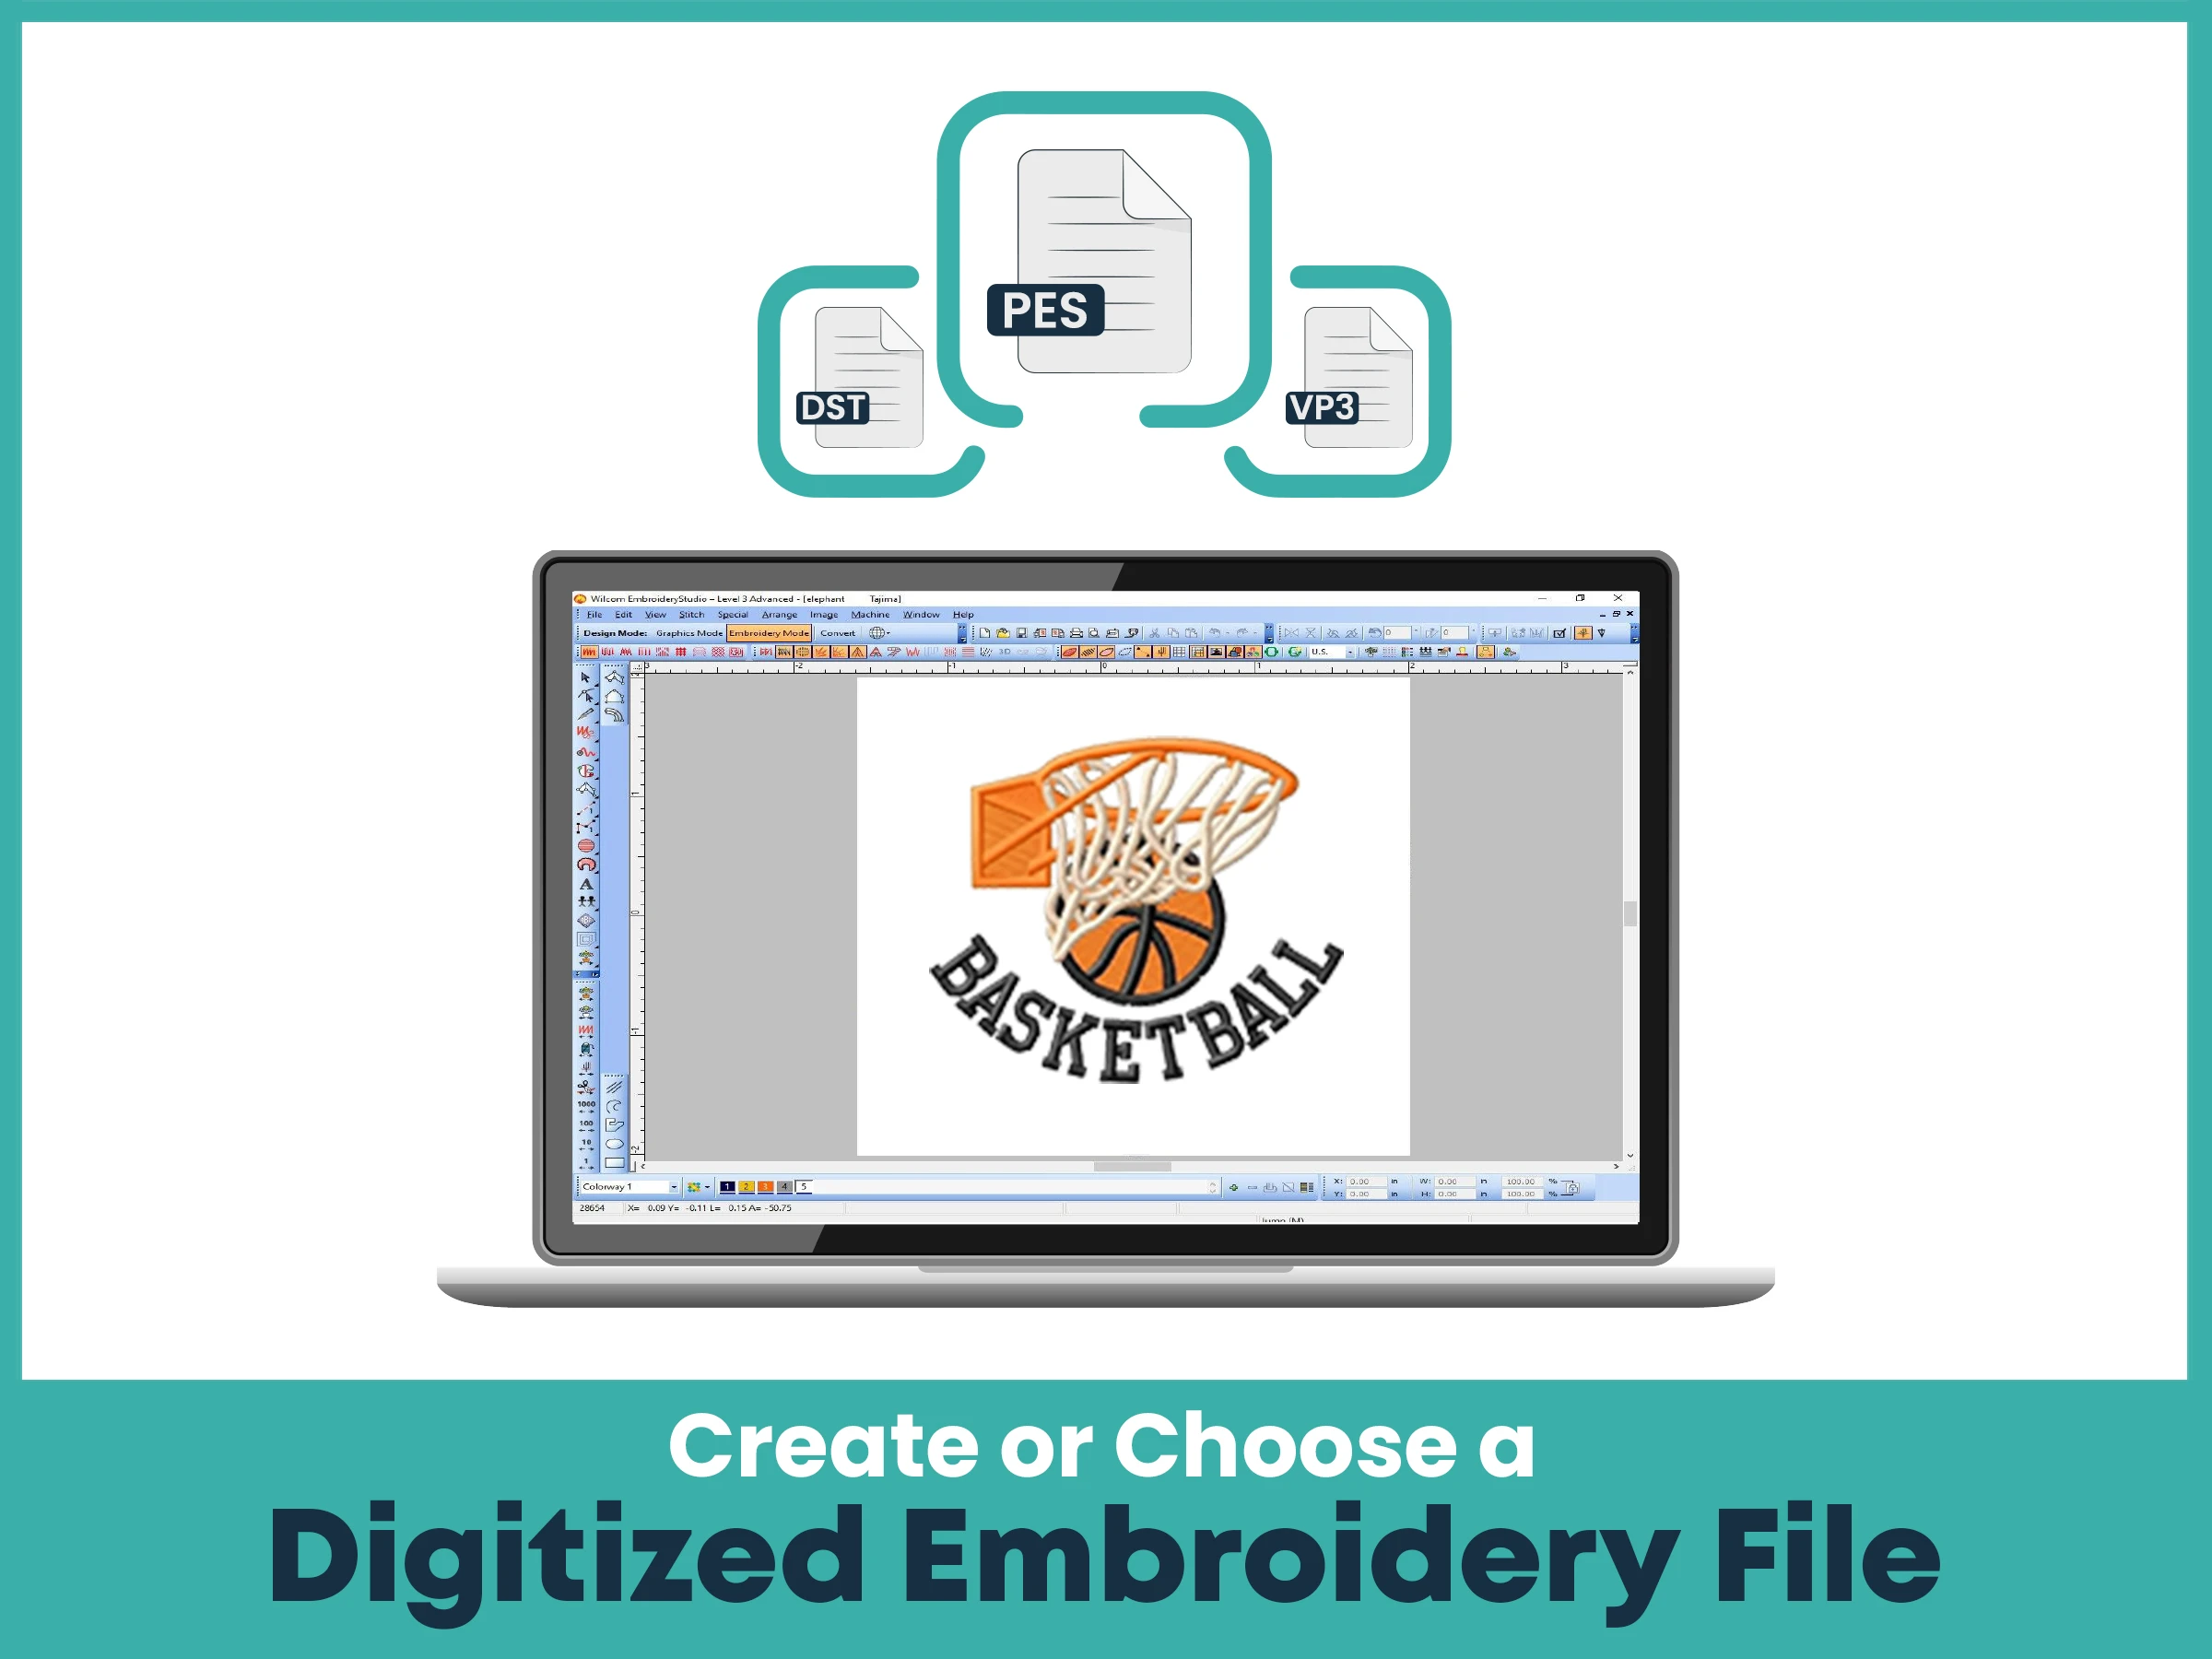
Before your machine can stitch anything, it needs a digitized version of the design. This is the most critical step. A digitized file tells the embroidery machine how to stitch the design, including the path, stitch type, and thread colors.
You can either use pre-made digitized files or convert your custom artwork into embroidery-ready formats using digitizing software.
Some popular embroidery digitizing tools include:
Wilcom is a well-known software that helps you turn images into stitch files for embroidery machines. It has many features for editing and adjusting designs easily. It supports different file types and works with most commercial machines.
Brother PE-Design is software made for Brother embroidery machines. It helps you to make, edit, and save designs in the format that your Brother machine needs. It is user-friendly and a good choice for both beginners and advanced users.
Hatch Embroidery is popular for its easy-to-use layout and advanced features. It lets you import artwork and convert it into embroidery files quickly. It works well for home businesses and small business owners.
Embird is a versatile program used to edit, resize, and convert embroidery files. It can read many file types and gives you control over stitch styles and layouts. It’s a good tool if you want flexibility in your design work.
SewArt is a simple software that lets you convert clipart or images into embroidery files. It’s useful for beginners who want to try making their own designs. It supports basic editing and works with many embroidery machine brands.
These programs help you to import designs in formats like JPG, PNG, or SVG and convert them into machine-compatible stitch files such as .DST, .PES, .EXP, or .JEF, depending on your embroidery machine brand.
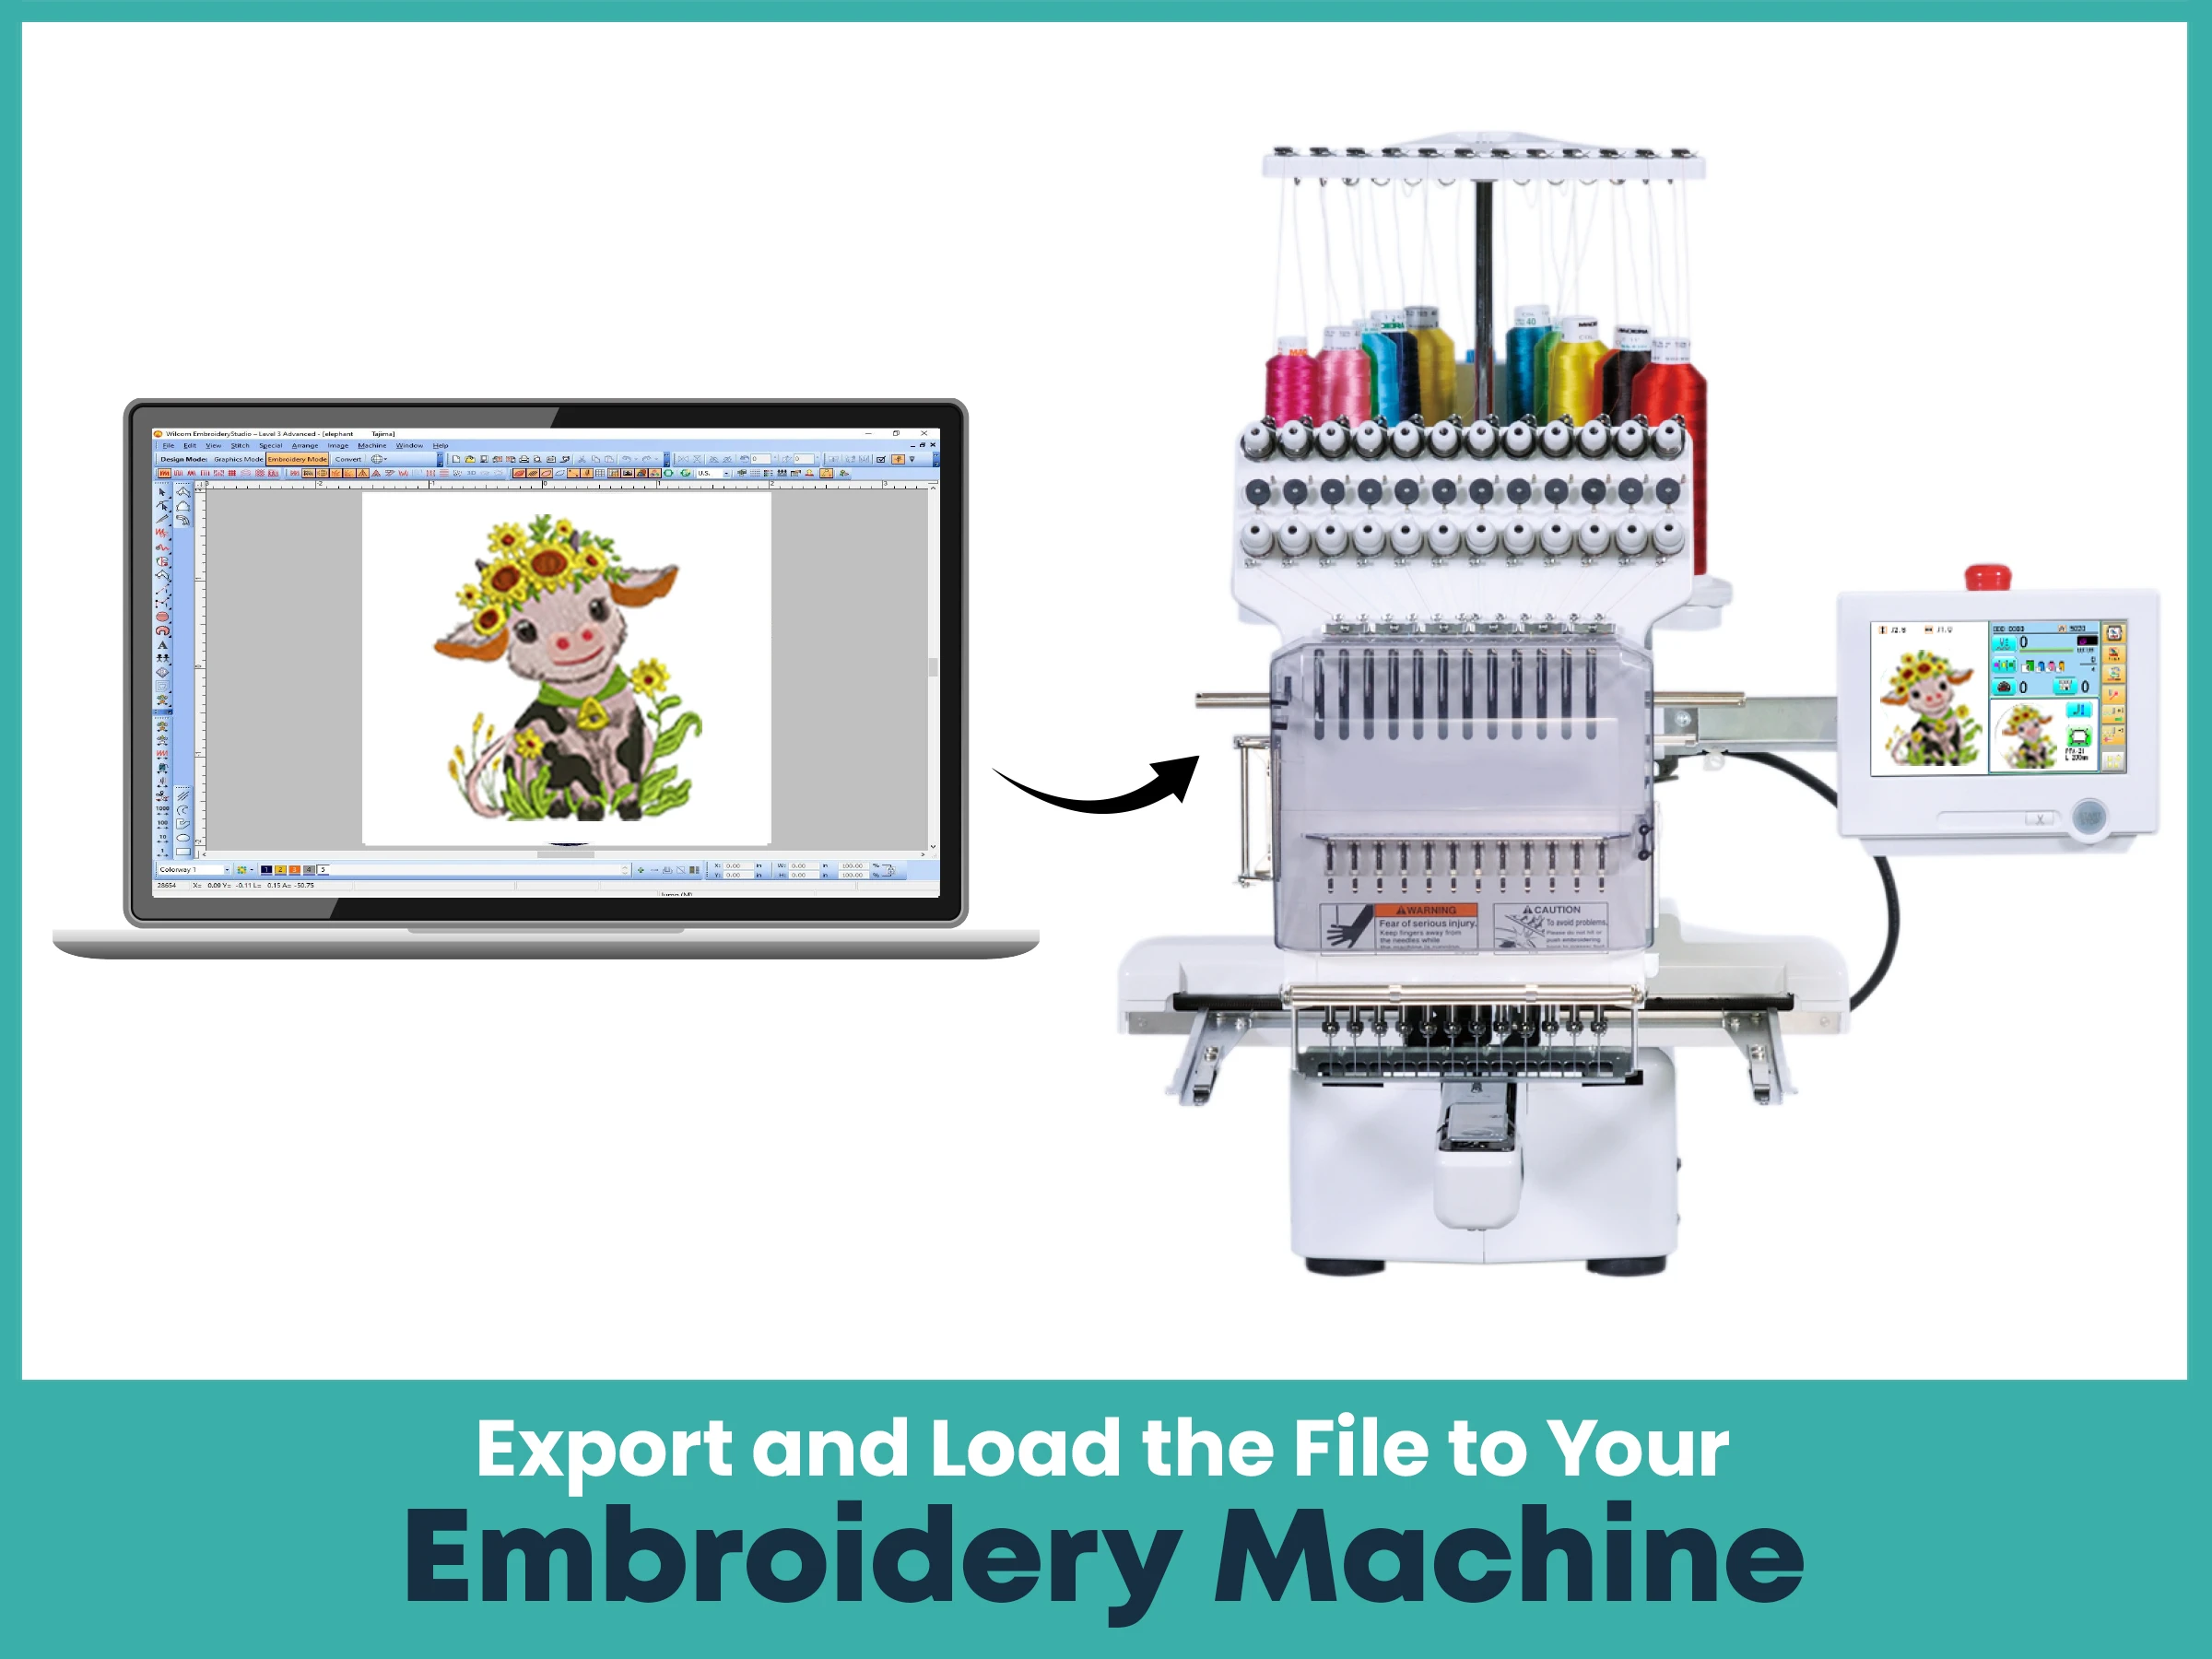
Once your design is digitized, the next step is getting it into your machine. Most embroidery machines today allow multiple options for file transfer, making it easy to go from screen to stitch.
Here’s how you can transfer the file:
Save the design to a USB flash drive, memory card, or cloud storage.
Make sure the file format matches your machine’s accepted types (e.g., .PES for Brother, .DST for Tajima).
Insert the USB or connect the machine to your computer via Wi-Fi (if supported) to access the design file.
Load the pattern on the machine's interface, ready for setup.
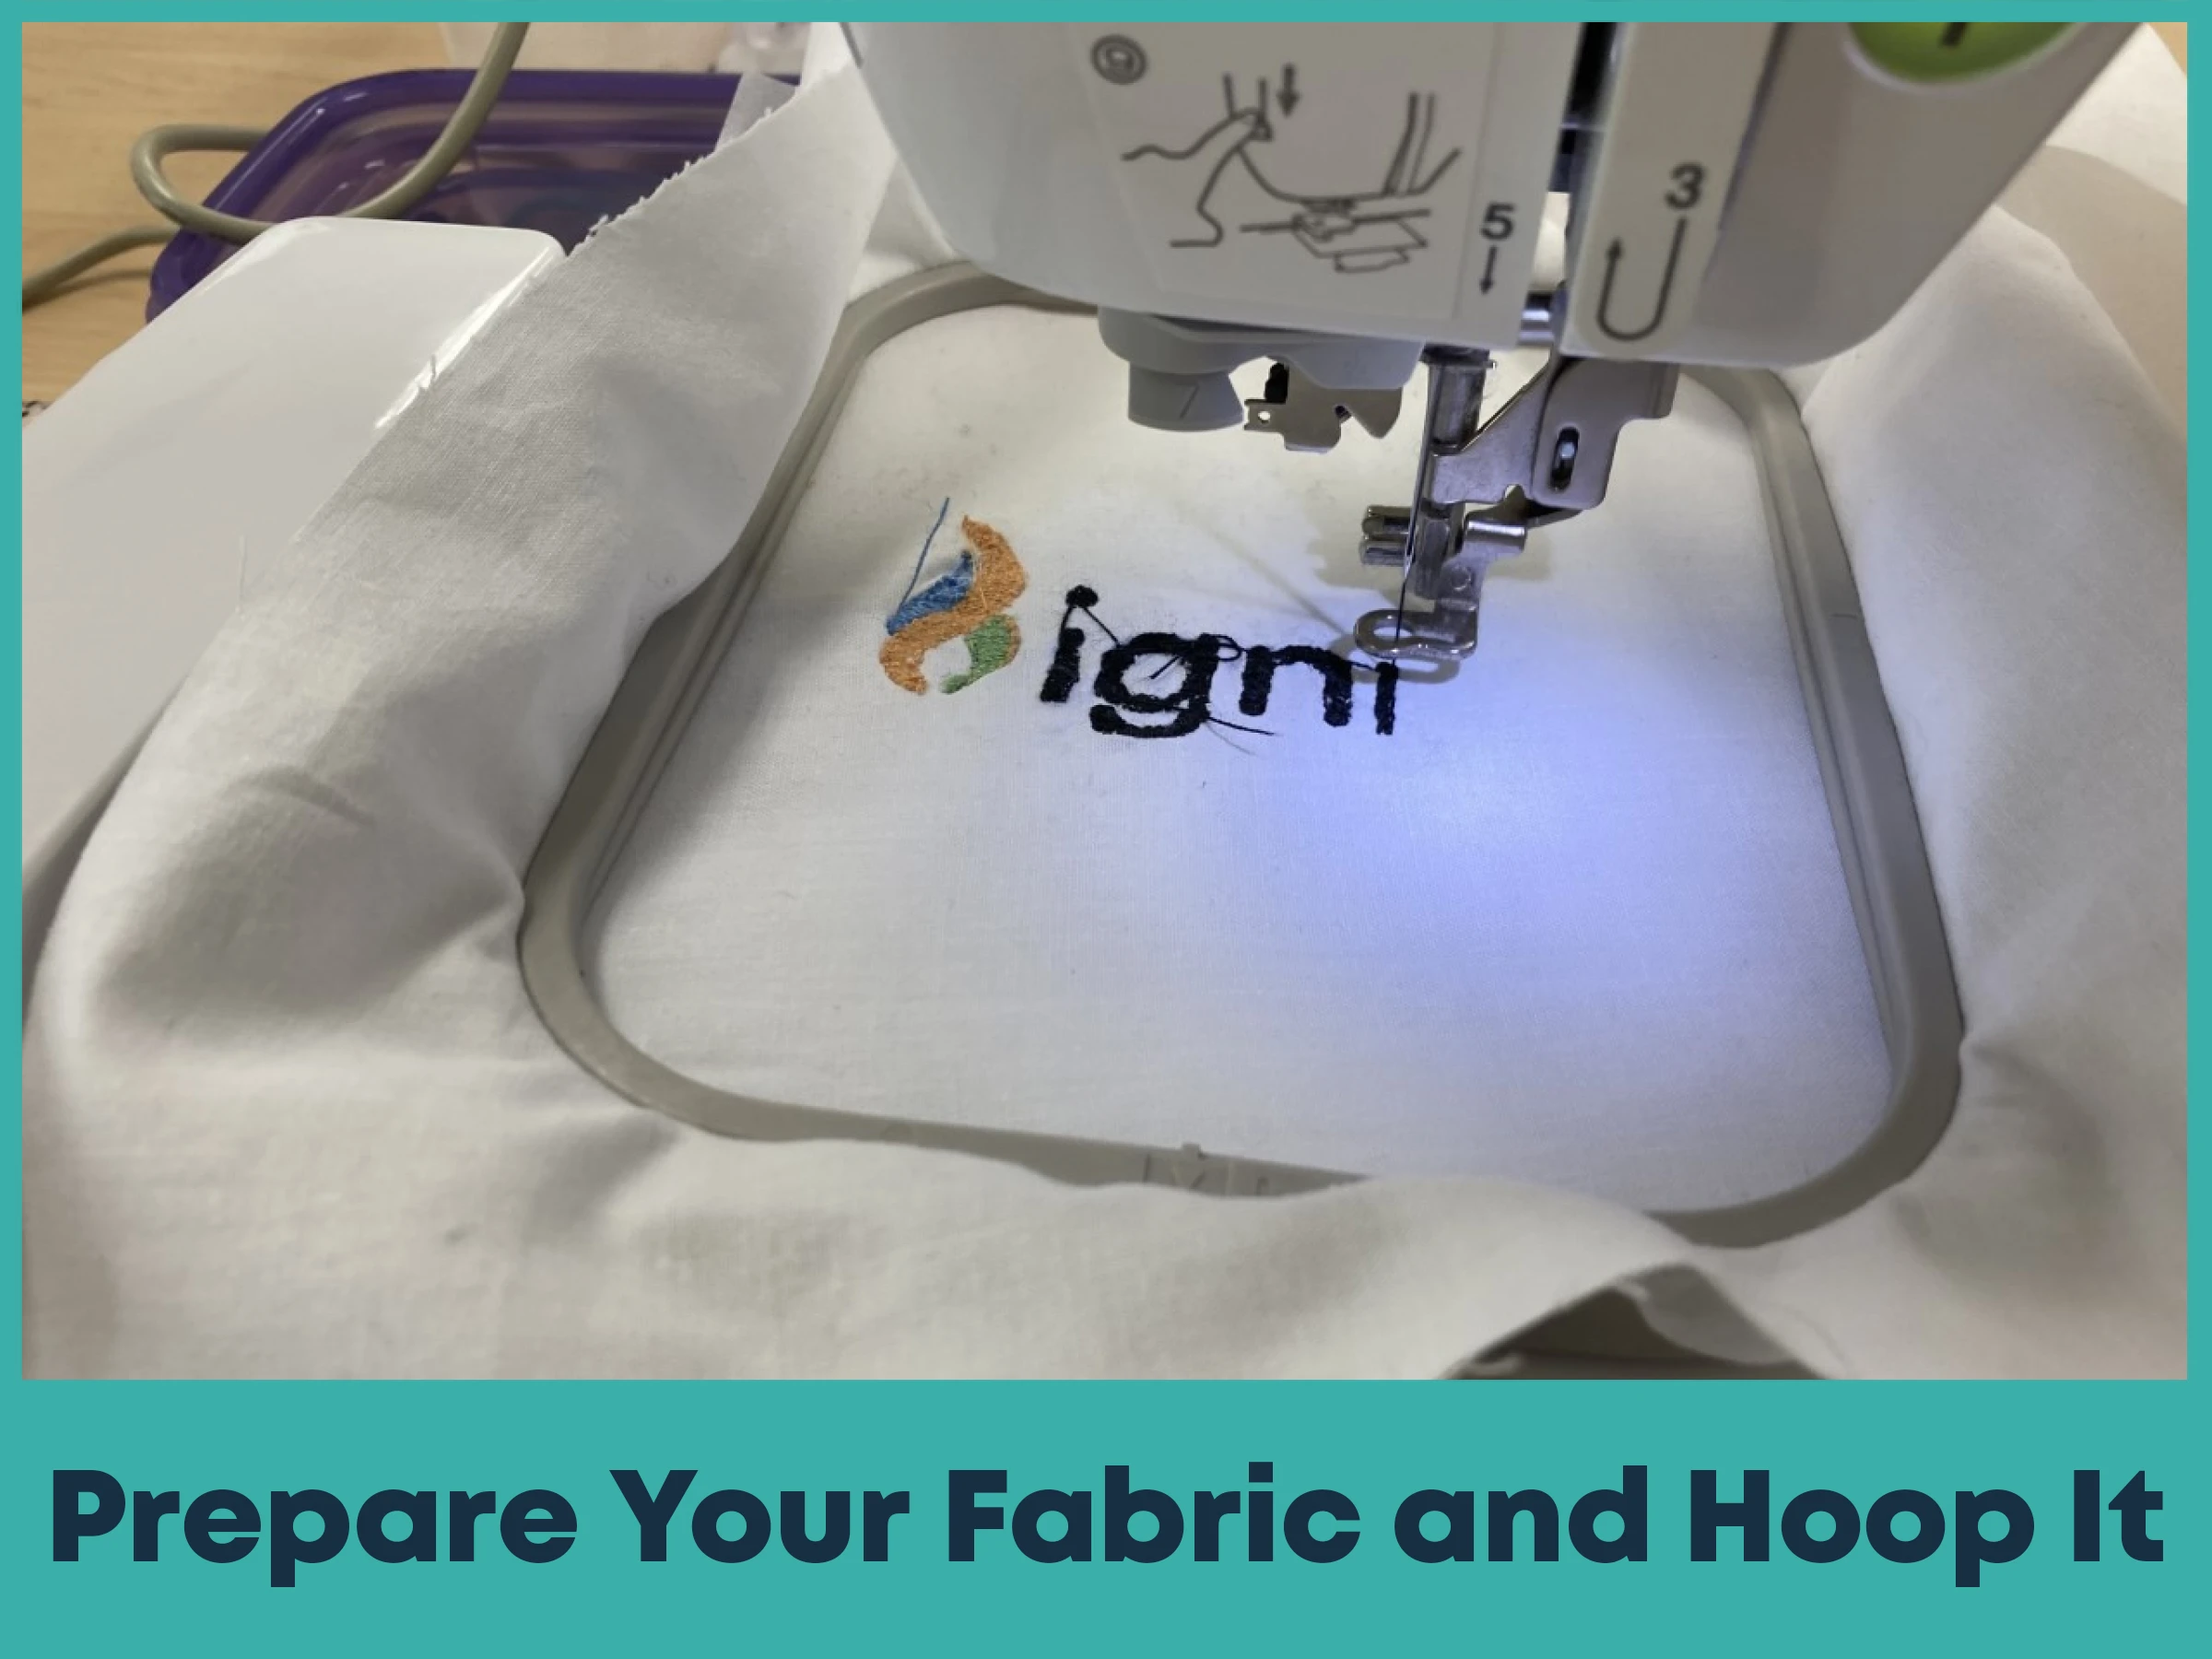
Getting your fabric ready is just as important as your file. Proper preparation ensures smooth stitching without puckering or distortion.
Start by selecting a suitable stabilizer based on your fabric type:
Tear-away for stable woven fabrics.
Cut-away for stretchable or delicate fabrics.
Water-soluble for sheer or specialty items.
Iron the fabric to remove creases, ensuring a flat surface.
Hoop the fabric along with the stabilizer tightly, with no slack.
Double-check alignment using your machine’s tools to center the pattern perfectly.
Tip: Some machines have automatic centering features, making it easy to align your design exactly where you want it.
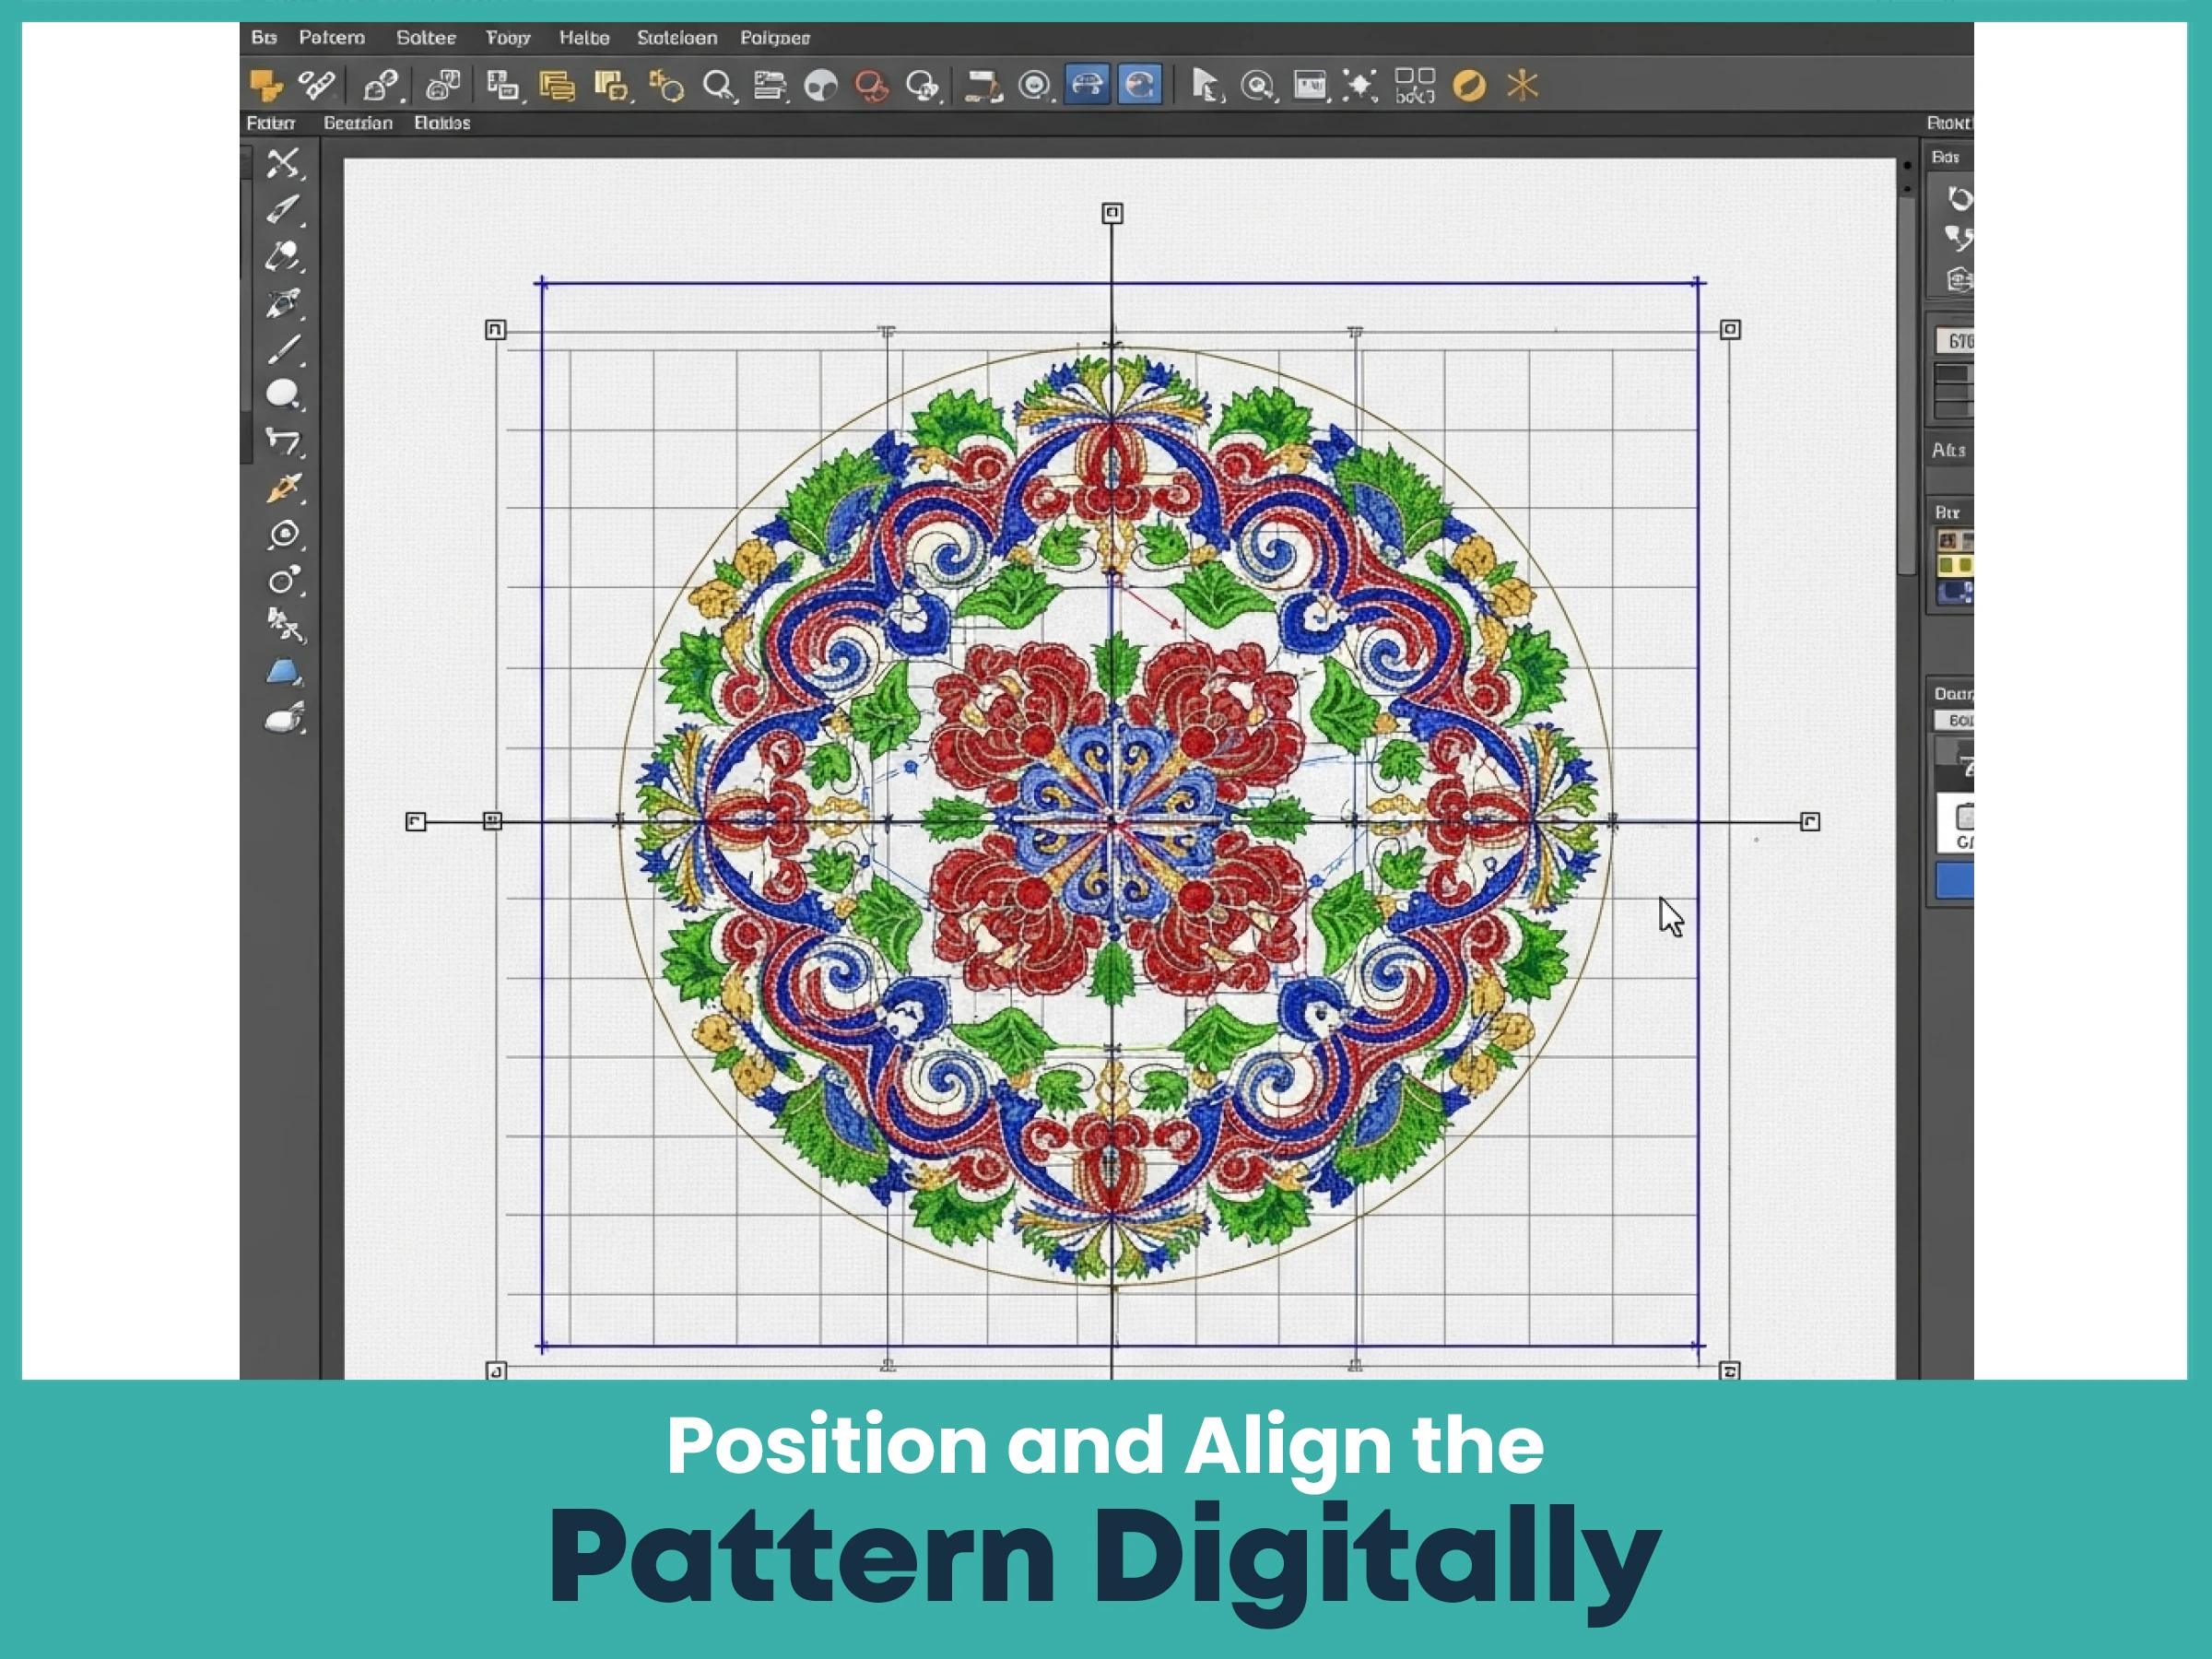
Once your design is loaded and fabric hooped, it's time to align the pattern on the screen. This digital positioning replaces the need for manual markings or tracing.
Most advanced machines come with features that help with exact placement.
Preview screens let you move, resize, and rotate the design.
Grid alignment features allow precise centering.
Basting stitches help secure the fabric before the final embroidery starts.
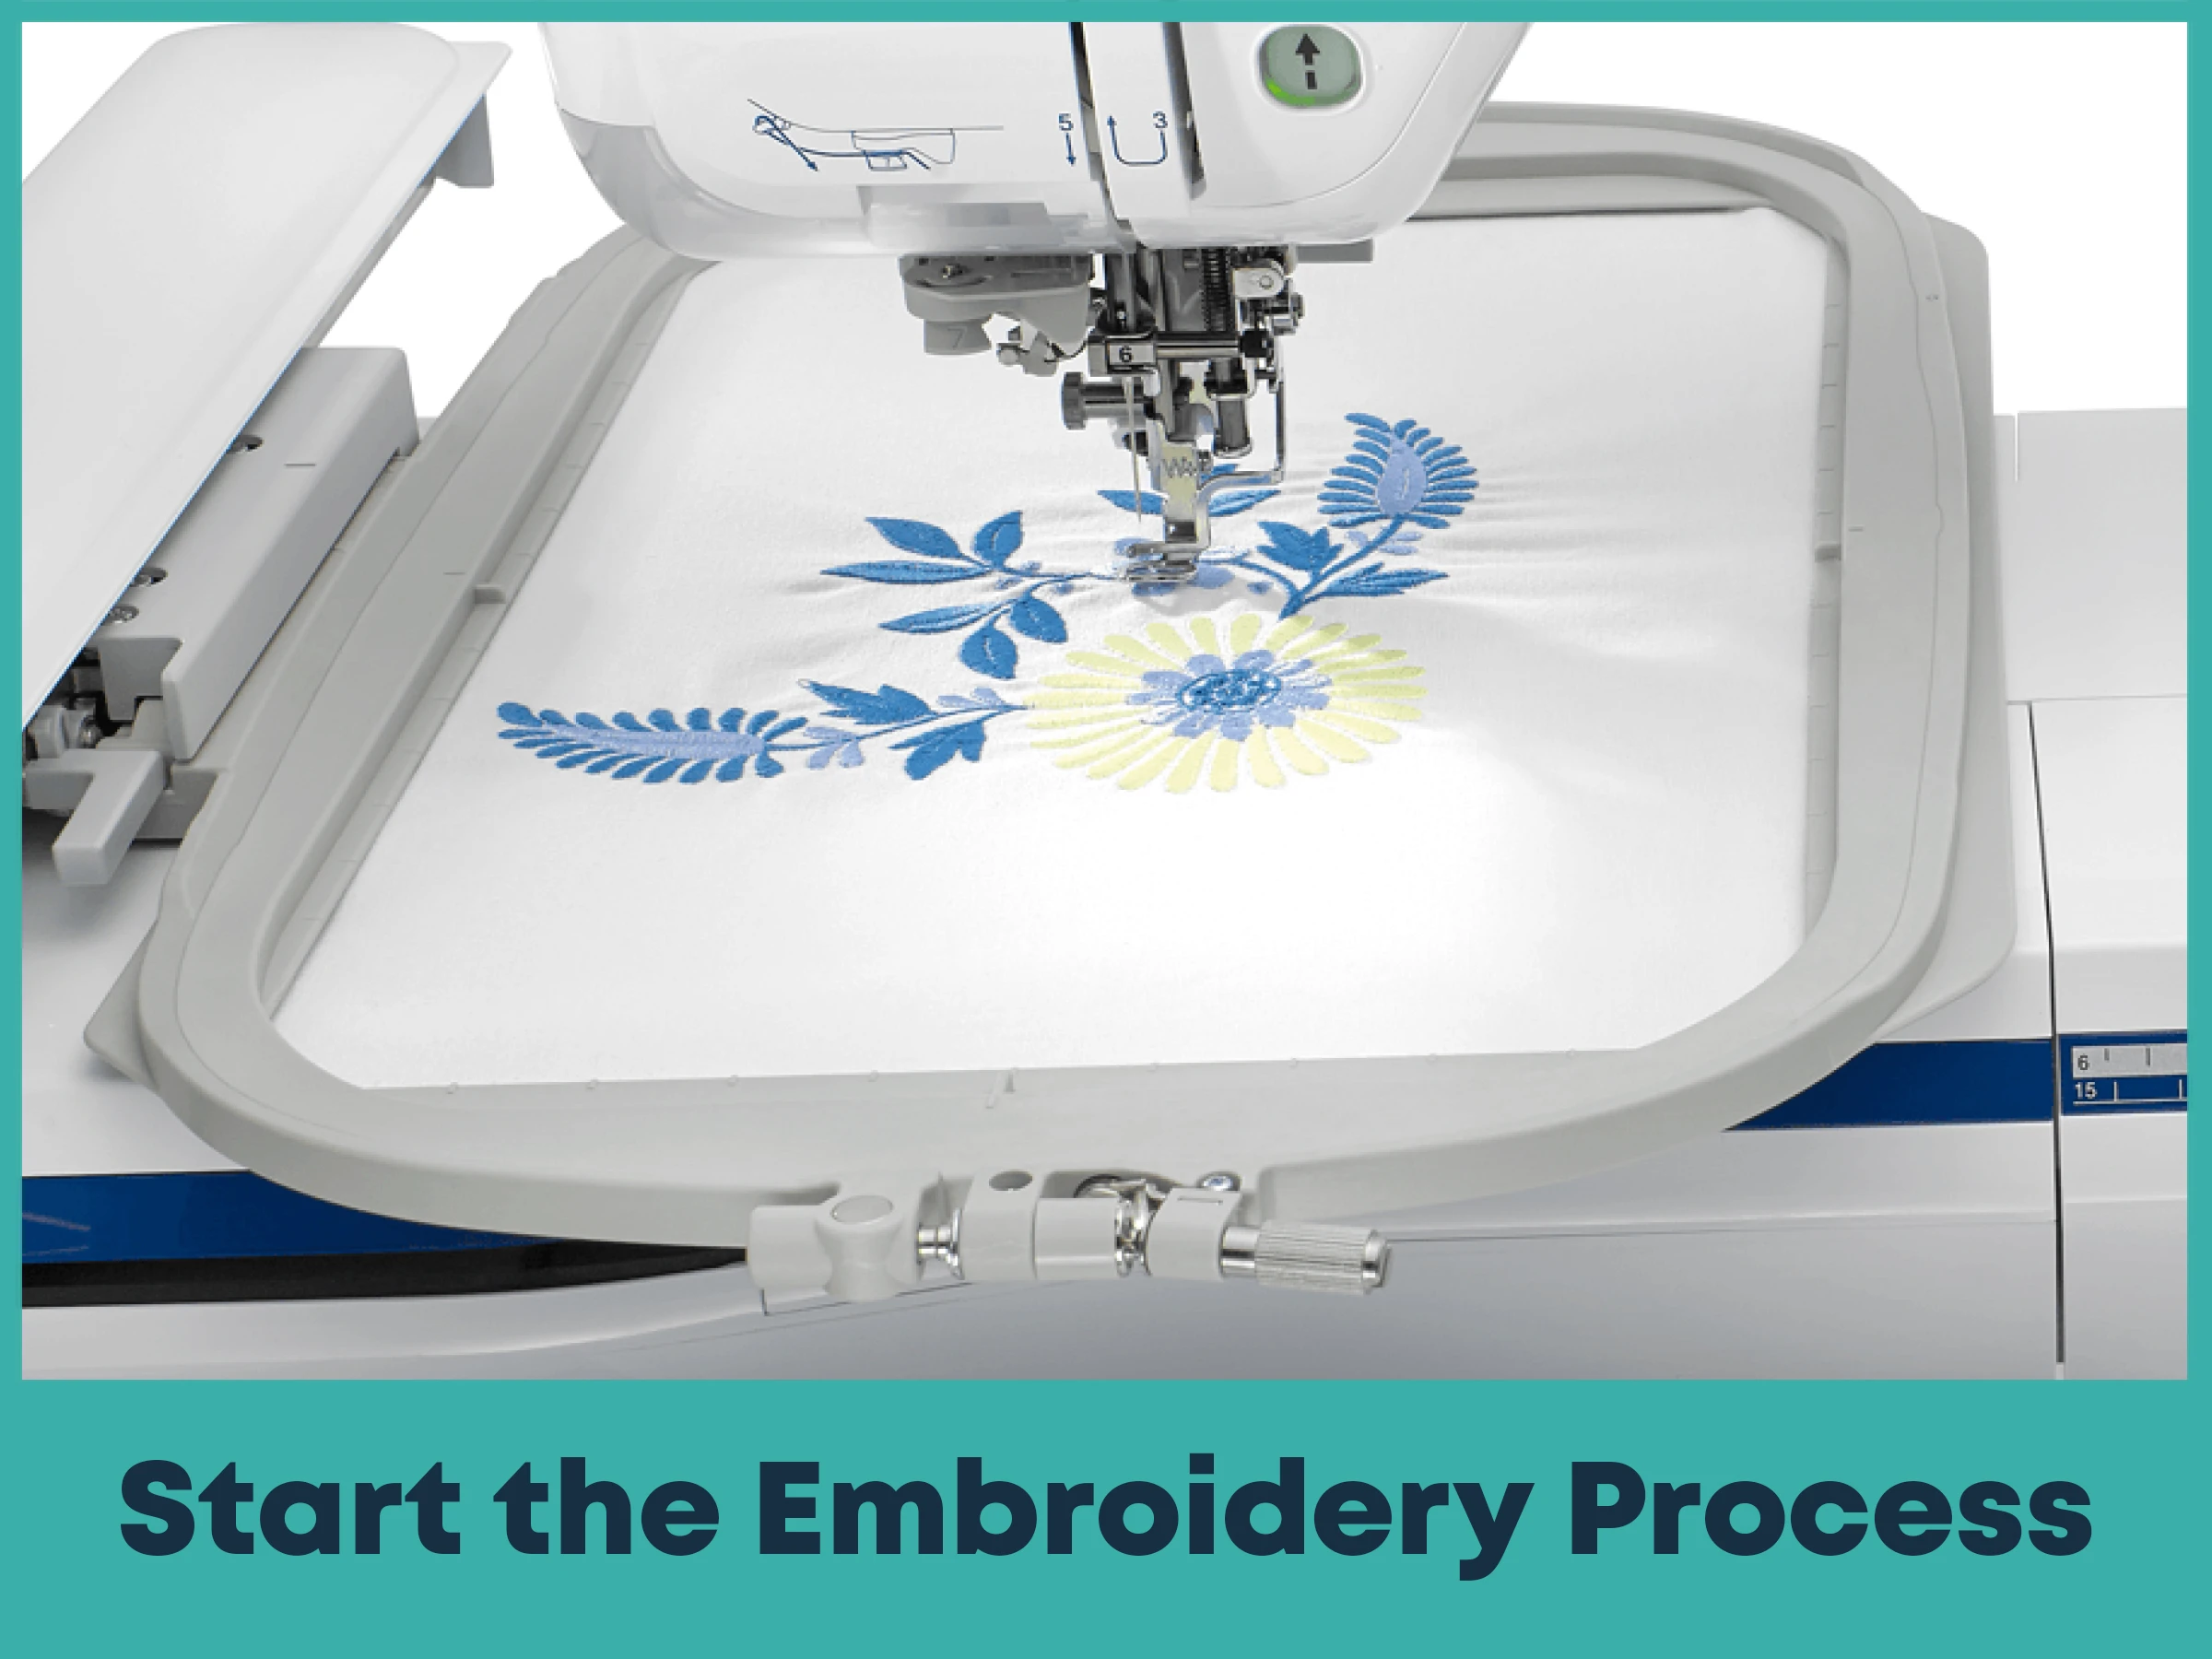
Now that everything is aligned and ready, it's time to bring your design to life. Start by choosing the correct thread colors and double-checking the order of stitching.
Load the threads as per the color sequence in the design.
Press the start button and let the machine begin stitching.
Stay nearby to change thread spools or troubleshoot skipped stitches.
Some advanced embroidery machines are equipped with a projection system that displays the design directly onto your hooped fabric. This allows you to visually align your pattern, perfect for multi-hoop or complicated logo designs.
Using software and machines for embroidery pattern transfer has numerous advantages compared to manual methods:
No risk of fading because there’s no ink or chalk involved.
Precision placement due to on-screen and alignment features.
Faster than manual tracing, especially for complex or repeated designs.
Clean and repeatable results every time.
Compatible with various fabric types, from denim to silk.
If you're creating one design or hundreds, machine-based transfer provides consistency and quality you can rely on.
If you're looking to convert your custom artwork into machine-ready embroidery files, True Digitizing is your trusted partner. We provide expert embroidery digitizing services in the USA at affordable rates. From logos to custom patterns, our digitized files are optimized for flawless results on all embroidery machines.
Transferring embroidery patterns to fabric using digitizing software and embroidery machines is the modern, efficient, and reliable method of embroidery creation. It removes manual errors, saves time, and delivers professional outcomes, ideal for both beginners and seasoned embroiderers.
Ready to get started? Let True Digitizing handle your design into beautifully embroidered designs.
Nick William has been immersed in the world of embroidery digitizing for over 20 years, earning 25 industry awards throughout his career. As a 3rd generation embroidery expert, Nick’s journey started in his family’s workshop, where he learned the art of digitizing before the rise of modern software. He has worked with leading commercial embroidery businesses and has shared his expertise with over 75,000 home and professional embroiderers. As an author at True Digitizing, Nick is passionate about teaching others how to create beautiful, precise designs through easy-to-follow tutorials and expert advice.
Categories

Top Best Embroidery Digitizing Software in 2026
06-05-2026
")
Best Multi-Needle Embroidery Machines for Startups 2026
28-02-2026

DST File: The Complete Guide (What It Is, How to Create, Convert & Use in 2026)
28-02-2026

Janome 550E vs Baby Lock Flare | Best Mid-Range Embroidery Machine?
26-02-2026

Choose the Right Fabric for Embroidery
20-02-2026

Advanced Techniques in Embroidery Digitizing
19-02-2026

Most Common Types of Threads to Use in Machine Embroidery
12-02-2026

AI in Embroidery | Revolutionizing Art and Efficiency
12-02-2026

Best Thread Tension 101 | A Guide for Embroidery Machines
09-02-2026

Mastering Small Lettering in Machine Embroidery
04-02-2026
Asked Questions


