
Embroidery patterns are templates or designs that guide your stitching process. They provide a visual guide to create intricate and beautiful embroidery on fabric. These patterns can range from simple geometric shapes to complex, detailed designs, and they serve as the foundation for all embroidery projects.
To create your own embroidery patterns, you’ll need a few essential tools and materials:
Fabric: The base material for your embroidery. Choose fabrics like cotton, linen, or canvas, depending on your project.
Thread: Select embroidery threads in various colors to bring your design to life. Options include cotton, silk, and metallic threads.
Needles: Use embroidery needles with a larger eye to accommodate different types of threads.
Design Software: For digital designs, software like Adobe Illustrator, CorelDRAW, or embroidery-specific programs can be invaluable.
Tracing Paper: Ideal for transferring designs from paper to fabric.
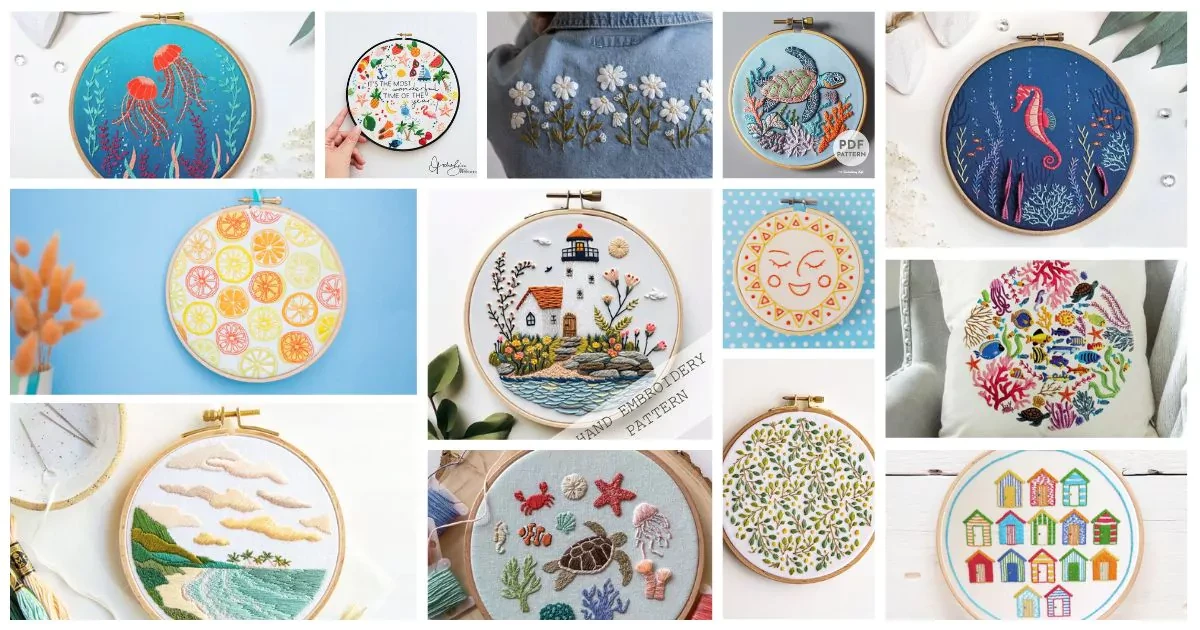
Start by selecting a design that resonates with you. Inspiration can come from nature, art, or even existing embroidery designs. Browse through pattern books, and online galleries, or create your own concept by sketching ideas. Consider what will look best on the fabric you plan to use and how the design will fit into your project.
....webp)
If drawing isn’t your strength, don’t worry! Begin by sketching a rough outline of your pattern. Use simple shapes and lines to capture the essence of your design. Remember, your sketch doesn’t have to be perfect; it’s just a starting point. If you're not confident in your drawing skills, use stencils or tracing techniques to refine your design.
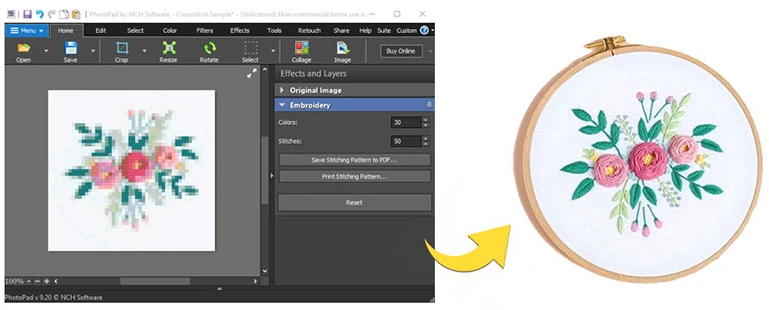
Digital tools can greatly enhance your pattern-creation process. Software like Adobe Illustrator or specialized embroidery programs allow you to digitize your sketch. Here’s a brief overview of using embroidery digitizing software:
Import Your Sketch: Scan or photograph your sketch and upload it to the software.
Digitize the Design: Trace over your sketch using the software’s tools. Adjust line thickness, colors, and other details to refine your pattern.
Export the Pattern: Once you’re satisfied with your design, export it in a format compatible with your embroidery machine or for printing.
For a more traditional approach, you can trace your pattern directly onto fabric or scan it for digital editing. Here’s how:
Tracing: Place your pattern on the fabric and use a fabric marker or pencil to trace the design. Ensure your lines are clear and accurate.
Scanning: Scan your traced pattern and save it as a digital file. This allows for easy adjustments and reproductions.
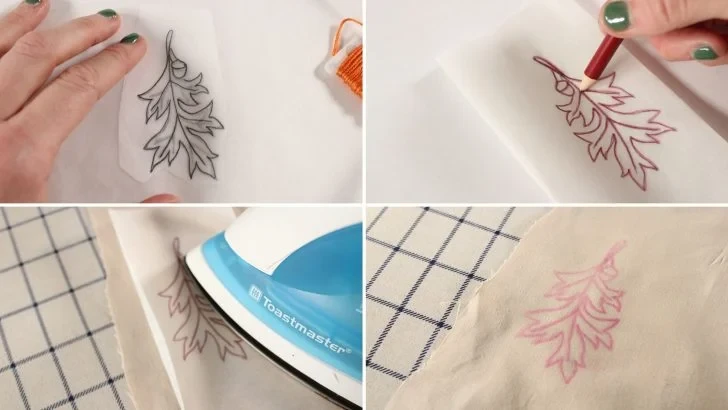
Transferring your pattern to fabric can be done in several ways:
Printable Transfer Paper: Print your design on transfer paper and iron it onto your fabric. This method is great for detailed designs.
Direct Tracing: For simpler patterns, you can trace directly onto the fabric using a fabric marker.
Stencil Method: Create a stencil from your pattern and use it to apply fabric paint or markers.
With your pattern on the fabric, it’s time to start stitching. Here are some tips for successful embroidery:
Choose Your Stitches: Select stitches that best suit your design, such as satin stitch, backstitch, or French knots.
Follow the Pattern: Work carefully, following the lines of your pattern. Use a hoop to keep the fabric taut and prevent shifting.
Maintain Consistency: Keep your stitches even and consistent to ensure a professional finish.
One way to elevate your embroidery patterns is by experimenting with different colors and textures. Mix and match thread colors to create depth and contrast. Explore various thread types, such as metallic or variegated threads, to add visual interest and texture to your design.
Practice makes perfect. To enhance your skills, experiment with different stitching techniques and explore new styles. Join embroidery communities or take online courses to learn from experienced stitchers and gain new insights into advanced techniques.
For intricate designs, digital tools can be invaluable. Use embroidery software to create complex patterns with precision. These programs often include features for adjusting stitch density, creating gradients, and previewing your design before stitching.
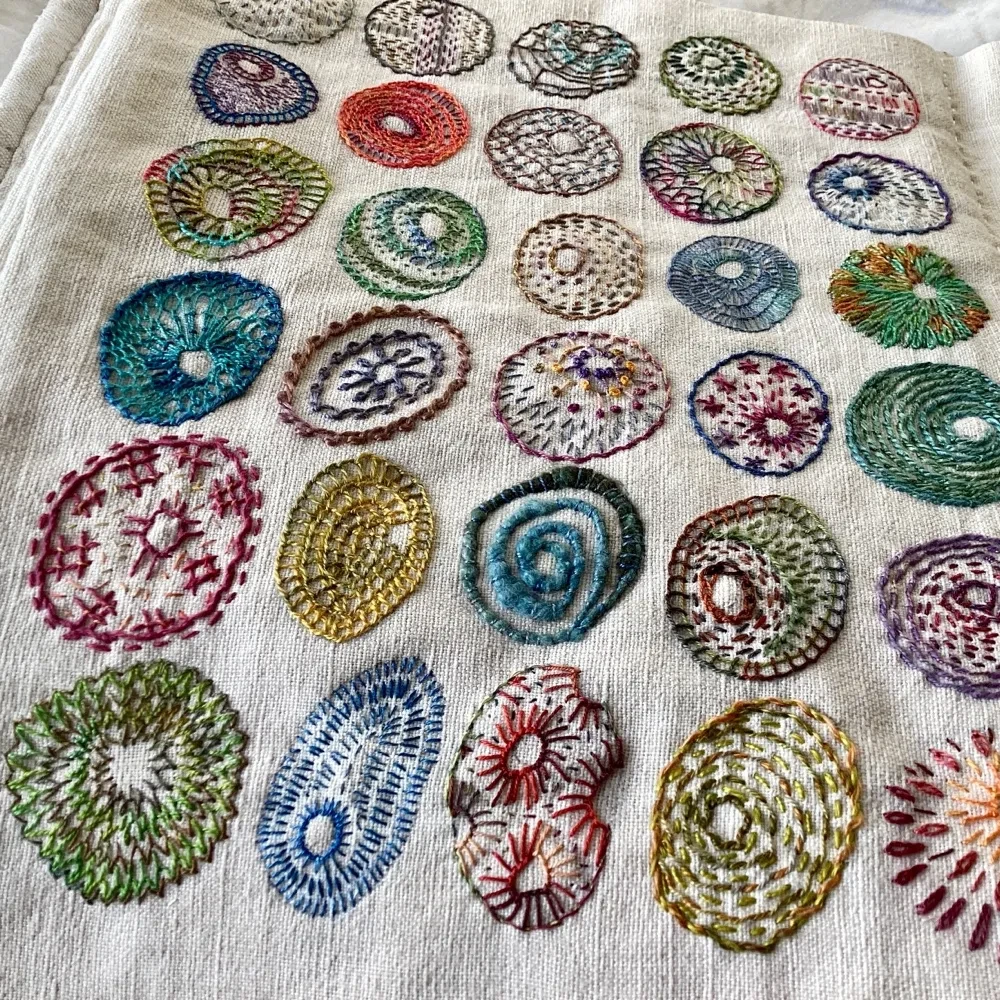
While it’s tempting to create elaborate patterns, simplicity often yields better results. Avoid overcomplicating your design, as this can lead to challenges during stitching and may not translate well onto fabric.
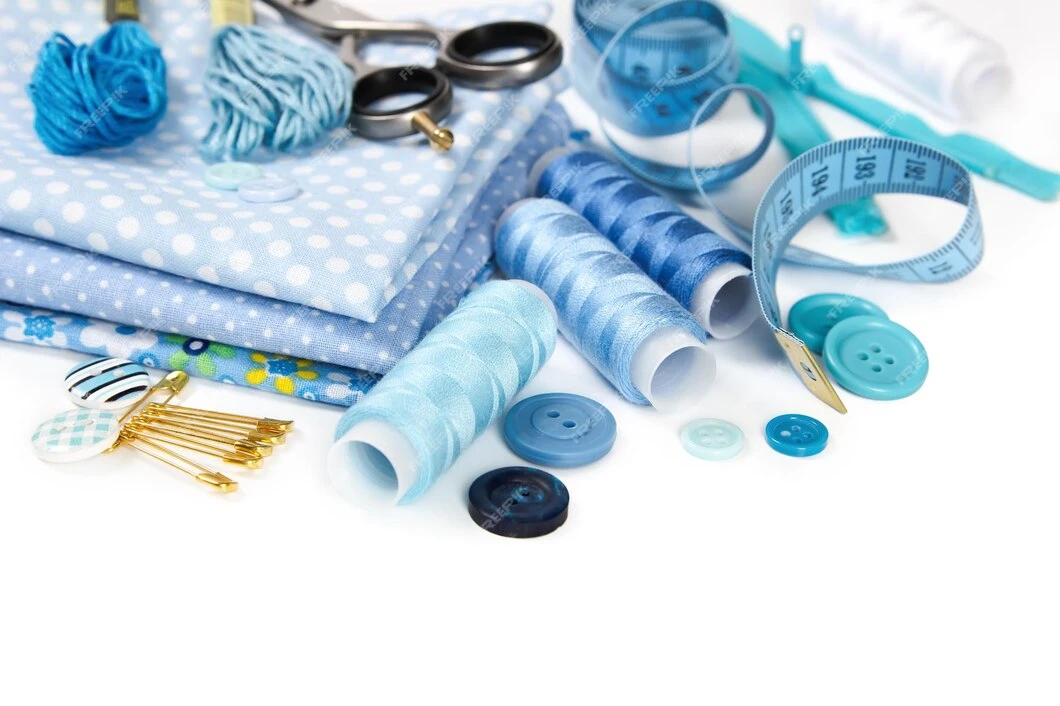
Choosing the right fabric and thread is crucial for a successful embroidery project. Ensure that your fabric and thread are compatible with your design to achieve the best results. Test your materials on a small swatch before starting your project.
After completing your embroidery project, store your patterns in a safe place for future use. Digital patterns can be backed up on a computer or cloud storage, while physical patterns should be kept in a folder or portfolio.
If you’d like to share your patterns with others, consider creating digital downloads or offering them on a platform like Etsy. Sharing your designs can be a great way to connect with other embroidery enthusiasts and even earn income from your creations.
Creating your own embroidery patterns can be a fulfilling and creative endeavor. By following the steps outlined in this guide, you’ll be well on your way to making professional-quality patterns that showcase your unique style. Remember, practice and experimentation are key to mastering embroidery, so don’t be afraid to try new techniques and designs.
At true digitizing, we offer custom embroidery digitizing services to help you bring your designs to life. Whether you’re looking for assistance with digitizing your patterns or need professional advice, our team is here to support you. Contact us today to learn more about how we can help you achieve your embroidery goals.
Nick William has been immersed in the world of embroidery digitizing for over 20 years, earning 25 industry awards throughout his career. As a 3rd generation embroidery expert, Nick’s journey started in his family’s workshop, where he learned the art of digitizing before the rise of modern software. He has worked with leading commercial embroidery businesses and has shared his expertise with over 75,000 home and professional embroiderers. As an author at True Digitizing, Nick is passionate about teaching others how to create beautiful, precise designs through easy-to-follow tutorials and expert advice.
Categories

How to Do Machine Embroidery on Sleeves Like a Pro
04-02-2026

Embroidery Stitches Explained | How to Choose the Right Stitch Type for Your Design
27-01-2026

Which is the Best Embroidery Machine Brand in 2026 (Home & Commercial Use)
22-01-2026

Romantic Shirt and Hoodie Embroidery Ideas for Couples in 2026
20-01-2026

How to Reduce and Prevent Machine Embroidery Puckering
17-01-2026

Common Client Errors When Submitting Logos for Embroidery
17-01-2026

Top 5 Best Brother Embroidery Machines For Beginners
09-01-2026

New Year Trends in Custom Embroidery for Apparel Brands 2026
05-01-2026

Manual vs Auto Digitizing for Logos | Why Professionals Prefer Manual
19-12-2025

Winter Themed Embroidery | Snowflakes, Trees, and Cozy Designs
17-12-2025