
At True Digitizing, we transform your creative spark into flawless, high-quality embroidery digitized designs that bring your vision to life.
Our Blogs
We Accept
Copyright 2025 Truedigitizing
At True Digitizing, we transform your creative spark into flawless, high-quality embroidery digitized designs that bring your vision to life.
We Accept
Copyright 2025 Truedigitizing

Do you know how adding Velcro to your embroidered patches can completely change the game? If you are looking for custom patches for hats, jackets, or uniforms, Velcro backing makes them adaptable and easy to attach. Velcro allows you to transform designs, remove patches before washing, and create a patch collection to suit any outfit or mood.
In this blog post, we will cover everything from adding Velcro to embroidery patches and creating customized Velcro patches to the best ways to attach Velcro without a machine. Let's explore the realm of Velcro-backed patches.
Making custom velcro patches is easier than you think. Here’s a simple process to guide you:
Start with a design that will look good embroidered. The patch's shape must match its usage, whether round, rectangular, or custom-shaped for logos or elaborate designs.
Digitize your design: To create embroidered patches, you need to digitize the design. This is an essential step in converting the image into a stitch file that an embroidery machine can understand.
Embroider the Patch: Using an embroidery machine, stitch the design onto fabric. Felt and twill are good choices for patches because they are both durable and provide a neat look.
Attach the Velcro Backing: After completing the embroidery, cut the patch to shape and attach the Velcro to the back. You will need both the hook and loop sides. One for the patch and the other for the item you will attach it to.
If you are looking for professional patch embroidery services, True Digitizing is here for you. We provide all kinds of custom embroidery digitizing services in the USA at very minimal rates. Whether you need bold military patches, stylish jacket patches, or custom hat patches, we have got you covered. So, what are you waiting for? Place your order today and get your designs digitized with precision and perfection.
Adding Velcro to a patch is a simple process, but it requires some attention to ensure durability. This is how you do it:
Start by cutting a piece of Velcro to match the size and shape of your patch. Remember that you'll need both the hook side (often attached to the patch) and the loop side (attached to the material's surface).
Sewing is one of the most durable ways to attach Velcro to patches. To get a solid and tight attachment, stitch the Velcro directly onto the opposite side of the patch with an embroidery machine and a strong needle.
If you are looking for a no-sew option, fabric glue works well. Simply apply a thin layer on the Velcro's back and press it onto the patch. Make sure it's perfectly aligned and allow it to dry completely before using.
Not every Velcro patch is the same. Here are a few popular types:
Standard Velcro patches: They have a simple hook-and-loop backing that allows for easy attachment and removal.
3D Puff Embroidered Velcro Patches: 3D puff embroidery works beautifully with Velcro to create a raised, dimensional look. It gives the patch texture and dimension, making it stand out.
PVC Velcro Patches: These patches are created from a rubber-like material that is highly resilient. They are good for outdoor usage and military-style applications.
Hook and Loop Patches: Some designs incorporate both Velcro sides as part of the patch, making it adjustable or customized.
Velcro works on patches as a fast, removable fastener. The hook side attaches to the patch, while the loop side is stitched to the clothes or accessories. This allows you to simply add and remove the patch as needed without damaging the cloth underneath. Velcro is especially popular for patches on uniforms,headgear, and bags because it is long-lasting, repositioning, and resistant to repeated usage.
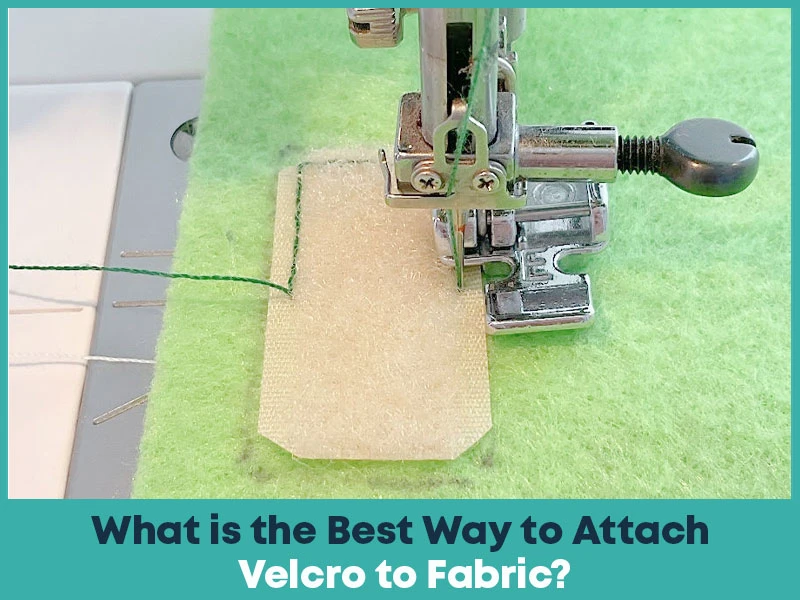
The best way to attach Velcro to fabric is by using a machine embroidery setup, as it ensures a strong and professional finish. Since Velcro is made from tough material, hand-stitching can be difficult and uneven, while a machine can handle the thickness with precision. Use an embroidery machine with a heavy-duty needle and strong polyester thread that matches the Velcro color. This creates a clean, durable attachment that won’t peel over time. If using a machine isn’t possible, fabric glue can be an alternative, but stitching with an embroidery machine always provides the most secure and long-lasting results.
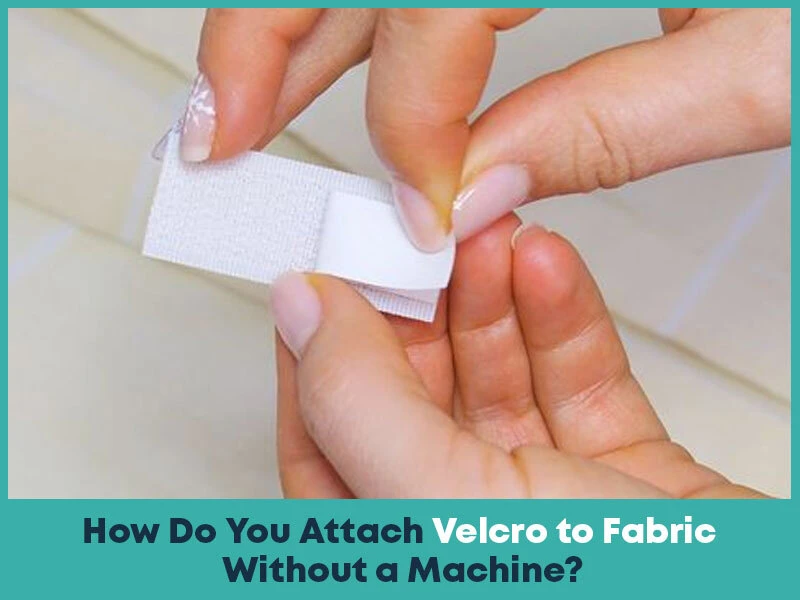
If you don't have a machine, you can attach Velcro to fabric by:
Hand-Sewing: Using a strong needle, sew small, close stitches around the Velcro's edges.
Fabric Glue: Apply a thin layer of fabric glue on the Velcro and press it to the cloth, keeping it securely in place until dry.
Iron-On Velcro: Follow the brand's instructions, which often involve pressing the Velcro down with a hot iron for a few seconds.
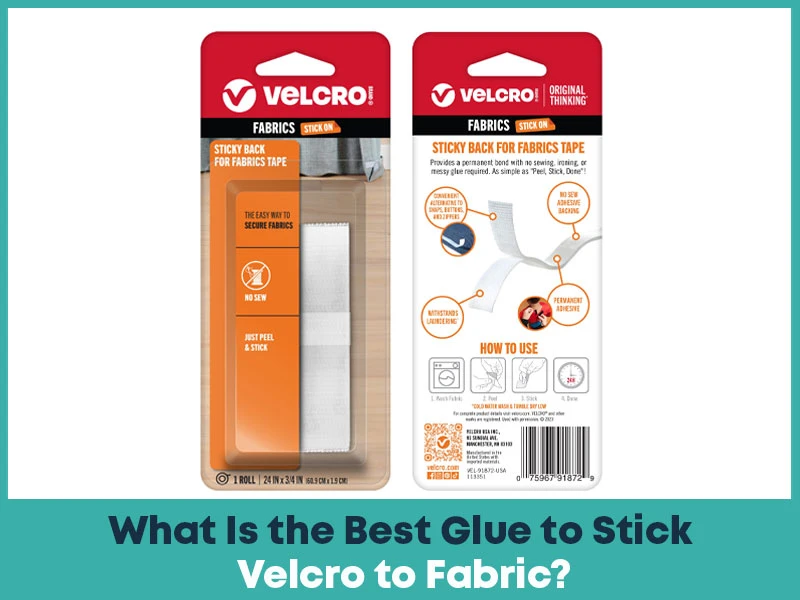
Fabric glue is the best option for creating a strong and long-lasting bond. Look for fabric-specific adhesives that work well with Velcro, such as E6000 or Aleene's Fabric Fusion. Apply a thin layer of adhesive to the Velcro, press it onto the cloth, and let it dry for the specified time. Avoid using hot glue because it usually tends to hold up over time.
True Digitizing specializes in turning your creative designs into high-quality embroidery patches. From 3D puff embroidery to custom shapes and detailed logos, our team ensures every stitch is done with accuracy. If you want unique, durable, and affordable patches, True Digitizing is the trusted choice for customers all across the USA.
Adding Velcro to embroidered patches makes them flexible, reusable, and adaptable to an extensive range of surfaces. With options for sewing, gluing, or using iron-on Velcro, you can customize your design to what tools you have. Velcro is both flexible and durable, making it perfect for creating unique patches for uniforms, luggage, and fashion items. Start exploring with Velcro-backed patches.
Nick William has been immersed in the world of embroidery digitizing for over 20 years, earning 25 industry awards throughout his career. As a 3rd generation embroidery expert, Nick’s journey started in his family’s workshop, where he learned the art of digitizing before the rise of modern software. He has worked with leading commercial embroidery businesses and has shared his expertise with over 75,000 home and professional embroiderers. As an author at True Digitizing, Nick is passionate about teaching others how to create beautiful, precise designs through easy-to-follow tutorials and expert advice.
Categories

Top Best Embroidery Digitizing Software in 2026
06-05-2026
")
Best Multi-Needle Embroidery Machines for Startups 2026
28-02-2026

DST File: The Complete Guide (What It Is, How to Create, Convert & Use in 2026)
28-02-2026

Janome 550E vs Baby Lock Flare | Best Mid-Range Embroidery Machine?
26-02-2026

Choose the Right Fabric for Embroidery
20-02-2026

Advanced Techniques in Embroidery Digitizing
19-02-2026

Most Common Types of Threads to Use in Machine Embroidery
12-02-2026

AI in Embroidery | Revolutionizing Art and Efficiency
12-02-2026

Best Thread Tension 101 | A Guide for Embroidery Machines
09-02-2026

Mastering Small Lettering in Machine Embroidery
04-02-2026
Asked Questions


