
At True Digitizing, we transform your creative spark into flawless, high-quality embroidery digitized designs that bring your vision to life.
Our Blogs
We Accept
Copyright 2025 Truedigitizing
At True Digitizing, we transform your creative spark into flawless, high-quality embroidery digitized designs that bring your vision to life.
We Accept
Copyright 2025 Truedigitizing

Ever seen a cool patch on a jacket, shirt or bag and thought, “How do they make that?” Turning your logo into a custom logo patch might feel challenging if you're new to it, but this guide simplifies everything. It's an enjoyable process that requires some skills and creativity. Let’s take you behind the scenes. Step-by-step process to show how your logo goes from a simple picture on your computer to a patch you can proudly show off. Trust us, it’s way more interesting than it sounds. So here we go.
You don’t need to be an expert to make a custom logo patch. With a little bit of time, some software and an embroidery machine you can make your own patch at home. It can be done this way step by step:
First, get your logo ready.It can be a hand-drawn sketch or a digital file. Make sure that it is not blurred. A sharp picture is the best. Set it straight through in your embroidery software. Make the design simple, since some smaller details may not be well stitched. This is because when you have thin lines in your logo, you can thicken them a little. Save it as a JPG or PNG for easy processing in the next step.
This gets your logo set to become an awesome patch.
Now, turn your logo into a stitch plan using embroidery software. This is called digitizing, and it guides your machine on where and how to stitch. Try free software like Ink/Stitch, which works with Inkscape (both are free). Open your logo in the software and trace it to set up the stitches, maybe smooth lines for bold parts or zig zags for texture. It’s like drawing with thread.
Select the desired colors that will fit your logo. (you can explore some brands like Madeira for thread color selection). The first time is tricky, but when you practice, you will master it because practice makes a man perfect. Save file that can be read by your machine such as DST or PES.

Now it's time to gather your logo patch essentials. Choose a thick fabric for the patch base like cotton or felt to hold the stitches. Choose embroidery threads that match your logo’s colors, you can find them easily online. Decide how you want your patch to stick on: iron-on backing (buy it in sheets), sew-on for a permanent fix, or Velcro for switching it up. You’ll also need stabilizer (a backing material) to keep your fabric steady while sewing. For the edges, plan for a simple cut or a stitched border. These choices make your patch feel like it’s yours.
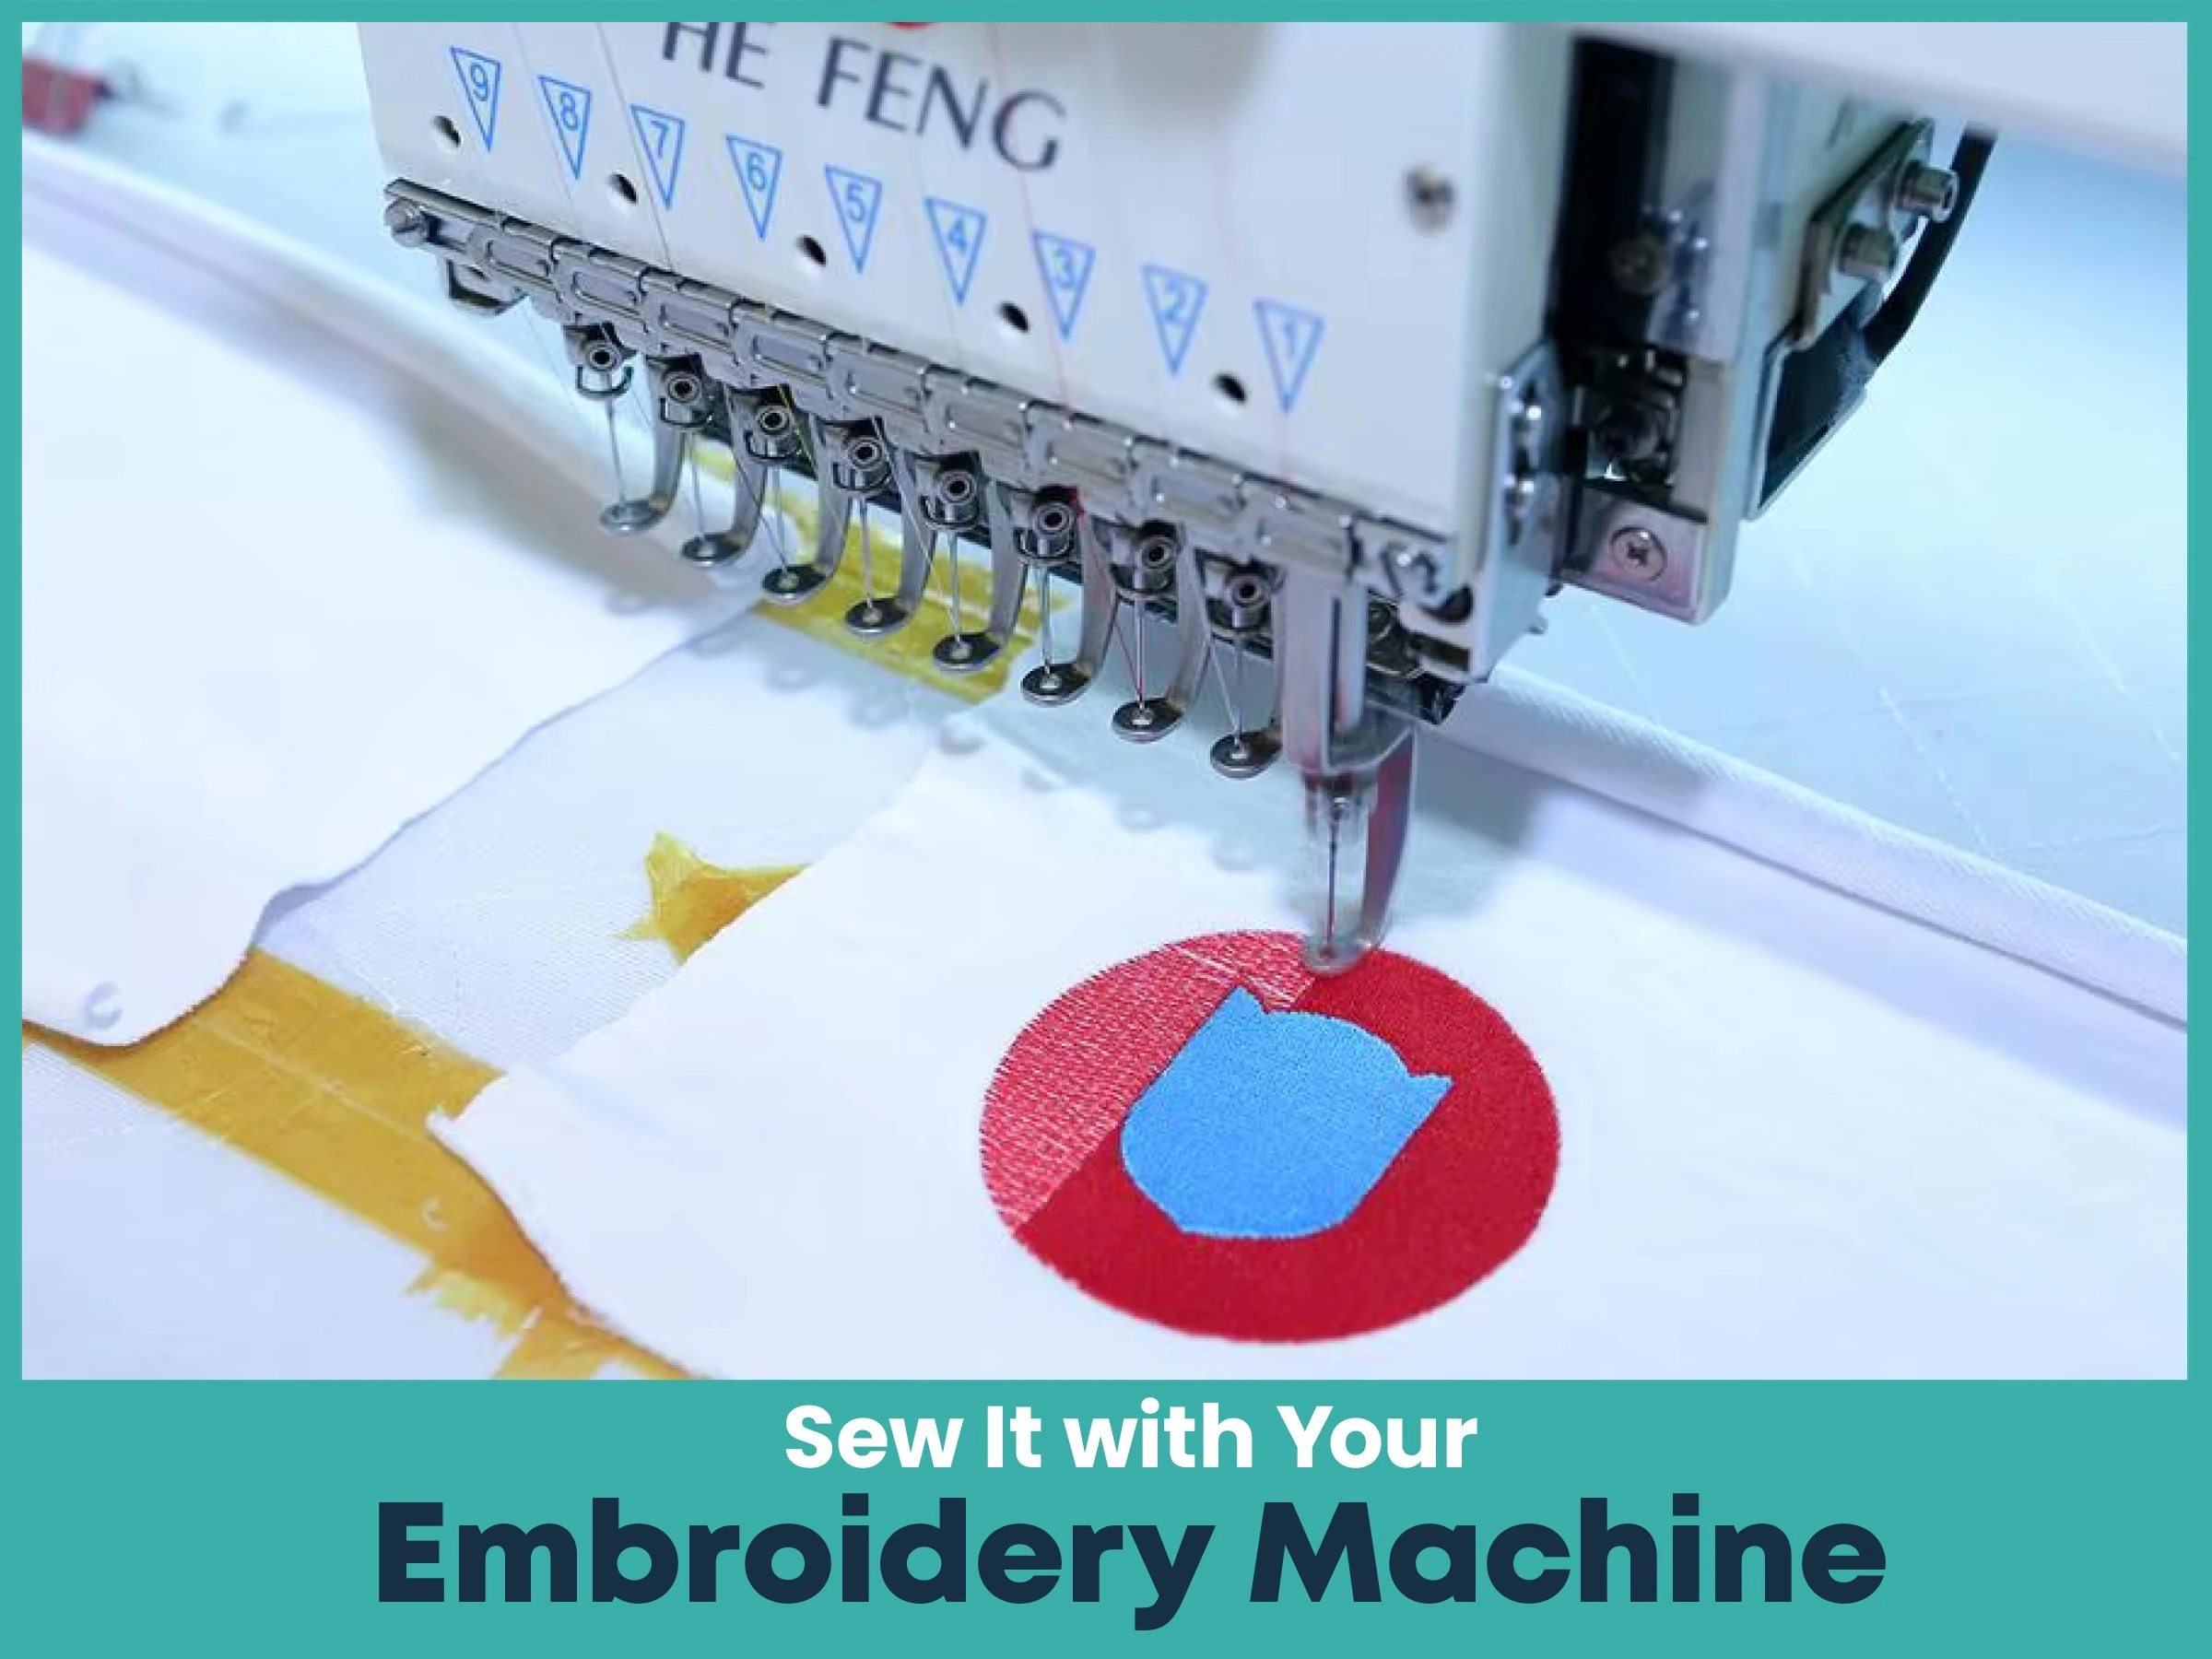
Now comes the fun part is sewing your patch. Set up your embroidery machine with the right thread and stabilizer under your fabric. Upload your digitized file, and let the machine start stitching. It’s so cool to watch it follow your plan, turning your logo into a patch.
Also check any break-offs or jams of threads and fix them promptly. It may take several minutes or more depending on the design of your choice. Once it is done, your logo will be colorful and will look like an actual patch.
After stitching, the patch gets its final touches. Cut extra threads with small scissors.Cut your patch into the shape you want, perhaps make it a circle or a square. If you want a border, stitch around the edge by hand or with a machine for a clean look. For iron-on patches, press the backing on with a hot iron. Take a good look to make sure your patch matches your logo. Don't worry if you cannot make perfect logo patches, True Digitizing is here for you. You can get your favorite customized embroidered patches at the cheapest prices, we are professionals at all kinds of embroidery digitizing services, from custom embroidered patches to chenille, applique, 3D puff embroidery, and even photo digitizing. Our prices are super affordable. We handle everything from single to bulk orders. So order now and save your money and time.
Now you’ve turned your flat logo into a custom embroidered patch. It is quite exciting how your simple pictures become something attractive and unique that can be touched, worn and shown. With this process, every stitch will count whether you are creating the patches for your business, a club or to make patches for fun. So take your logo, contact us, and get ready to see your design come to life. It’s like giving your logo a whole new adventure.
Nick William has been immersed in the world of embroidery digitizing for over 20 years, earning 25 industry awards throughout his career. As a 3rd generation embroidery expert, Nick’s journey started in his family’s workshop, where he learned the art of digitizing before the rise of modern software. He has worked with leading commercial embroidery businesses and has shared his expertise with over 75,000 home and professional embroiderers. As an author at True Digitizing, Nick is passionate about teaching others how to create beautiful, precise designs through easy-to-follow tutorials and expert advice.
Categories

How to Remove Embroidery From Any Fabric — Step-by-Step Guide 2026
28-06-2026

Embroidery Trends 2026: What's Hot in Machine & Hand Embroidery | TrueDigitizing
26-06-2026

Top Best Embroidery Digitizing Software in 2026
06-05-2026
")
Best Multi-Needle Embroidery Machines for Startups 2026
28-02-2026

DST File: The Complete Guide (What It Is, How to Create, Convert & Use in 2026)
28-02-2026

Janome 550E vs Baby Lock Flare | Best Mid-Range Embroidery Machine?
26-02-2026

Choose the Right Fabric for Embroidery
20-02-2026

Advanced Techniques in Embroidery Digitizing
19-02-2026

Most Common Types of Threads to Use in Machine Embroidery
12-02-2026

AI in Embroidery | Revolutionizing Art and Efficiency
12-02-2026
Asked Questions


