
Types of Embroidery Stitches: A Complete Guide for Beginners and Experts
Embroidery has been a popular craft for ages, with complicated stitches bringing fabric to life with unique designs. Whether you're a newbie or an expert embroiderer, understanding the basics of stitches is essential to getting stunning outcomes. True Digitizing experts in converting designs into high-quality embroidered designs, ensuring that your custom embroidery digitizing projects are executed accurately.
In this blog post, we will cover the different types of embroidery stitches you must know, from the basic to the most complicated. So, let's get started.
13 Types of Embroidery Stitches
Embroidery stitches are divided into different categories based on their use and technique. Some stitches work well for outlining, while others provide texture and complexity to gaps. Learning various types of stitches helps you to create both basic and elaborate designs.
The Types of Embroidery Stitches are Defined as:
Outline Stitches: Outline stitches are used to create distinct borders and outlines in your design.
Filling Stitches: These are good for filling large areas and adding depth to your embroidery.
Decorative stitches: Decorative stitches are used to give style and texture to your embroidery work.
Now let's look at 10 basic embroidery stitches that every embroiderer should be familiar with.
If you are just starting with embroidery or looking to polish up on the basics, exploring these stitches will provide you with a solid foundation.
1. Backstitch
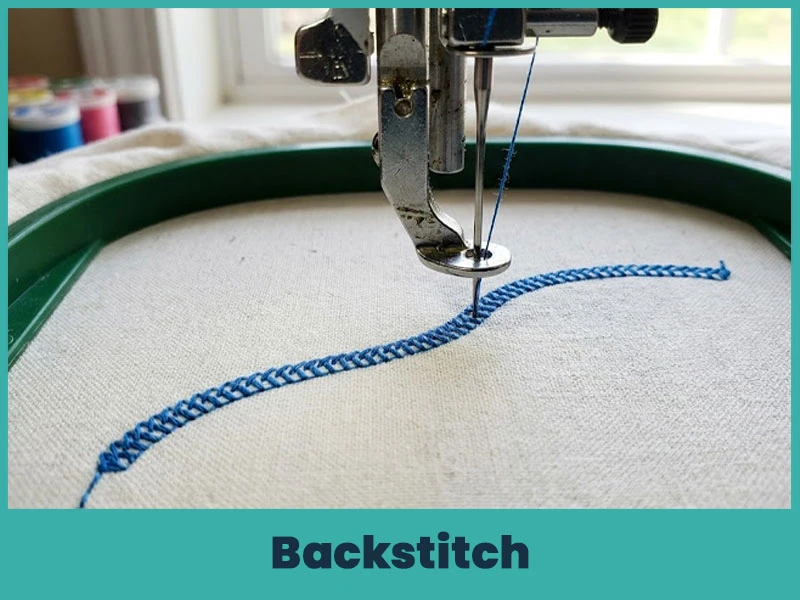
The backstitch is a basic outline stitch that is both easy and versatile. It's great for outlining shapes and adding details. To create a back stitch, bring the needle up through the material and stitch backward to connect to the previous stitch. This stitch creates a continuous, smooth line.
2. Split stitch
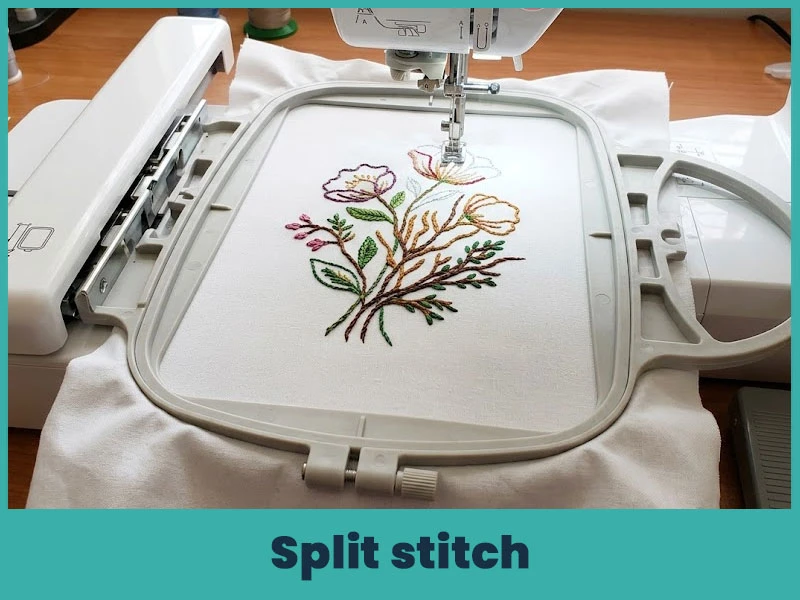
The split stitch is good for creating textured lines. It is similar to the backstitch, but with a twist, the needle breaks every stitch, causing a more visible raised line. This stitch is suitable for both outlining and filling small parts.
3. Stem Stitch
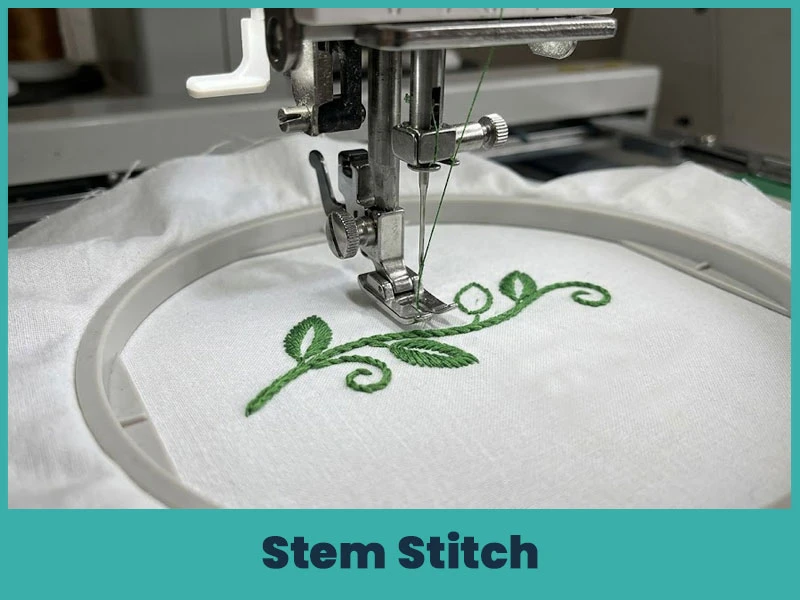
The stem stitch is commonly used to create curved lines, such as stems in floral embroidery. The overlapping thread gives a delicate, twisted texture that resembles a rope. To do this stitch, move the needle up slightly to the side of the previous stitch, creating a smooth, flowing look.
4. Satin Stitch
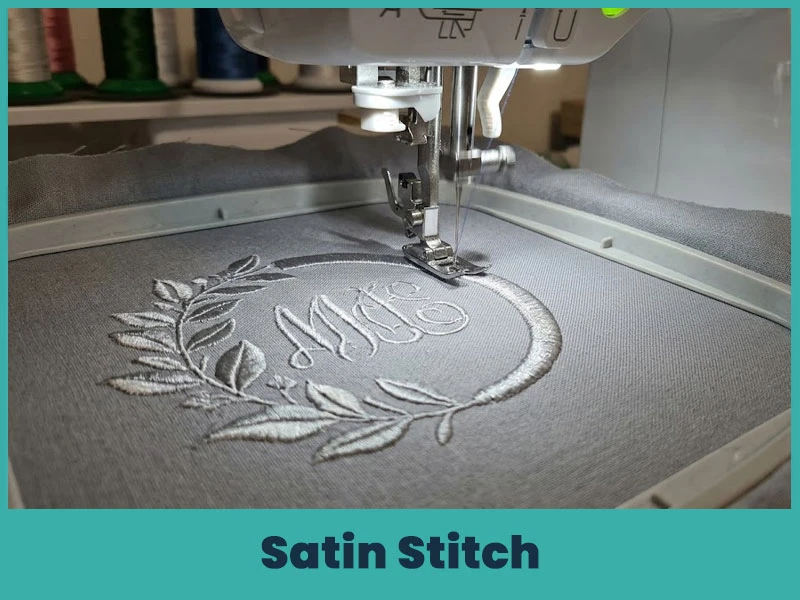
The satin stitch is essential for anyone who likes to work with solid blocks of color. This stitch is covered in shapes with closely spaced stitches that run parallel to one another, giving a smooth, satin-like finish. When done properly, it's one of the most satisfying stitches to use, giving any design an elegant look.
5. French Knot
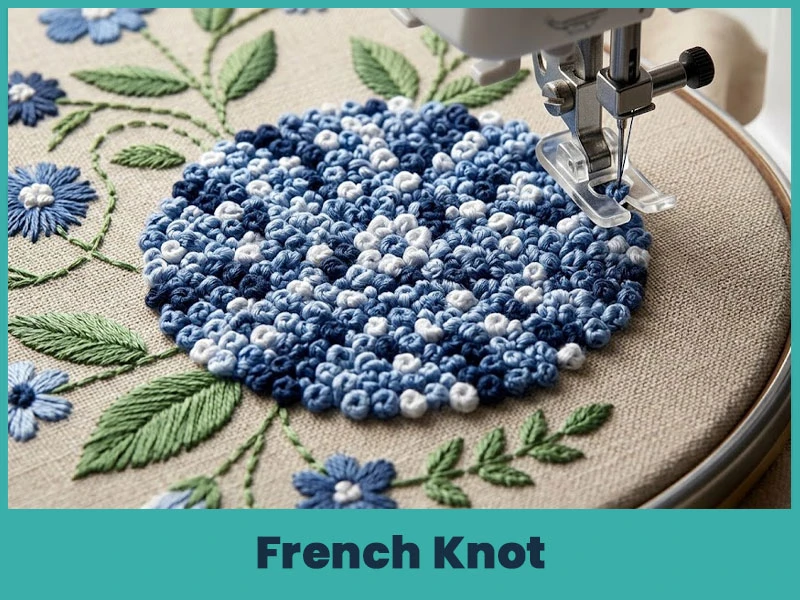
The French knot is one of the most enjoyable and tactile stitches. It's good for adding small, textural dots to your embroidery. Simply wrap the thread around the needle and pull it through to create a knot. French knots are usually used for eyes, flower centers, and decorative designs.
6. Chain stitch
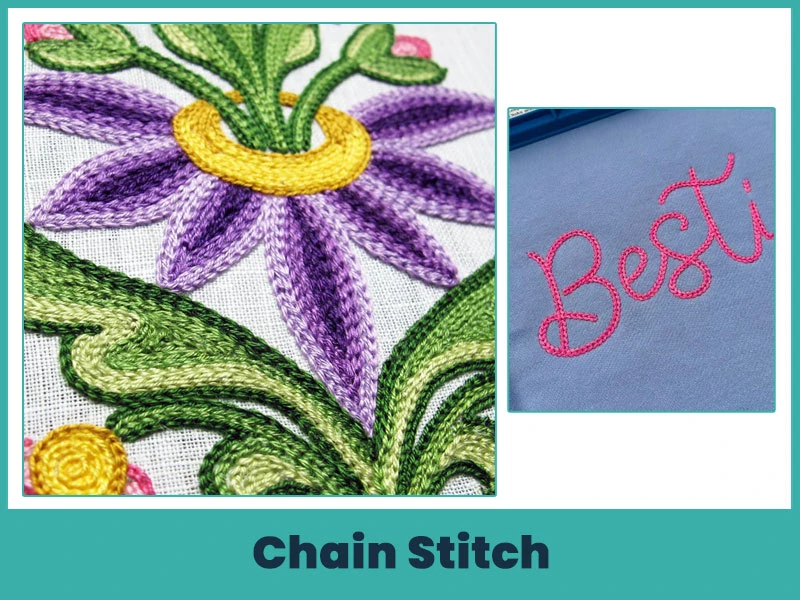
The chain stitch creates a series of looping stitches that resemble, well, a chain. It is good for giving texture and movement to outlines or filling gaps. To make a chain stitch, pull the needle into the material and loop the thread before fixing it with an uneven stitch.
7. Bullion Knot
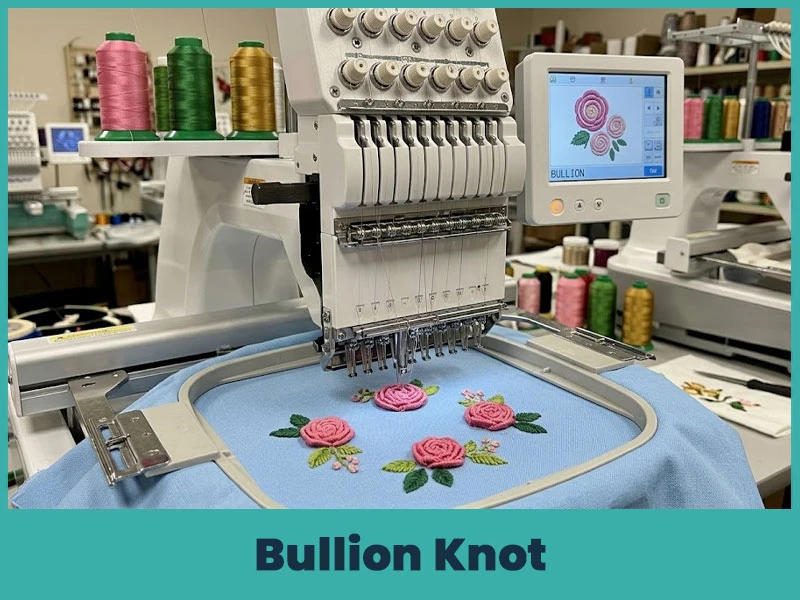
The bullion knot is a more complex and advanced stitch that adds a lot of complexity to designs. Wrap the thread around the needle multiple times before pulling it through, giving a long, coiled knot. Bullion knots are great for making rosebuds, leaves, and textured borders.
8. Running Stitch
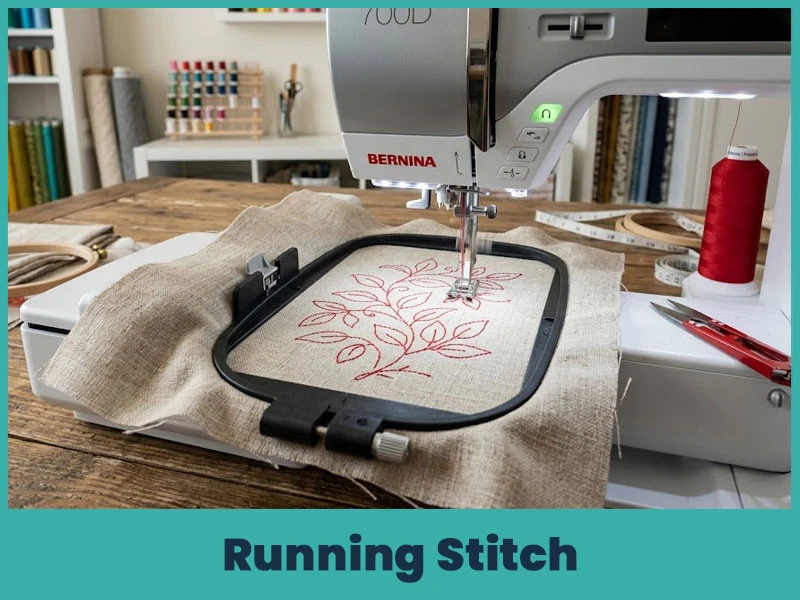
The running stitch is one of the simplest stitches. This stitch requires running the needle up and down the fabric in a straight line, resulting in evenly spaced stitches. It's commonly used for outline hems and as a basic stitch for different methods.
9. Straight Stitch
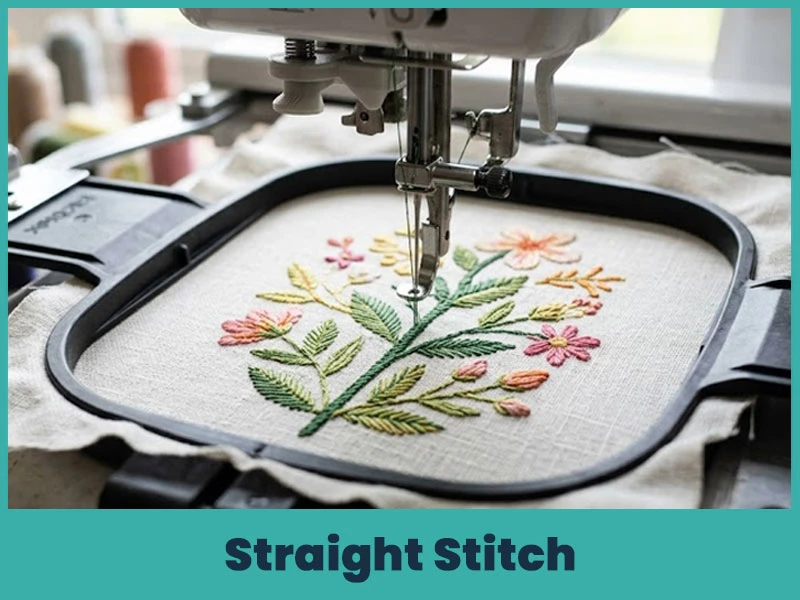
The straight stitch is just what it looks like, a basic stitch that can be used in different ways. Whether you're filling shapes, making abstract designs, or creating texture, this stitch can be easy to learn and adapt to many styles.
10. Feather Stitch
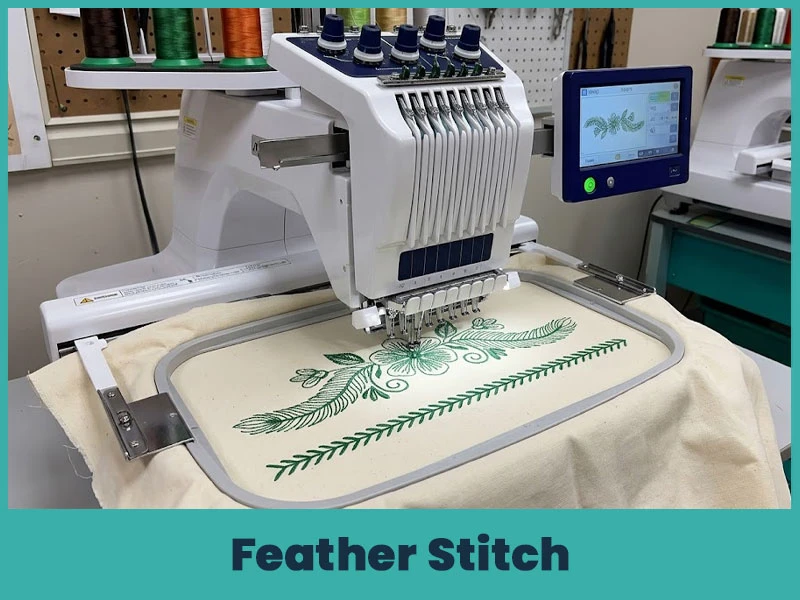
The feather stitch is a beautiful stitch that resembles branches or feathers. It's great for designing borders, adding movement, and filling up uneven areas. The stitch works by alternating small diagonal stitches from left to right, creating a zigzag pattern.
11. Fly Stitch
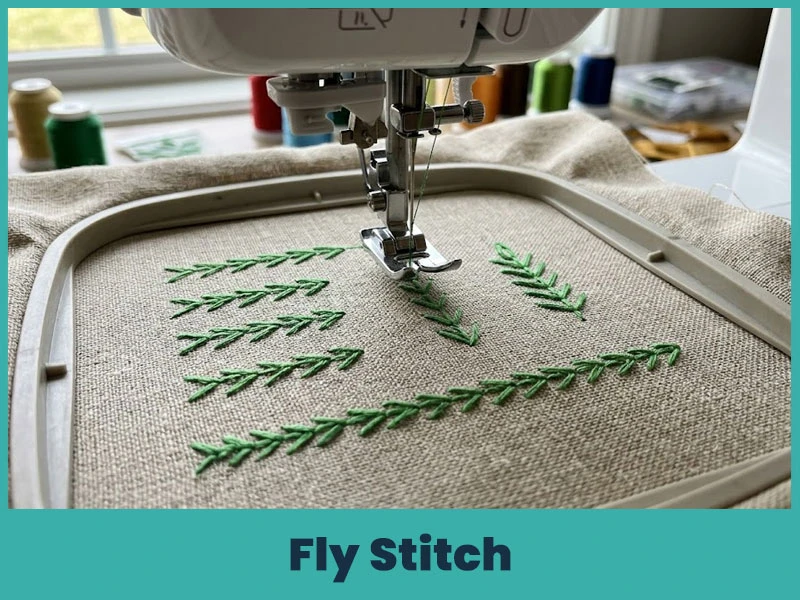
The fly stitch resembles the letter the letter "Y" and is perfect for creating delicate, decorative designs. It has a wide range of uses, including leaves, flowers, and borders. To create a fly stitch, make a small straight stitch first, then secure the loop with a small one across the base.
12. Blanket Stitch
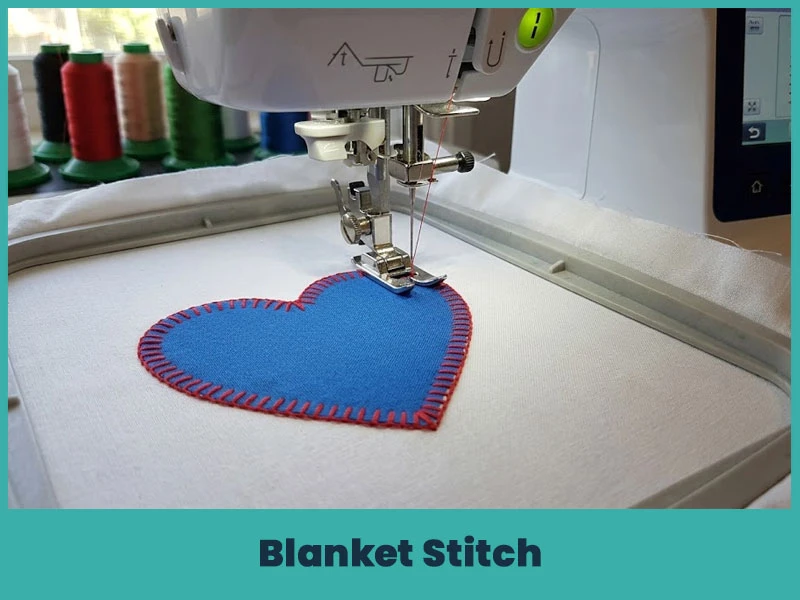
The blanket stitch can feel a bit challenging at the beginning, but once you get into it, the process becomes simple. It’s commonly used for creating borders, decorative lines, and finishing the edges of appliqué pieces. You can also apply it in surface embroidery for added detail.
You can create different looks by changing the distance between stitches and adjusting their height.
13. Woven Wheel Stitch
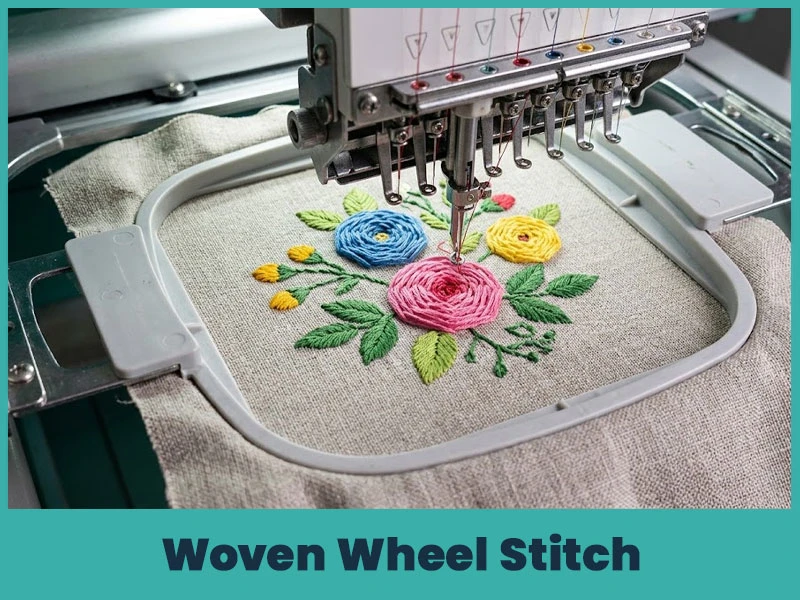
The woven wheel stitch is a beautiful circular stitch that is often used to create flowery designs. It starts with a simple wheel design, and then the thread is woven in and out to create a texture. This stitch adds depth and style to your designs.
Every type of stitch has its own process. For newbies, working on a small hoop with a simple design lets them learn every stitch before going on to more complex projects. The process usually includes:
Preparing Your Fabric: Using an embroidery hoop keeps the cloth tight, which makes stitching easier.
Transferring Your Design: To transfer your design to the cloth, use a fabric pen or trace it.
Choosing Threads and Needles: Different stitches might require different types of embroidery floss or needle sizes.
Practicing the stitch: Before creating a complete design, consider many stitch types using basic shapes and patterns.
What is the Most Expensive Type of Embroidery?
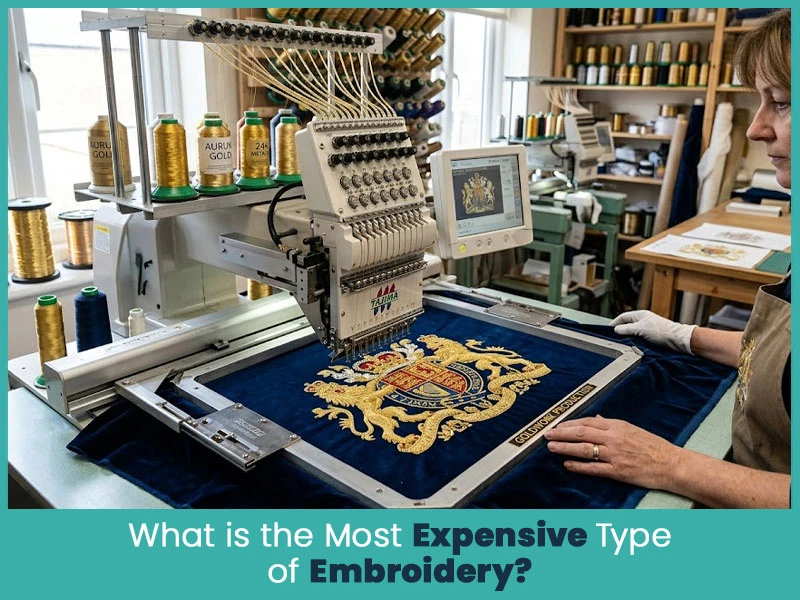
Goldwork embroidery is considered the most costly and luxurious type of embroidery. It involves using genuine gold or metallic threads to create elaborate patterns and decorations, which are found in royal or historical apparel. Goldwork is labor-intensive and demands a high level of skills, which accounts for its great value.
Conclusion
Understanding all of these embroidery stitches opens up opportunities for your embroidered work. Whether you're outlining with a backstitch or adding texture with a French knot, these methods can help you take your designs to the next level. True digitizing experts in accurate digitizing of embroidery patterns, making sure that the stitches come to life on fabric.Author
Nick William
Embroidery Digitizer
Nick William has been immersed in the world of embroidery digitizing for over 20 years, earning 25 industry awards throughout his career. As a 3rd generation embroidery expert, Nick’s journey started in his family’s workshop, where he learned the art of digitizing before the rise of modern software. He has worked with leading commercial embroidery businesses and has shared his expertise with over 75,000 home and professional embroiderers. As an author at True Digitizing, Nick is passionate about teaching others how to create beautiful, precise designs through easy-to-follow tutorials and expert advice.
Categories

Top Best Embroidery Digitizing Software in 2026
06-05-2026
")
Best Multi-Needle Embroidery Machines for Startups 2026
28-02-2026

DST File: The Complete Guide (What It Is, How to Create, Convert & Use in 2026)
28-02-2026

Janome 550E vs Baby Lock Flare | Best Mid-Range Embroidery Machine?
26-02-2026

Choose the Right Fabric for Embroidery
20-02-2026

Advanced Techniques in Embroidery Digitizing
19-02-2026

Most Common Types of Threads to Use in Machine Embroidery
12-02-2026

AI in Embroidery | Revolutionizing Art and Efficiency
12-02-2026

Best Thread Tension 101 | A Guide for Embroidery Machines
09-02-2026

Mastering Small Lettering in Machine Embroidery
04-02-2026
Frequently
Asked Questions


RELATED BLOGS


At True Digitizing, we transform your creative spark into flawless, high-quality embroidery digitized designs that bring your vision to life.
Our Blogs
We Accept
Copyright 2025 Truedigitizing