
At True Digitizing, we transform your creative spark into flawless, high-quality embroidery digitized designs that bring your vision to life.
Our Blogs
We Accept
Copyright 2025 Truedigitizing
At True Digitizing, we transform your creative spark into flawless, high-quality embroidery digitized designs that bring your vision to life.
We Accept
Copyright 2025 Truedigitizing

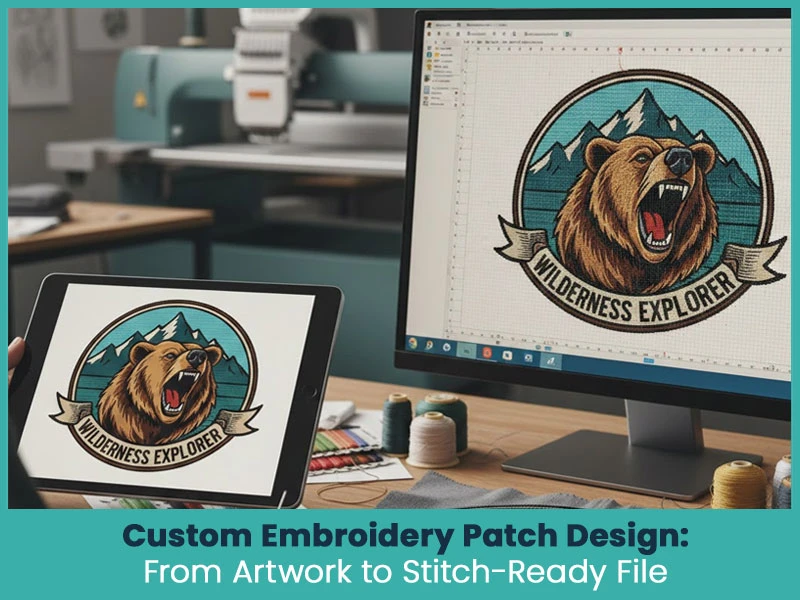
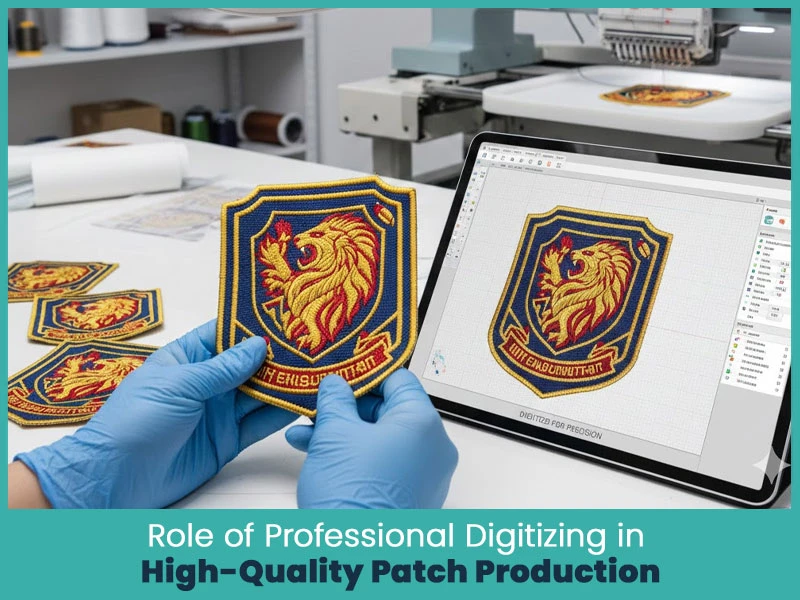
The process starts with your idea or artwork. You send in a logo, drawing, or photo. Then, experts turn it into a file that embroidery machines can read. This step is called digitizing. It maps out every stitch, color, and detail. Good digitizing makes sure the patch looks sharp and lasts long.
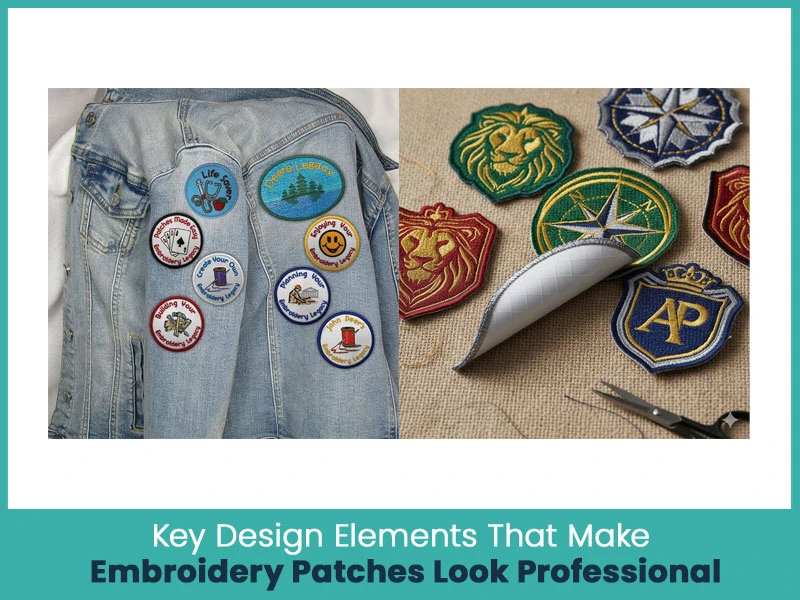
Design elements decide whether a patch looks neat or messy. Size is one of the most important points. Using the correct size helps maintain detail without over-stitching.
First, size is very important. The patch has to fit the item you put it on. If it's too big, it looks bad. And if it's too small, people can't see the details well.
For the left chest area on shirts and jackets: Most people use a height of about 4 inches (or 101.6 millimeters) and a width of about 3.5 inches (or 88.9 millimeters). This size works well for adults. It shows the design clearly but doesn’t take over the whole front of the shirt.
For hats or caps: A common size is height of about 2.25 inches (or 57.2 millimeters) and width of about 4 inches (or 101.6 millimeters). This shape fits the curve of the hat front. It lets the design stand out without bending too much.
Next, stitch density. This means how many stitches fill the area.
If the density is too low, the patch looks empty or thin, and you might see the fabric underneath. If it's too high, the patch feels hard and stiff. The best is a balance in the middle. It covers the area fully, stays soft, and bends with the item.
Borders are another key part. A good border keeps the edges neat and strong.
Colors also play a big role. You choose thread colors to match your design. But keep it to 7 or 9 colors at most. Each new color adds time and cost in production. Fewer colors often look cleaner anyway.
Finally, backing. This is the material on the back that helps you attach the patch.
You decide on backing early because it affects how the design is made. Options include iron-on for easy heat application, sew-on for strong stitching, or Velcro to put it on and off. Think about how you will use the patch when you pick this.
When you pay attention to these elements like size, stitch density, borders, colors, and backing, your custom embroidery patches turn out sharp, durable, and truly professional. It makes a big difference in the final look.
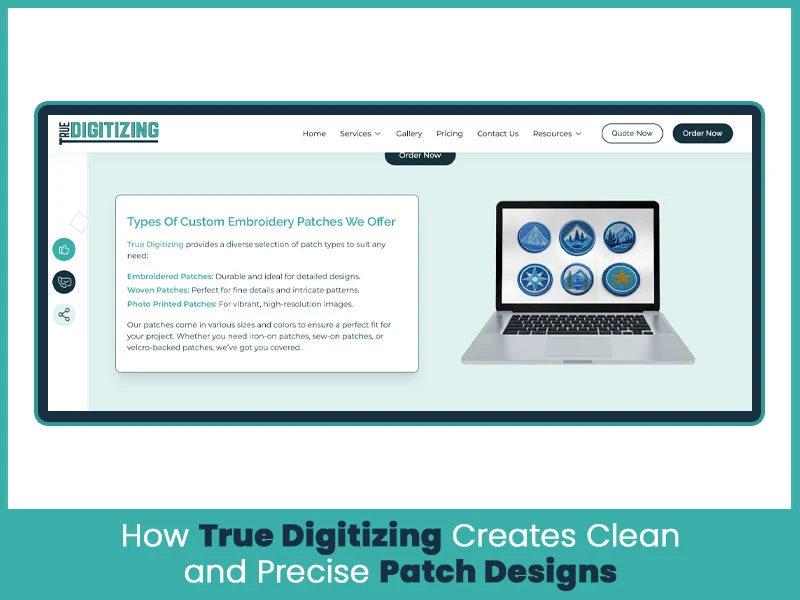
Professionaldigitizingis key to avoiding common problems like gaps or puckering. At True Digitizing, experts use advanced embroidery software to handle every part of the design carefully.
They adjust stitch paths for smooth coverage and clear details. This results in patches that stitch out perfectly on machines.
Here's how the whole thing works when you want custom embroidery patches. We keep it simple and focused on getting you great results every time.
You start by sending us your idea. Just upload a picture like a JPG, PNG, or PDF file of your logo, drawing, or whatever you have.
It can be for team uniforms, sports gear, company jackets, or even fun event patches. We take your artwork and turn it into a clean digital file that embroidery machines can use. We make sure it matches exactly what you want.
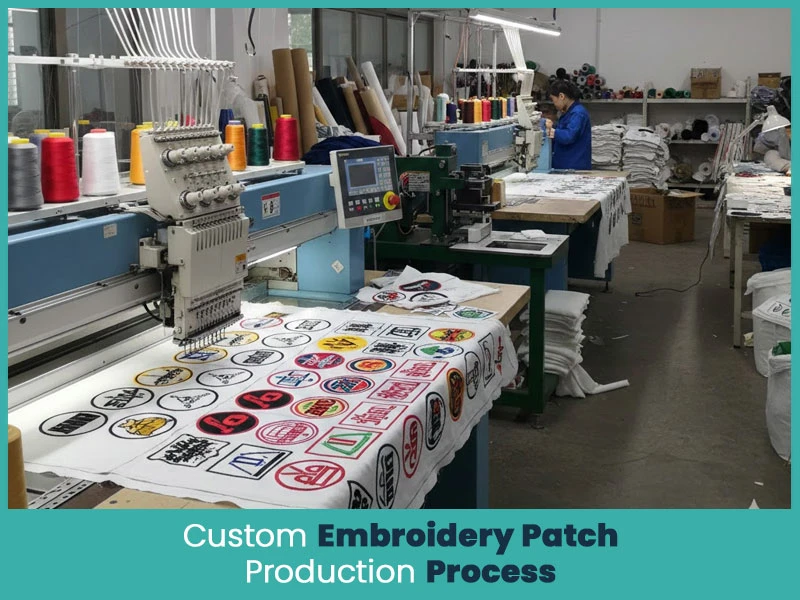
Next, our team gets to work. We use advanced software to map out every stitch in your design.
We adjust everything like how thick the stitches are, which thread colors to use, and the direction of the stitches. This way, the patch comes out smooth and clear, no matter if you want iron-on, sew-on, or Velcro backing.
We don’t rush this part. Every file goes through careful checks to spot any issues.
We fix anything needed so you get accurate designs that stitch out well. We send them to you on time, we offer fast embroidery digitizing services within 2 to 12 hours. We make sure our fast turnaround time and accuracy for every project.
At True Digitizing, we aim to give you files that make your patches look amazing and hold up strong.
People love quick service like this for custom work. Whether it is for a small order, business branding, or big wholesale runs, we keep prices fair and quality high. You end up with beautiful, durable patches within your budget.
Bad digitizing leads to poor stitches, thread breaks or distorted shapes. Professional service provider like True Digitizing fixes that. We optimize for your design so the final patch looks clean and strong. This step saves time and money in production.
Here is a pricing chart for a standard-size patch:
Note: This chart is used for determining base pricing and does not include the cost of any additional options. See your patch type’s page for additional options.
If you are getting embroidery patches at affordable prices, it doesn’t mean you will get low quality designs.
Working with a professional digitizing service provider like True Digitizing helps avoid mistakes that cause rework. Clean digitizing saves time and builds trust. As long as the digitizing is done correctly, production stays smooth and costs remain under control.
Custom embroidery patches are an easy way to personalize items and make them last. From choosing the right size and design to picking backing and understanding prices, each step matters. With good digitizing and planning, you get patches that look great and stay for a long time.
For the best results, contact True Digitizing. Our expert team handles the digitizing perfectly, and you will get a quick turnaround and fair prices. Get your designs ready today and see the difference.Nick William has been immersed in the world of embroidery digitizing for over 20 years, earning 25 industry awards throughout his career. As a 3rd generation embroidery expert, Nick’s journey started in his family’s workshop, where he learned the art of digitizing before the rise of modern software. He has worked with leading commercial embroidery businesses and has shared his expertise with over 75,000 home and professional embroiderers. As an author at True Digitizing, Nick is passionate about teaching others how to create beautiful, precise designs through easy-to-follow tutorials and expert advice.
Categories

How to Remove Embroidery From Any Fabric — Step-by-Step Guide 2026
28-06-2026

Embroidery Trends 2026: What's Hot in Machine & Hand Embroidery | TrueDigitizing
26-06-2026

Top Best Embroidery Digitizing Software in 2026
06-05-2026
")
Best Multi-Needle Embroidery Machines for Startups 2026
28-02-2026

DST File: The Complete Guide (What It Is, How to Create, Convert & Use in 2026)
28-02-2026

Janome 550E vs Baby Lock Flare | Best Mid-Range Embroidery Machine?
26-02-2026

Choose the Right Fabric for Embroidery
20-02-2026

Advanced Techniques in Embroidery Digitizing
19-02-2026

Most Common Types of Threads to Use in Machine Embroidery
12-02-2026

AI in Embroidery | Revolutionizing Art and Efficiency
12-02-2026
Asked Questions


