




At True Digitizing, we transform your creative spark into flawless, high-quality embroidery digitized designs that bring your vision to life.
Our Blogs
We Accept

Copyright 2025 Truedigitizing






At True Digitizing, we transform your creative spark into flawless, high-quality embroidery digitized designs that bring your vision to life.
We Accept
Copyright 2025 Truedigitizing

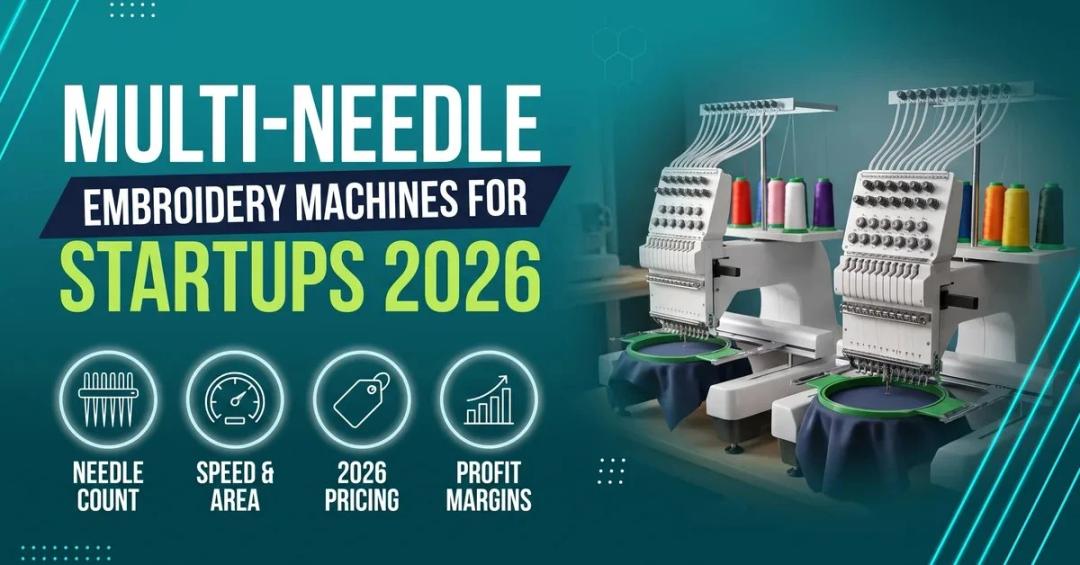
For most embroidery startups, a 6- to 10-needle machine hits the best balance of cost and output: the Brother PR680W (6 needles, priced around $12,999 through Brother dealers) or the Ricoma EM-1010-10s (10 needles, priced from $5,079) both cut thread-change downtime on multi-color logos. Needle count matters less than embroidery area and stitch speed once you go past 10 needles.
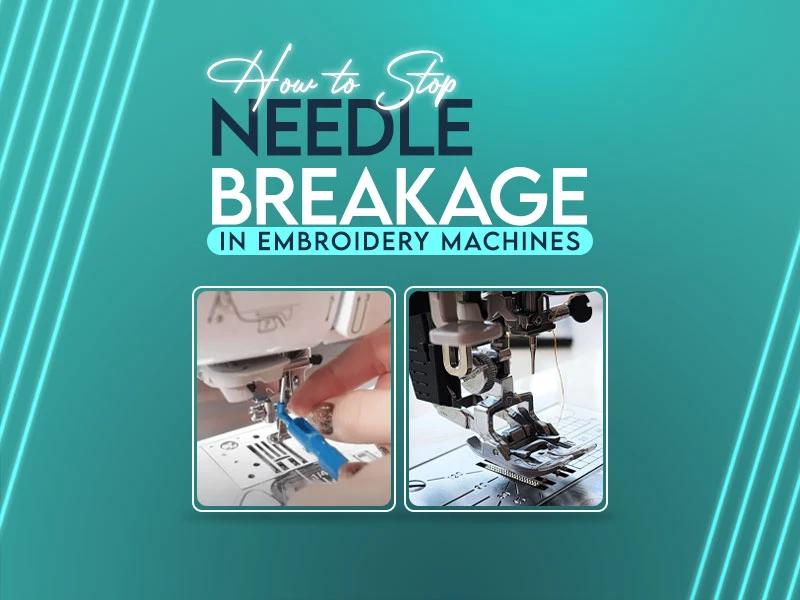
You give your embroidery machine a clean design with fresh fabric. The first few stitches look perfect. Then suddenly snap and the needle breaks. This is a sad moment because needle breakage wastes time, damages fabric, and disturbs your workflow. 70% embroiderers face this problem, even after years of experience. Needle breakage happens for a reason. When you understand the causes and fix them step by step, your machine runs smoothly and your designs stitch cleanly.
This guide explains everything so you can stop needle breakage before it starts
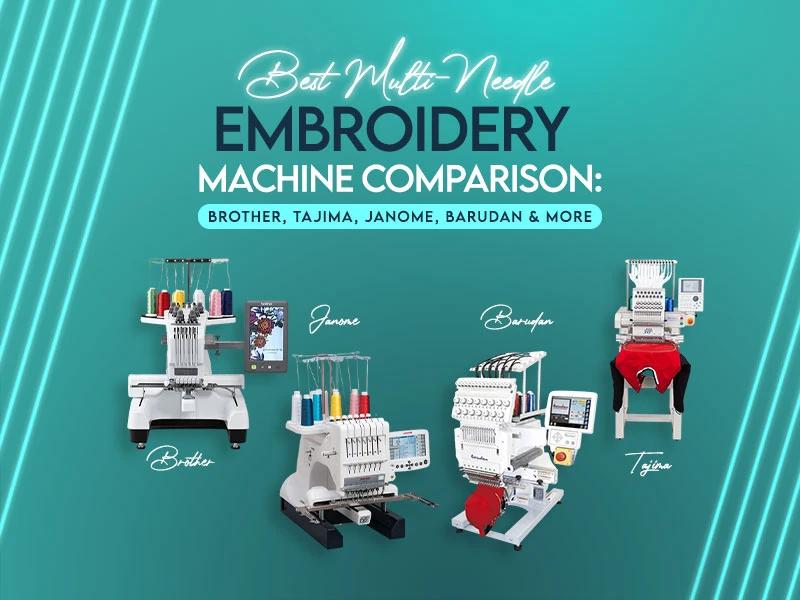
When you see multi-needle embroidery for the first time, the thoughts that come to mind are speed, accuracy and price. Beginners start with single-needle machines and then they realize how difficult it becomes to handle color changes, detailed logos, caps, jackets and thread adjustments. A multi-needle machine solves these issues by giving you more control, speed and smooth stitching that doesn't break your flow.
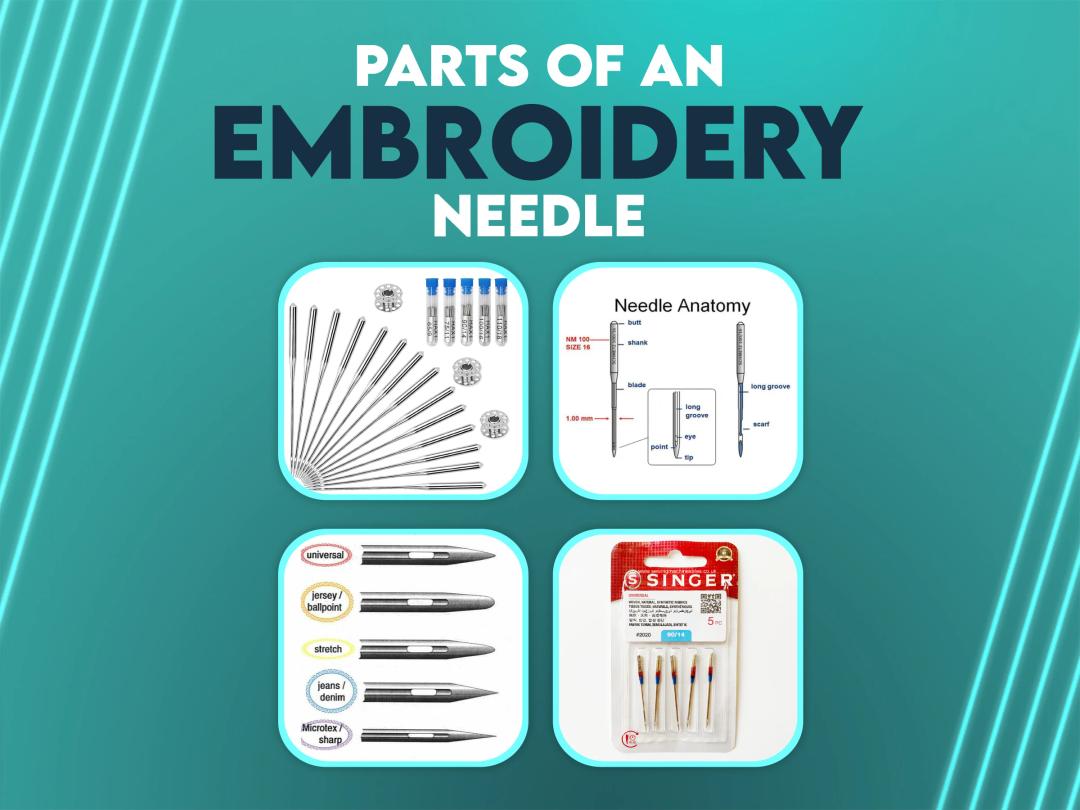
As you know, choosing the right embroidery machine needle is an important yet often overlooked part of achieving high-quality embroidery and sewing results. For those who want their projects to shine with perfection, it is important to understand the different types, sizes, and uses of sewing needles.
In this blog post, we will explore the sewing machine needle chart, help you understand needle sizes and types, and provide insights into choosing the perfect needle for any fabric. No matter if you are working with delicate jerseys, sturdy denim, or intricate embroidery, this guide will make needle selection simple and precise.