

At True Digitizing, we transform your creative spark into flawless, high-quality embroidery digitized designs that bring your vision to life.
Our Blogs
We Accept
Copyright 2025 Truedigitizing
At True Digitizing, we transform your creative spark into flawless, high-quality embroidery digitized designs that bring your vision to life.
We Accept
Copyright 2025 Truedigitizing
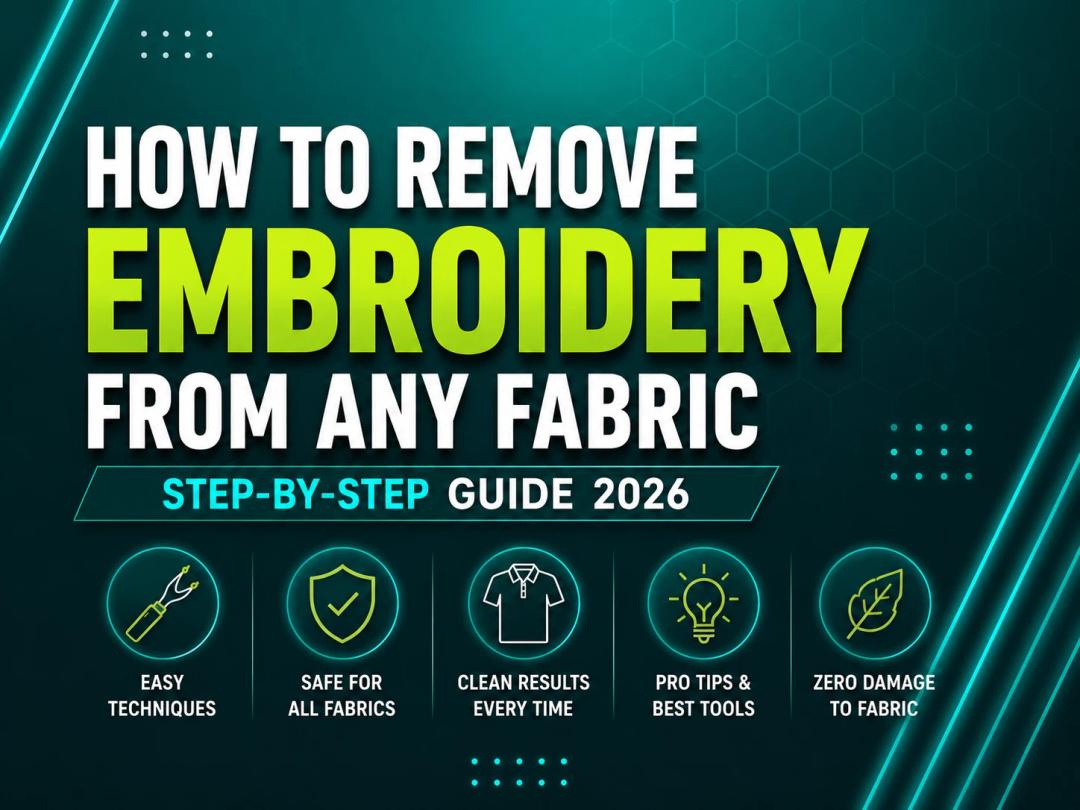
To remove embroidery from any fabric, turn the garment inside out, slide a seam ripper under the bobbin threads on the back, and cut them in small sections. Then flip the garment right-side out and pull the top threads out with tweezers. Finish by removing the stabilizer backing — tear-away peels off, cut-away must be trimmed, and water-soluble dissolves with water. Most fabrics come out clean with no lasting damage when you work slowly and carefully.

If your embroidery designs look clean on screen but messy on fabric, the problem usually starts with the fabric choice. Many people focus only on thread colors and design size. They ignore the base material. Fabric controls how stitches sit, how the design holds shape, and how long the embroidery lasts.
So what happens when you choose the right fabric for embroidery, you get balanced stitches, design looks sharp & clean, no fabric puckering & the result is so satisfying and mindblowing. Similarly, if you choose the wrong fabric you'll face these challenges like fabric puckering, loose stitches, distortion, thread breaks or so many other issues.
Fabric matters in both hand embroidery and machine embroidery. In embroidery digitizing, fabric plays a big role. Different fabrics need different stitch density, underlay, and pull compensation. Hence, understanding fabric helps you avoid problems before they start.
Let’s go step by step and understand which fabrics work best and why.

If you have ever done embroidery on different fabrics, you know the stabilizer can make or break your project. One design turns out nice but the next one gets puckers or the stitches pull the wrong way. A lot of people get confused because every fabric acts differently. Some stretch, some are very thin, and some move a lot inside the hoop.
This happens over and over when you are not sure what stabilizer to pick. One small mistake wastes threads, fabrics and of course time. Selecting the right stabilizer is the most important step in embroidery. When the backing is correct, the design looks clean, sharp and professional but when the stabilizer is wrong, it ruins your design, fabric and everything.
In this blog, you will learn which stabilizer works best for different kinds of fabrics so you can stop the common problems and get the desired results.

You are ready to set your embroidery machine, load the design and start stitching. Everything looks fine until you turn the hoop over and see a bunch of thread tangled under the fabric. Ah! It feels so annoying. You notice loops, knots and messy thread that ruin your design, fabric and waste your time but don’t worry guys, this happens to many embroiderers. The good thing is, this common problem can be fixed easily.
In this informative post we’ll look at what thread nesting under fabric means, dig into why it happens and walk you through how to fix it and prevent it from happening again.


Transferring an embroidery pattern to fabric has evolved far beyond tracing paper and chalk. Today, with the help of embroidery machines and digitizing software, you can create accurate, professional-quality designs quickly and effortlessly. Whether you're a hobbyist or an embroidery business owner, understanding how digital pattern transfer works is essential for producing consistent and beautiful results.

Printing embroidery designs onto fabric involves a multi-step process. Firstly, the fabric needs to be prepared by washing and drying to remove any dirt and chemicals. Then, the design is printed onto the fabric using various methods such as screen printing, digital printing, or heat transfer. Factors to consider when choosing a method include the complexity of the design, the type of fabric, the color fastness of the ink, and the desired level of detail. Challenges in the process include ensuring precise alignment of the design, maintaining the integrity of the fabric, and achieving vibrant and long-lasting colors. Overall, the method chosen for printing embroidery designs onto fabric should take into account the specific requirements of the design, fabric, and desired outcome.