
At True Digitizing, we transform your creative spark into flawless, high-quality embroidery digitized designs that bring your vision to life.
Our Blogs
We Accept
Copyright 2025 Truedigitizing
At True Digitizing, we transform your creative spark into flawless, high-quality embroidery digitized designs that bring your vision to life.
We Accept
Copyright 2025 Truedigitizing

In today's digital world, keeping physical pictures secure and accessible is important. Digitizing images allows you to save them for many years, avoiding loss, damage, or fading. If you want a quick and high-quality photo digitizing service. True digitizing is the best choice. This blog post will cover the best ways to digitize pictures using smartphones, scanners, apps, and online resources. We'll look at everything to make sure you get the best results.
Digitizing photos can be as easy as using your phone or as complex as using an advanced scanner. The right method depends on factors like the volume of photos, your desired quality, and ease of use. For picture collections, a smartphone or an affordable scanner may suffice. True Digitizing provides convenient services and reliable solutions for bigger archives or professional-quality results.

Every year, smartphone cameras become better and digitizing photos using a smartphone is now a popular choice. To achieve the best quality:
Use a Tripod to minimize camera shake, ensuring clear, sharp images.
Good Lighting is important. Indirect natural light or a photography lightbox can help avoid shadows or glare.
Many smartphones have high-resolution settings, enabling these will ensure your photos have maximum detail.
Some apps, such as Google PhotoScan, are designed specifically to help with glare-free photo scanning and auto-cropping, making the process easier.
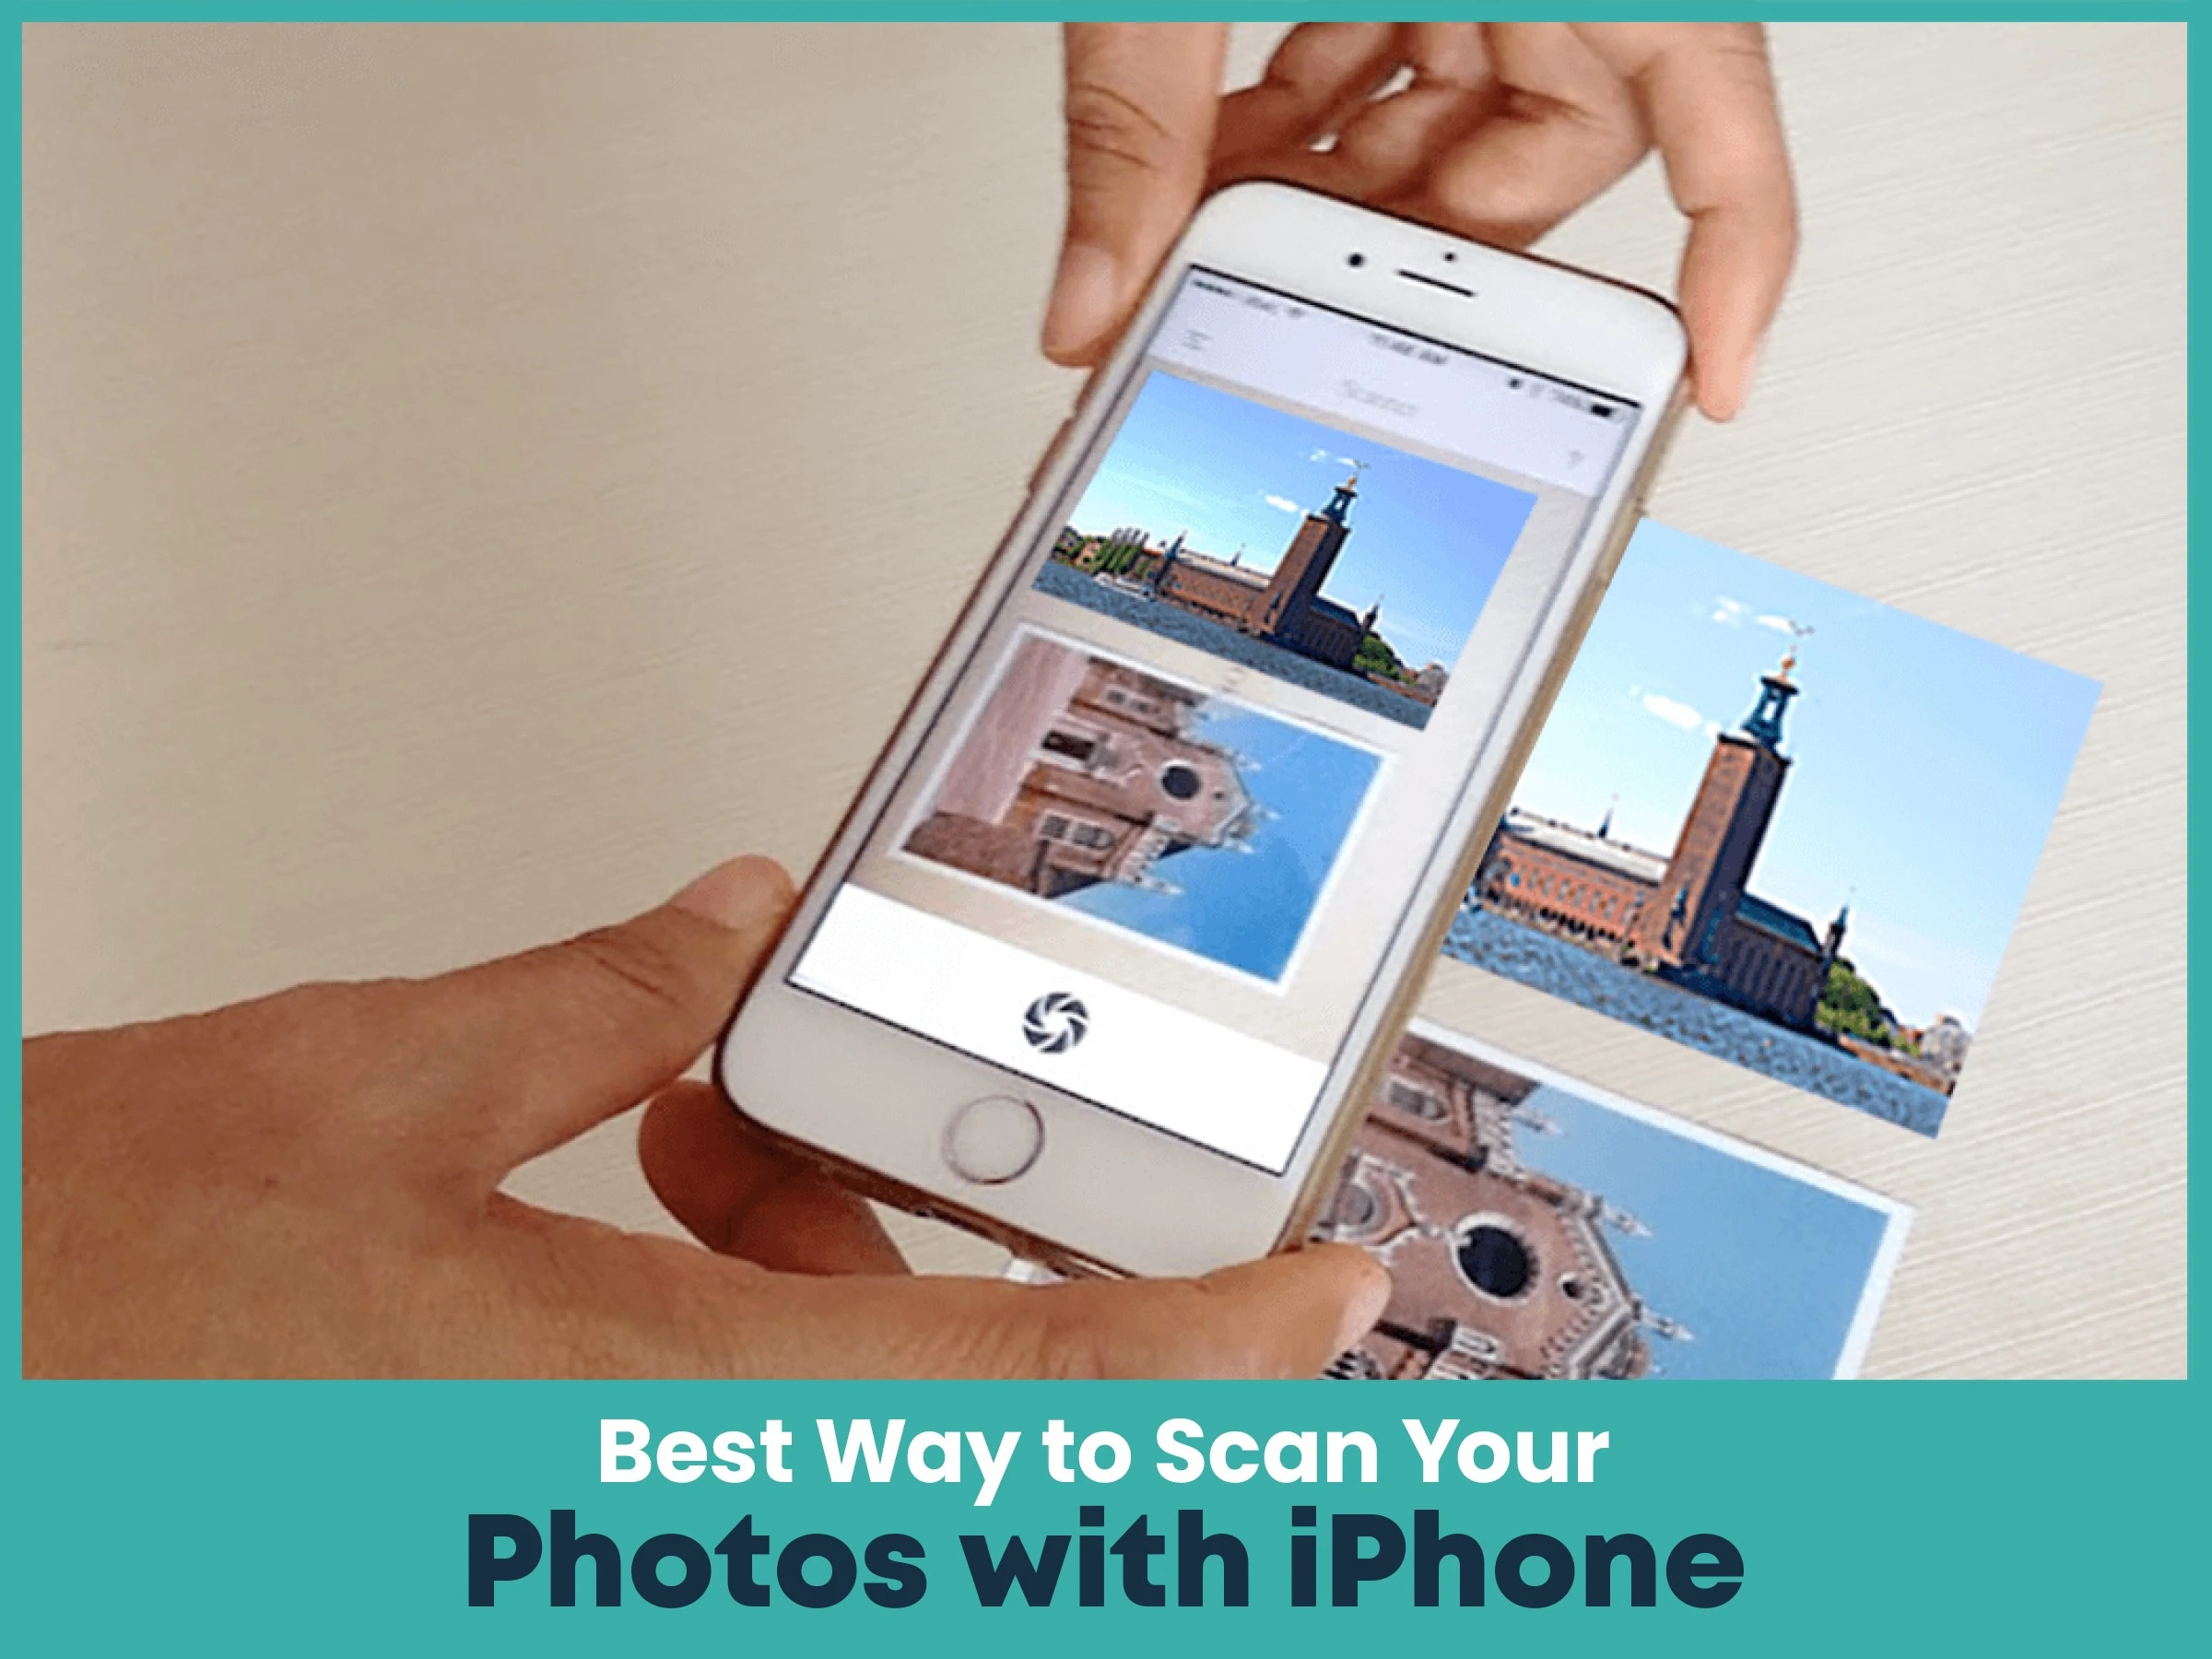
iPhones have high-resolution cameras and built-in editing tools, making them perfect for quick, quality photo scans. To get the best results:
Use the Notes App: The Notes app has a built-in scanner. It’s simple and has auto-cropping features.
Adjust Exposure and Contrast: After saving, you can adjust the image settings to reveal details and correct lighting issues.
Use PhotoScan by Google: PhotoScan is also available on iPhone, giving you a simple tool for multi-point scanning to avoid glare.
Using a scanner can yield excellent results, especially for preserving old photos with maximum detail and color accuracy. A flatbed scanner connected to your computer is generally the best option for personal digitization. Most printer-scanner combos also have settings for high-resolution photo scanning, helping you to capture details perfectly.
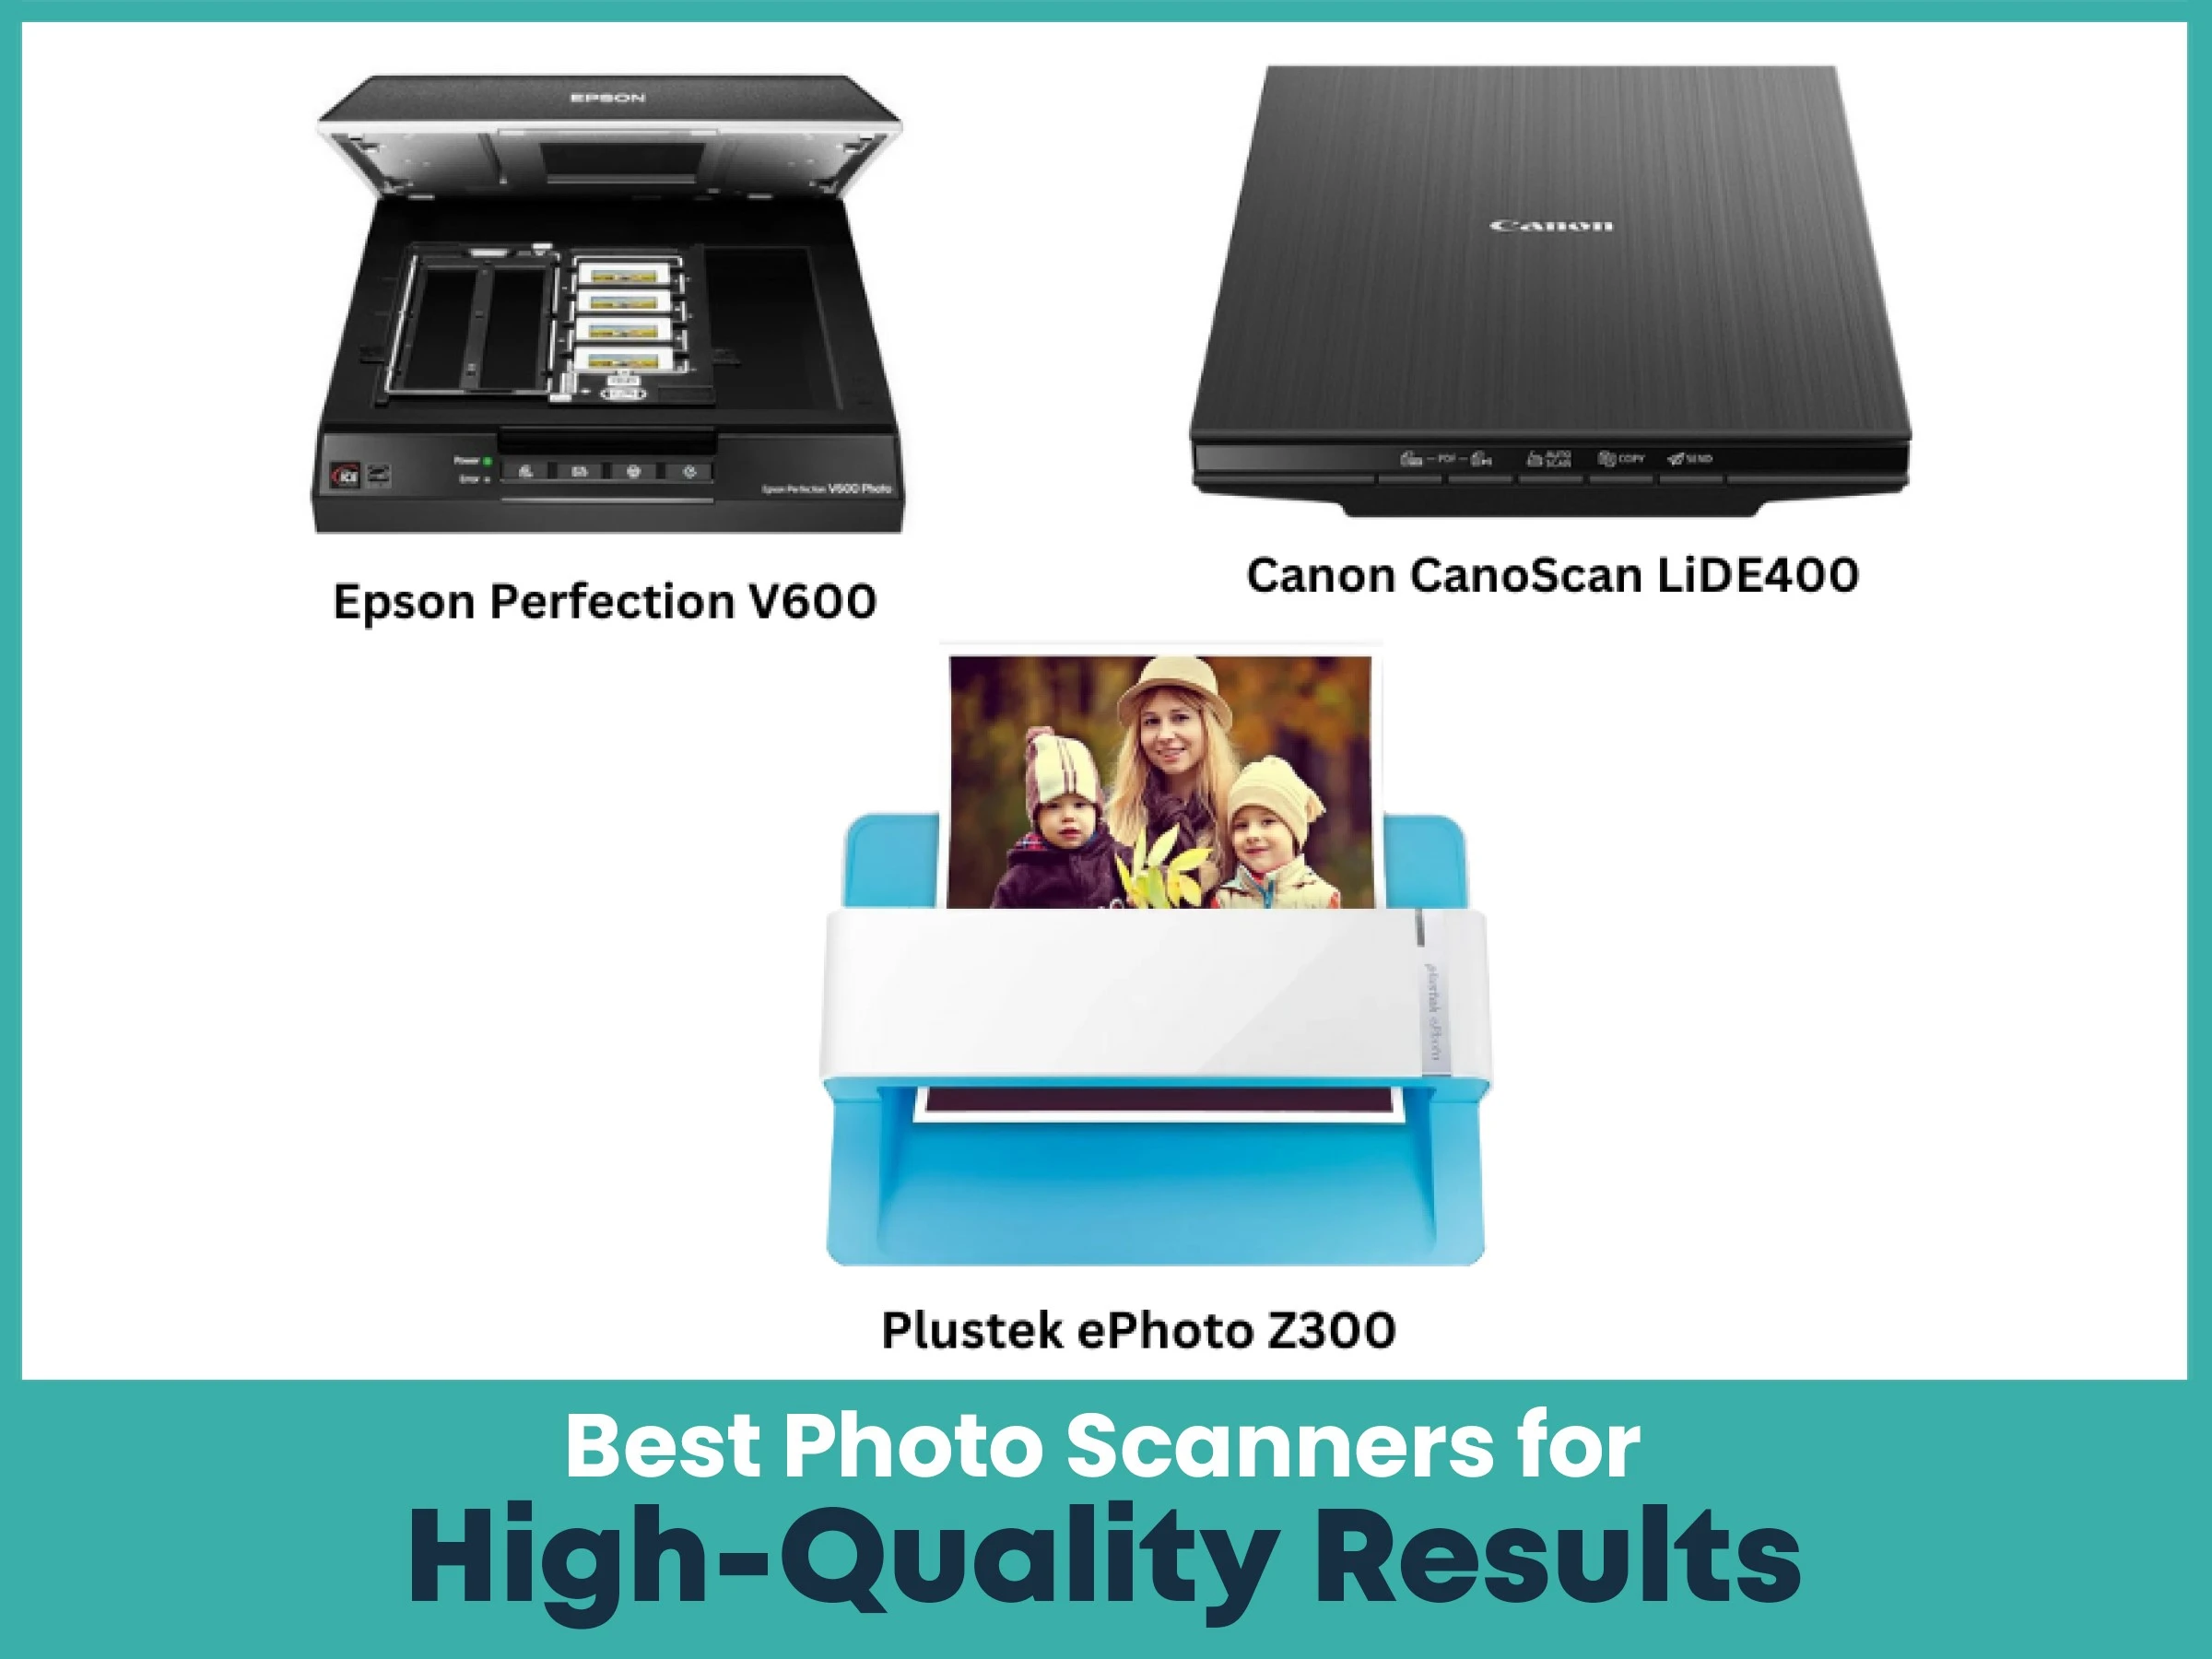
For the highest quality scans, dedicated photo scanners are recommended. Here are some top choices:
Epson Perfection V600: Known for high-resolution scans and effective color restoration for old photos.
Canon CanoScan LiDE400: A compact, affordable scanner with impressive resolution.
Plustek ePhoto Z300: Fast and designed specifically for photo scanning, perfect for handling large collections.
Buying a good scanner pays off if you have a lot of images to digitize, as it ensures the preservation of photo quality over time.
Do you know how to improve embroidery digitizing quality? Click here
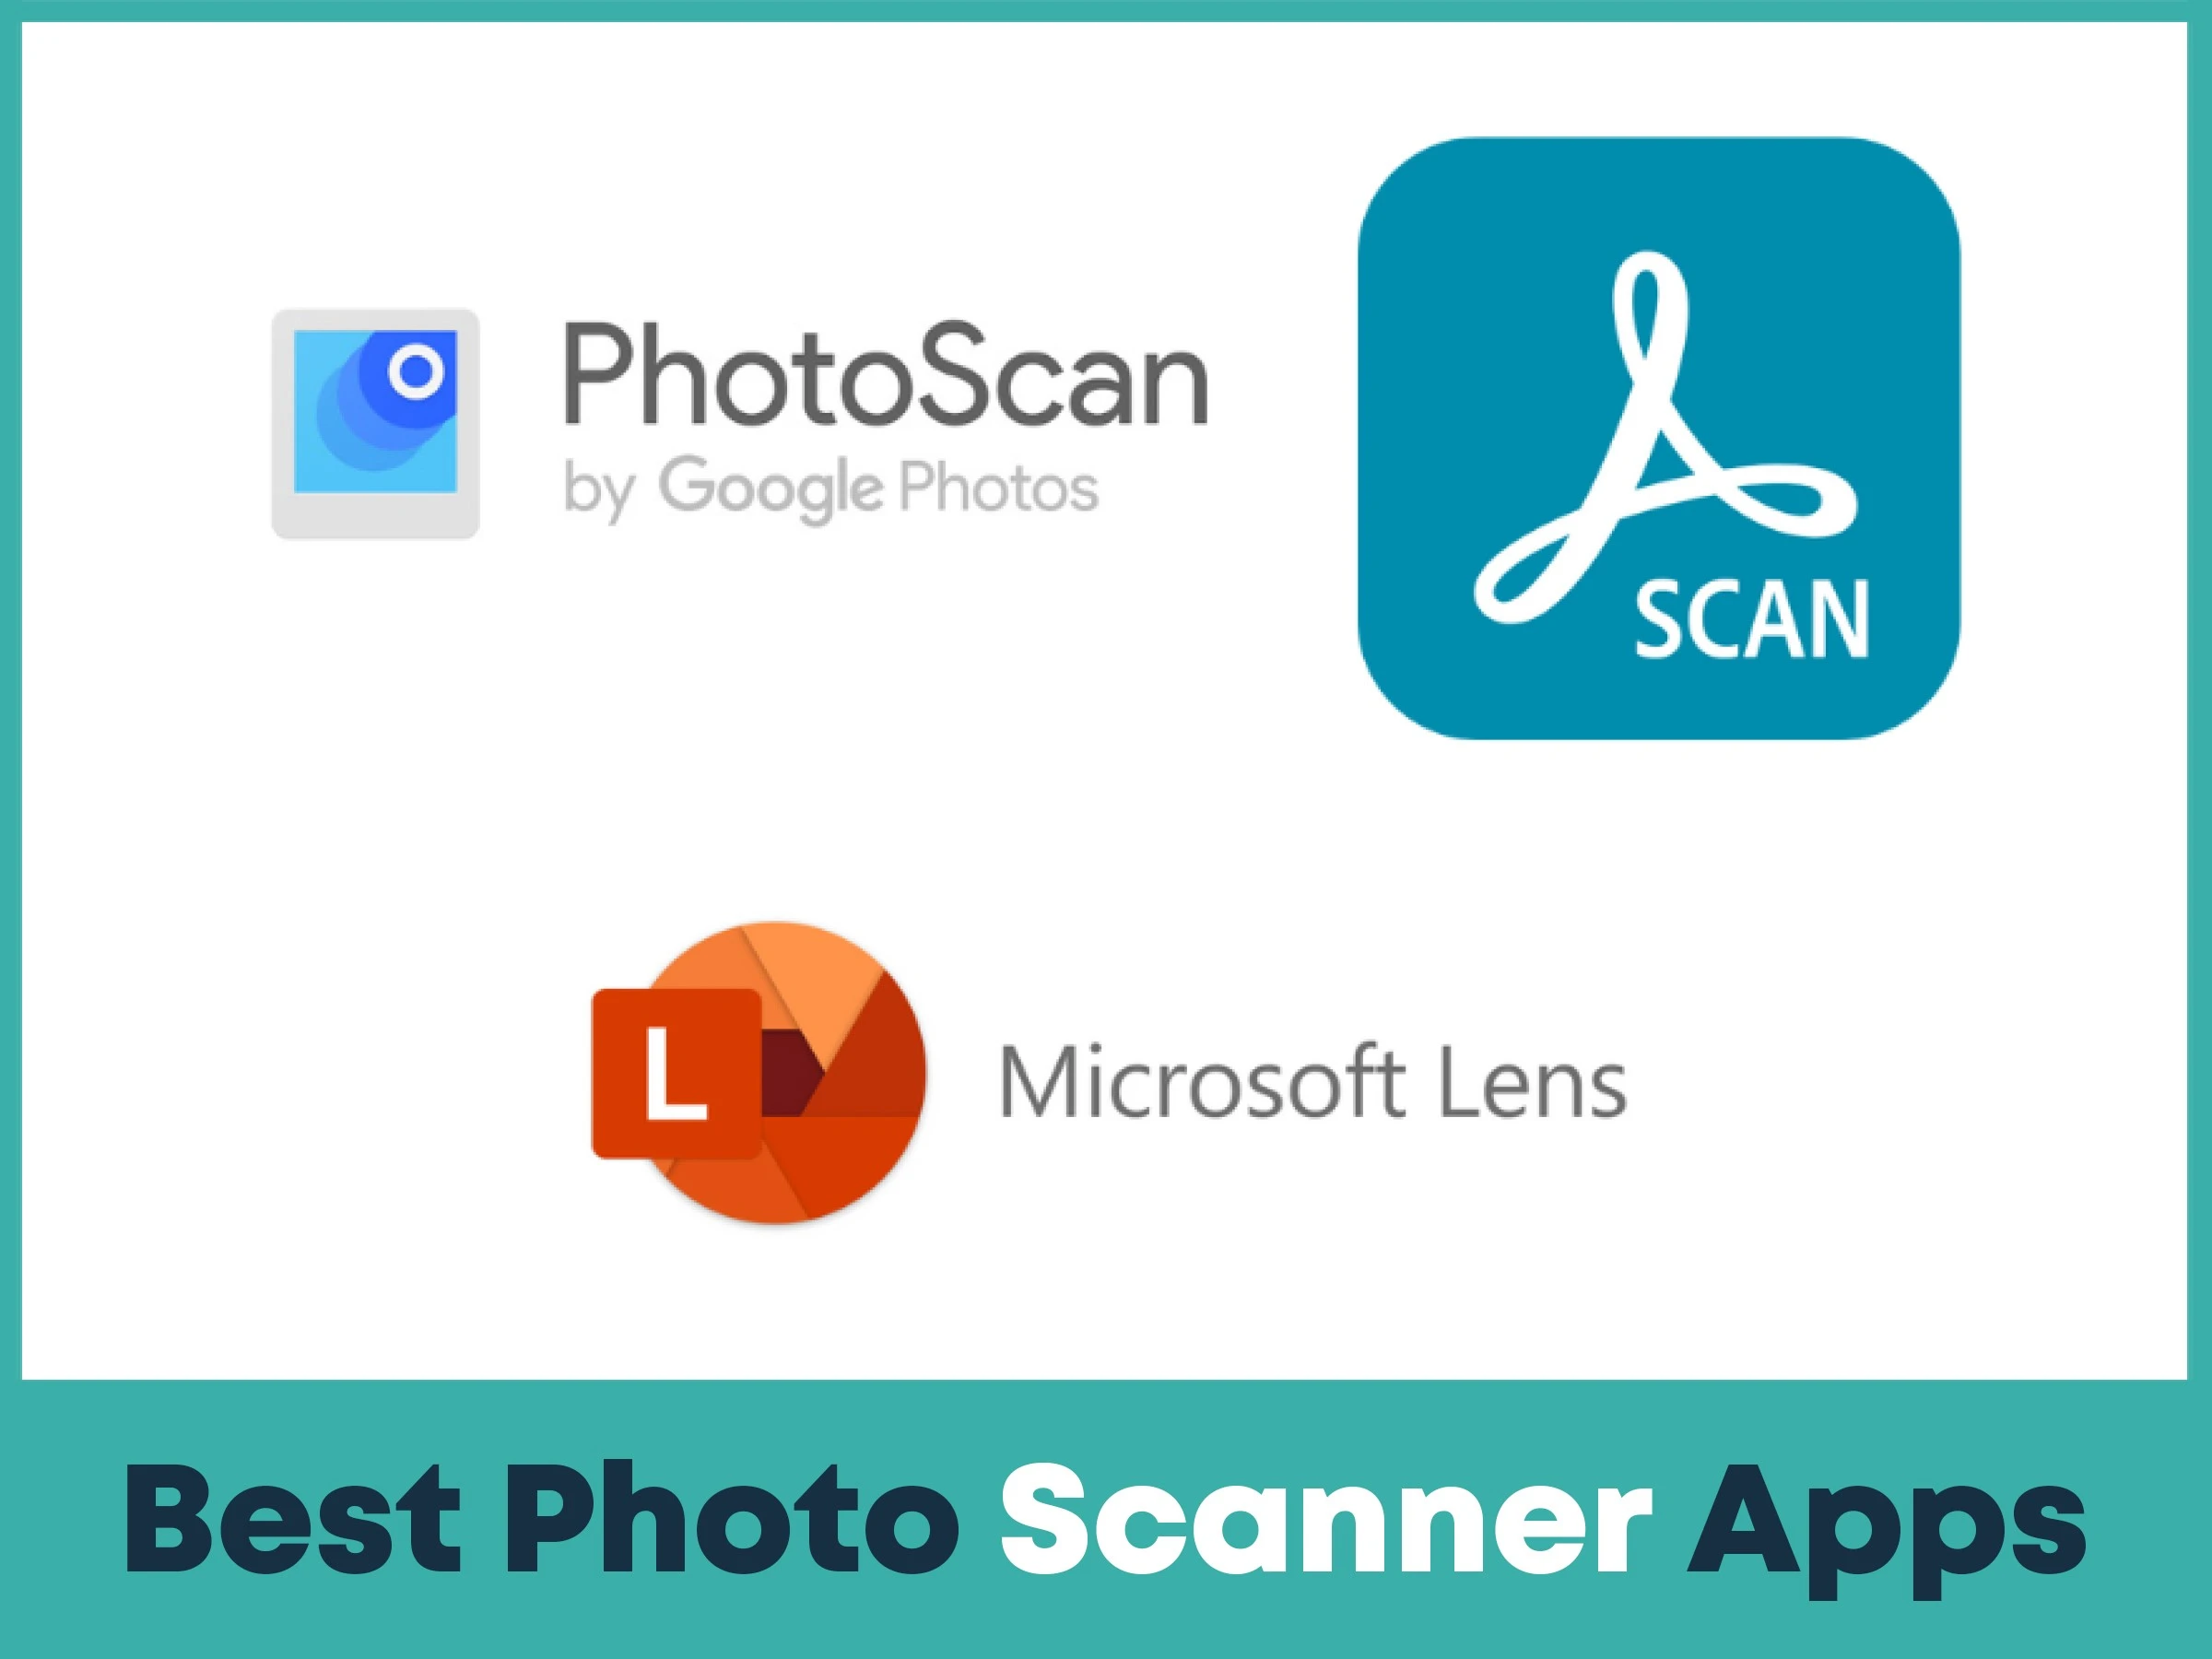
For convenience, there are photo scanner apps that transform your smartphone into a portable digitizer. Here are some favorites:
Google PhotoScan: Perfect for glare reduction and quick, accurate captures.
Adobe Scan: Known for its outstanding editing features, which allow you to adjust scanned images before saving.
Microsoft Lens: Great for organizing and scanning, with export options to OneDrive or PDF.
These apps are helpful and affordable ways to get good-quality photo scans directly from your smartphone.
When it comes to preserving detail, resolution matters. For most photo digitization, a resolution of 300-600 DPI (dots per inch) works well. Here’s a quick breakdown:
300 DPI: Good for social media or small prints, such as 4x6 photos.
600 DPI: Perfect for archiving or larger prints, capturing more detail for enhanced editing or display.
1200 DPI and Above: Recommended for professional digitization, especially if you need to enlarge images or have detailed old photographs.
If you’re uncertain, choosing a higher DPI ensures better results but it also results in larger file sizes.
How to Scan Photos for the Best Resolution?
To scan photos with the best possible quality:
Clean the Photos and Scanner Surface: Dust can minimize scan quality, so ensure both surfaces are clean.
Use Correct DPI Settings: Set the DPI based on your needs (300 for everyday use, 600+ for archiving).
Edit for Clarity: After scanning, use basic editing tools to enhance brightness, contrast, and sharpness if needed.
Can’t afford expensive photo digitizing scanners but still want a professional finish? No worries. True Digitizing has you covered. With years of experience in photo digitizing, we offer photo digitizing services at affordable prices in the USA. Contact us now and place your order to turn your cherished memories into lasting digital treasures.
Nick William has been immersed in the world of embroidery digitizing for over 20 years, earning 25 industry awards throughout his career. As a 3rd generation embroidery expert, Nick’s journey started in his family’s workshop, where he learned the art of digitizing before the rise of modern software. He has worked with leading commercial embroidery businesses and has shared his expertise with over 75,000 home and professional embroiderers. As an author at True Digitizing, Nick is passionate about teaching others how to create beautiful, precise designs through easy-to-follow tutorials and expert advice.
Categories

How to Remove Embroidery From Any Fabric — Step-by-Step Guide 2026
28-06-2026

Embroidery Trends 2026: What's Hot in Machine & Hand Embroidery | TrueDigitizing
26-06-2026

Top Best Embroidery Digitizing Software in 2026
06-05-2026
")
Best Multi-Needle Embroidery Machines for Startups 2026
28-02-2026

DST File: The Complete Guide (What It Is, How to Create, Convert & Use in 2026)
28-02-2026

Janome 550E vs Baby Lock Flare | Best Mid-Range Embroidery Machine?
26-02-2026

Choose the Right Fabric for Embroidery
20-02-2026

Advanced Techniques in Embroidery Digitizing
19-02-2026

Most Common Types of Threads to Use in Machine Embroidery
12-02-2026

AI in Embroidery | Revolutionizing Art and Efficiency
12-02-2026
Asked Questions


